Reshaping Your Seat
Not all seats are created equal, but with a bit of work, they can be more comfortable.
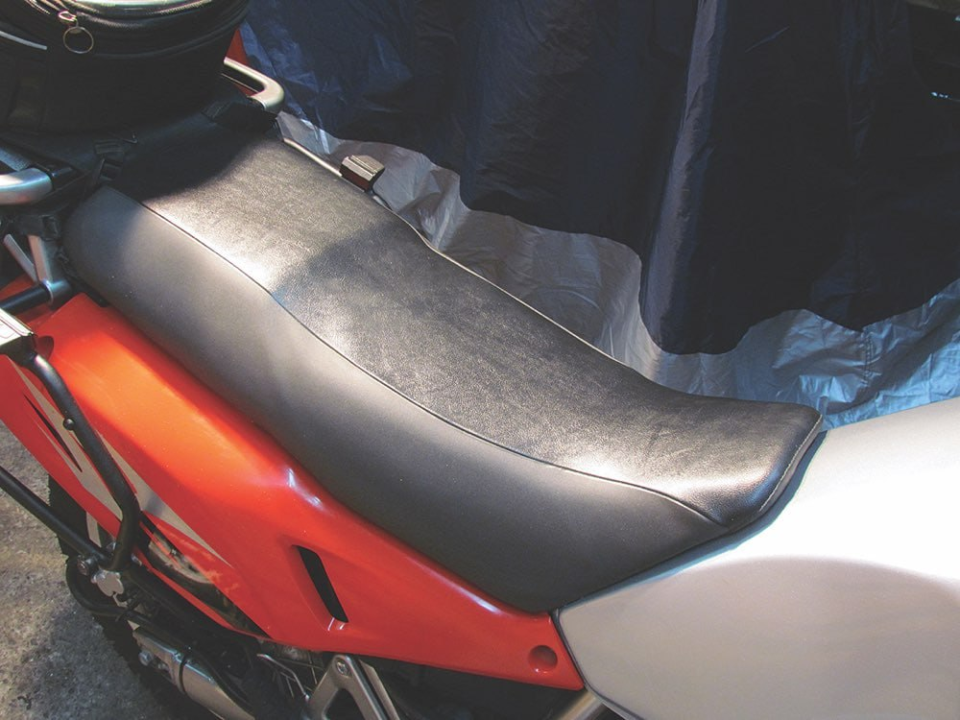
If you’re lucky, you and your bike’s seat get along fine – like a good friend, it’s supportive, non-intrusive and doesn’t break your butt. However, sometimes it might not be the ideal riding partner.
You can lower it, make it narrower or, as I did with mine here, reshape it for more comfort. This requires taking the seat apart, cutting the foam padding and putting it back together. The main tools needed are a powerful staple gun (electric or pneumatic), a hacksaw blade and some sandpaper. However, you should make sure the foam on your seat is thick enough before you cut into it; there’s not much you can do with a thinly padded seat.
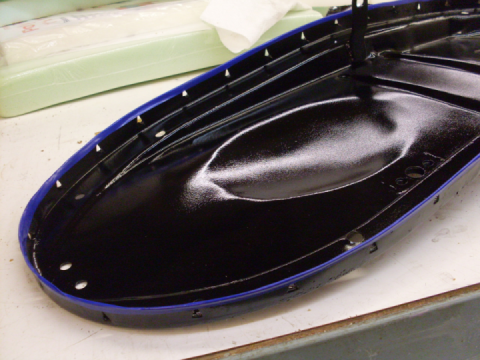
1) Most seats have a vinyl covering that is stapled onto a plastic base. To remove the vinyl, just pull out all the staples using a pick or tiny flat screwdriver – without poking yourself. But before removing the staples, use a marker to make some locating marks on the cover and on the seat base to make reinstalling it easier.
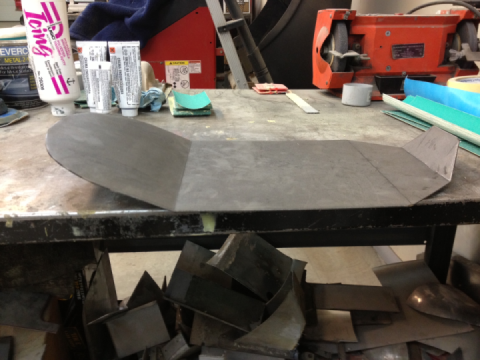
2) The next step is to mark the foam exactly where you want to cut it.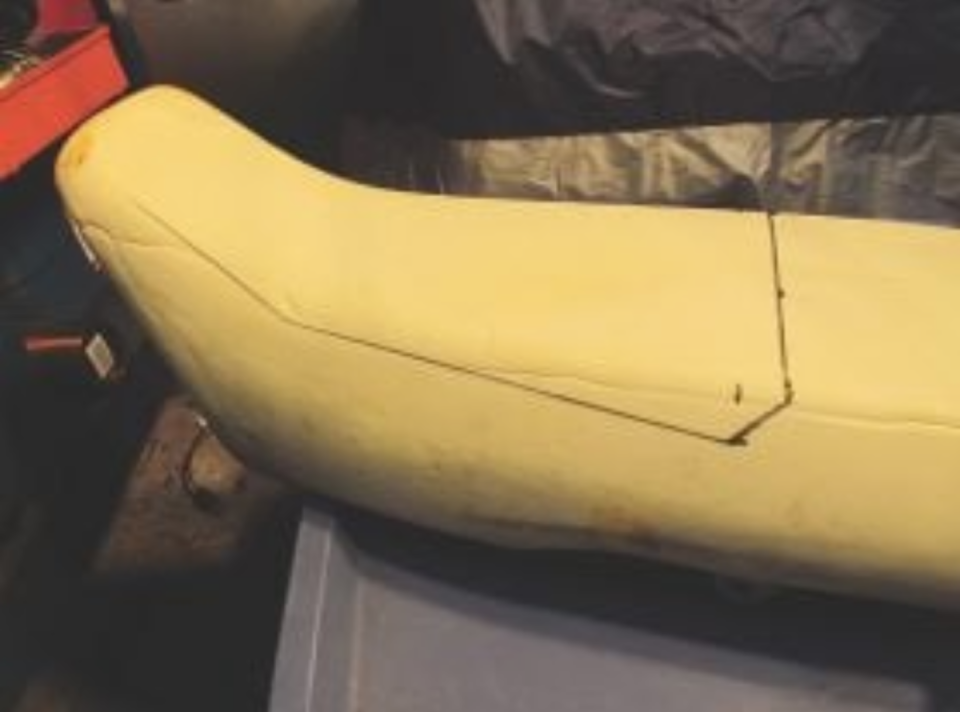
3) The trick to cutting foam is to take one clean cut; that way, if you don’t like the results, you can always glue the cut piece back on. Cut very slowly with a medium hacksaw blade (18-24TPI), and make sure the blade follows the line on both sides of the foam. The cut will leave sharp edges, which can be rounded using coarse sandpaper — 60-grit worked fine for me.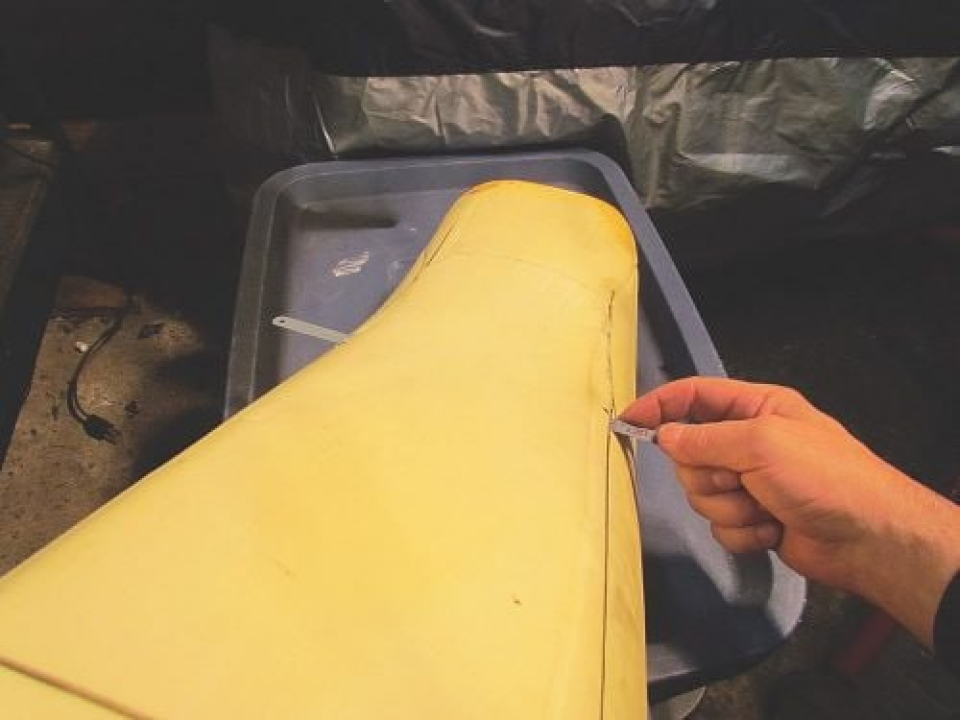
4) Once you’re satisfied with your cut and have sanded all the edges smooth, you can reassemble the seat, starting with the waterproof plastic liner.

5) Replacing the seat cover will be trickier now that its shape no longer conforms to the newly shaped seat foam, which is another reason you don’t want to remove too much foam in the first place. Locate the cover using the alignment marks you drew on earlier, and use a couple of staples at the front and rear to hold it in place. I use a Stanley adjustable electric stapler with ¼-inch T50 staples, which were almost identical to the original staples. Don’t use longer ones or they will come out the other side of the cover.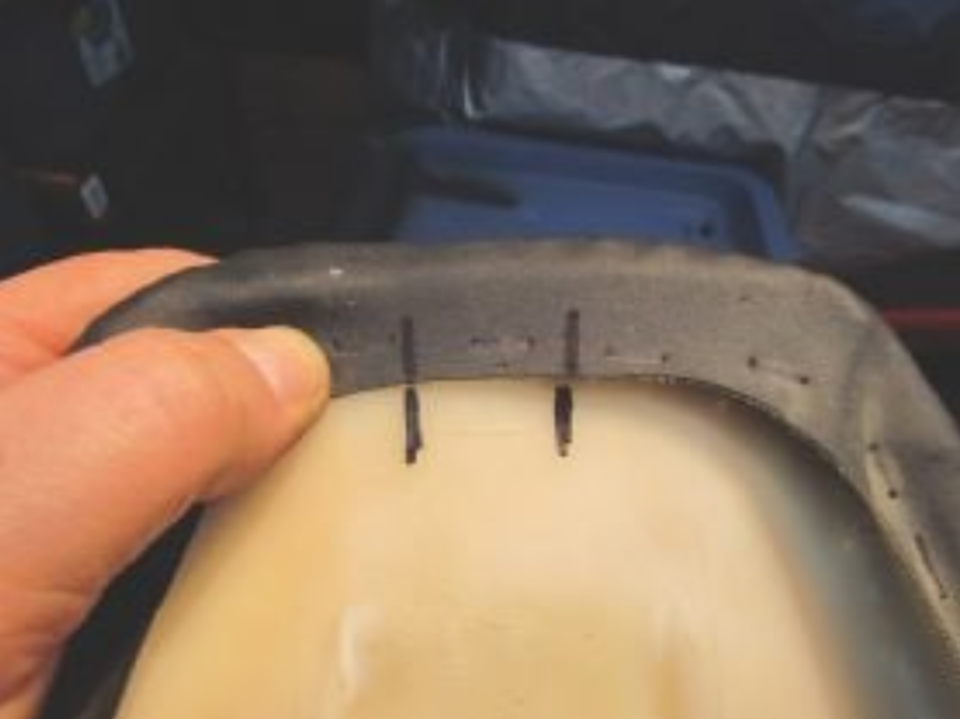
6) You’ll be stapling most of the cover at about the same location as it was stapled before it was taken off, but it will have to be drawn tighter where foam was removed so it’s not saggy and unsightly. This is the tricky part, and it’s where you should begin stapling the cover after your initial fore and aft staples are in place. You must be careful not to pull the cover too tightly to remove unsightly creases, because this will compress the foam beneath and make the seat uncomfortable.

 Follow
1.3K
Follow
1.3K