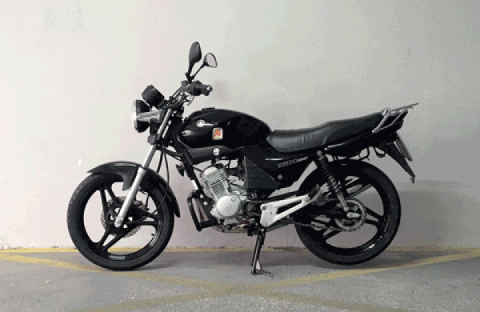
Seat. Part 1
I decided to tackle the seat this week.
The original seat was really tired and beat up. All those miles under my backside, much of it with a passenger, had taken its toll. There was an ancient tear on the left side that I'd tried to repair decades ago, bit it didn't hold very well.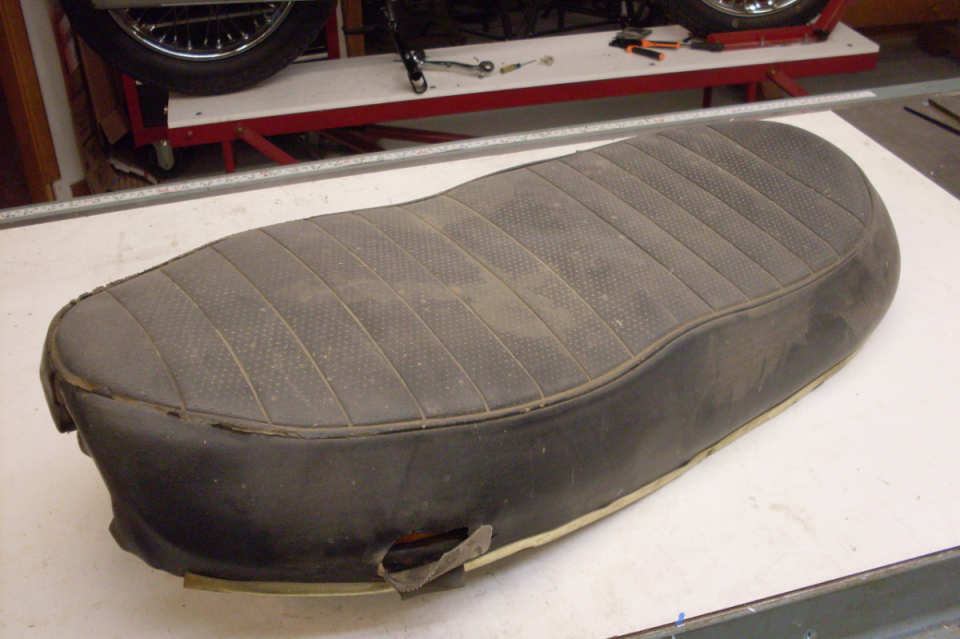
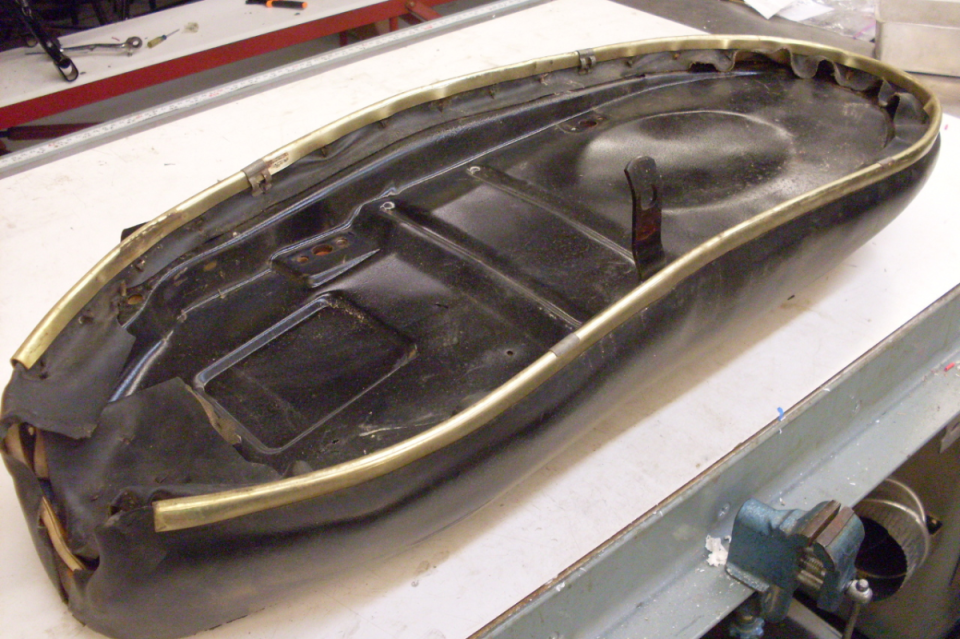
Luckily, the insides were a little better than the seat cover. The seat pan was rusted, probably from water that had gotten in through the tear, but still sound and not otherwise damaged.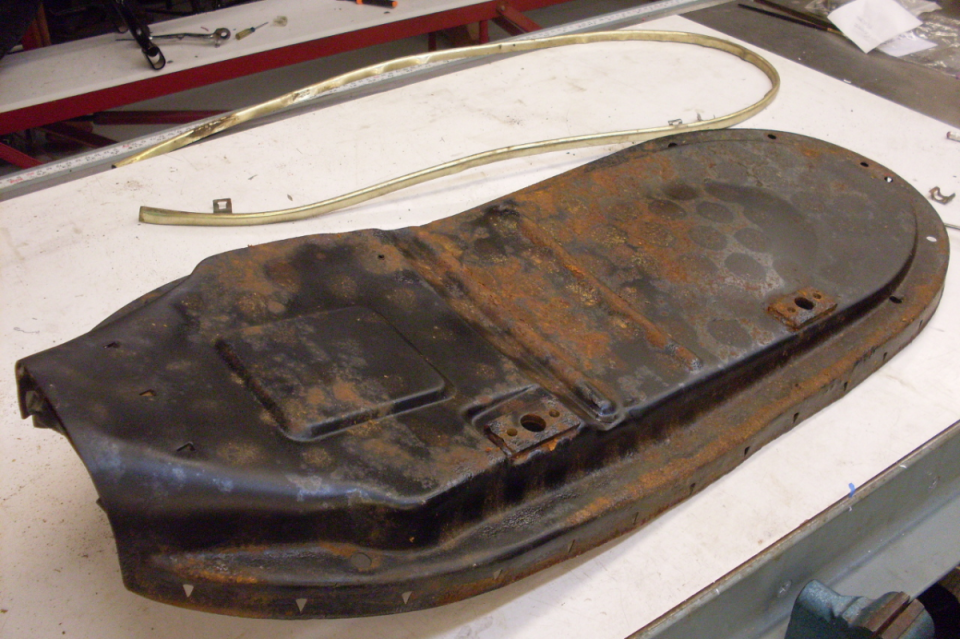
The foam was rust stained, but intact, and still firm and resilient. There was one worrisome area near where the tear was that had deteriorated to a crusty, hardened shell that disintegrated with a little pressure.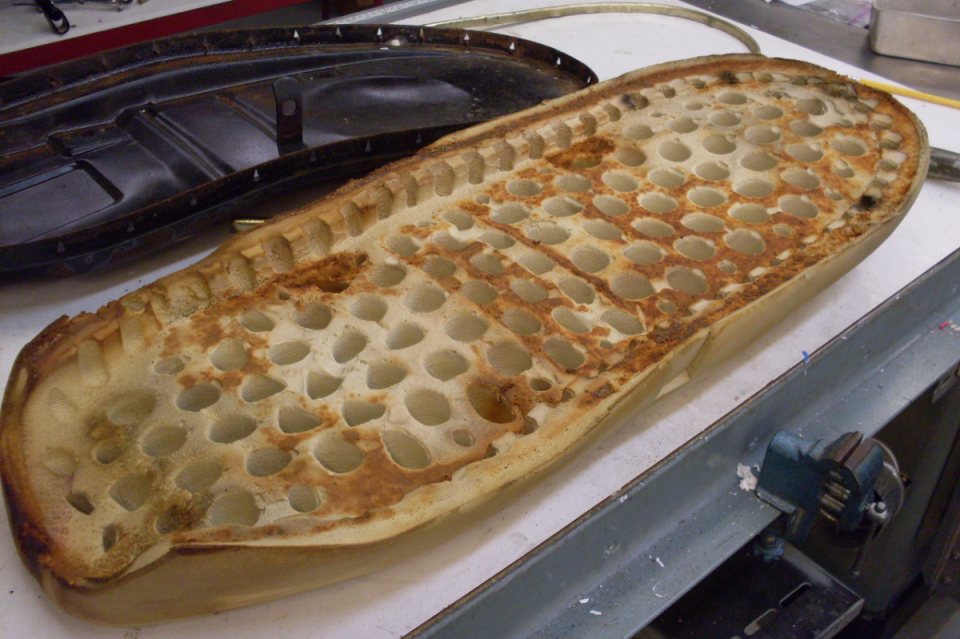
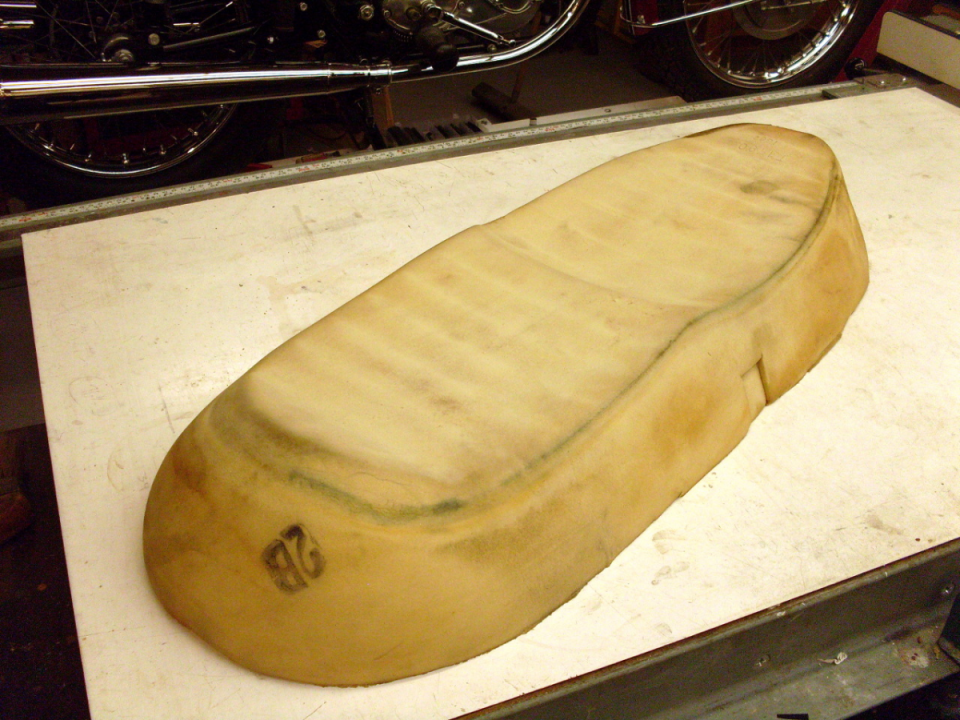
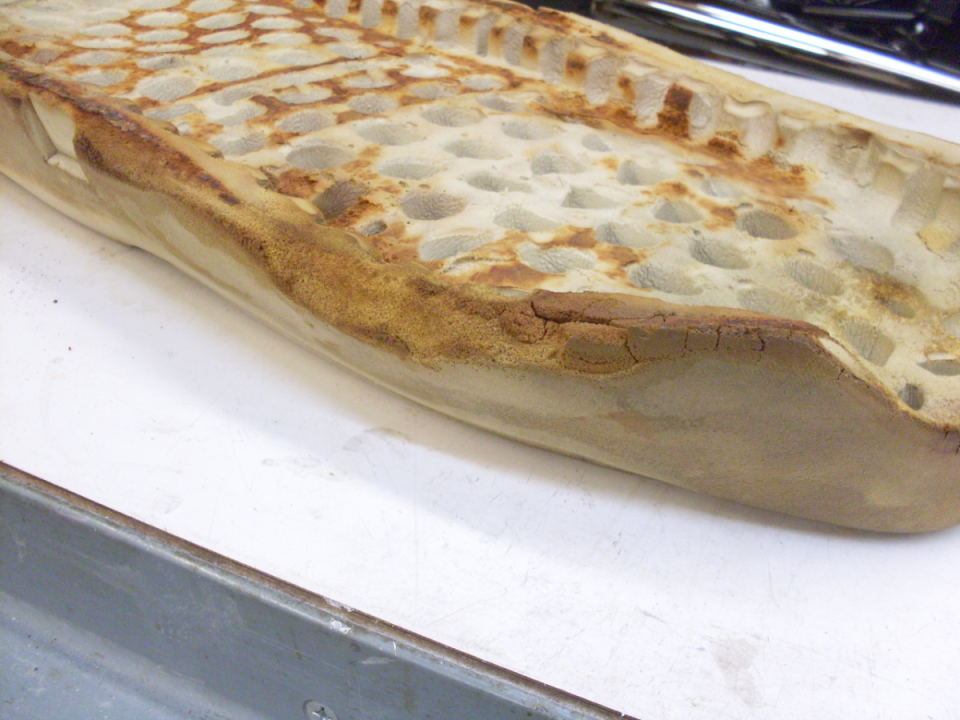
I figured I didn't have anything to lose in trying to repair the bad spot in the foam. Considering the many disappointments I've had in the quality of aftermarket parts, I thought it worth an effort to use the original. I had seen a few Youtubes of people modifying motorcycle seats by adding foam and reshaping to a different contour. The same process could be used to fix up my foam.
First, I cut out the bad area of foam back to soft and supple material. I did it with a 9 dollar electric carving knife from Walmart. A "Surfoam" cheese grater type tool is also useful in smoothing out the contour.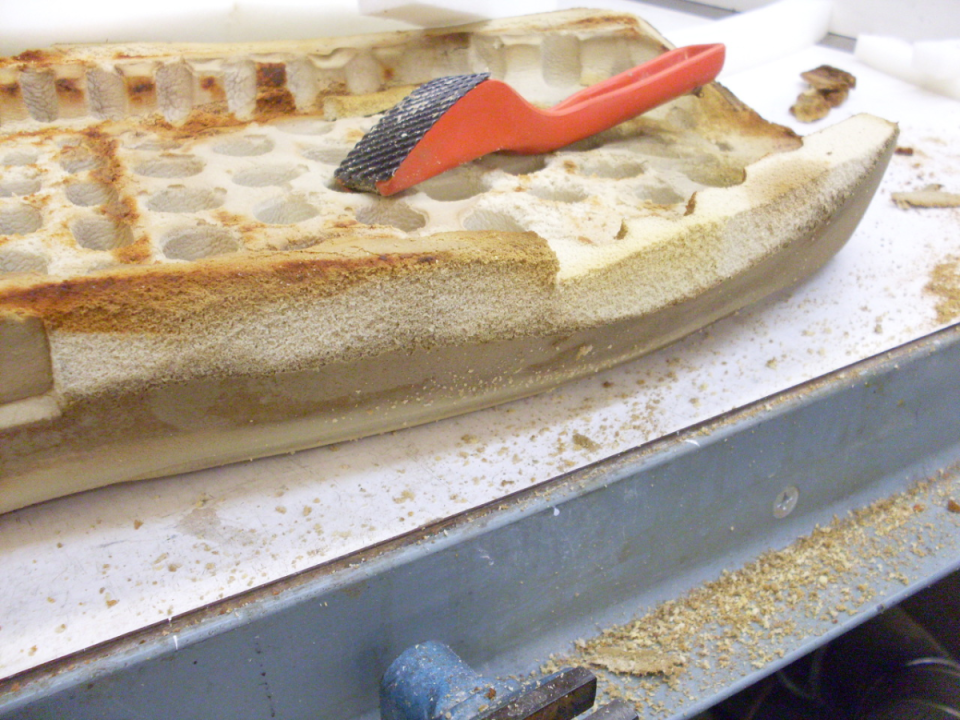
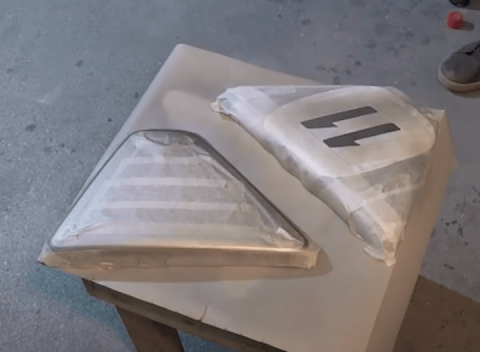
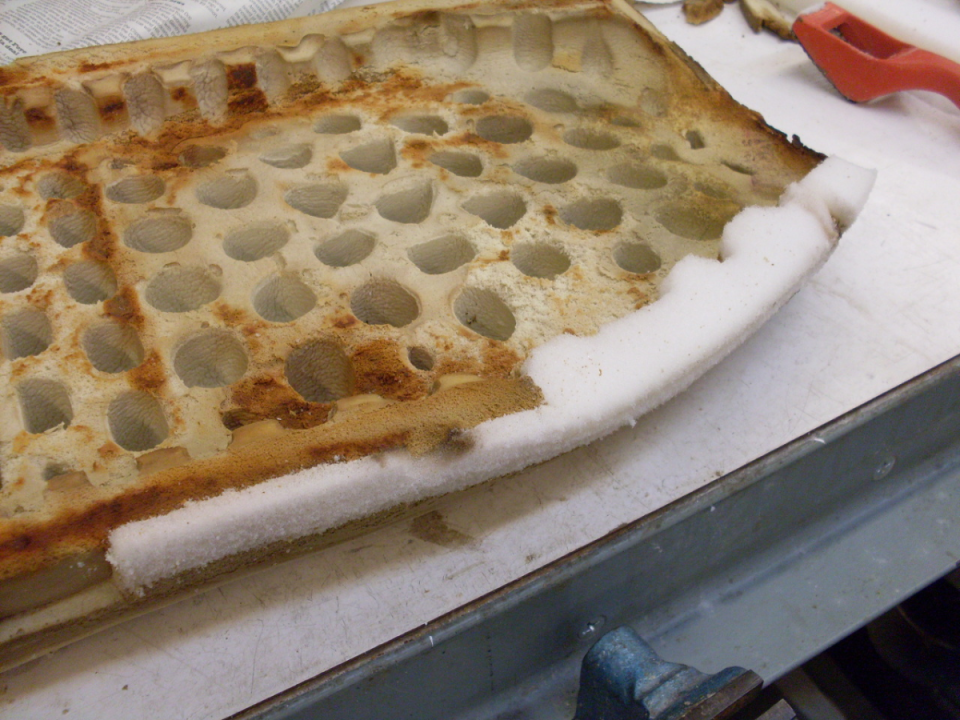
I was able to score some free foam samples from my wife's friend Barb, who works at a foam manufacturer. I picked one that had the right firmness and cut some pieces to rough size. I glued it on with 3M "77" spray adhesive applied to both the seat foam and to the patch material. I then used the Surfoam to shape the patch to match the original contours. At one point I tried a grinding wheel in a 4" grinder to do some shaping, as I had seen on some of the Youtube videos. Well those guys obviously have more skill at this than I do since all it did for me is grab the material and leave the two little divots you see in the pictures. I finished up with the much safer Surfoam. It's hard to tell from the pics, but I closed my eyes and ran my hand over the area, I couldn't detect the patch.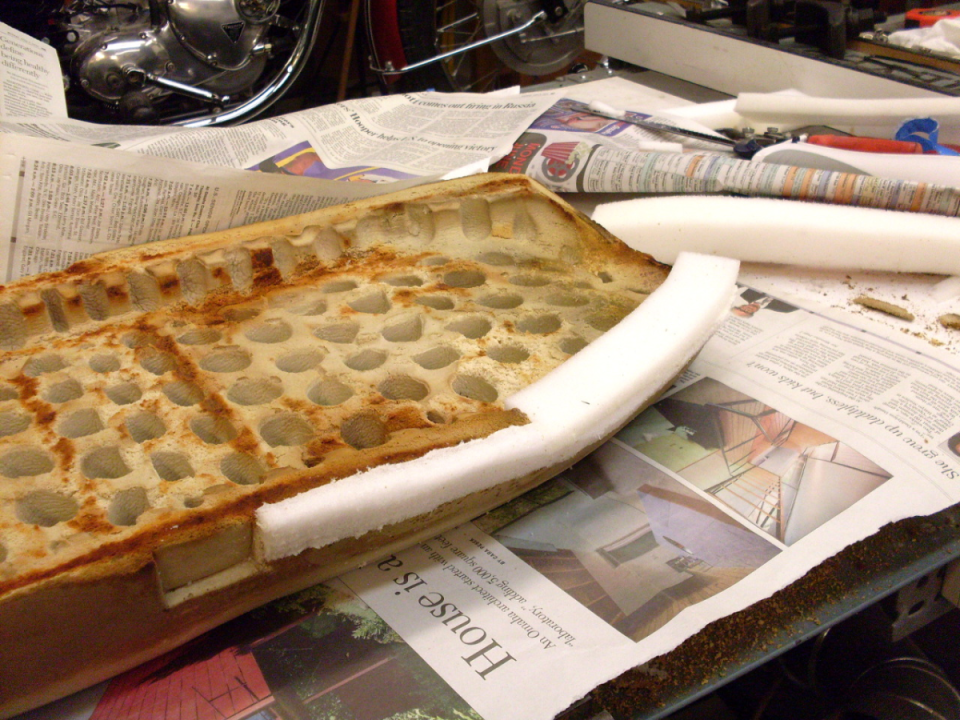
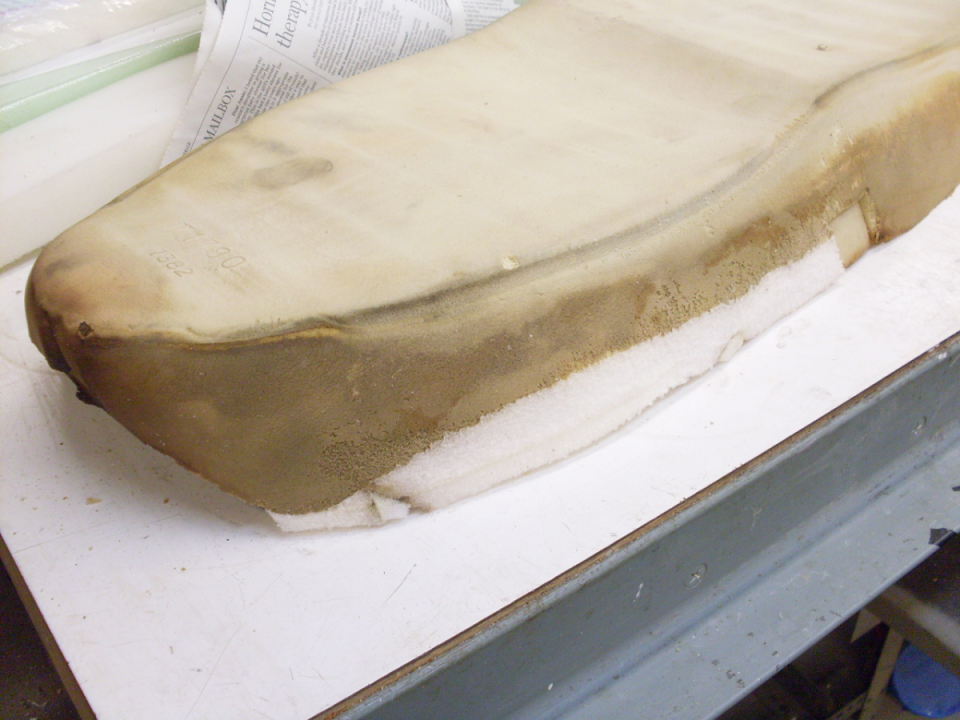
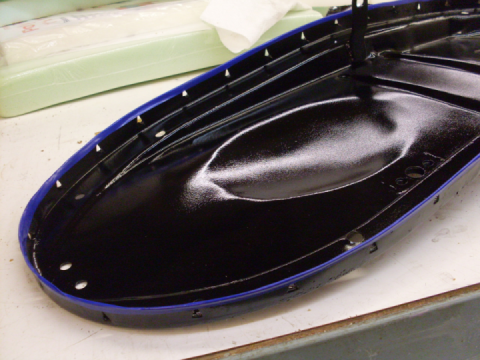
Satisfied that the foam was usable, I turned to the seat pan. Sandblasting took off nearly all the rust.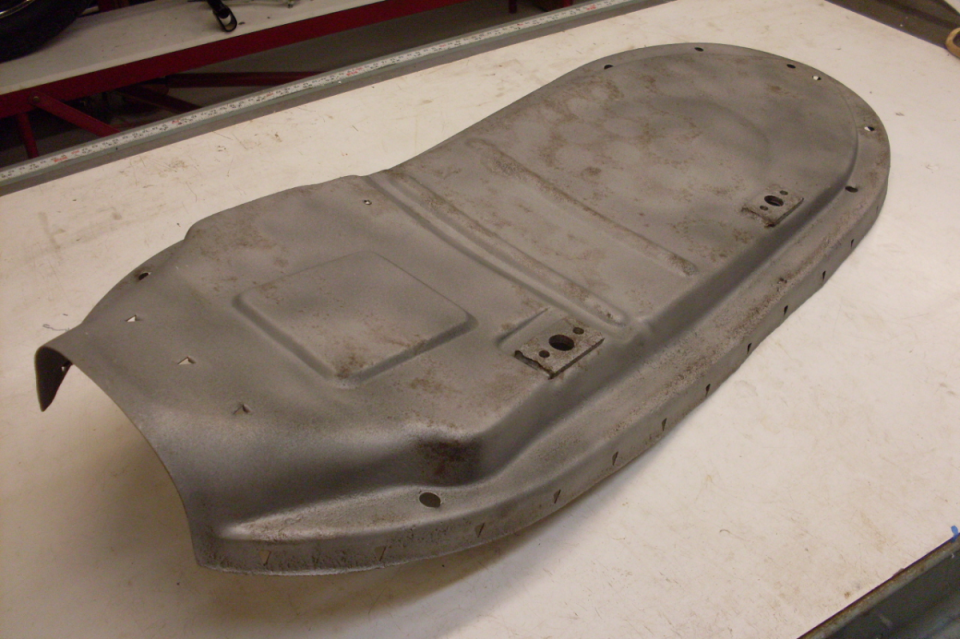
What the sandblaster didn't get, a wet wipedown with phosphoric acid did. The phosphoric leaves a characteristic mottled blue-gray, occasionally brownish coating of iron phosphate that is a very good base for paint. The rust did leave some pits, but the blasting and phosphoric treatments cleaned them out well.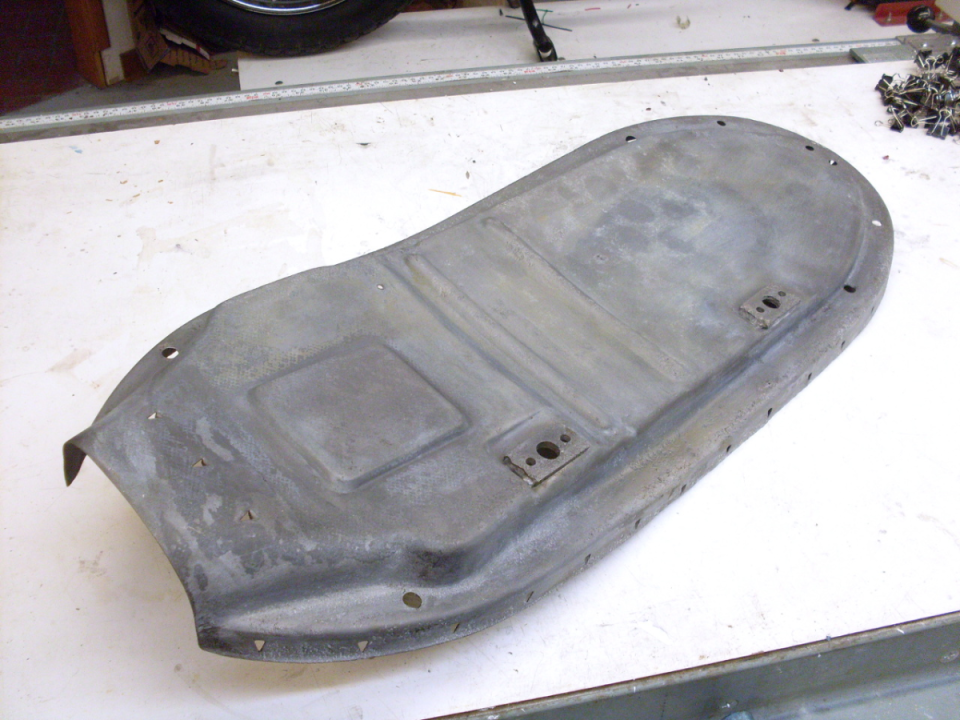
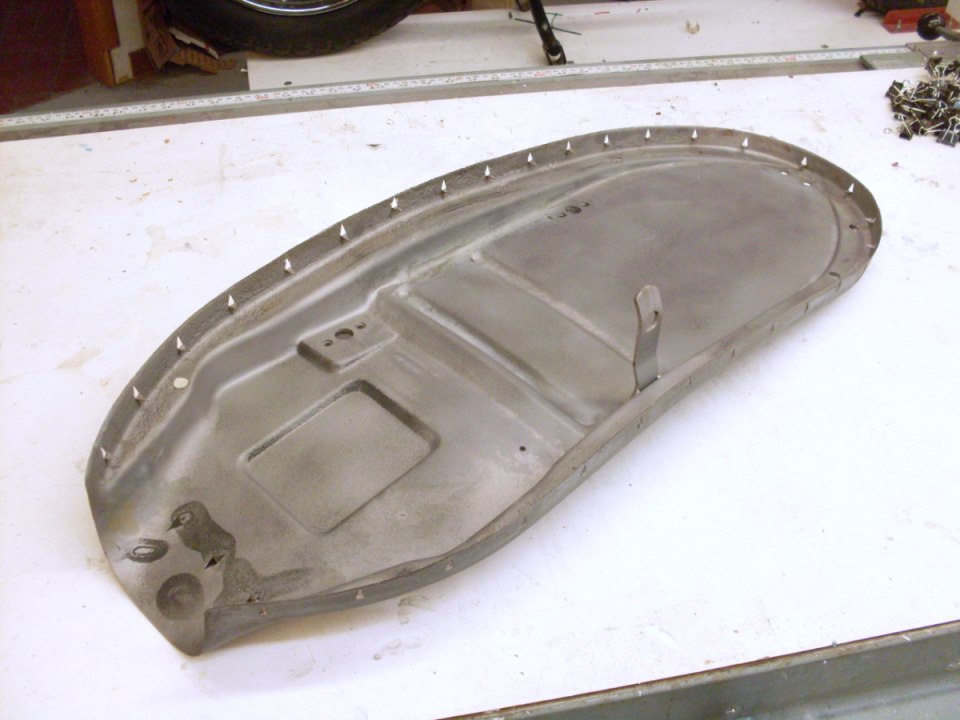
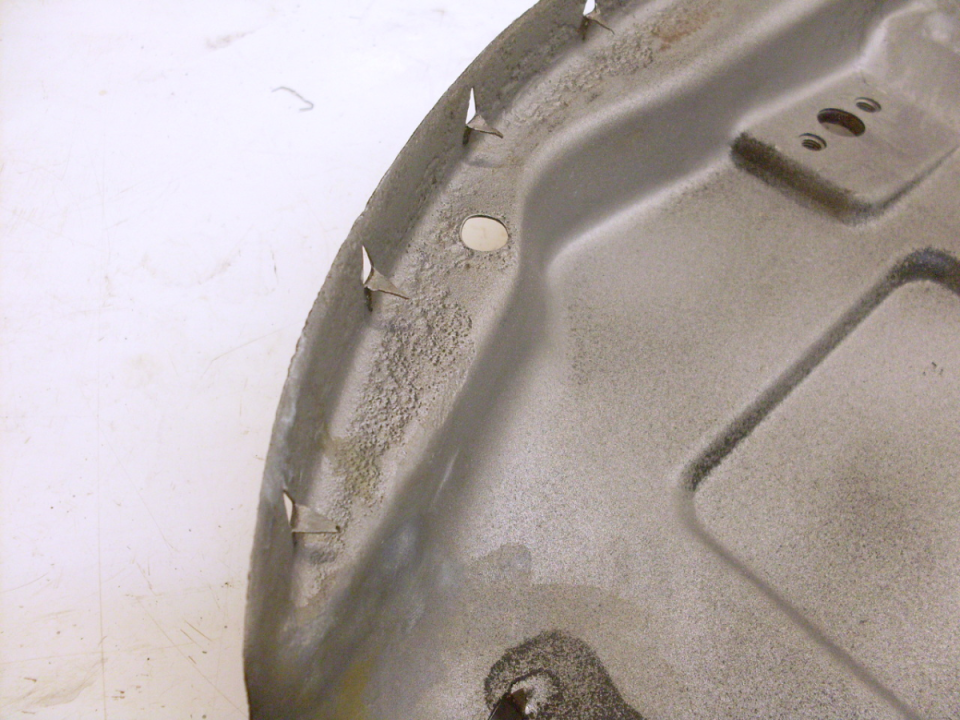
Then primed the pan in preparation for the black paint.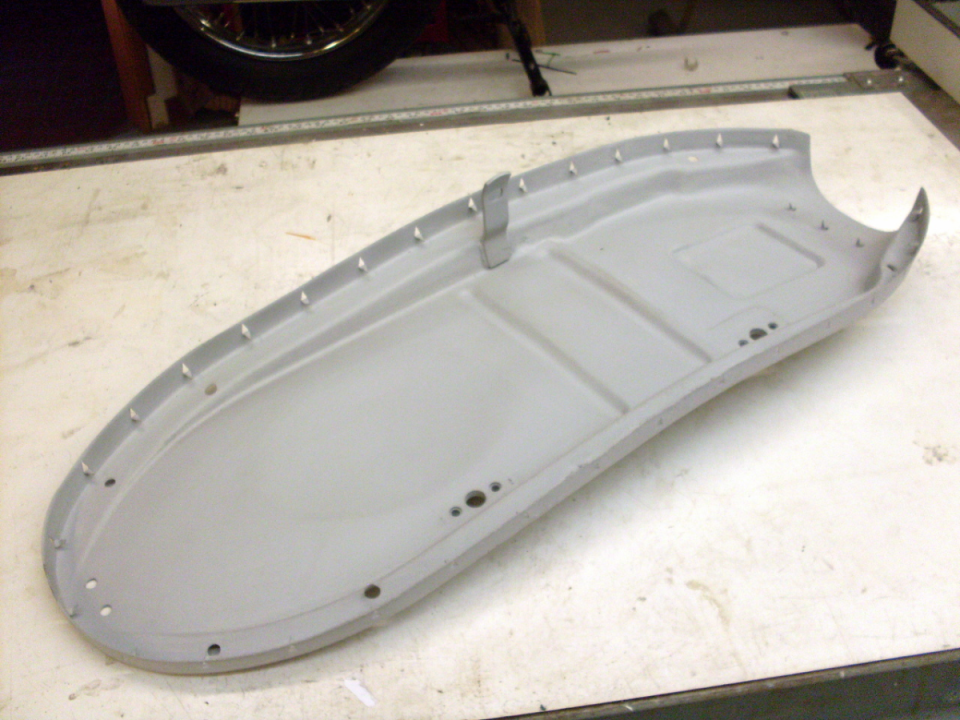
 Follow
1.1K


