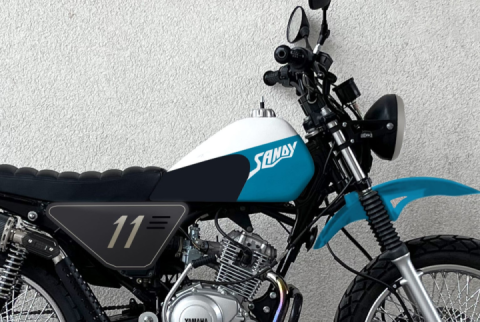
Part 4: homemade headlight mount, ignition switch, Chinese speedometer and brake pumping
It's time to work more closely on the front part of our Scrambler.
There is plenty of space for creativity here, so I decided to do everything at once and little by little - what I had enough free time for.
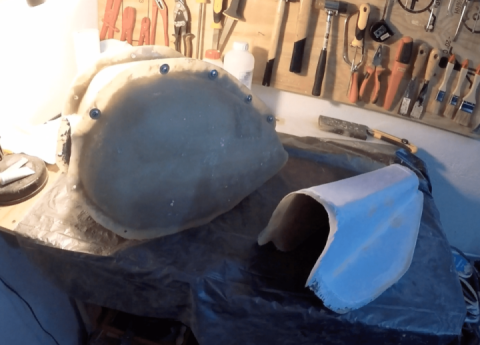
As a lyrical digression - so far I have attached the standard front wing in the raised position and drew lines for future trimming: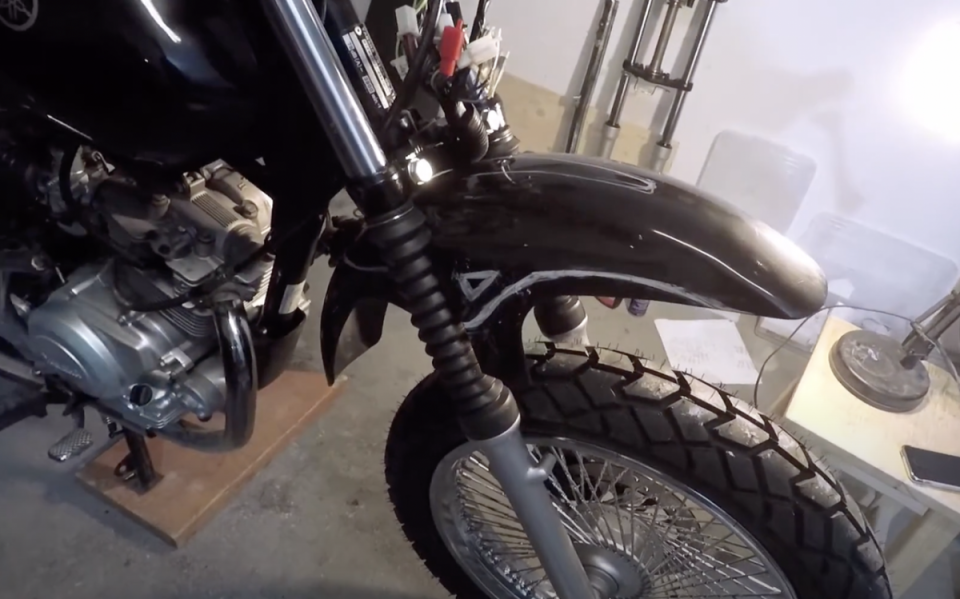
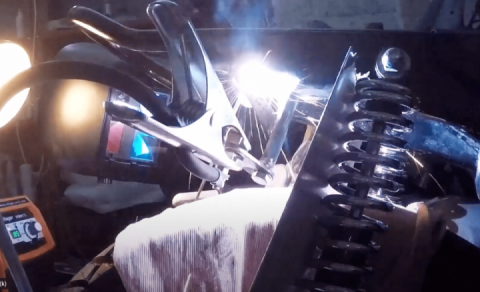
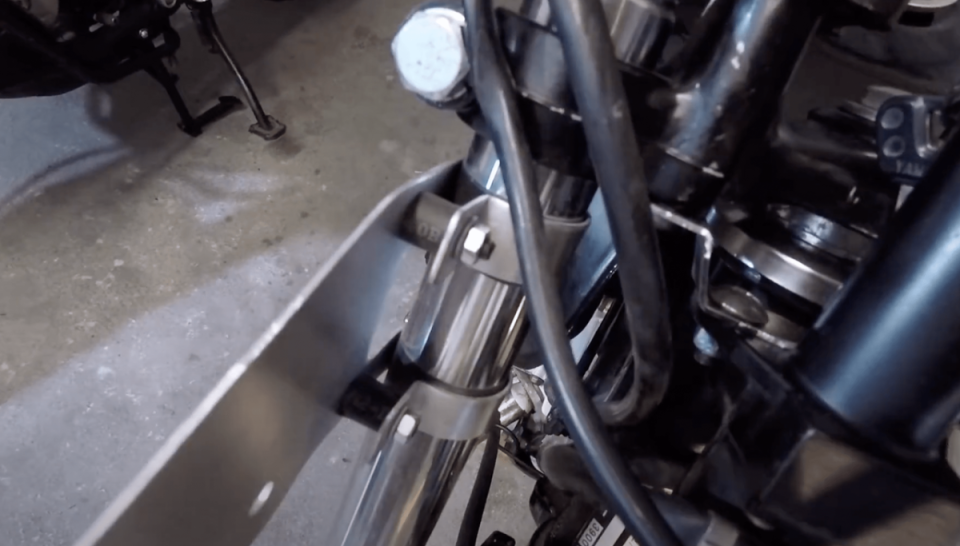
And... put that aside for now to get back to the main thing: adapting the ignition switch to fit our new fork. In essence, it's simple: given the different size of the Suzuki fork, the ignition switch needs to be offset slightly in space so that the locking pin still hits the hole on the steering column. The main difficulty is to design an adapter that will provide this and will also fit with its holes under the foreign crossbar, so first by trial and error and calculations by eye was made this paper template: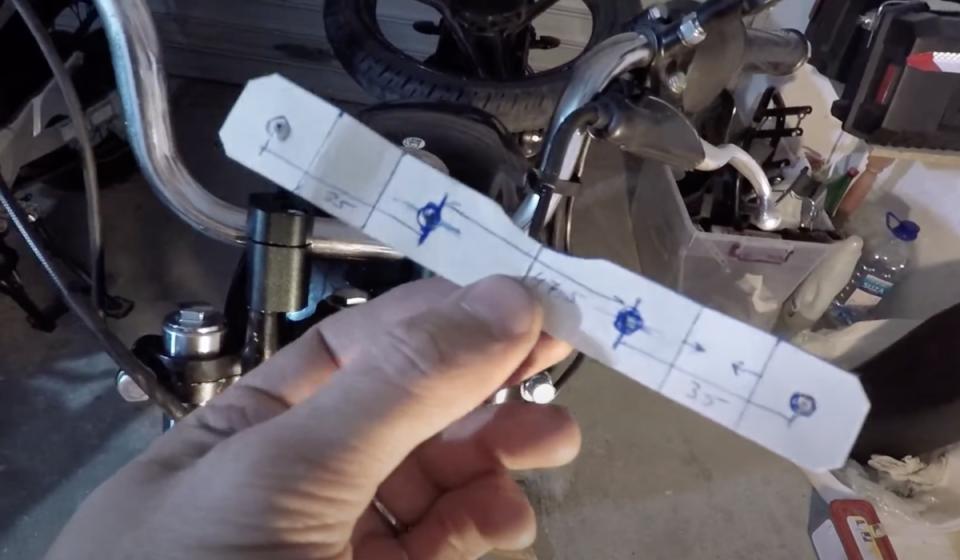
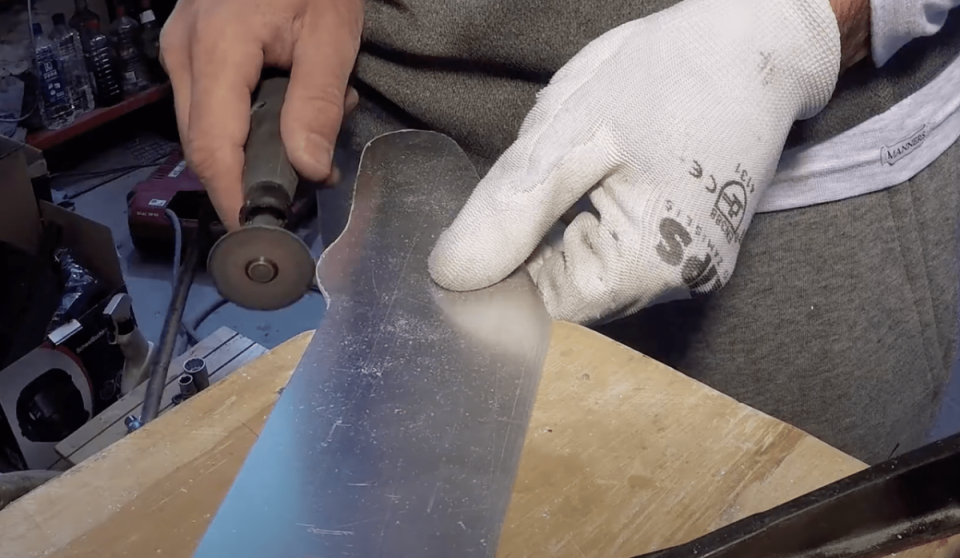
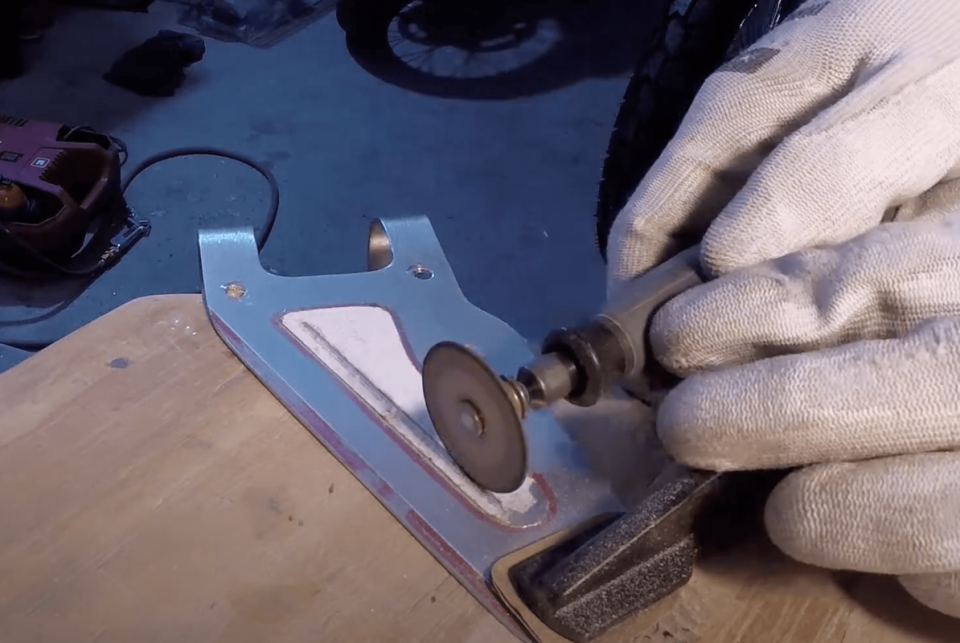
After that I enthusiastically set about making this part. As a material - a piece of bearing stamping from an old BMW, which is not a pity, because it has long ago become a sacred donor :)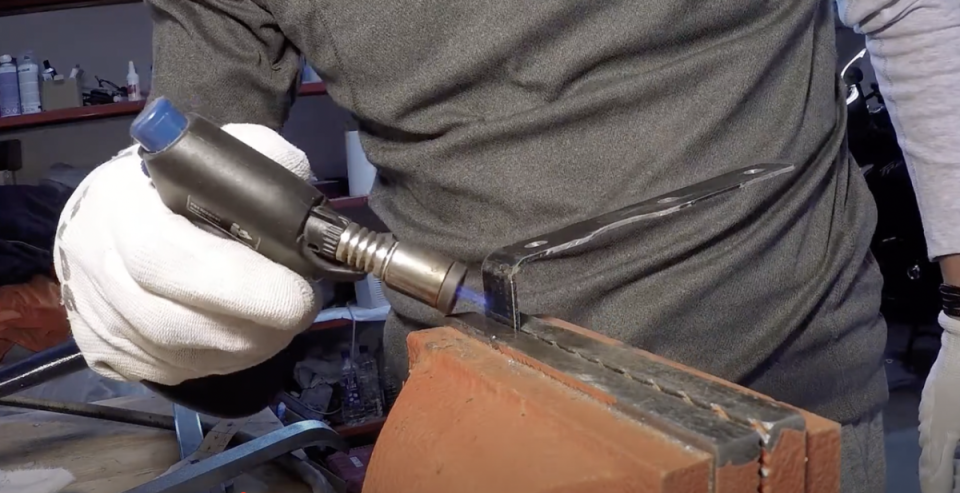
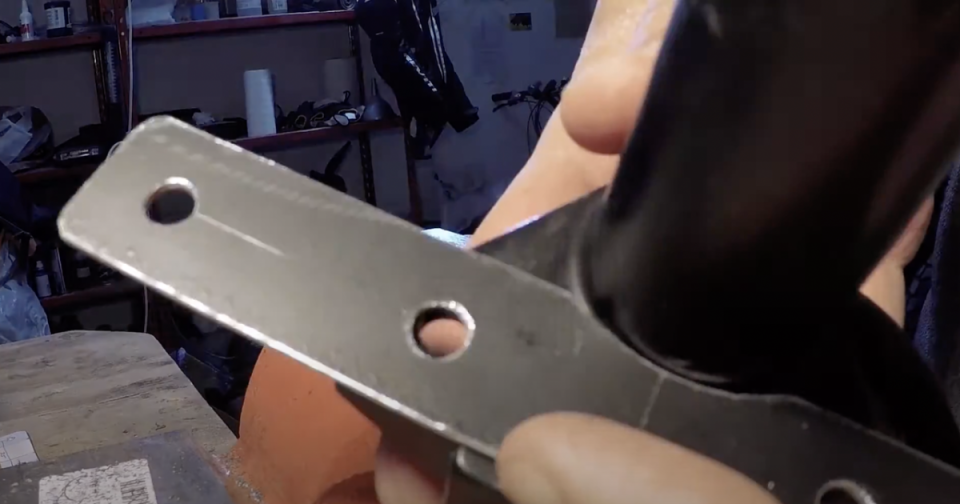
And as a result, a brace in a lock-and-column system that performs its function perfectly: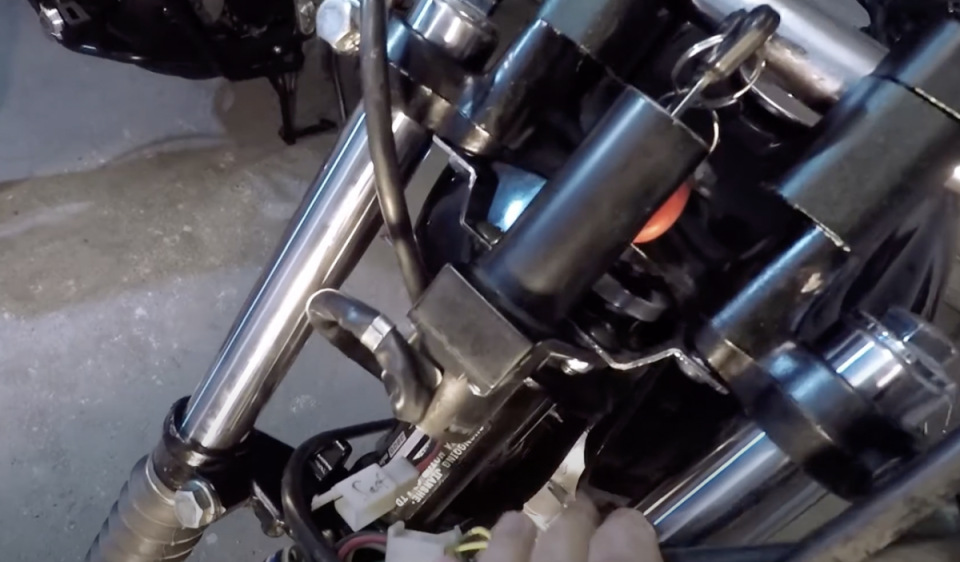
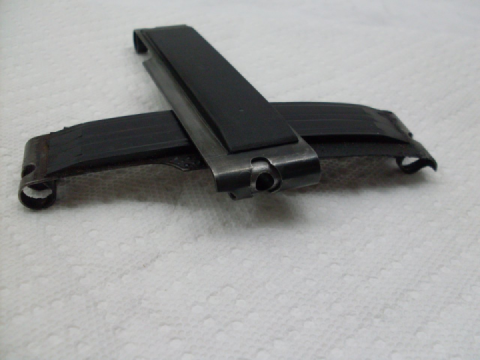
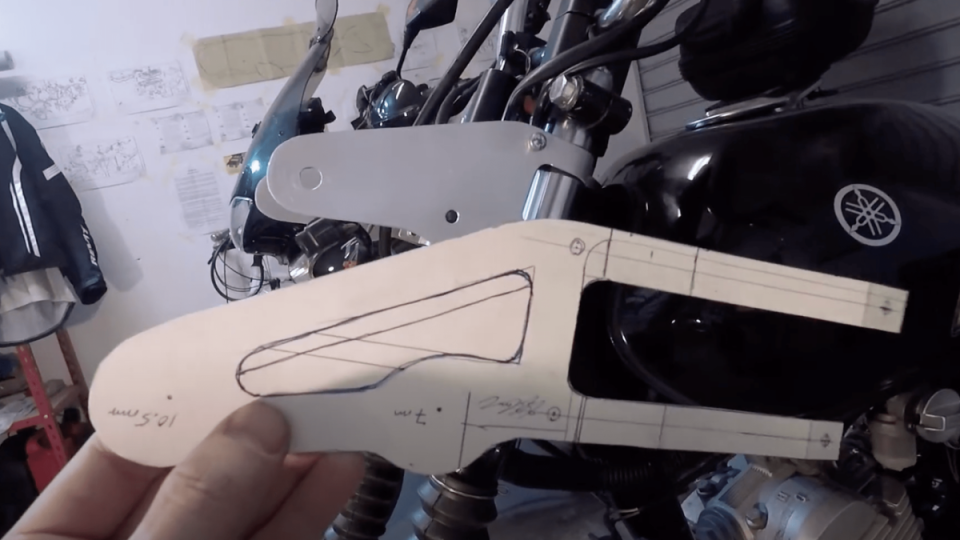
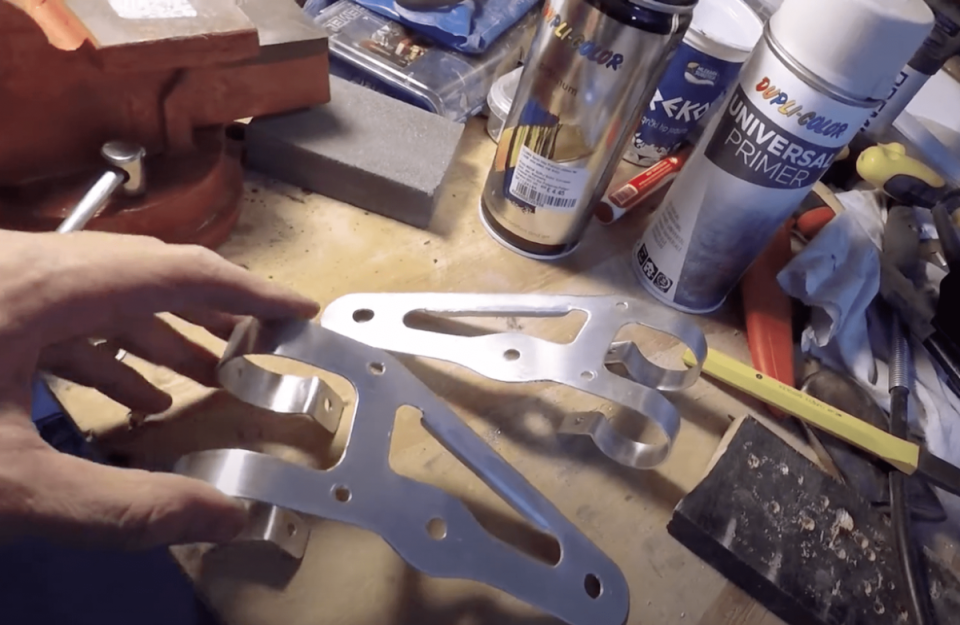
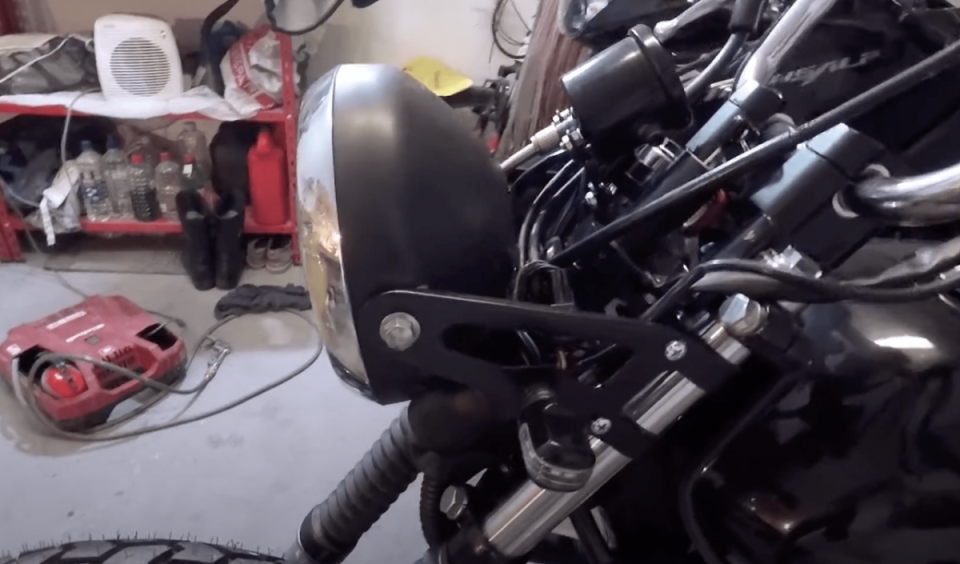
Then I started to think about how to mount the headlight - I looked through a lot of Chinese options for mounting the headlight directly on the feathers, but I did not like the design and method of mounting in any of the manufacturers, in the end it was decided to make this mount myself, good thing I just had a sheet of aluminium 1.5mm. I drew a template, taking as a basis the design of the bracket from YBR, but slightly modified it, and cut out a blank: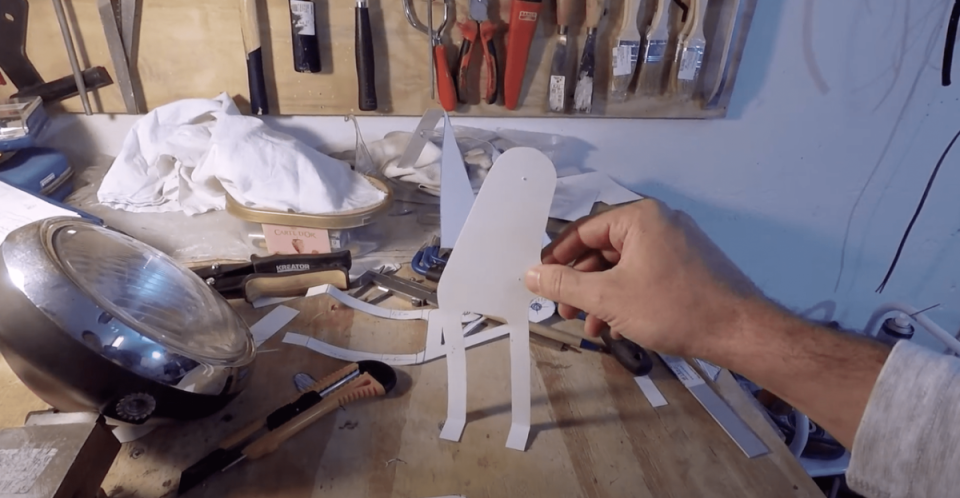
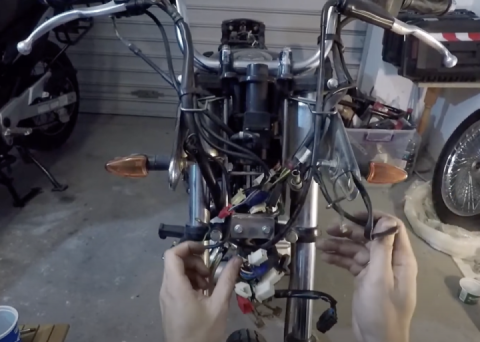
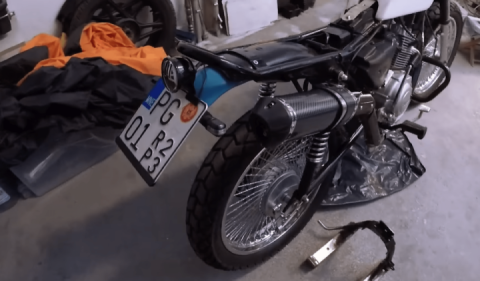
The billet was bent along the tube - the clamps were formed, which encircled the feather, but not symmetrically - but with an offset, so that the outer side was flat. I tightened the clamps through pieces of rubber tubing in the gap - I got a smooth adjustment of the clamp compression force! I also screwed on a small Chinese speedometer - neutral, indicators, odometer - all in one, instead of the huge YBR instrument cluster. It became obvious that it all looked good together and it was possible to continue working on the parts. I made the pinout for the new speedometer using the old connector and marking the wires, put the turn signals in their seats on the billet, changed the indicator relay to LED, started it up, checked - everything works, let's go on.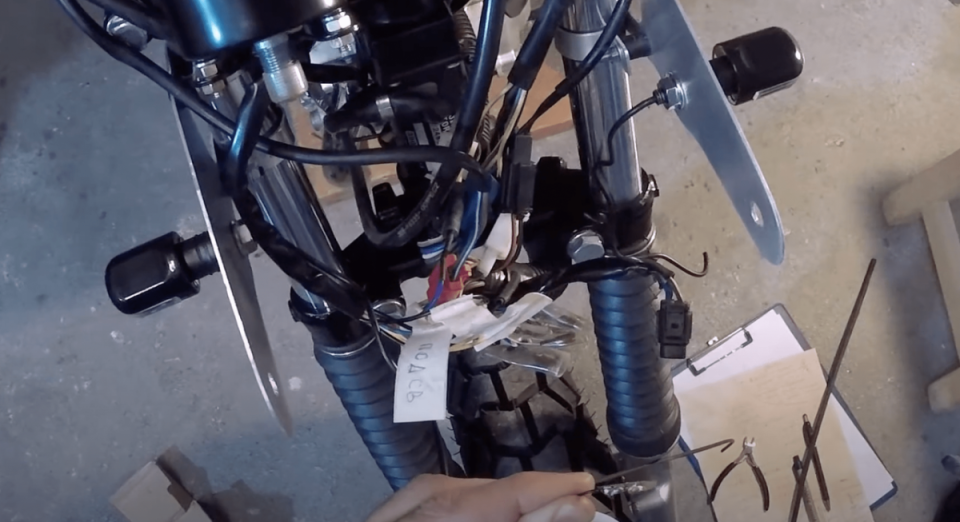
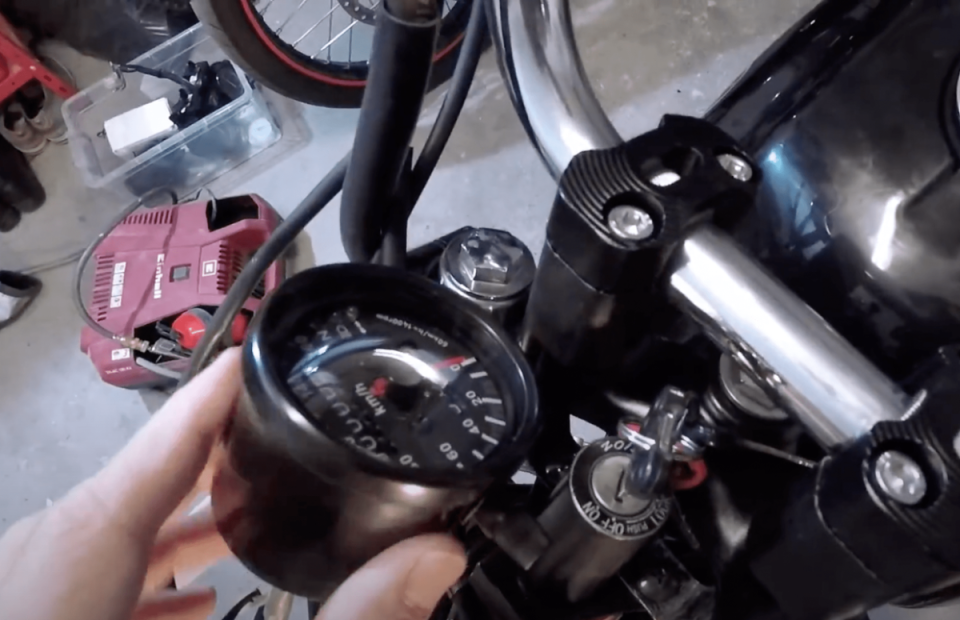
I will say a few words about the Chinese speedometer: compact and lightweight - a great thing, except for the too bright high beam indicator. When installing it, you should be careful - the control wire of the neutral indicator is not plus, but minus.
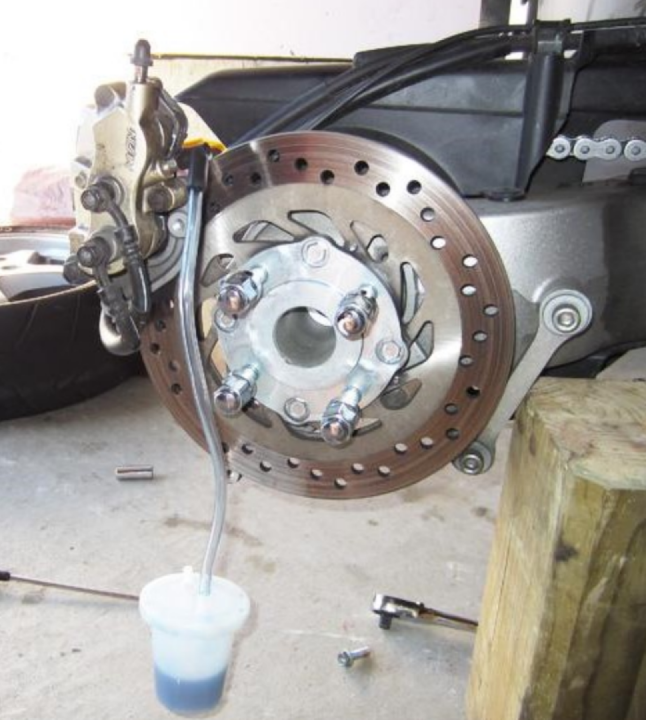
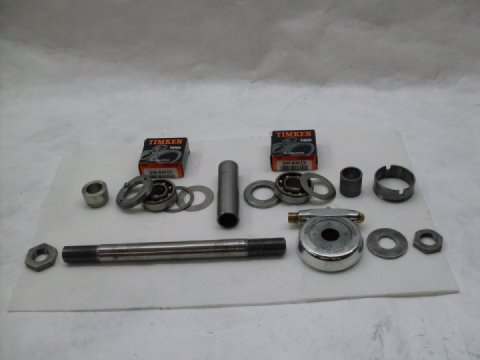
To distract myself a bit, I started pumping the front brake: I drained the expansion tank with a syringe, drained the fluid, connected a longer hose from Suzuki to its native brake machine and tank and pumped the brake using DOT4. When pumping the brake lever in the place of its contact with the slave cylinder - this problem was solved by screwing a small bolt into a hole drilled in the worn out lever striker.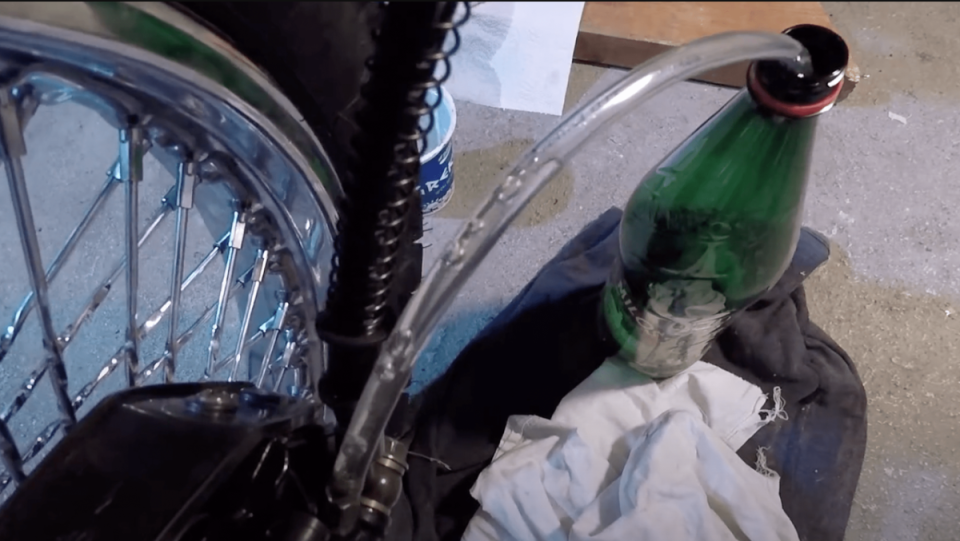
Having sorted this out, I returned to the headlight mounts: I wanted to make a nice cutout in the middle, and to stiffen the structure with ribs bent inwards: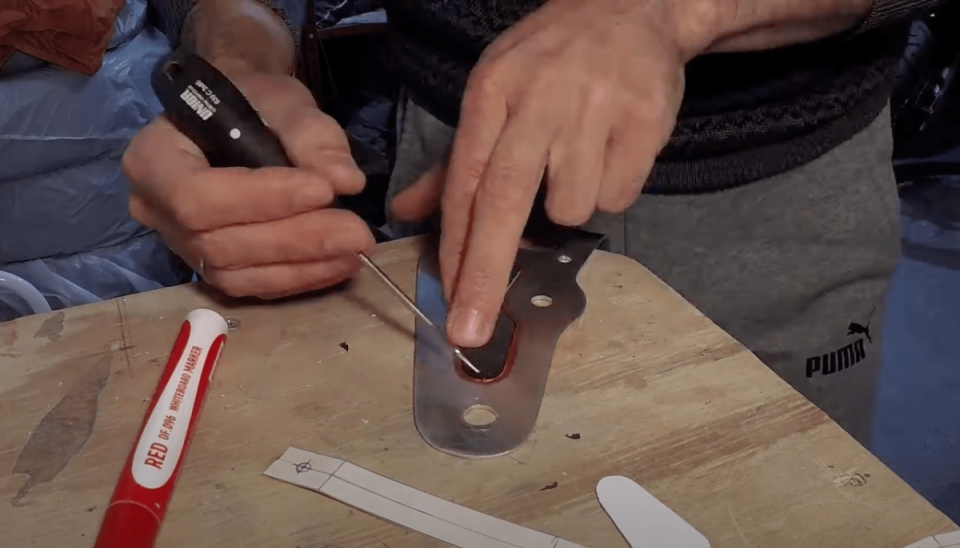
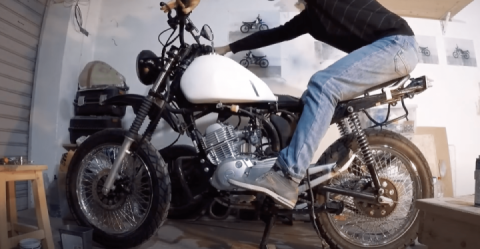
Painted it, installed it, it's HOT: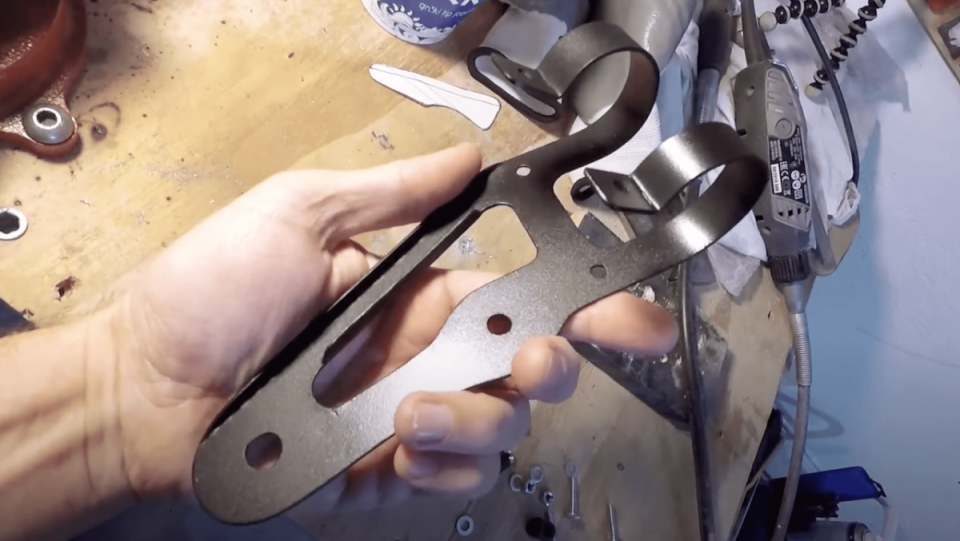
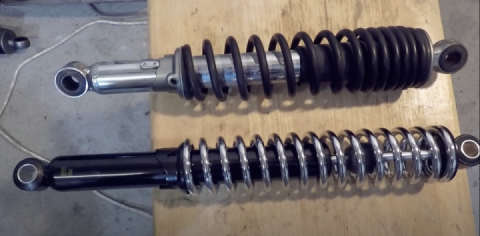
In the next installment you will find: rear suspension, front fender, new steering wheel installation, homemade transmission foot and side stand
See you soon!

 Follow
2.2K
Follow
2.2K