How i building GPZ900 (Part 2)
Purchased a Gilera 150 headlight front headlight. for my fighter.
Mocked up the front brackets top and bottom, turned down some 15 mm alloy bar, and centred and. tapped all three lengths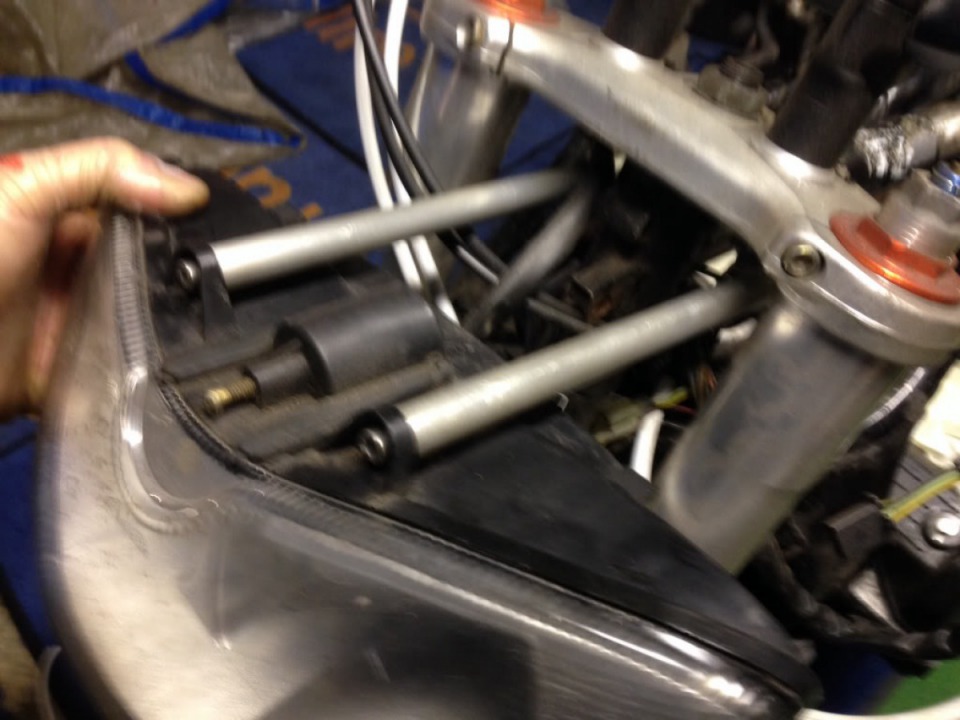
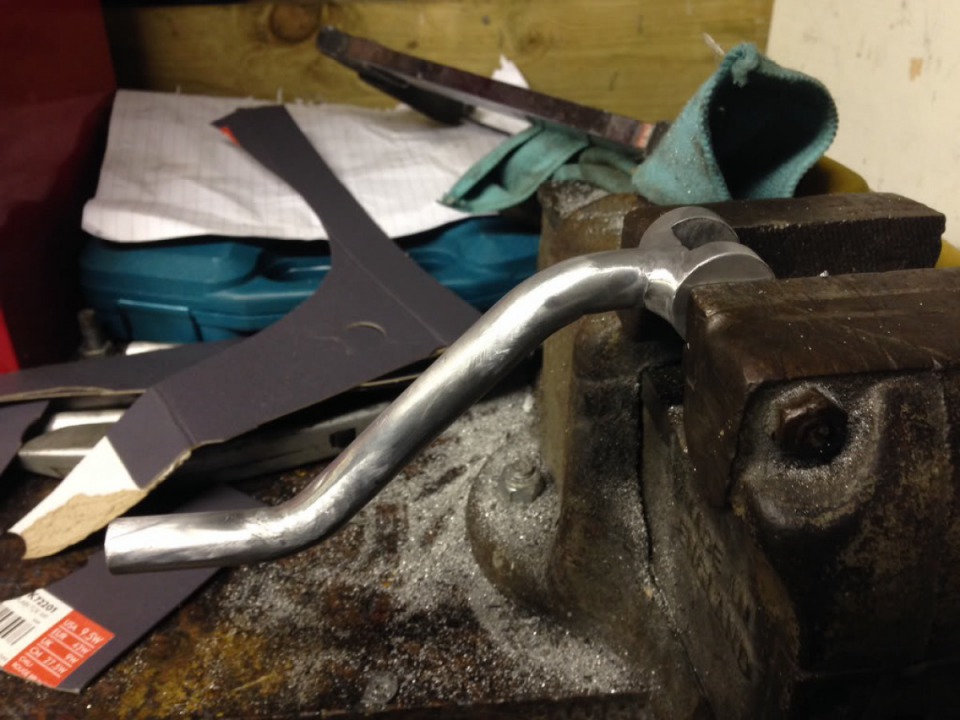
Had to make a slotted piece on the mill but needed the bar bending to shape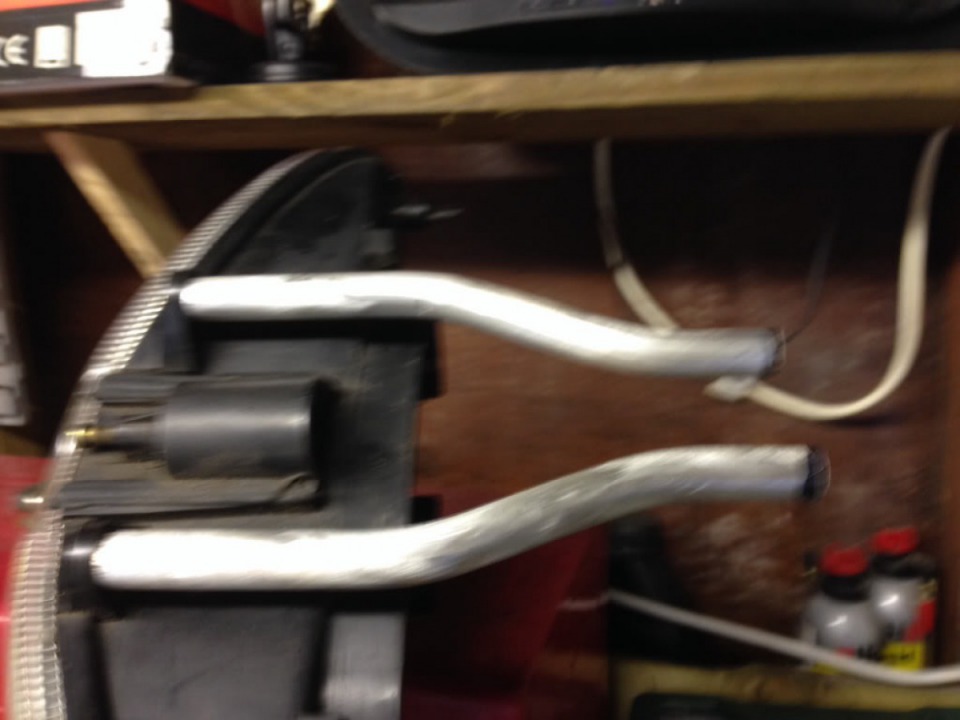
Friend of mine with Fabrication company bent these to shape and size for me.Test fitted looks like a good fit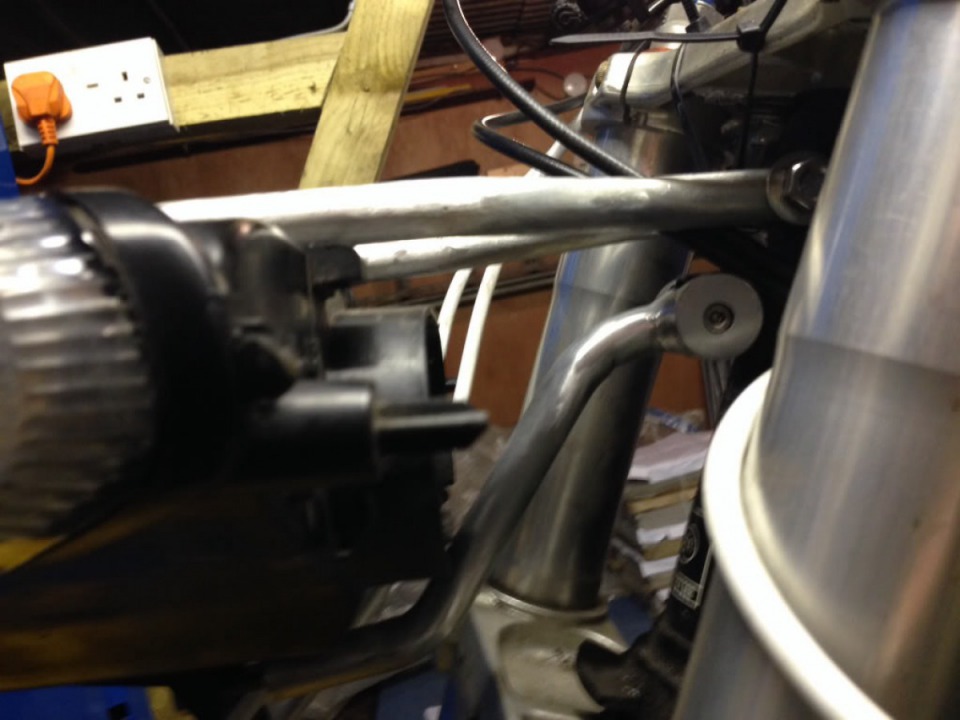
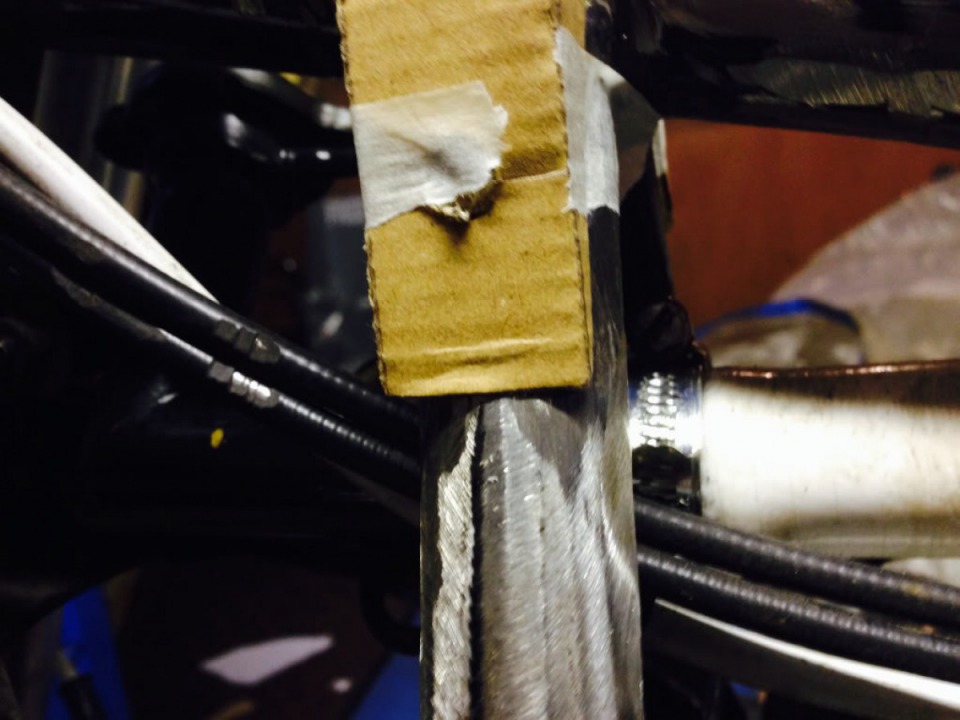
Ground all the tank mounting brackets of the frame and started mocking the new ones up in cardboard.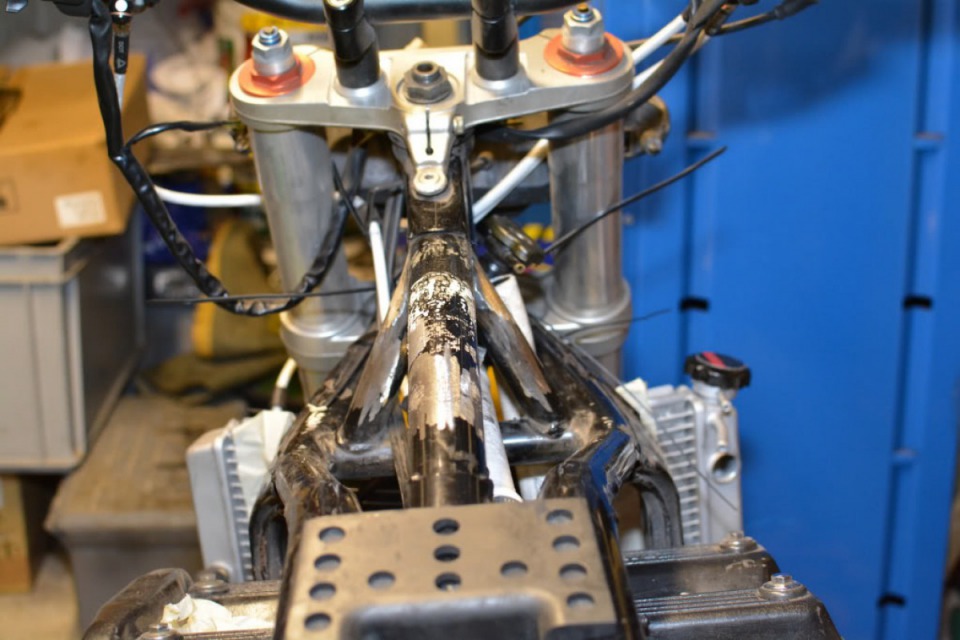
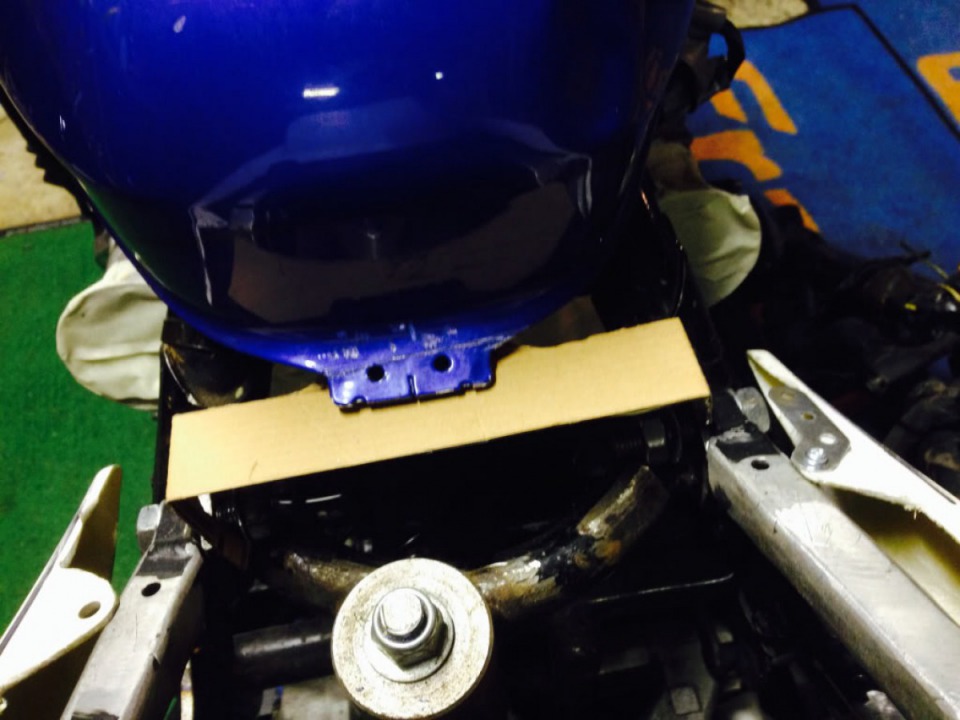
Chopped of old Honda 600 Hornet fuel fitting and had plate welded in.
Drilled 2 holes and made a new fitting, just needed to file them for clearance.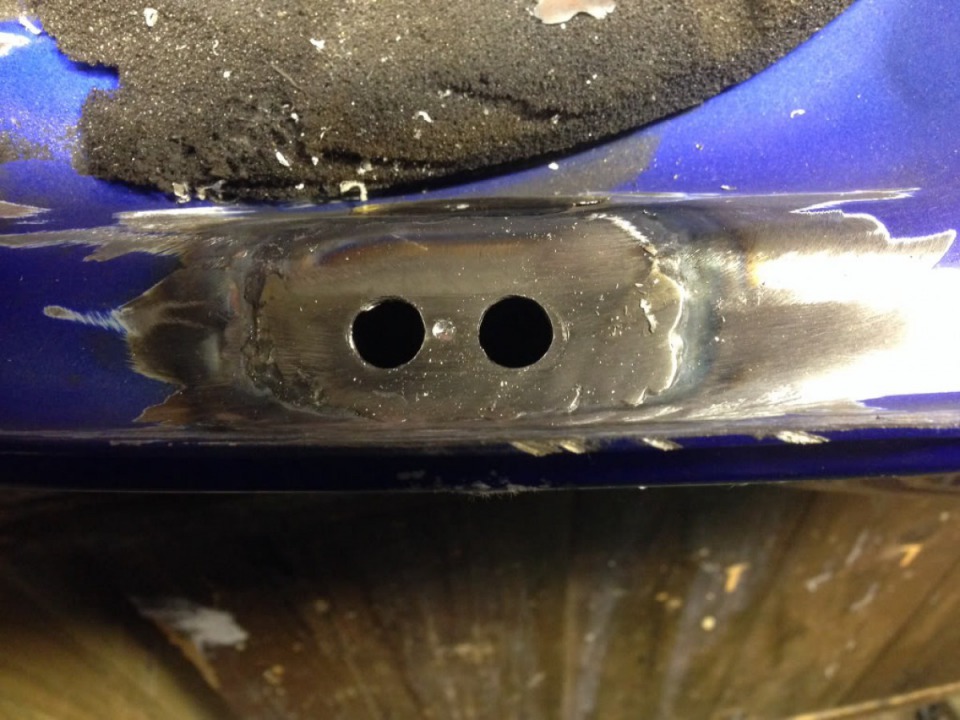
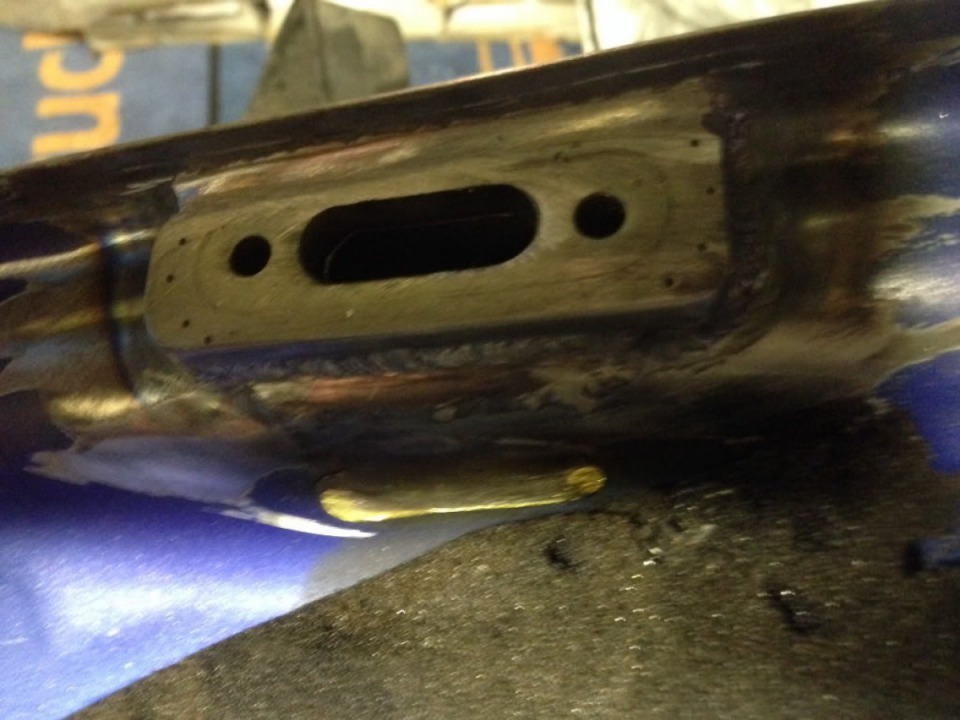
Manufactured an adapter plate this will take the old GPZ900 fuel tap and move it 6" back to clear engine
Slotted out tank ready for welding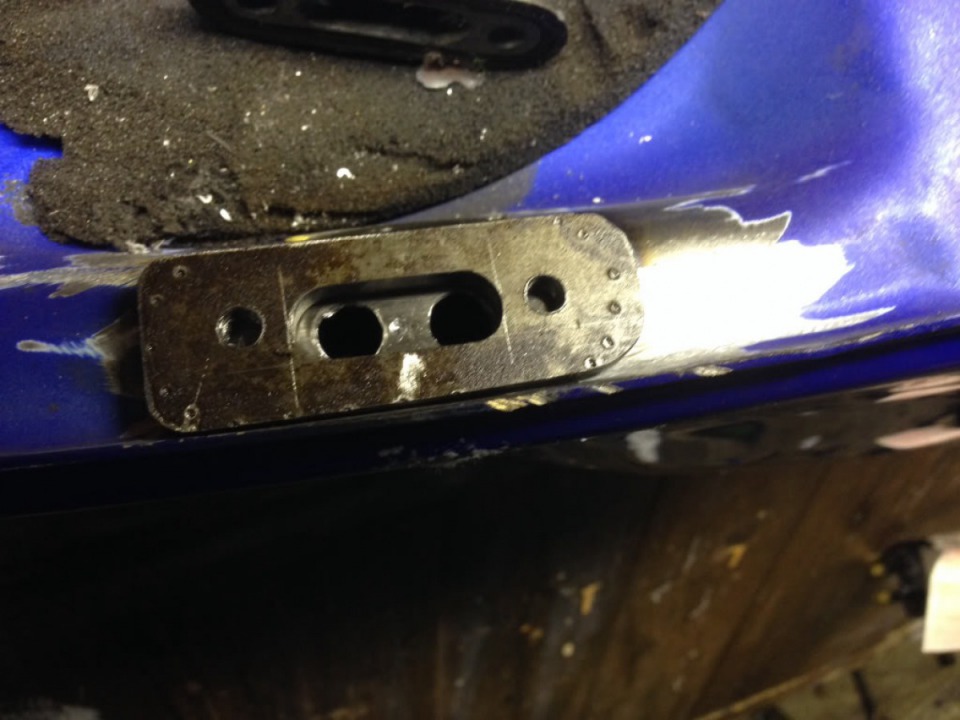
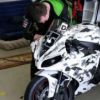
Chopped Exhaust to test fit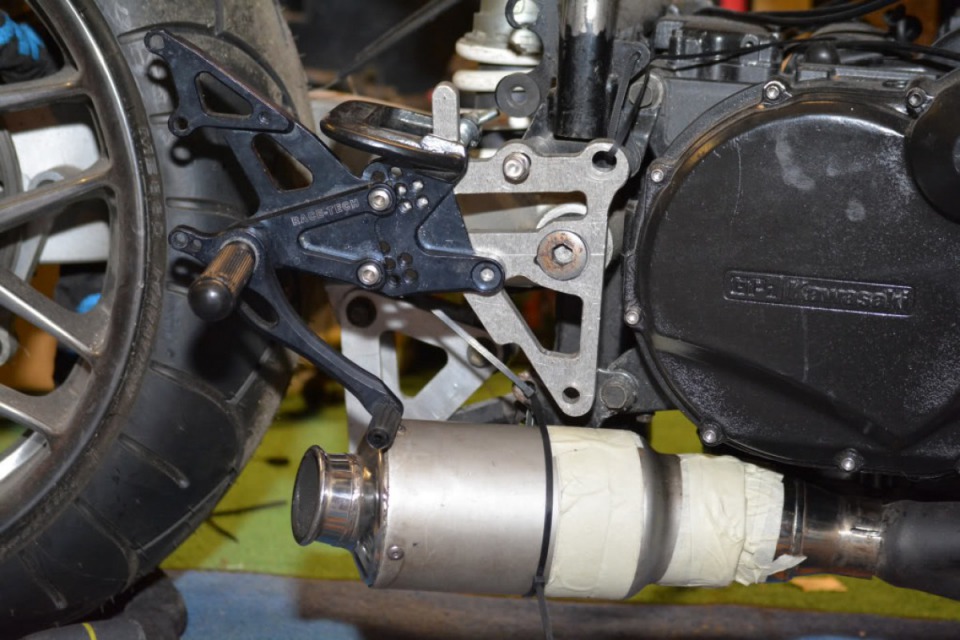
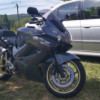
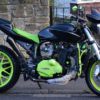
Fighter so far
Probably going to call this build the Mongrel, as its made from bits of everything.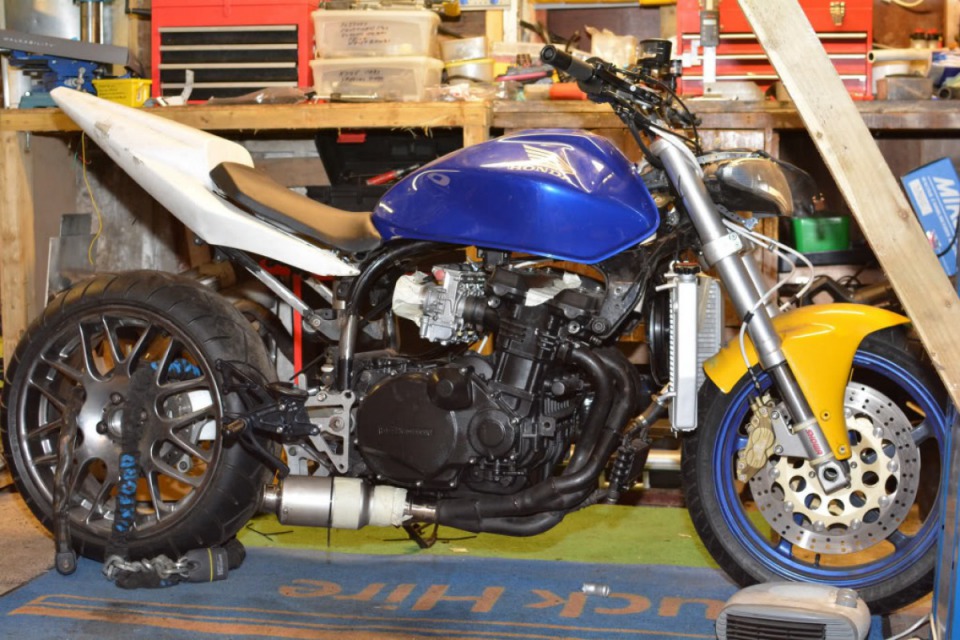
Fuel Tank Mountings.
Started of with 30mm Square section tubing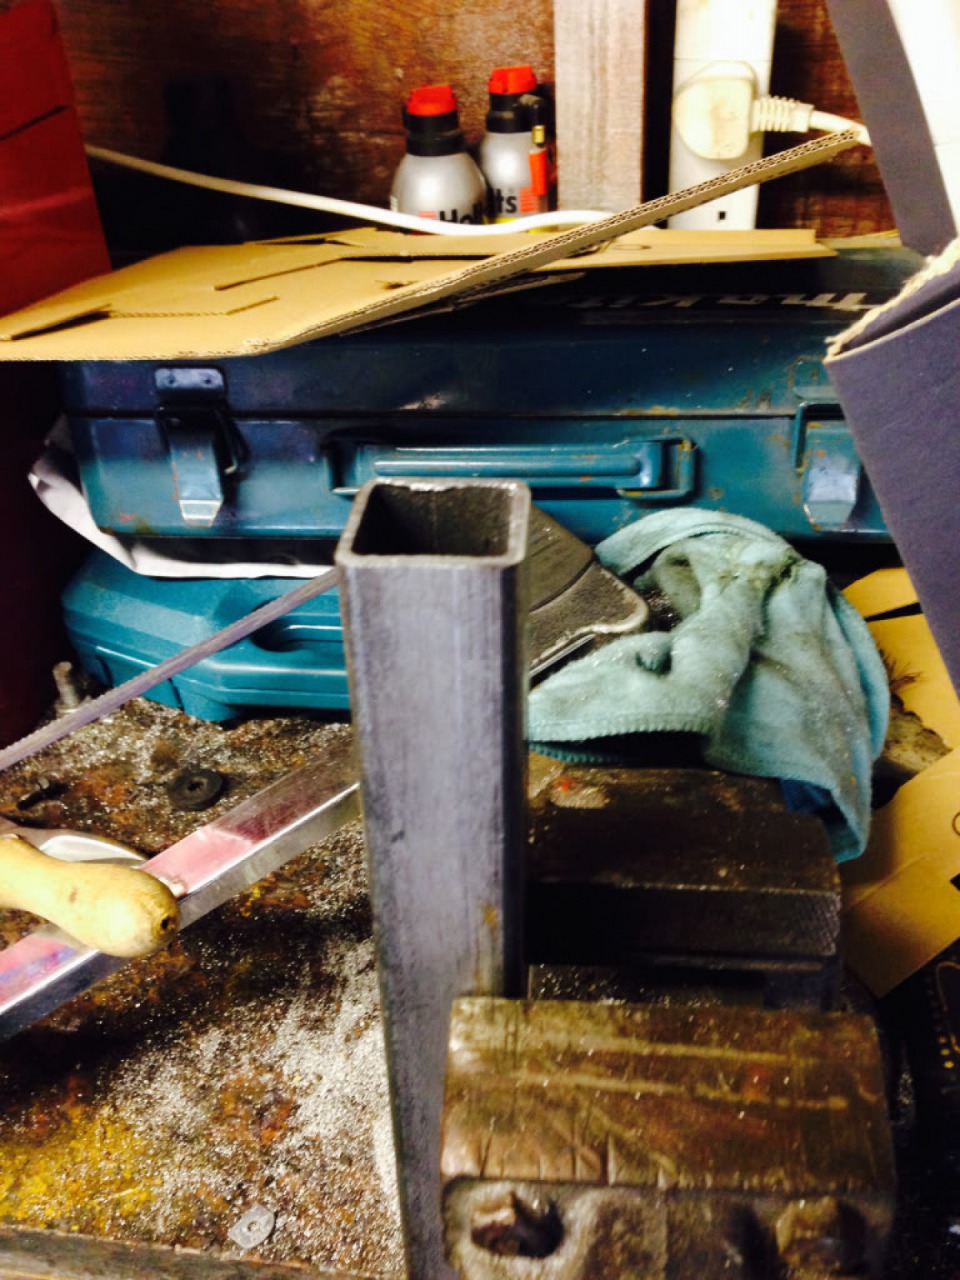
Cut 2 pieces 66 mm long
Centre drilled then Drilled through 10mm clear to take the rubber mounting studs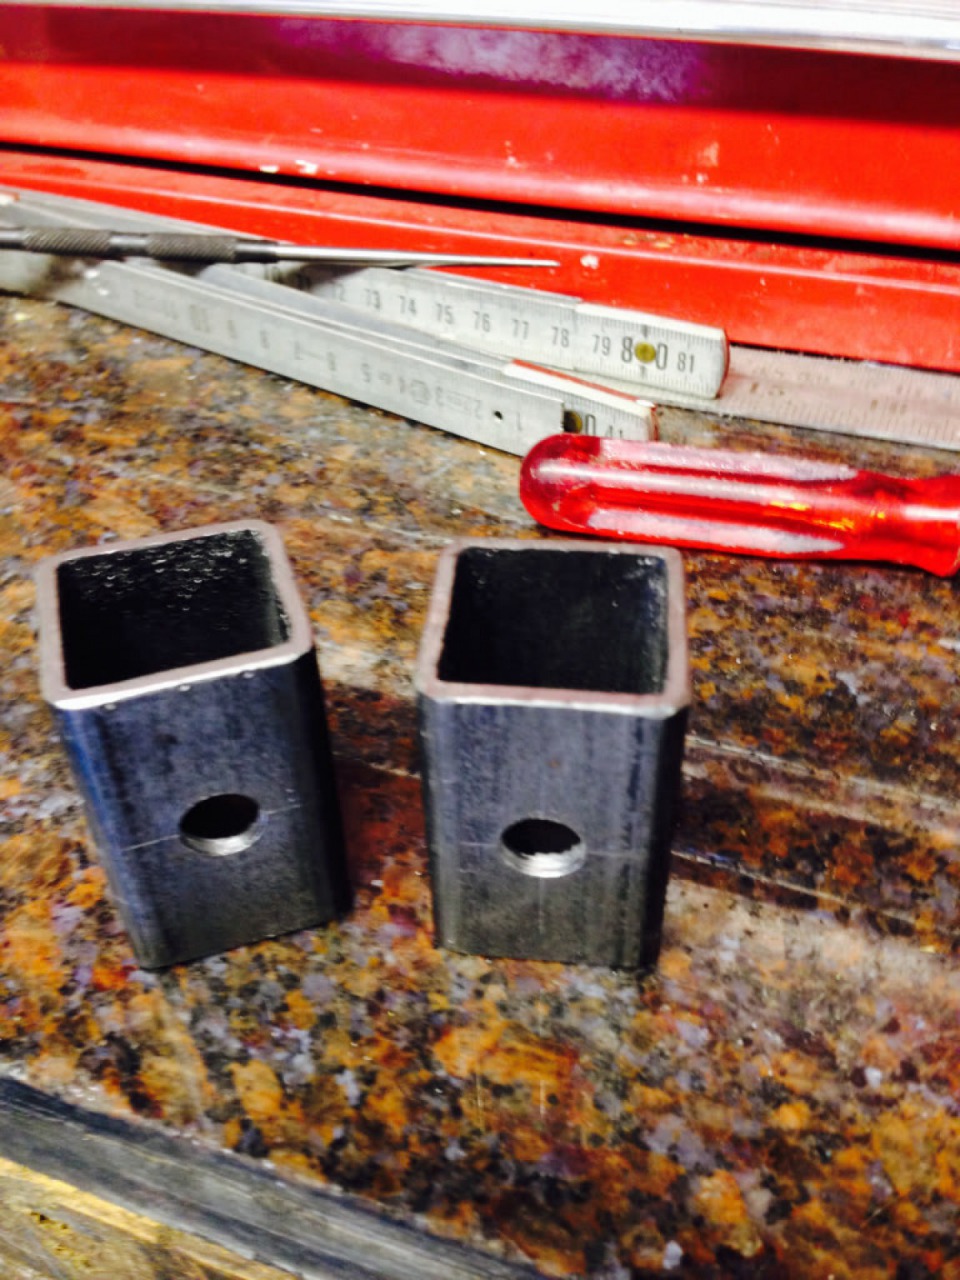
Marked of 30 Deg angle to mount against down tubes
All cut to size ready for a friend to weld.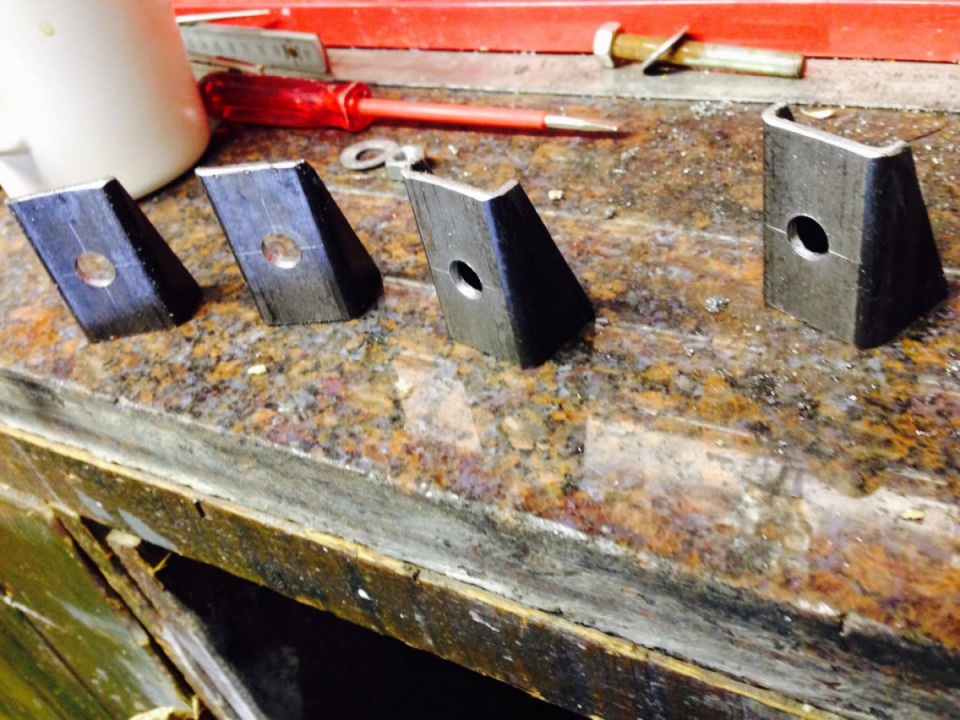
New tank mounting offered up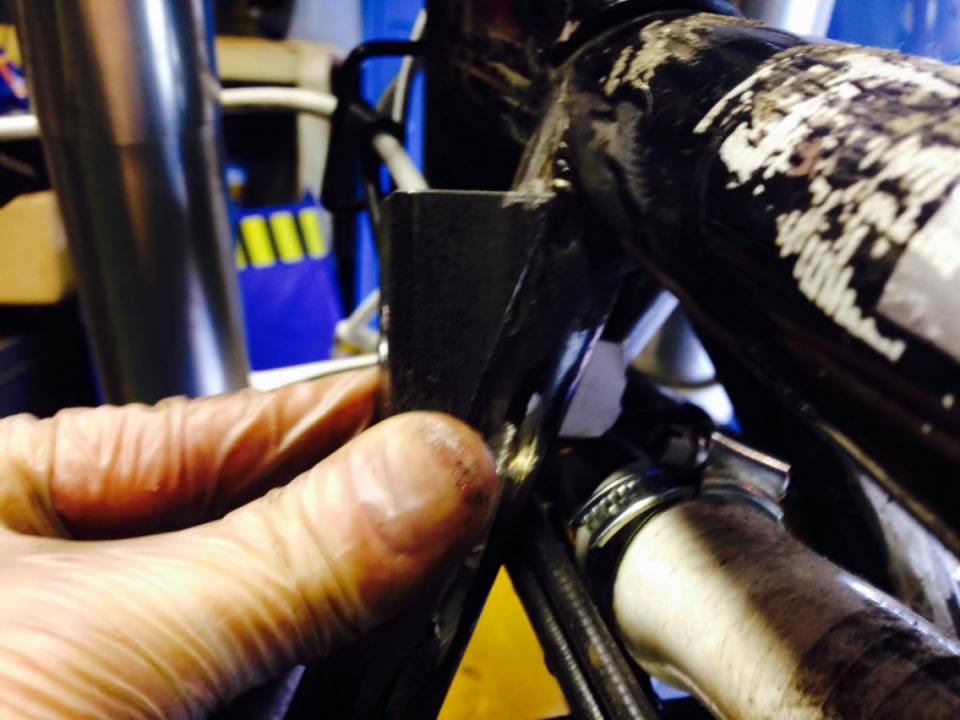
New mounting studs for rubbers , just need tacking at the back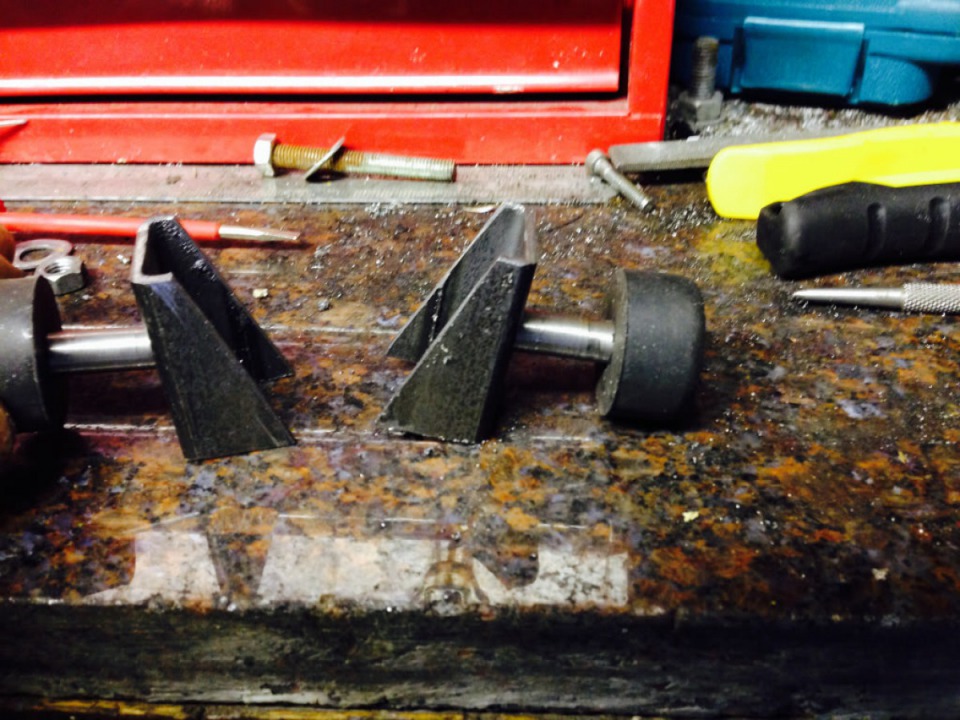
Rear ally tank mount, two side pieces slotted to clear bolts, all ready to be welded.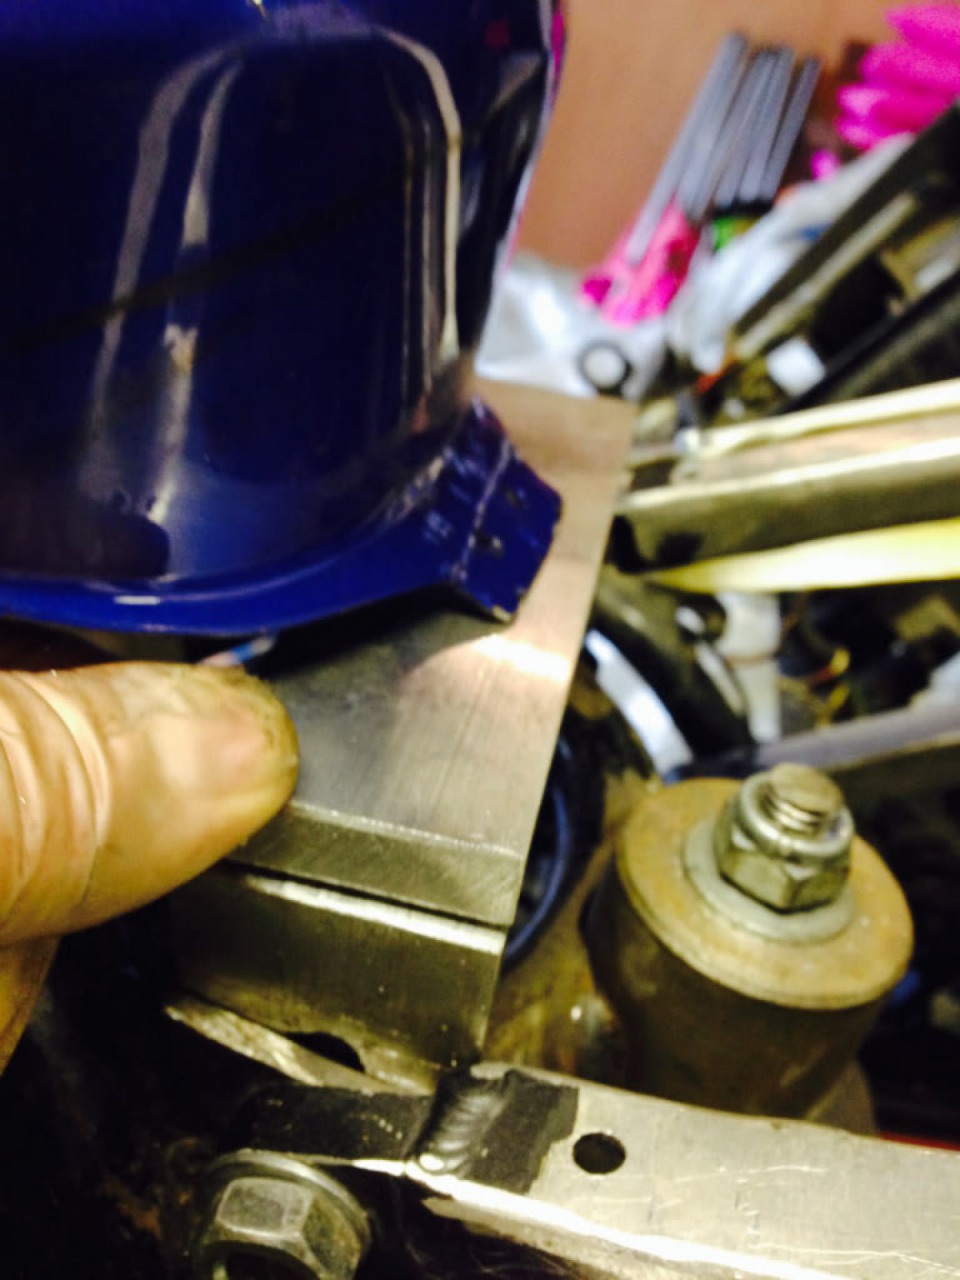
Rear tank mount removed ready to tack weld.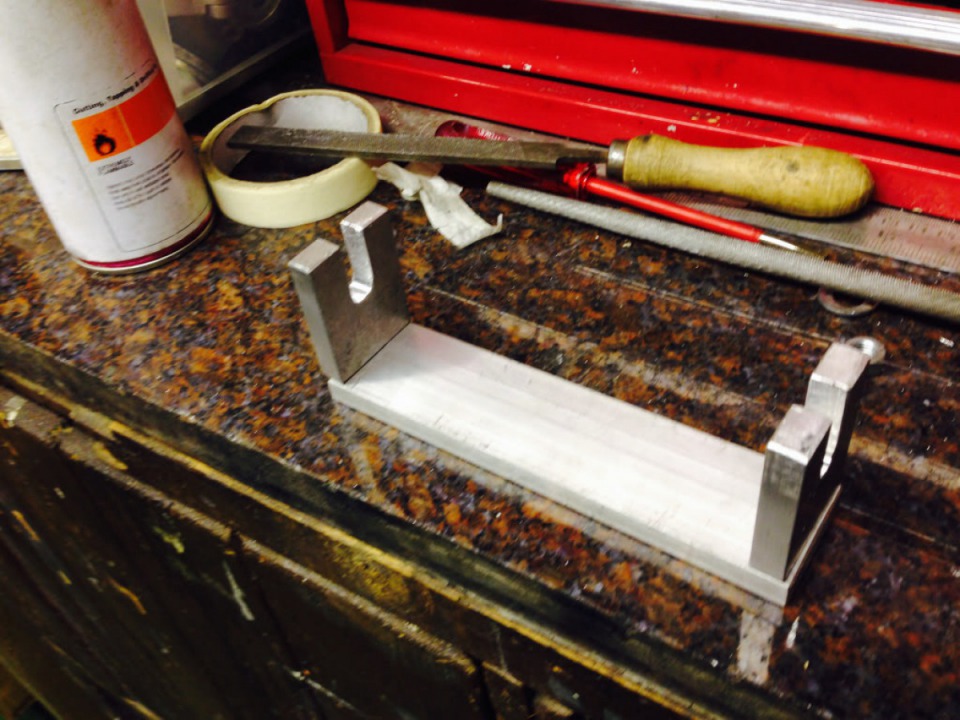
Fighter from the front as requested.
In this picture Headlight not set yet just mocked up in place using mechano.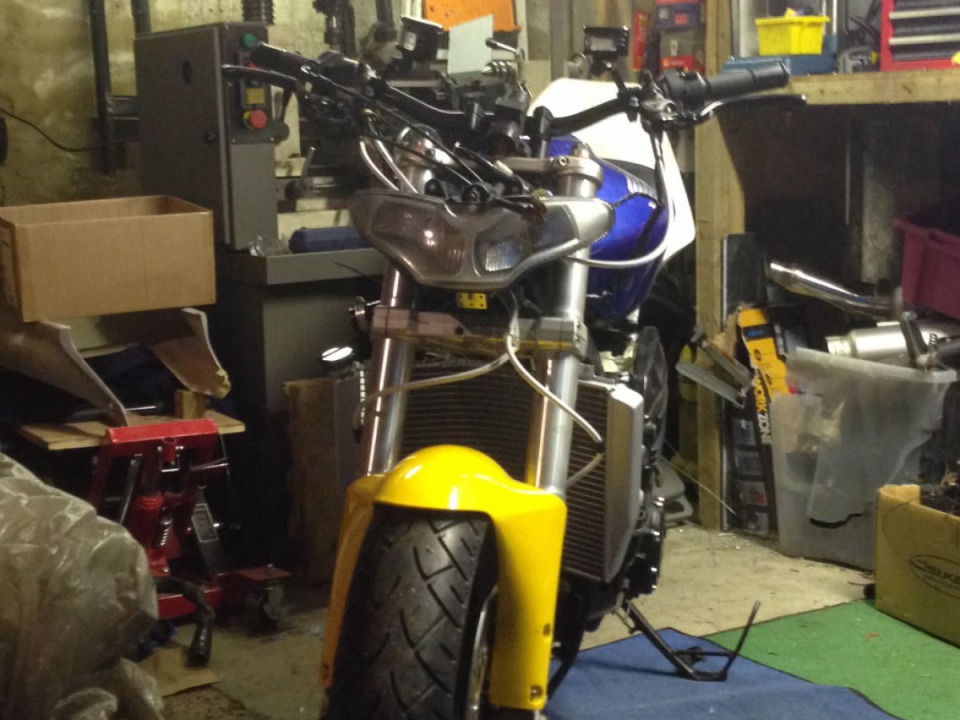
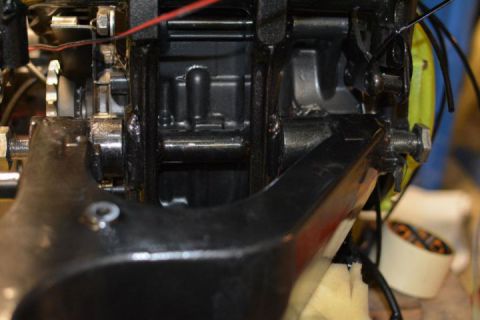
Thought you might want to look at the rear end setup as well.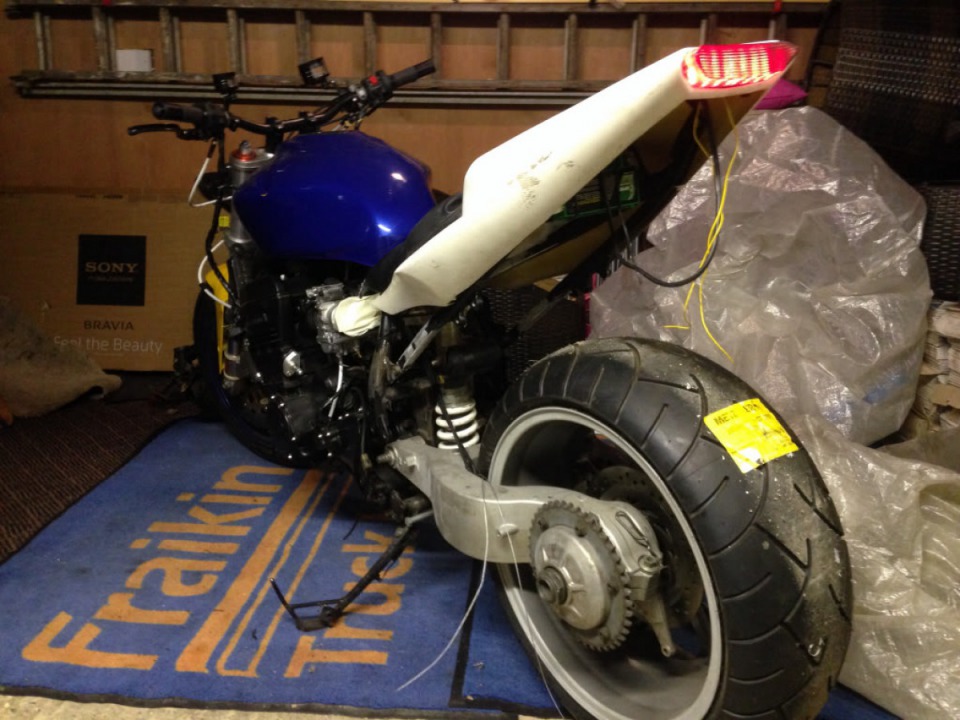
Thank you to everyone who reads, in continuation part 3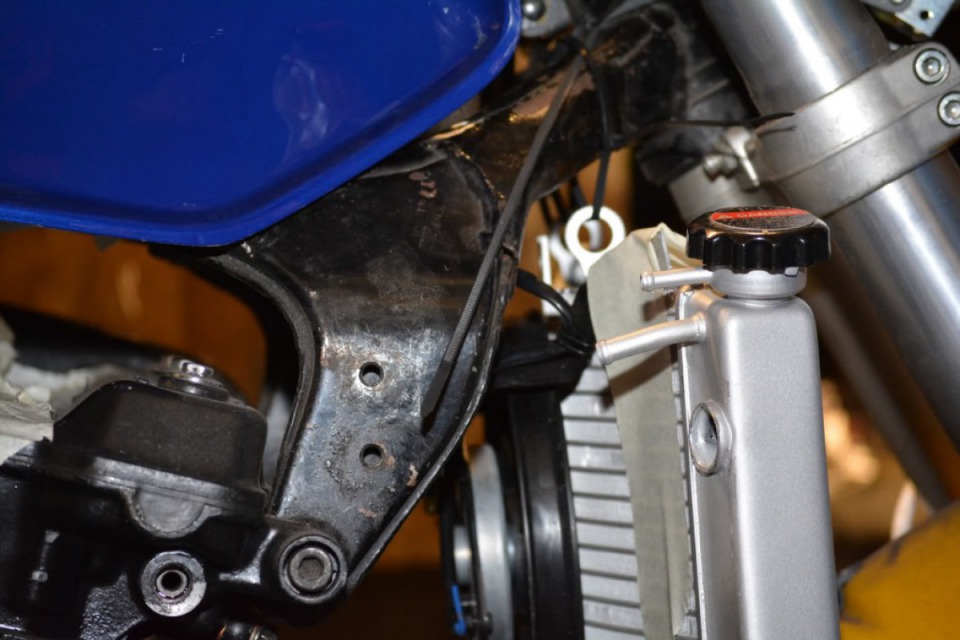
 Follow
3.8K
Follow
3.8K