How i building GPZ900 (Part 7)
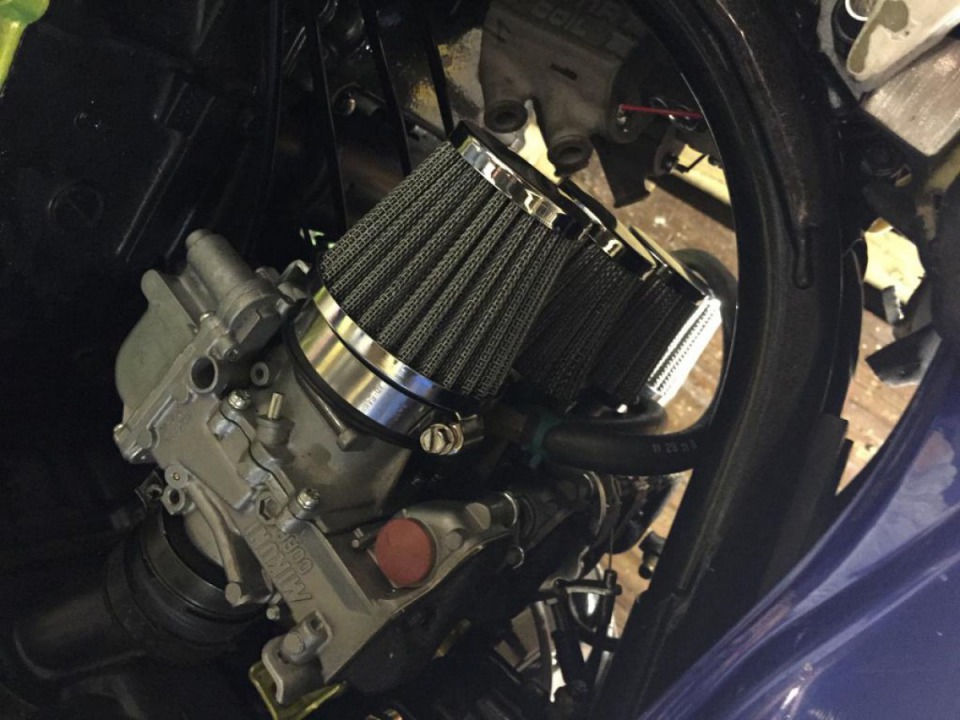
Carburettors now fitted with Conical Fliters.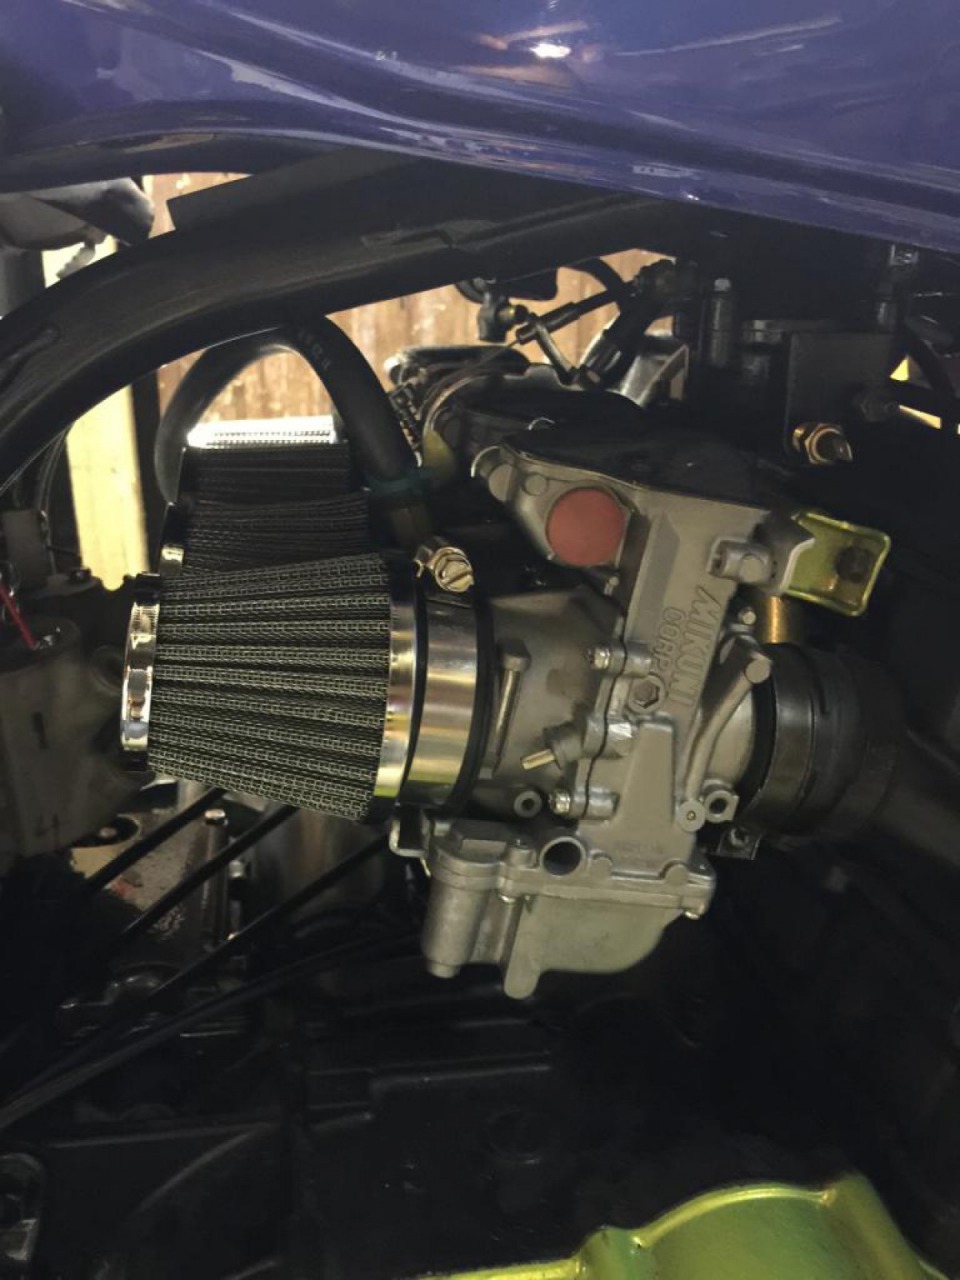
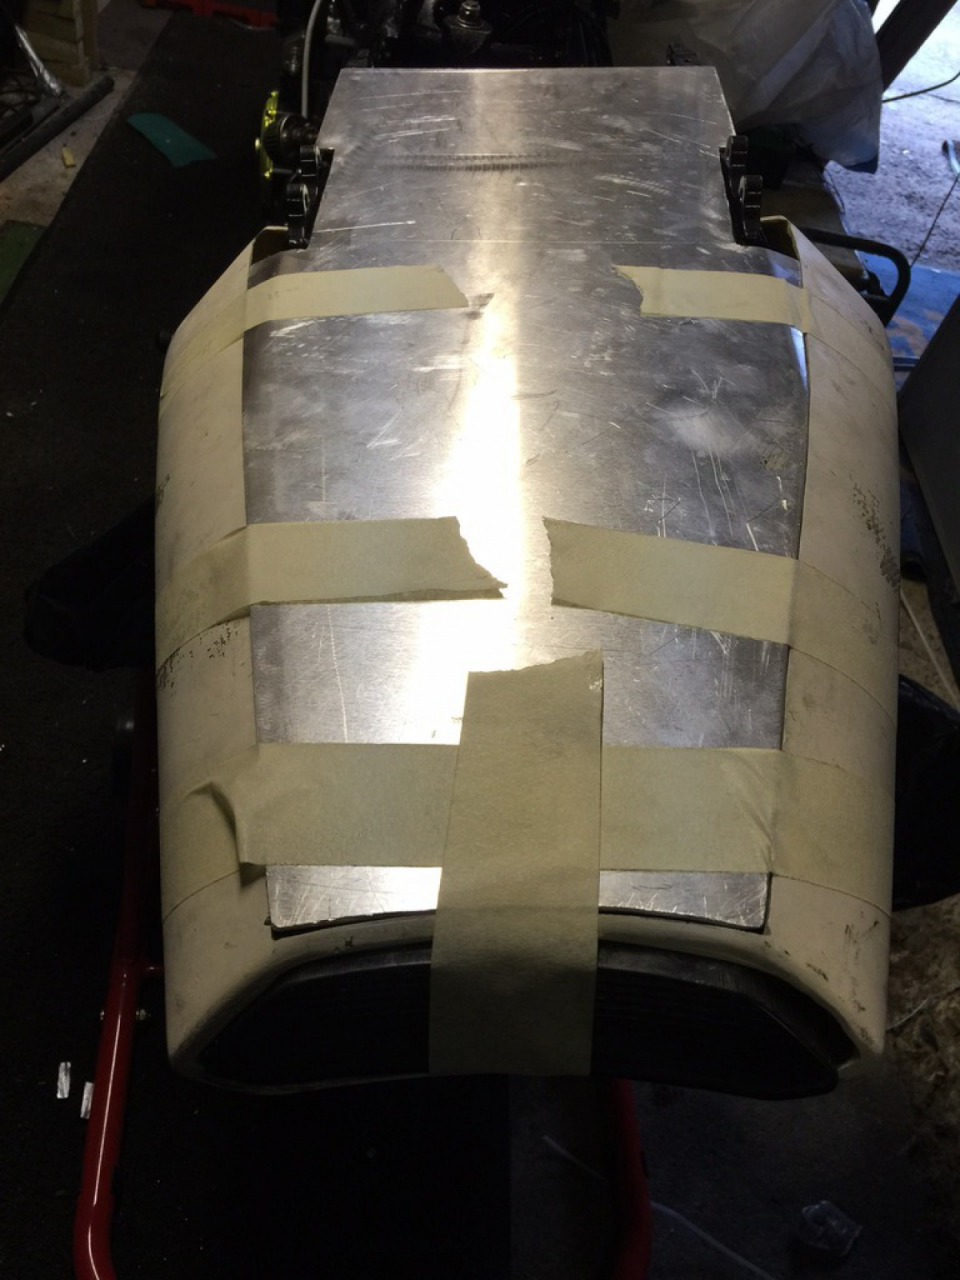
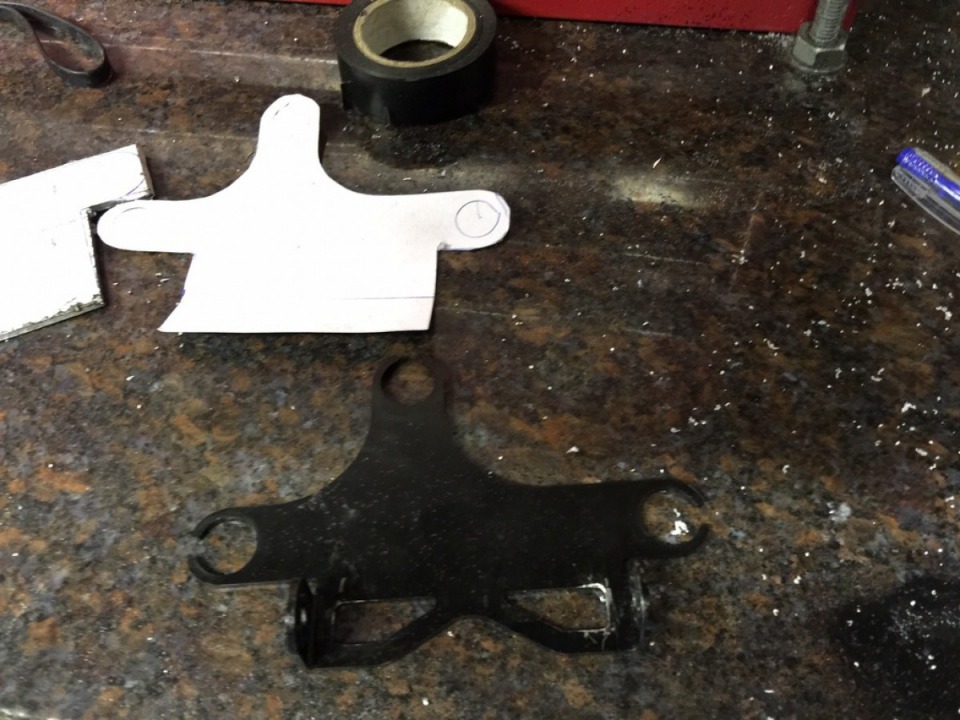
Underseat Tray plate now been cut to size and fettled.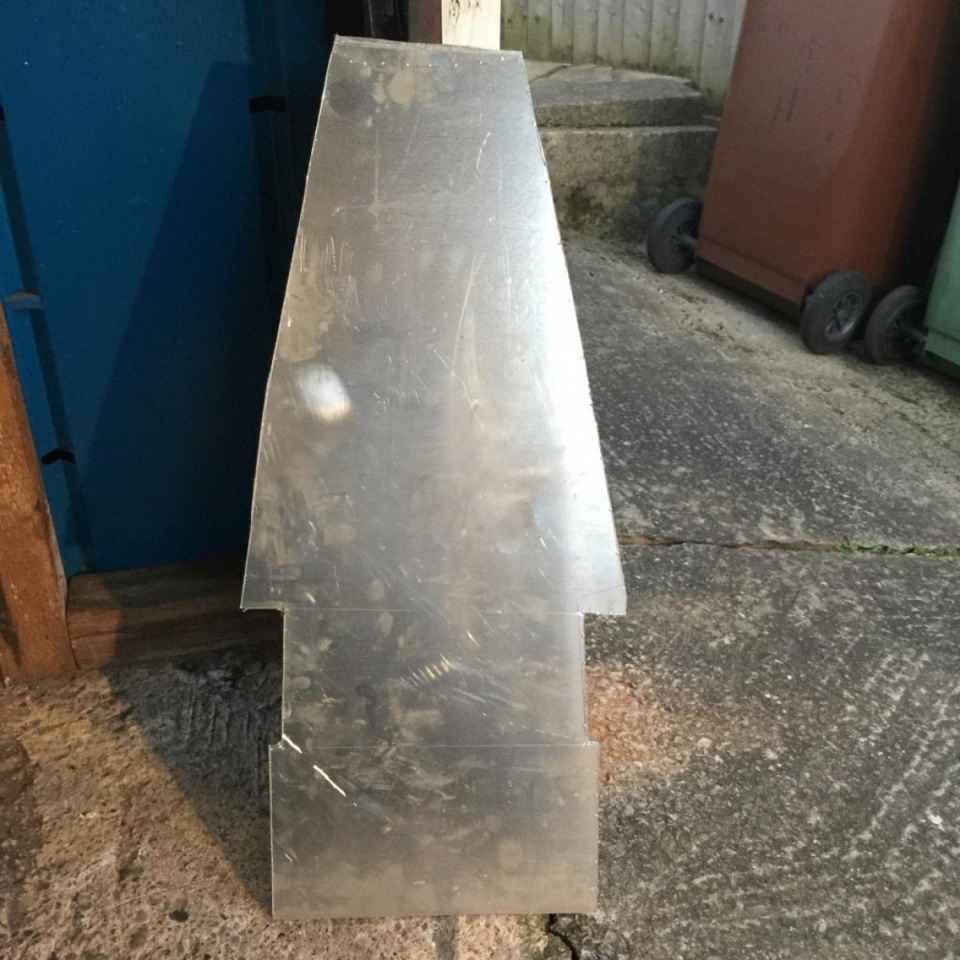
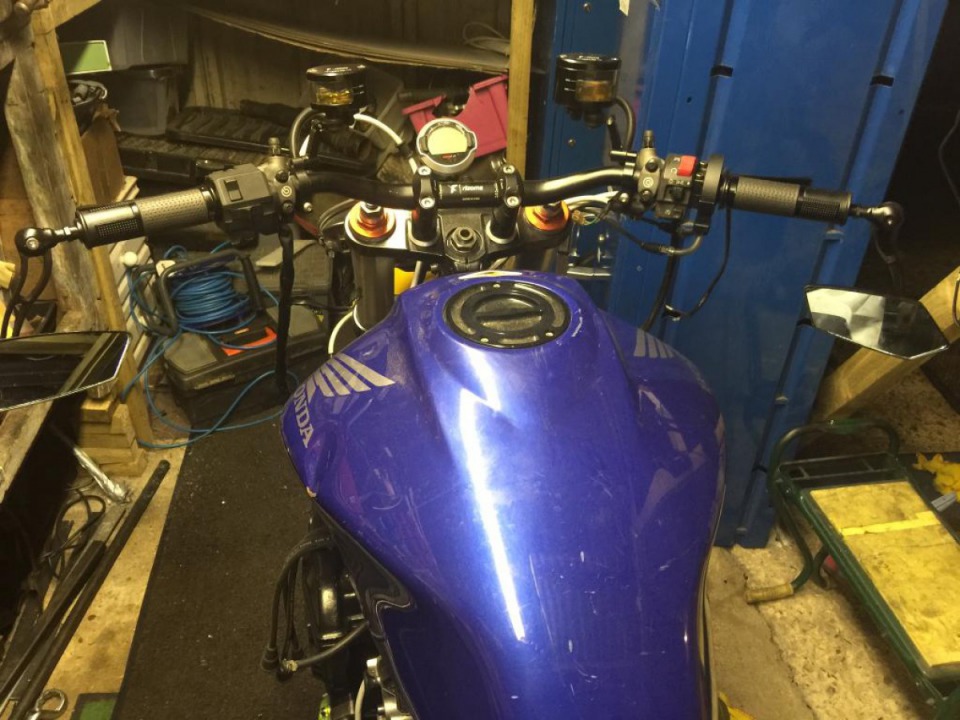
Tank mounting now made and in position.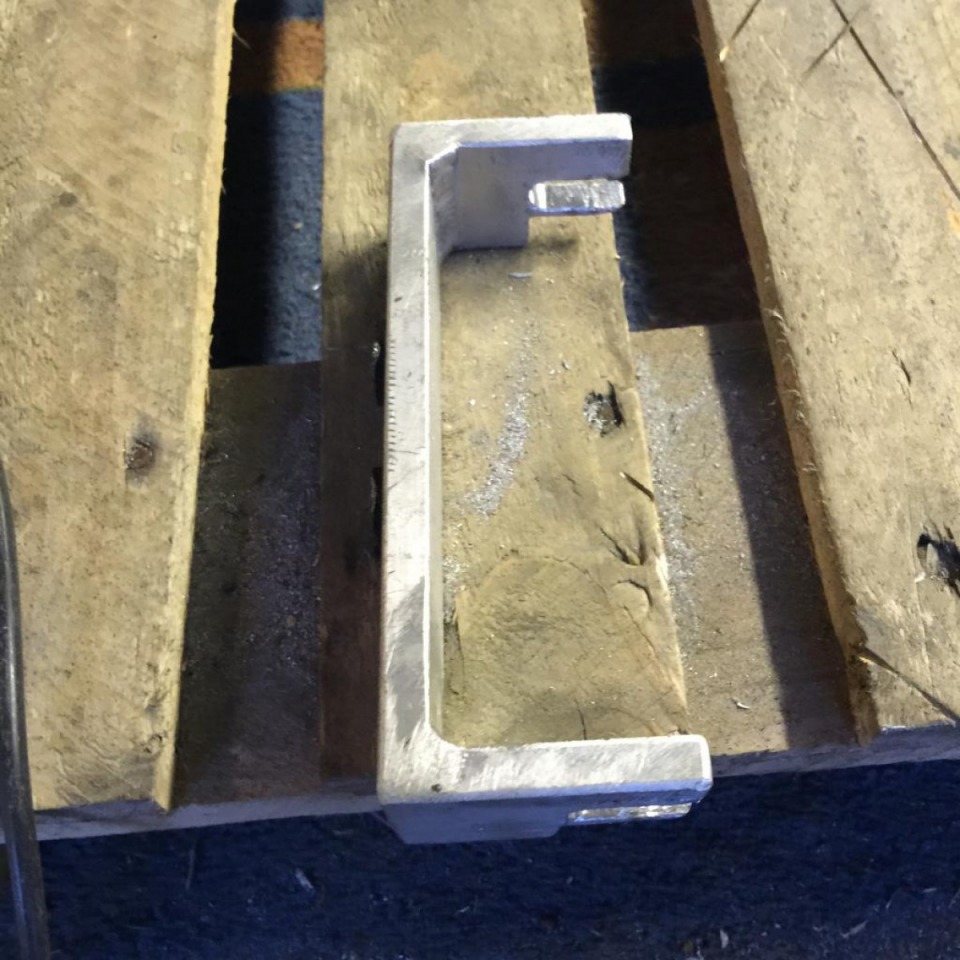
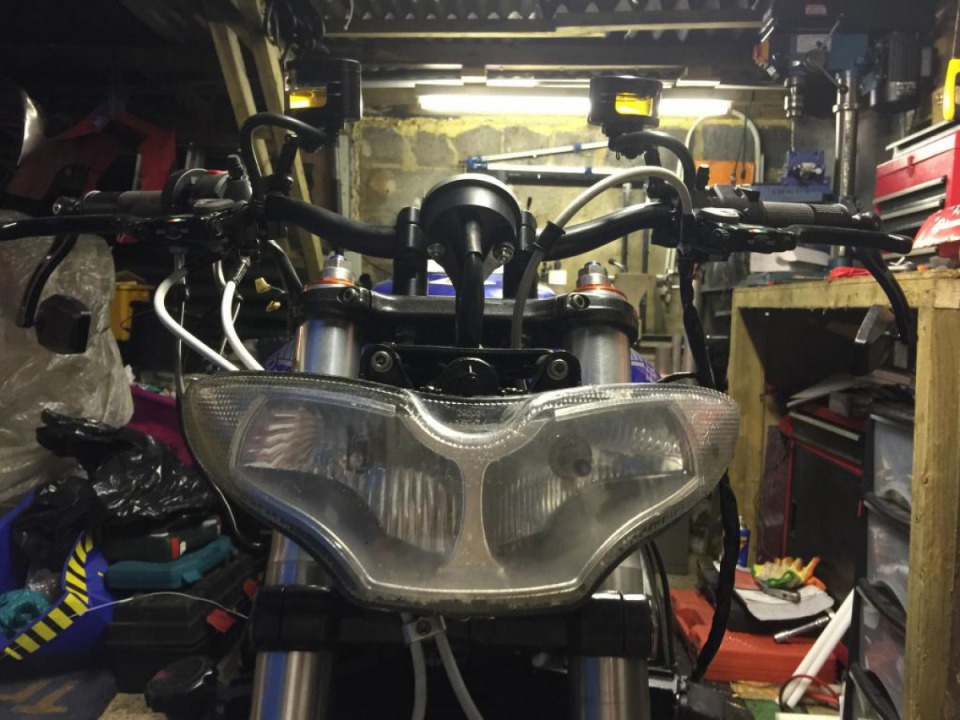
Headlight Sprayed and mounted.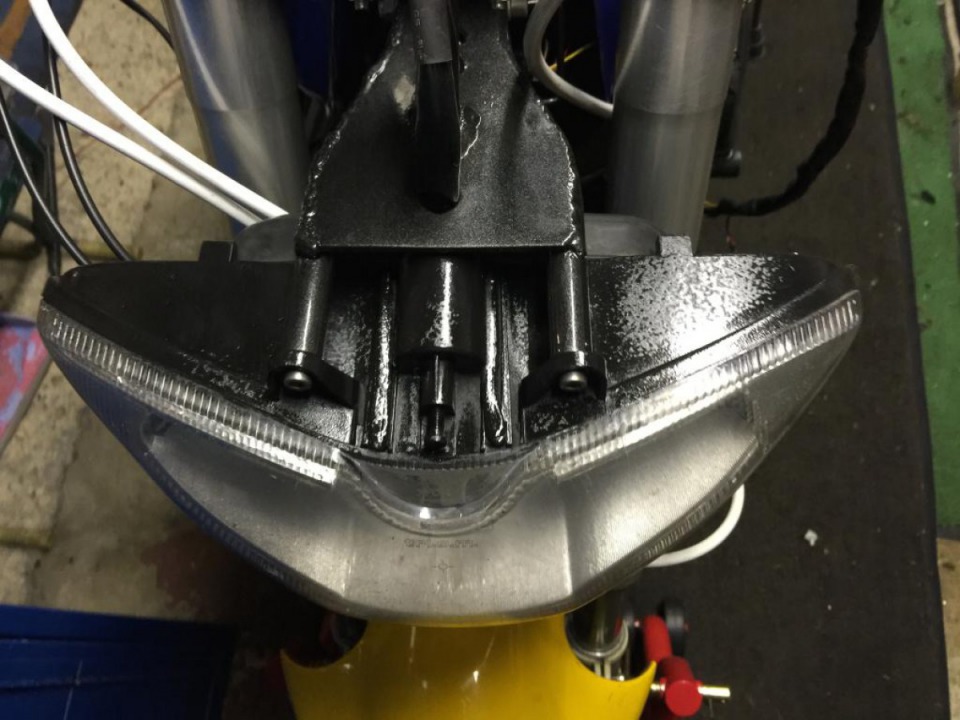
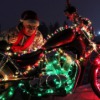
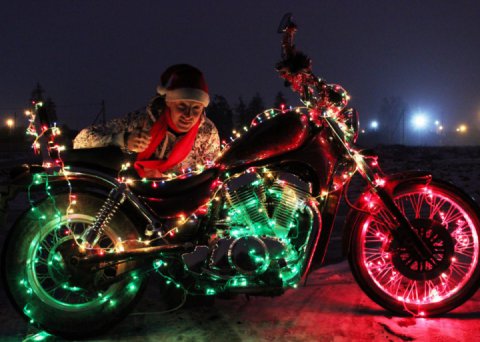
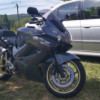
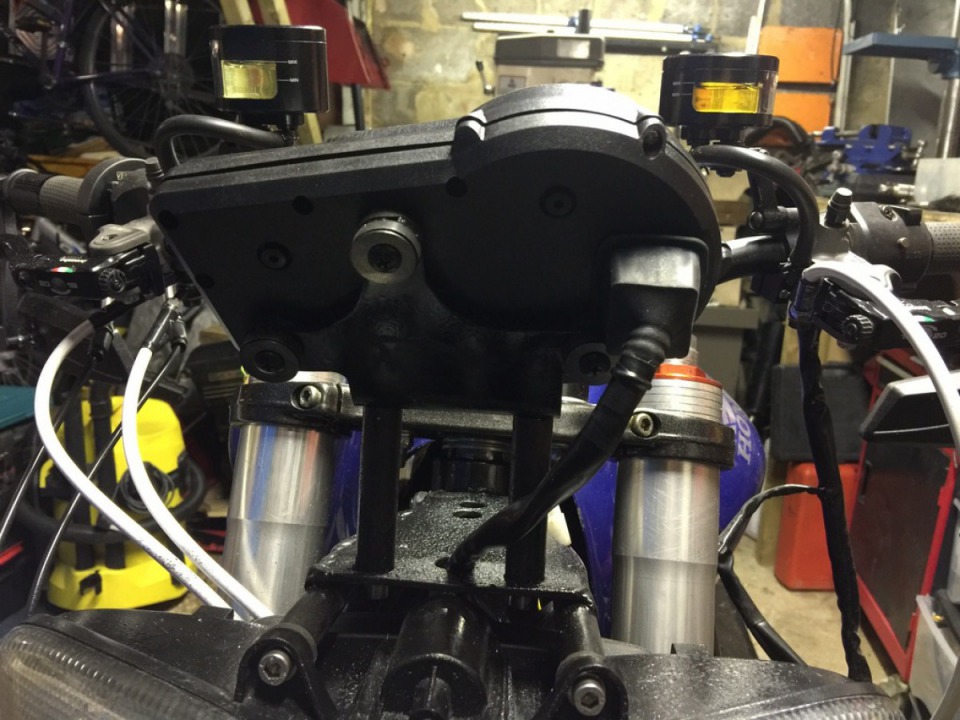
Side view showing bike, starting to look like a fighter.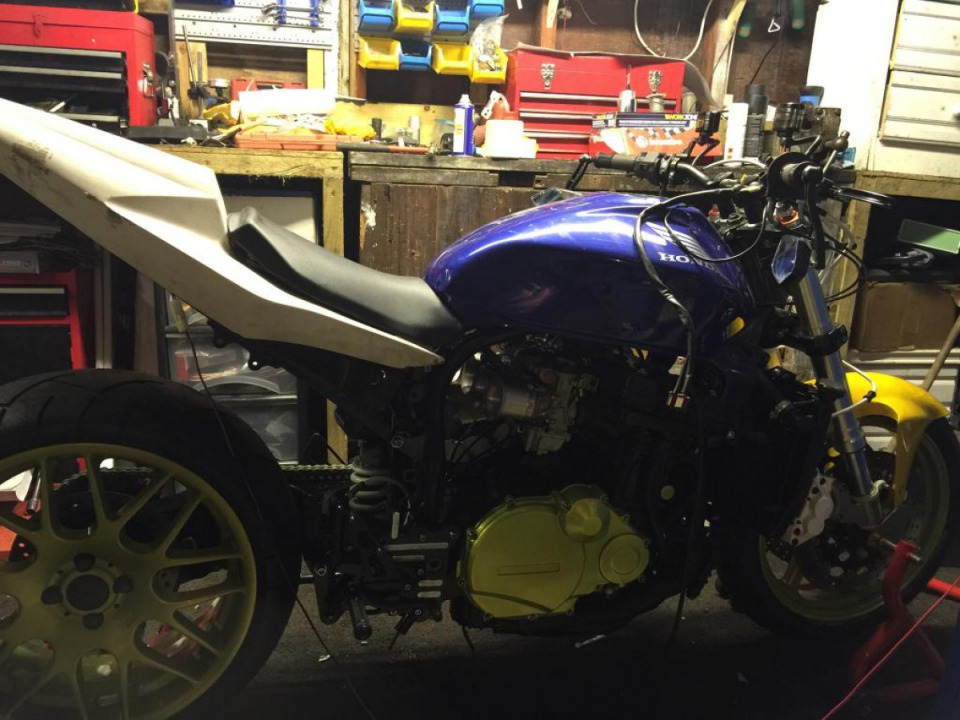
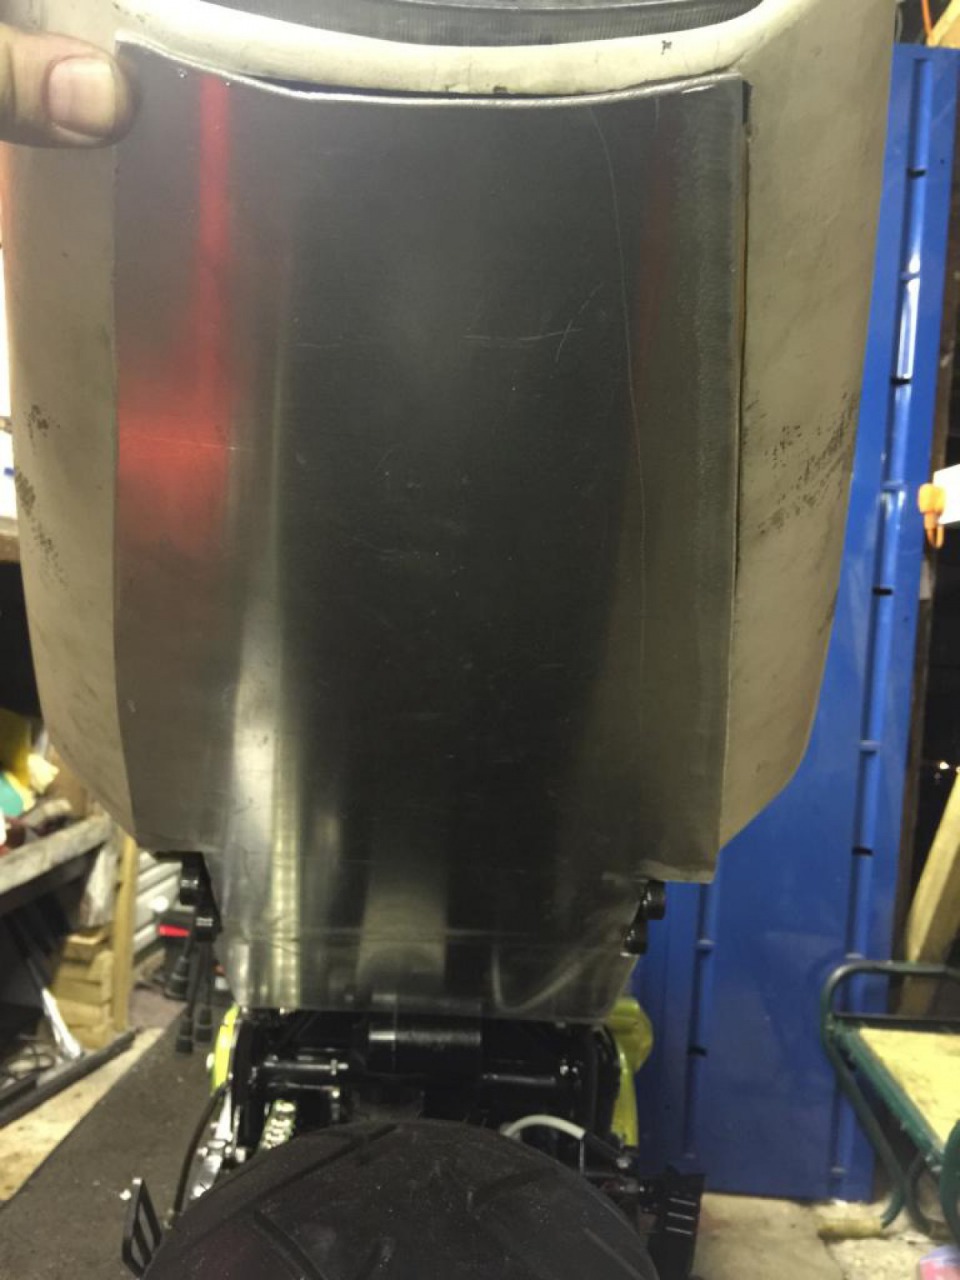
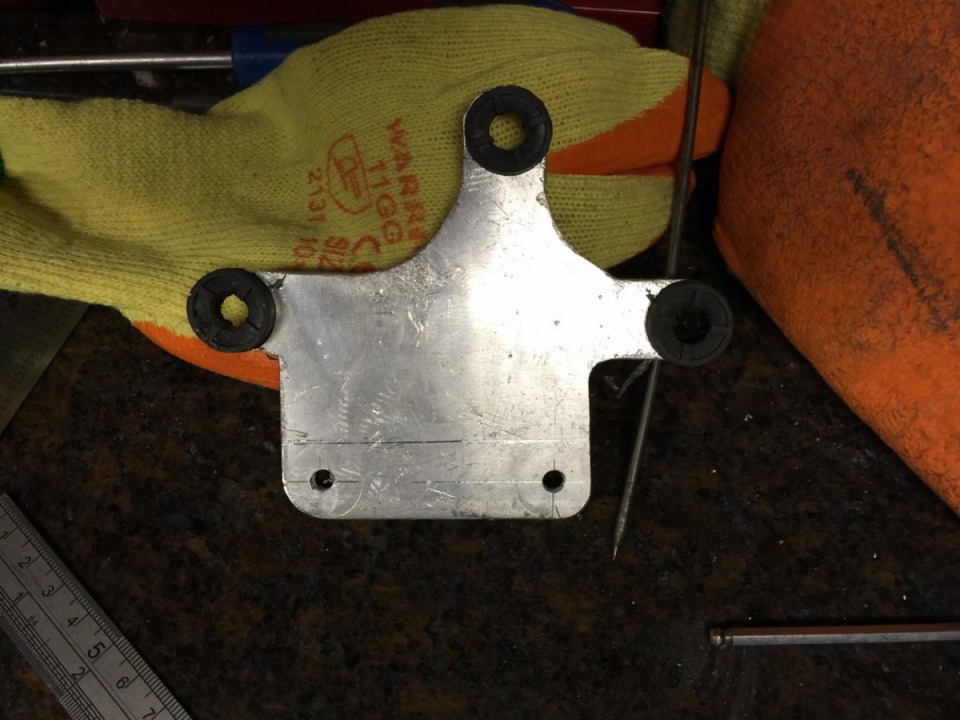
Ally Undertray Fettled to shape,Rear Fibre Glass Tale unit, now has Plastic Lugs mounted to take fittings for Ally Underplate.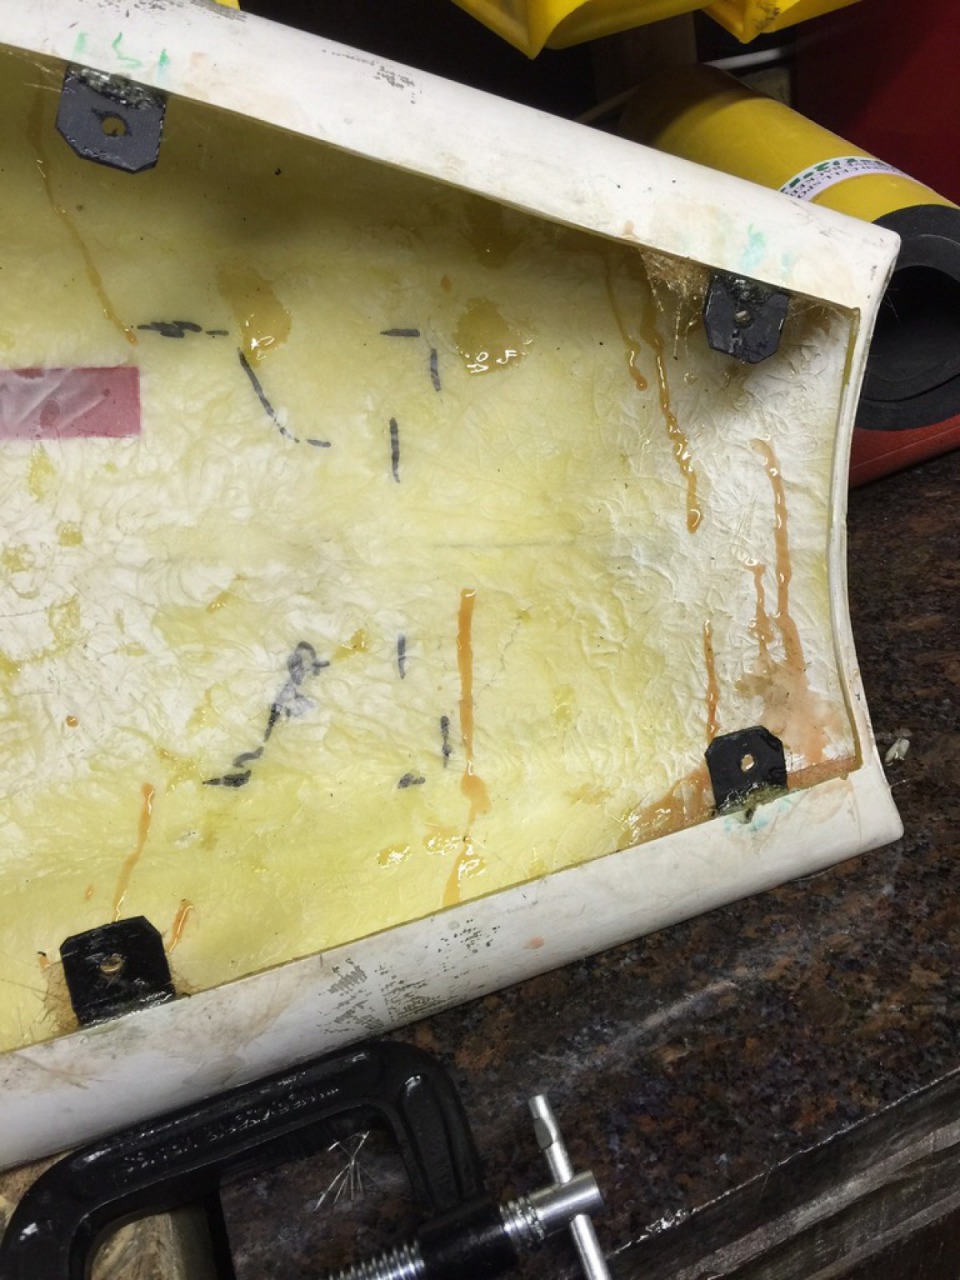
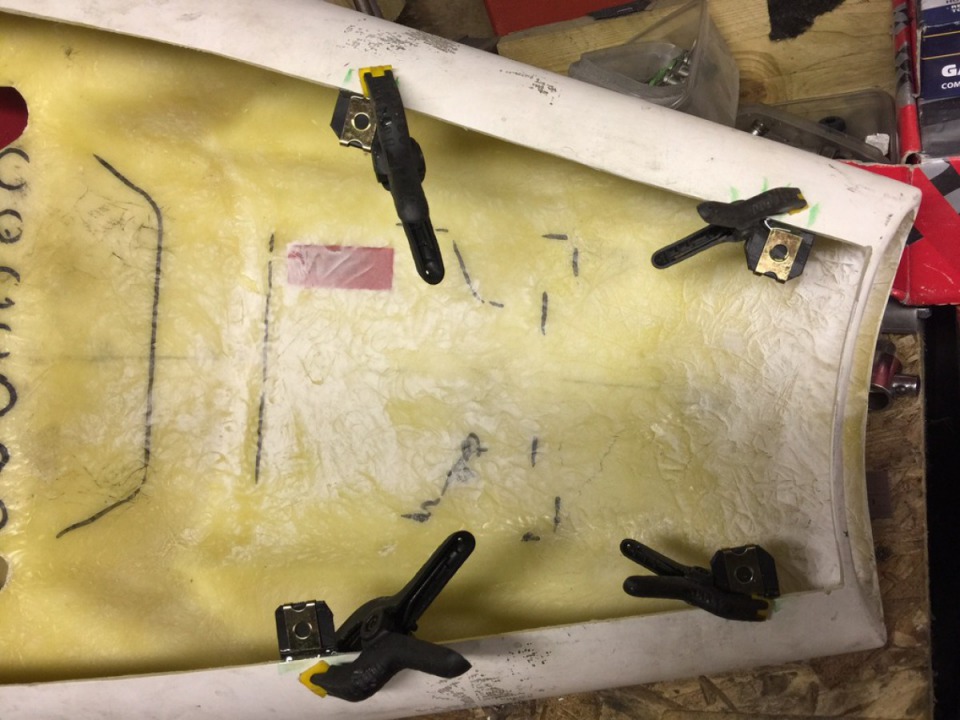
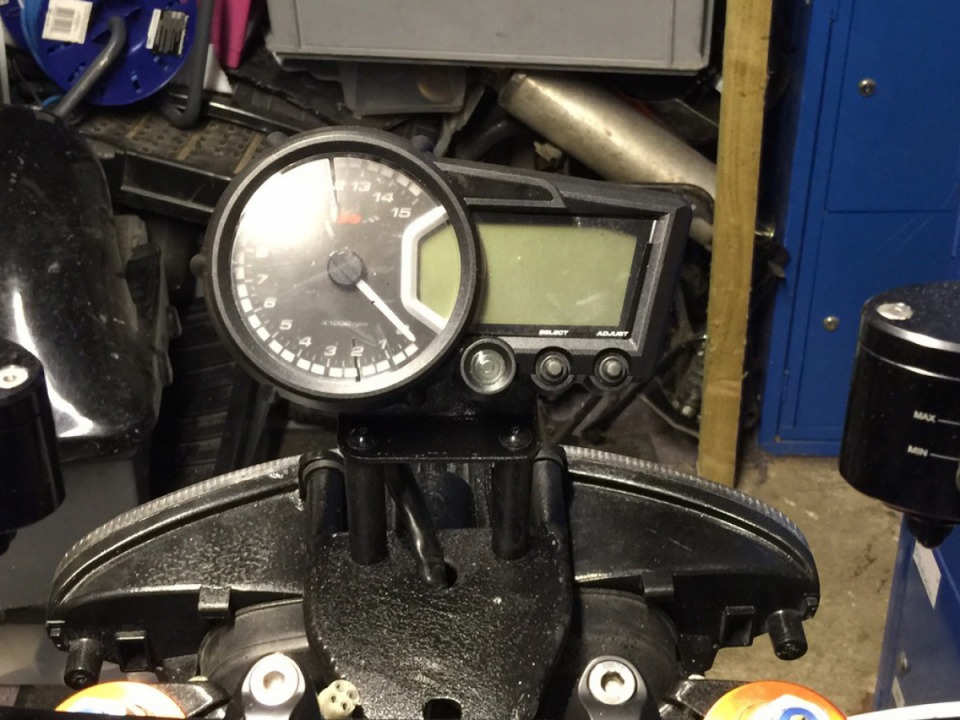
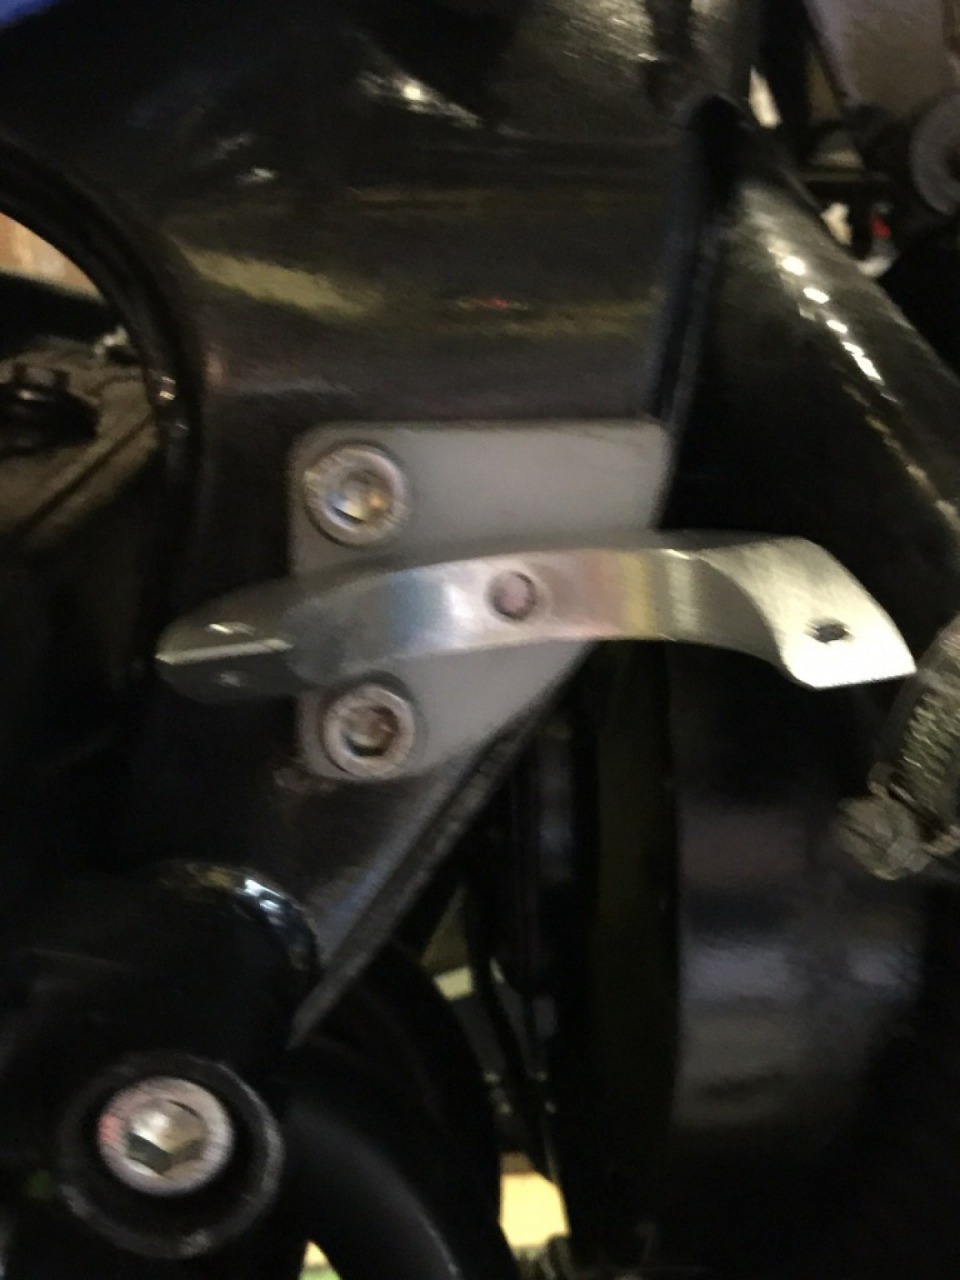
Done Quite a bit of the last couple of weeks all smaller fiddle bit, very time consuming but really like the results.Made anew bracket and mounted unit,
Picked up a Kosso rx2 Speedo unit, and a GP Pipe from a Manchester bike show, great deal.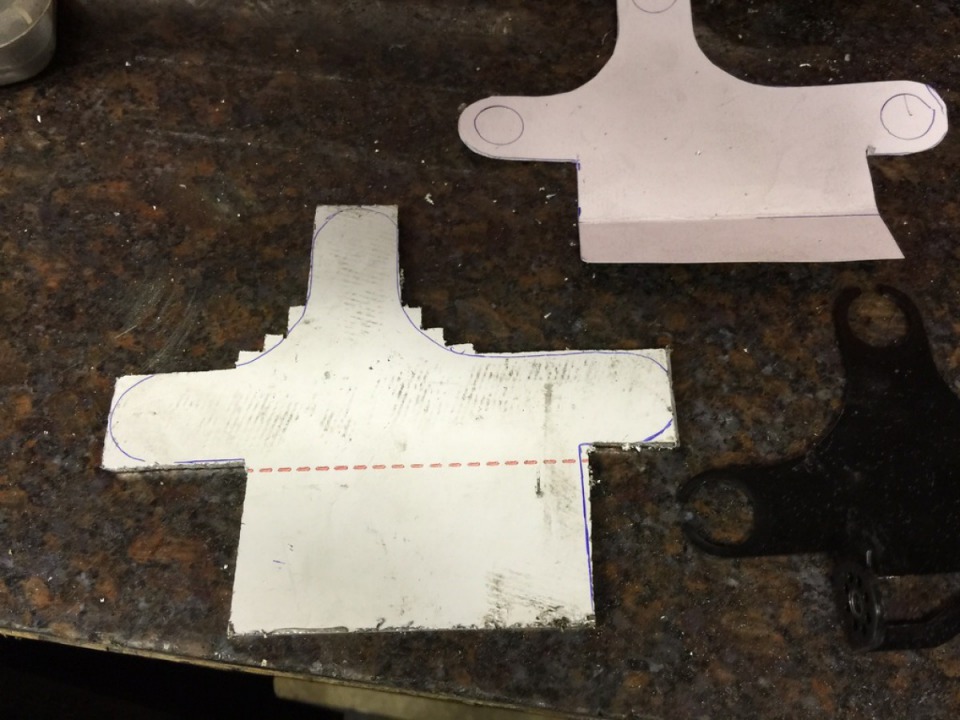
Also made a Custom Expansion tank, and mounting, just finished it today and sprayed Black.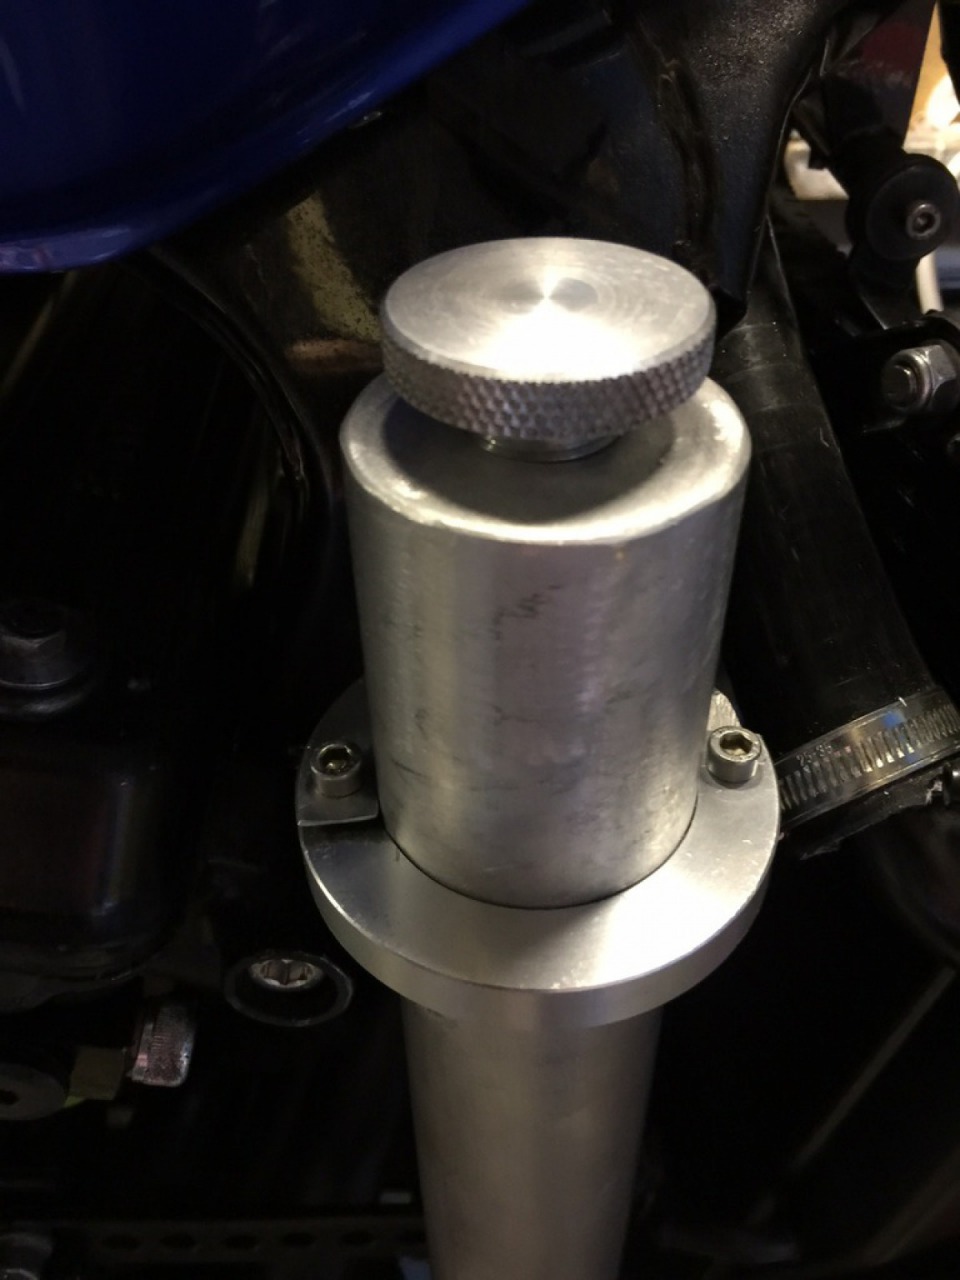
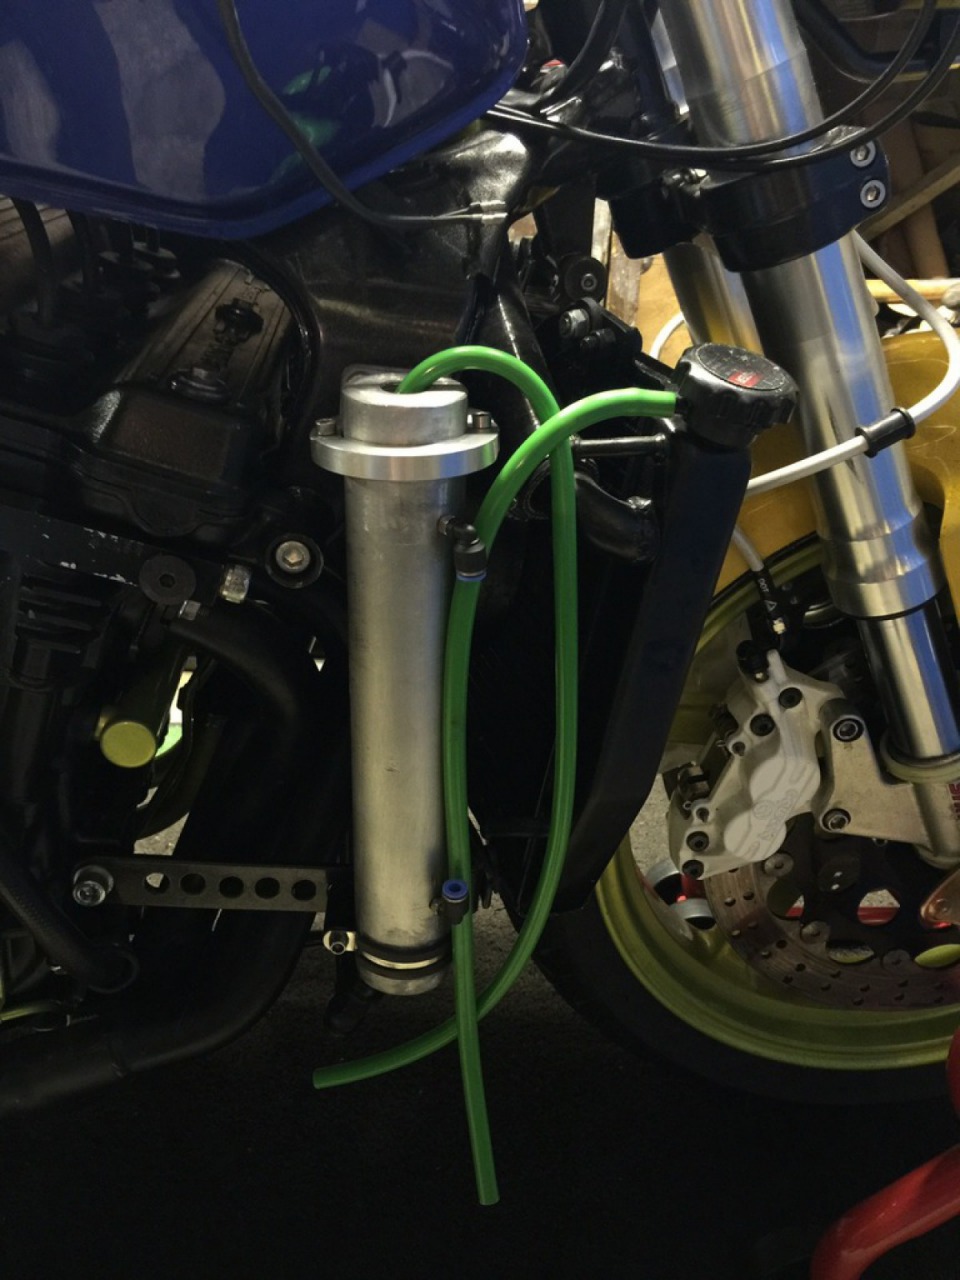
Finished of the Expansion Tank, fitted hose fittings, and water level pipe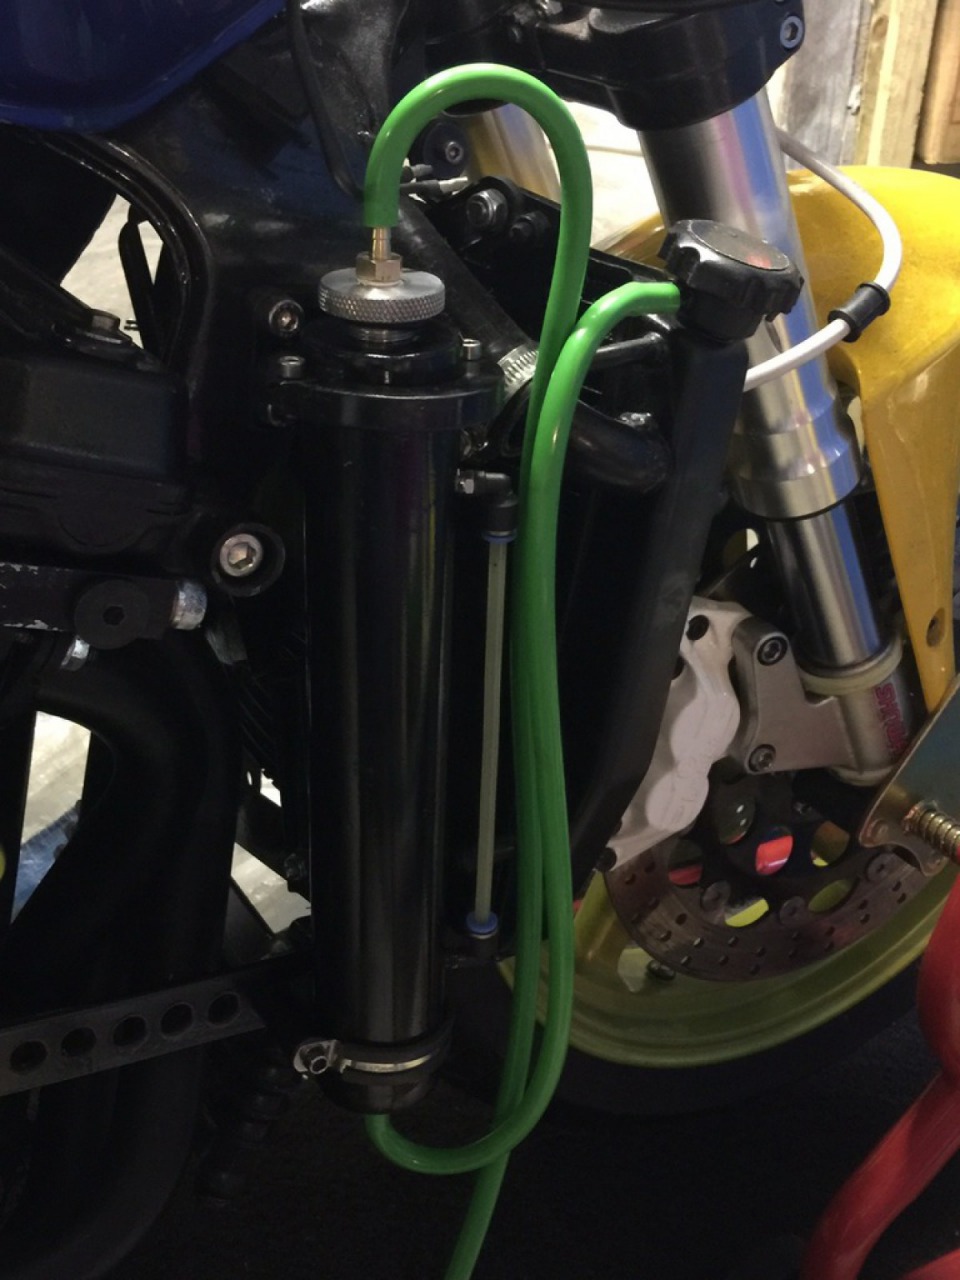
Also sprayed Black. and fitted just need Jubilee fittings.Finally ground of brackets and mock fitted GP Pipe.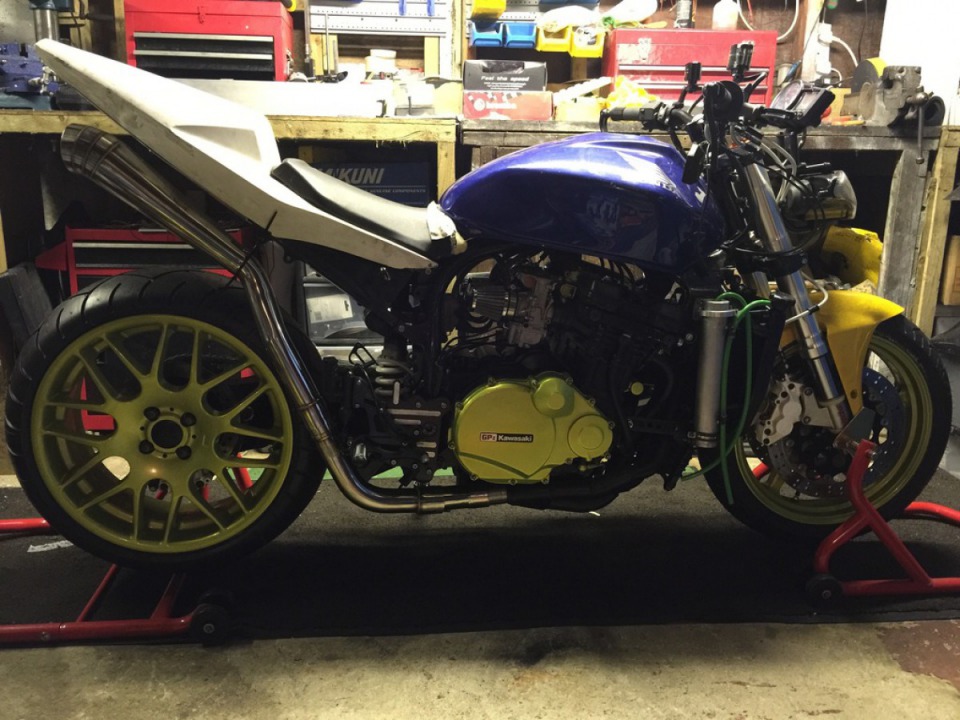
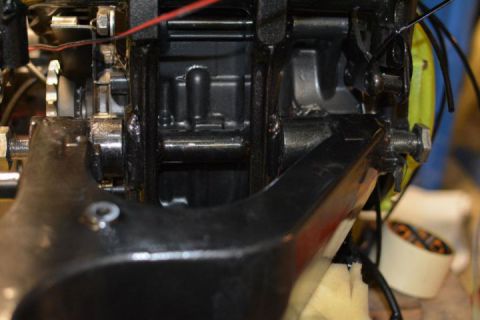
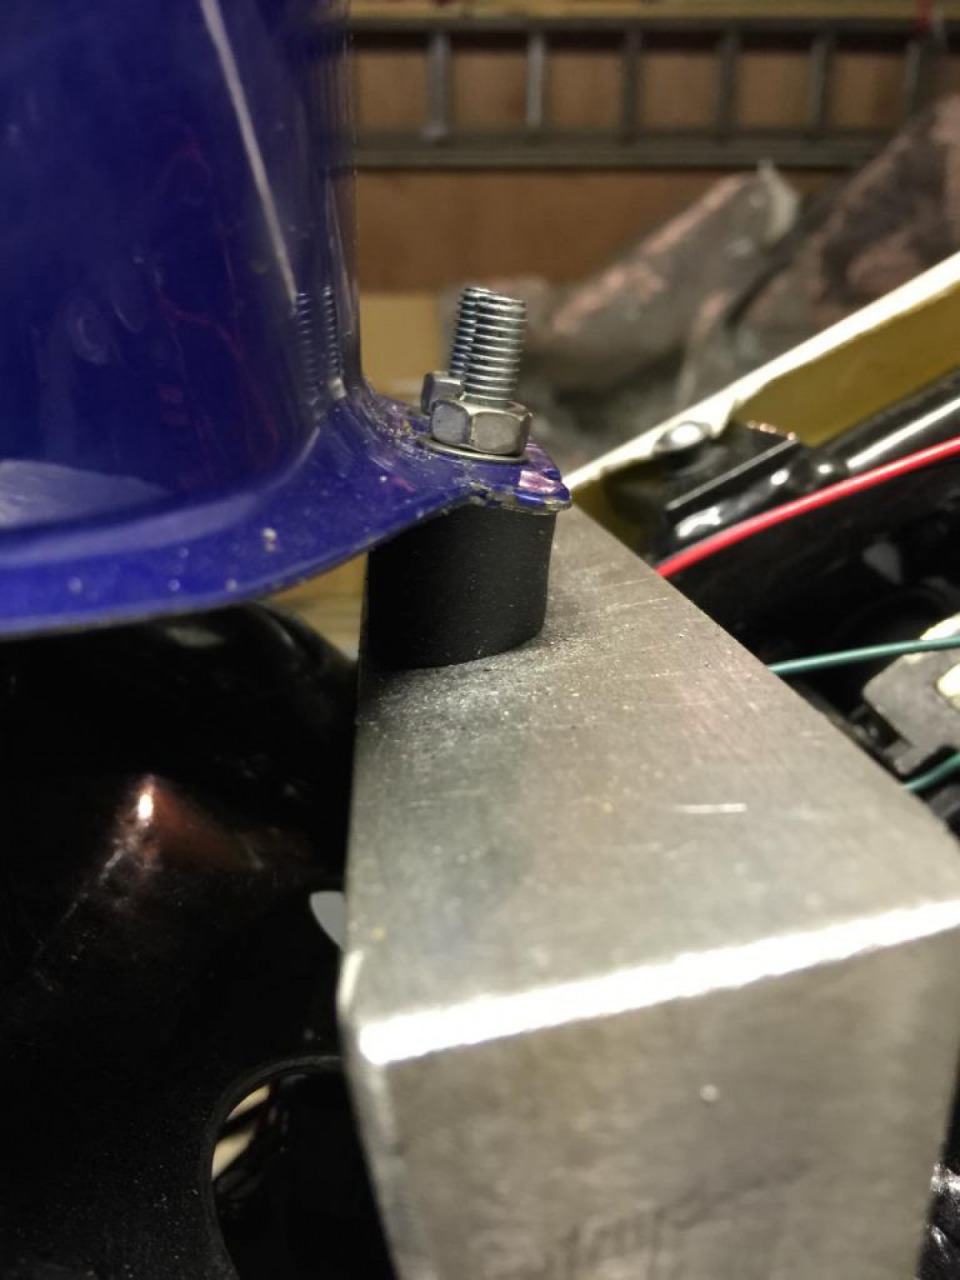
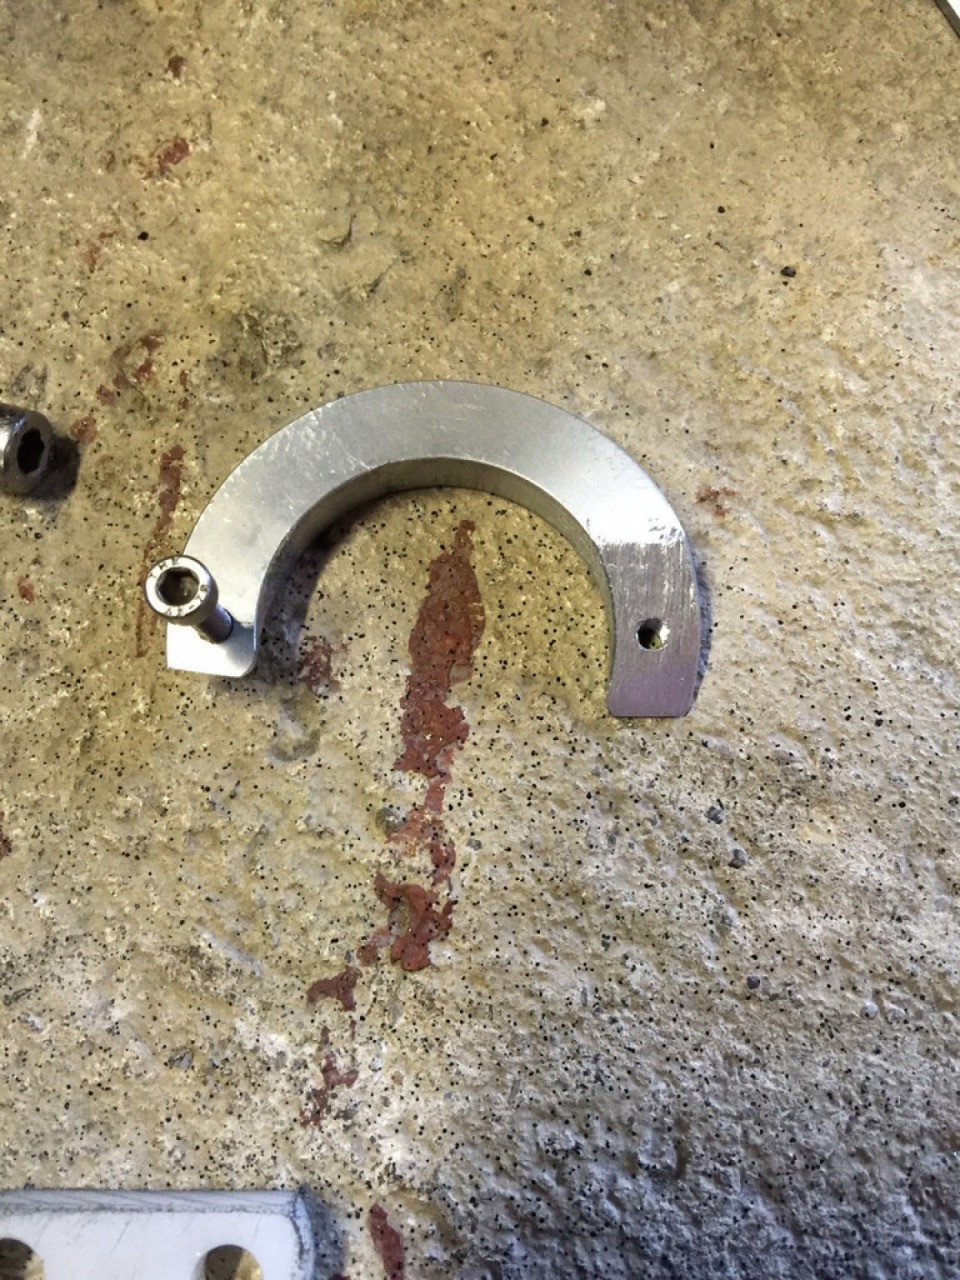
Finally Got Around to Making the Chain Guard.
Started of with Box section ally.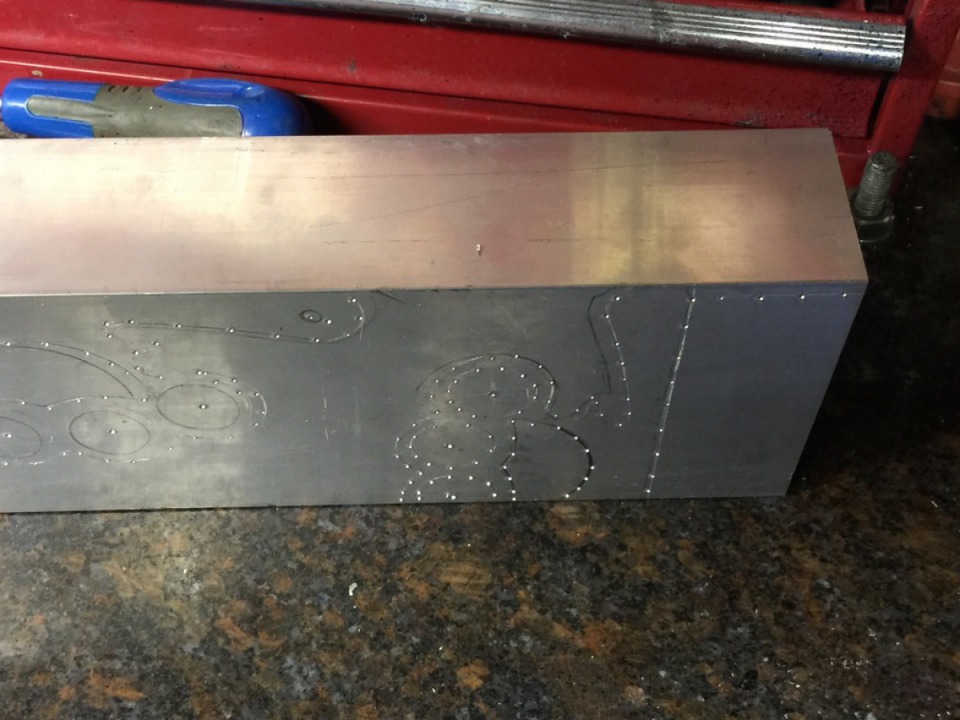
Decided to try and utilise Streetfighter Emblems into Guard.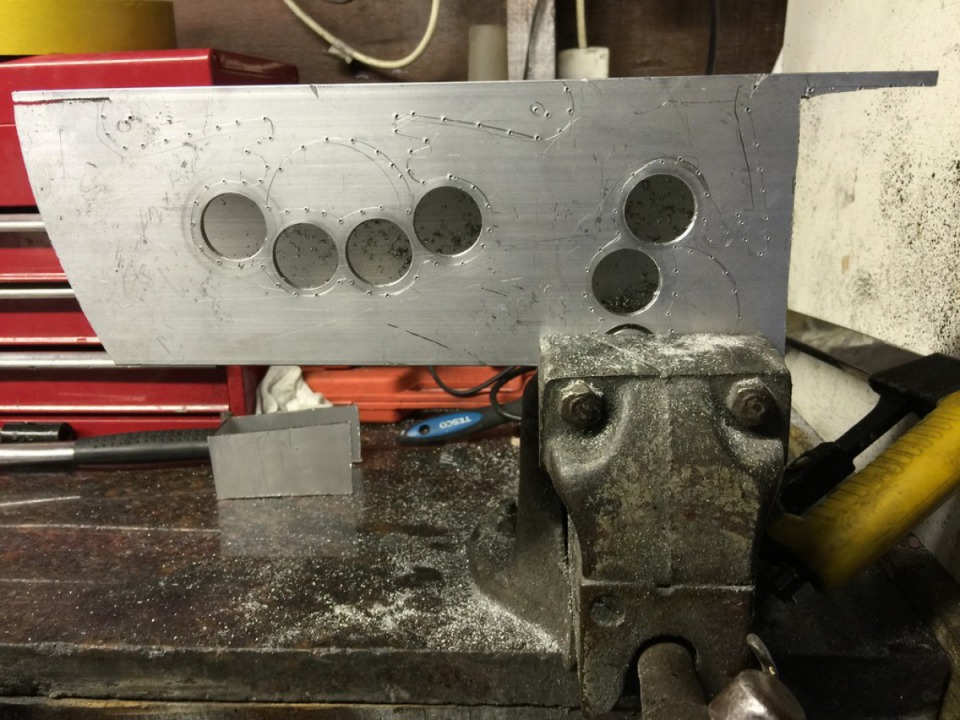
This is how it started out.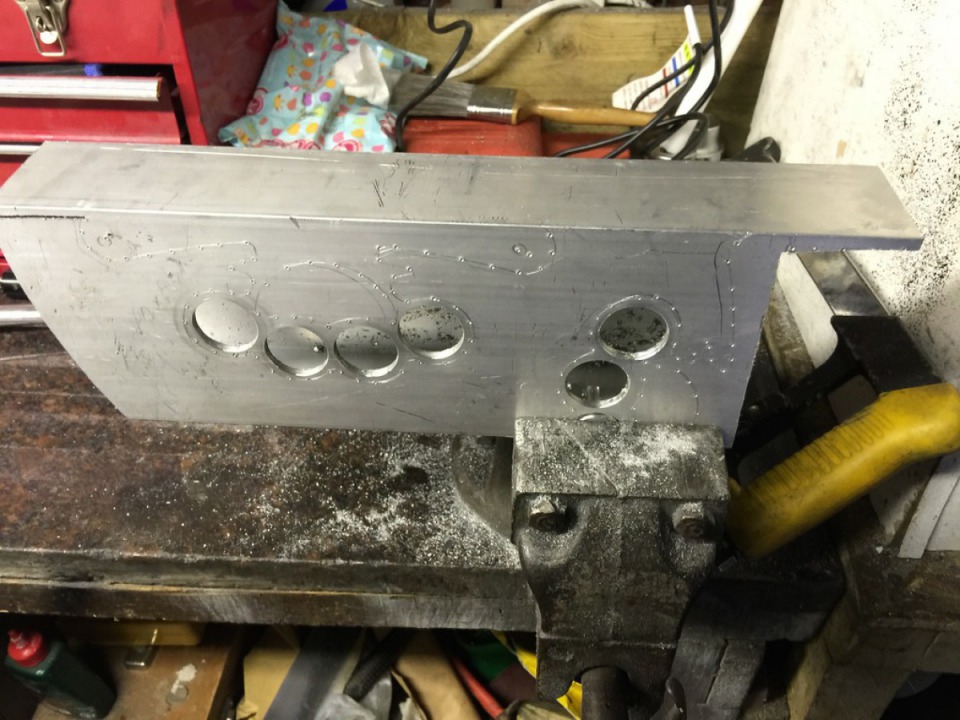
Cut out overall shape from box section.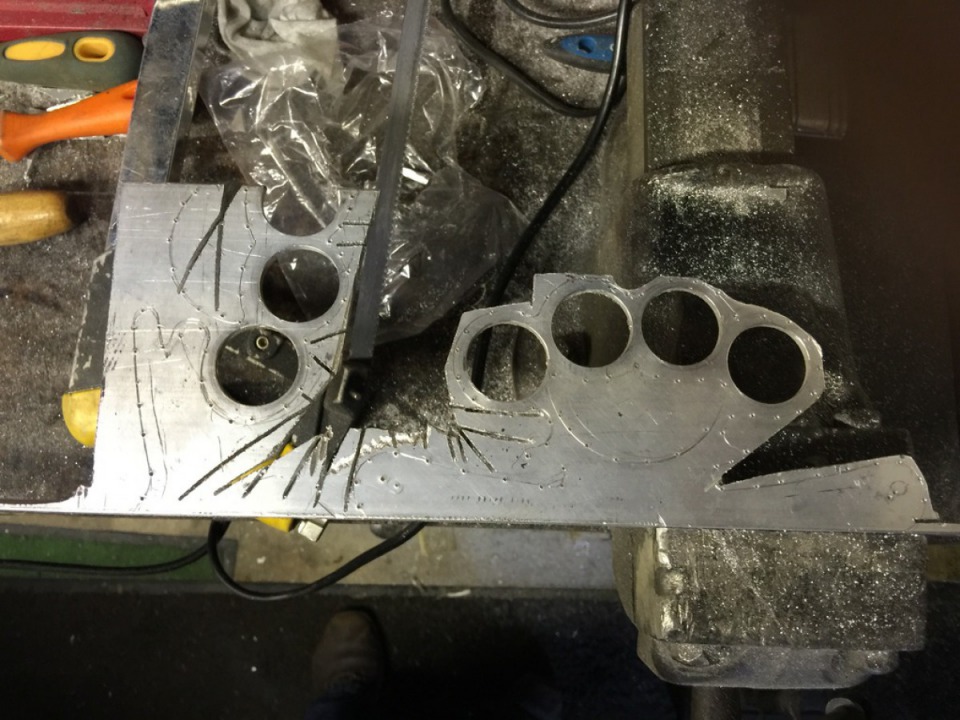
Bit of a Job many hrs filing. and cutting.Finally finished with this.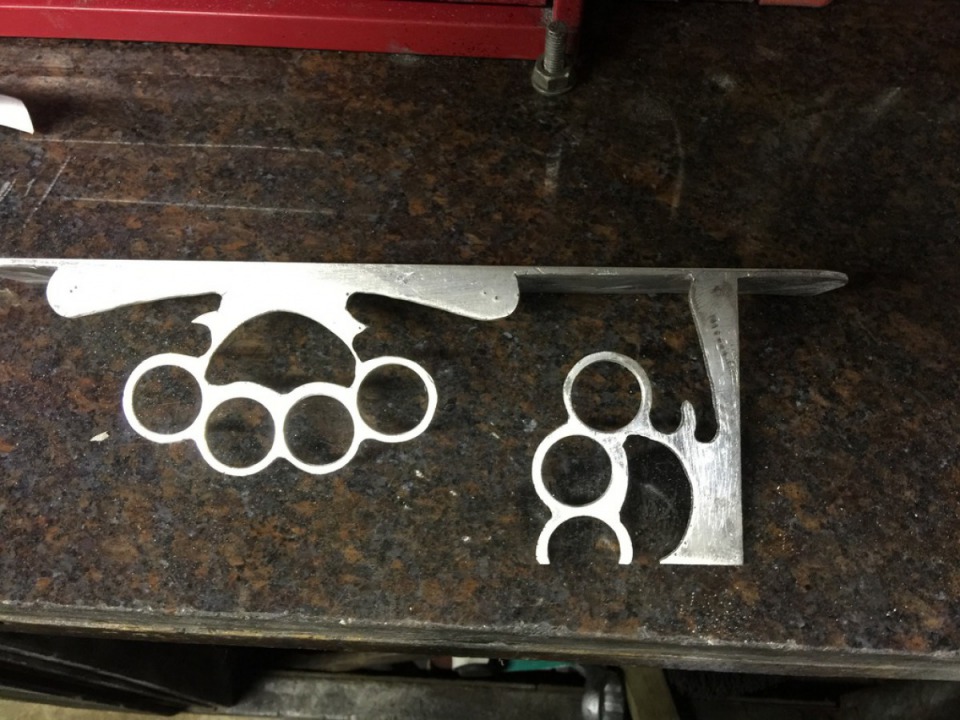
Then Remembered i had bought 2 Suzuki bandit Street Fighter Emblems i months ago from eBay had an idea.
Plan was to spray the background Black, and overlay the Stainless Steel Emblems on spacers so the Black shows through.
Last minute change of heart more chopping and Drilling
Sprayed it Wrinkle Black and bolted emblems came out better than i hoped for.
Thank you who's here! continued in part 8
 Follow
3.4K
Follow
3.4K