How i building GPZ900 (Part 8)
Front end Change.
For the last couple of months, I've been thinking of how i could mount my Led front indicators.
Was going to keep the front end completely naked but something never sat right with me.
Came up with a novel idea. to help with mountings decided to stay with front headlight but thought
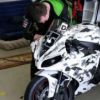
Maybe i could chop up a Gilera 125 Runner Scooter Fairing, as they come with Indicator mounts already in..
Went on ebay.
Bought
Second Hand Gilera Runner Three piece fairing.
Lambretta Front Mudguard, its wide enough to use as a rear hugger, but jury's out on this.
Also ordered HID Headlight units which fit a Gilera Runner Headlight.
Also ordered Led Indicator conversion For Gilera Runner Fairing
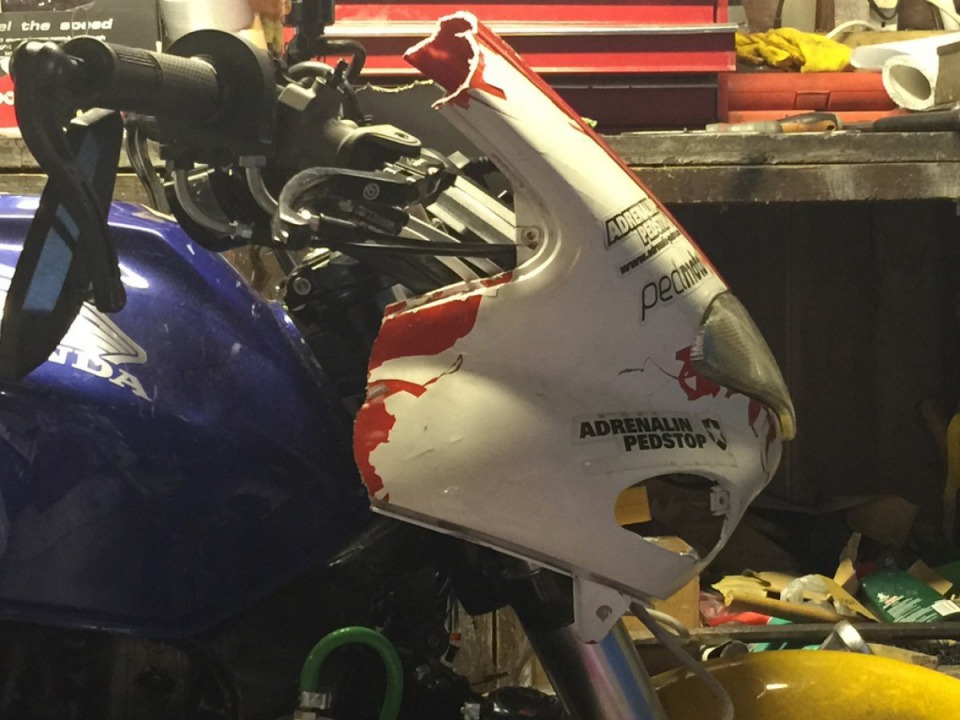
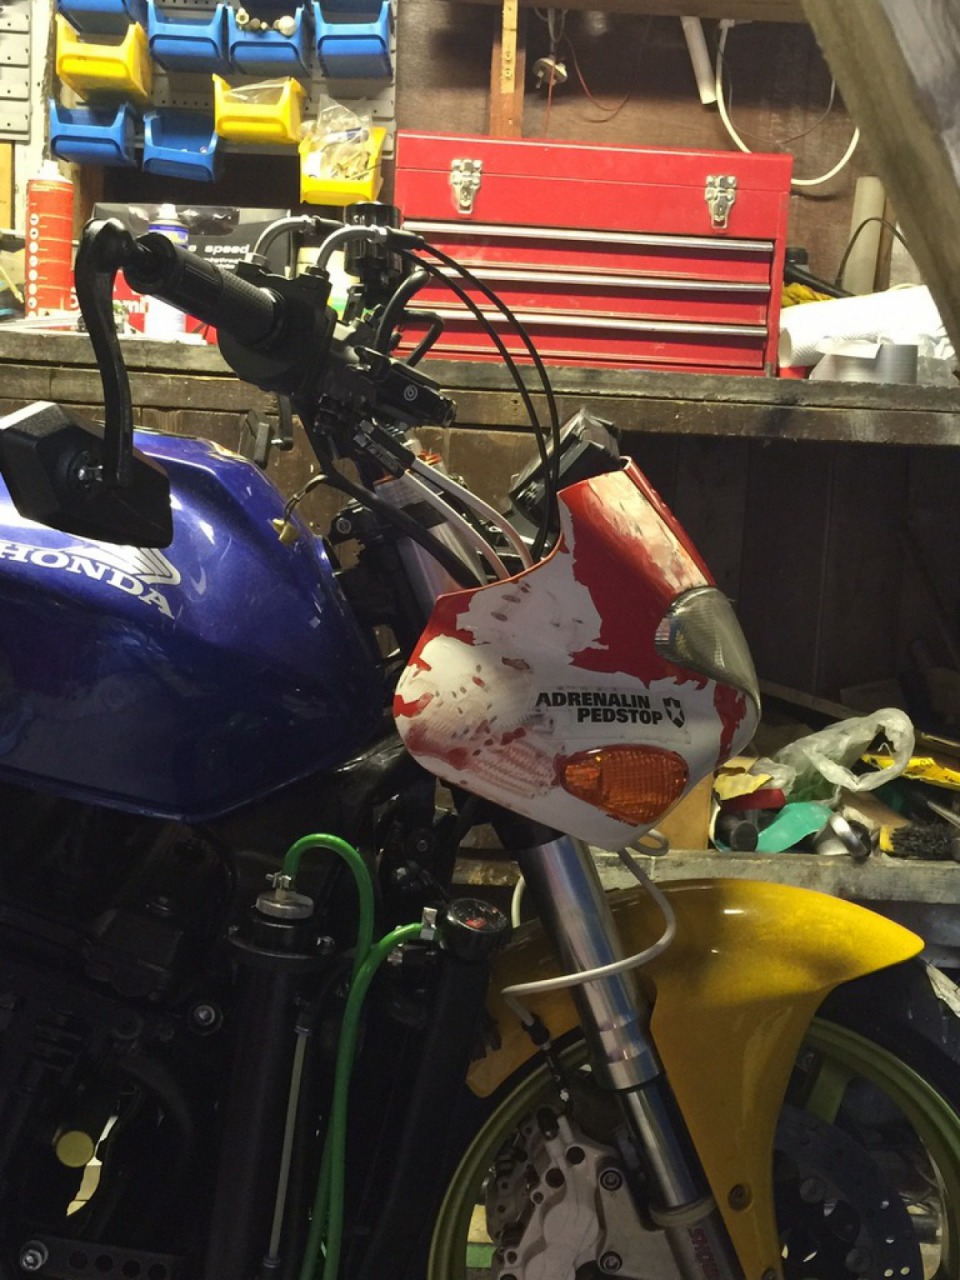
Fitted Fairing to headlight unit, after a bit of chopping.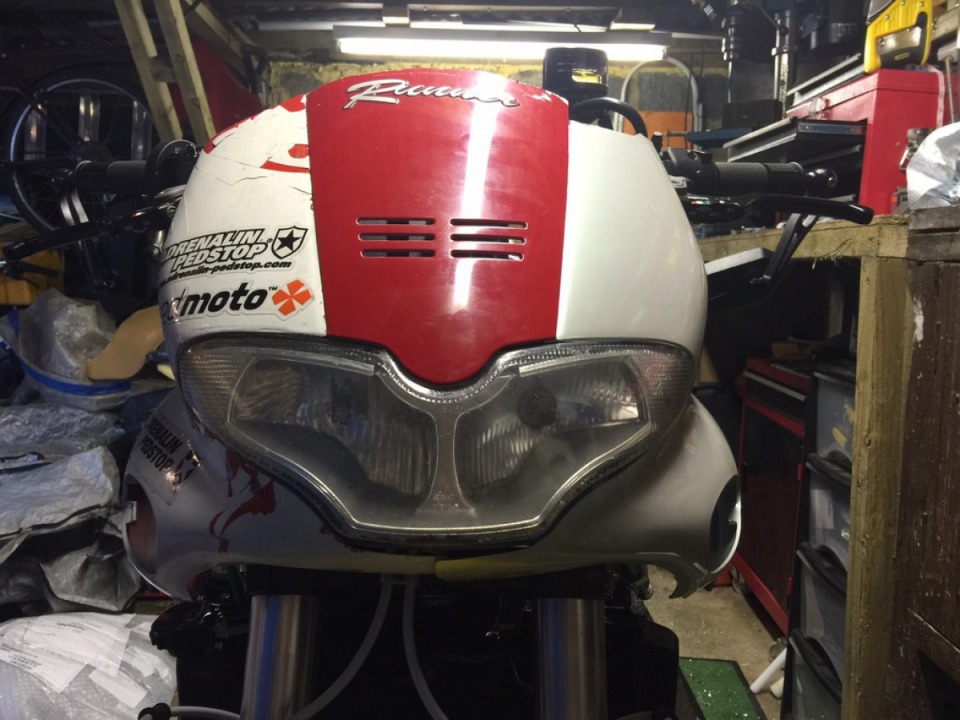
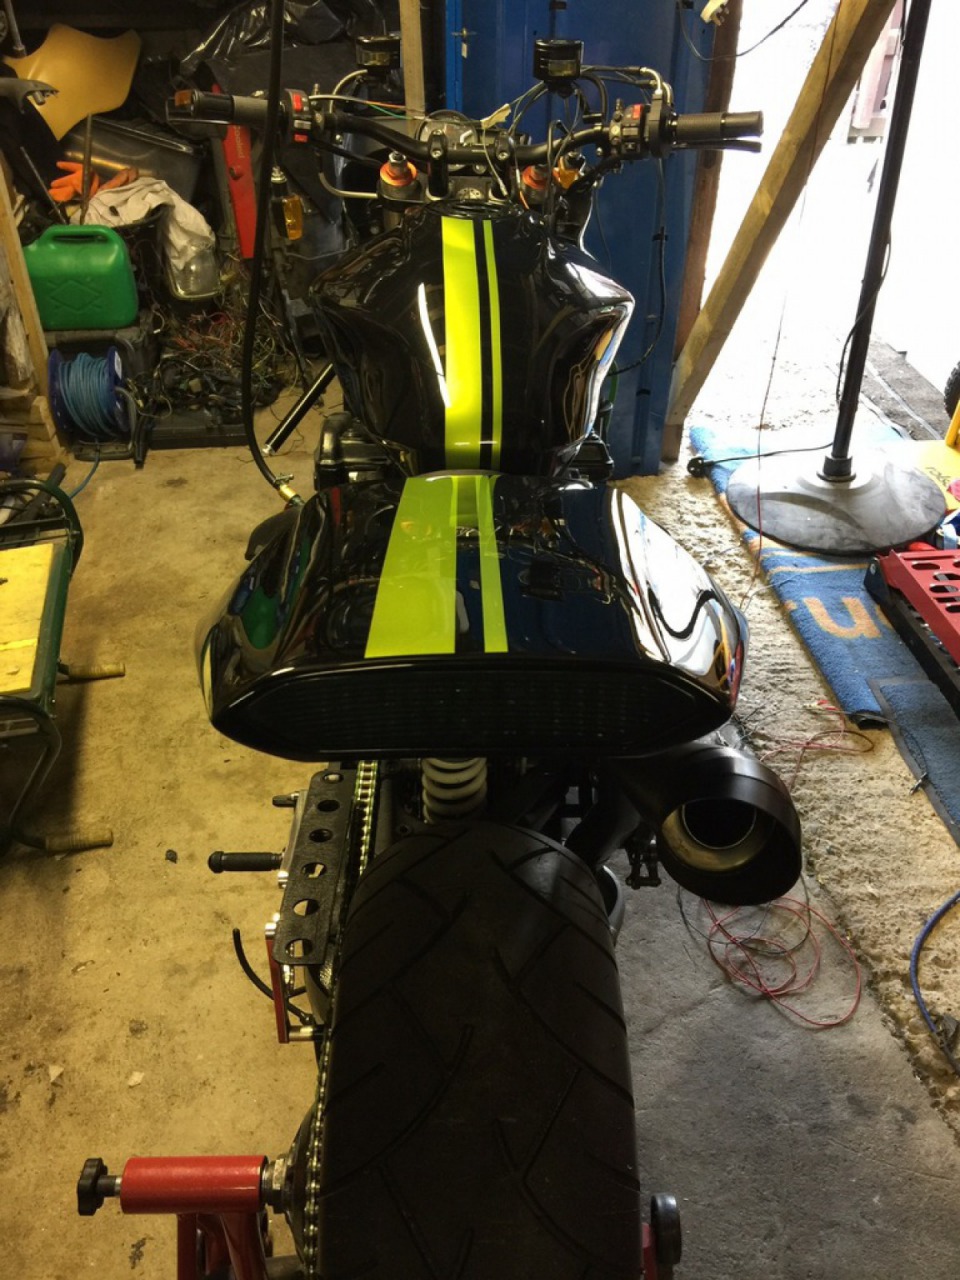
Also finished of Under-tray and Exhaust fit nice.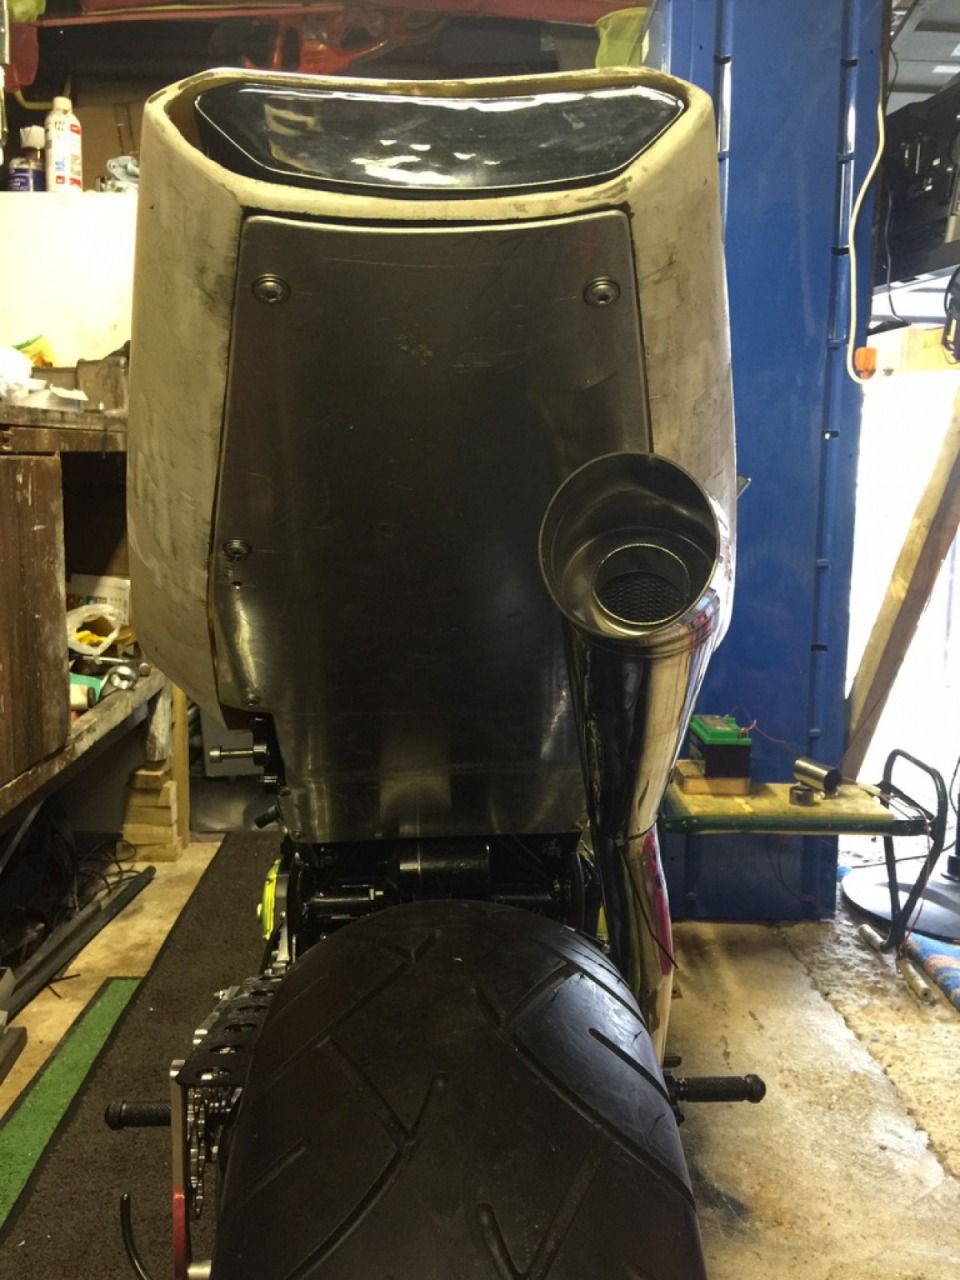
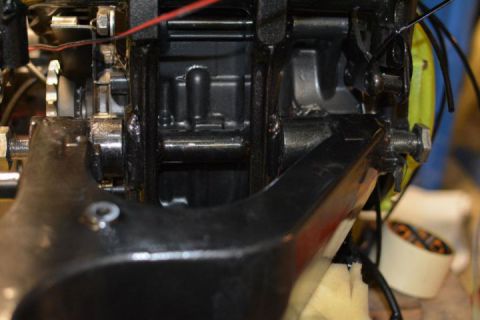
picture of Link Pipe connection 4 into 1 and Rear GP Pipe.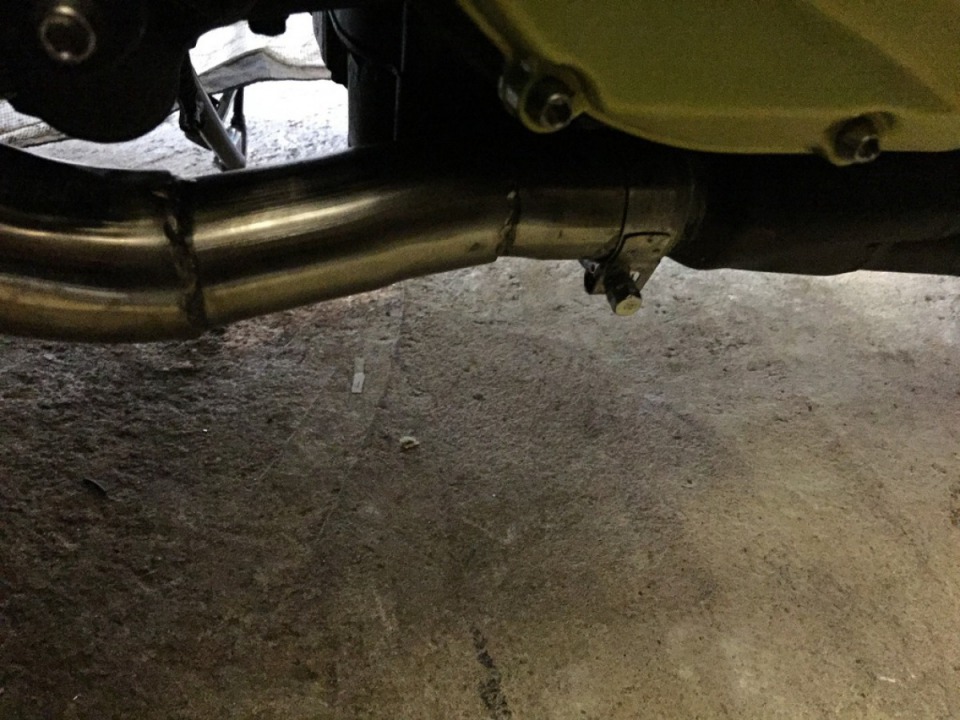
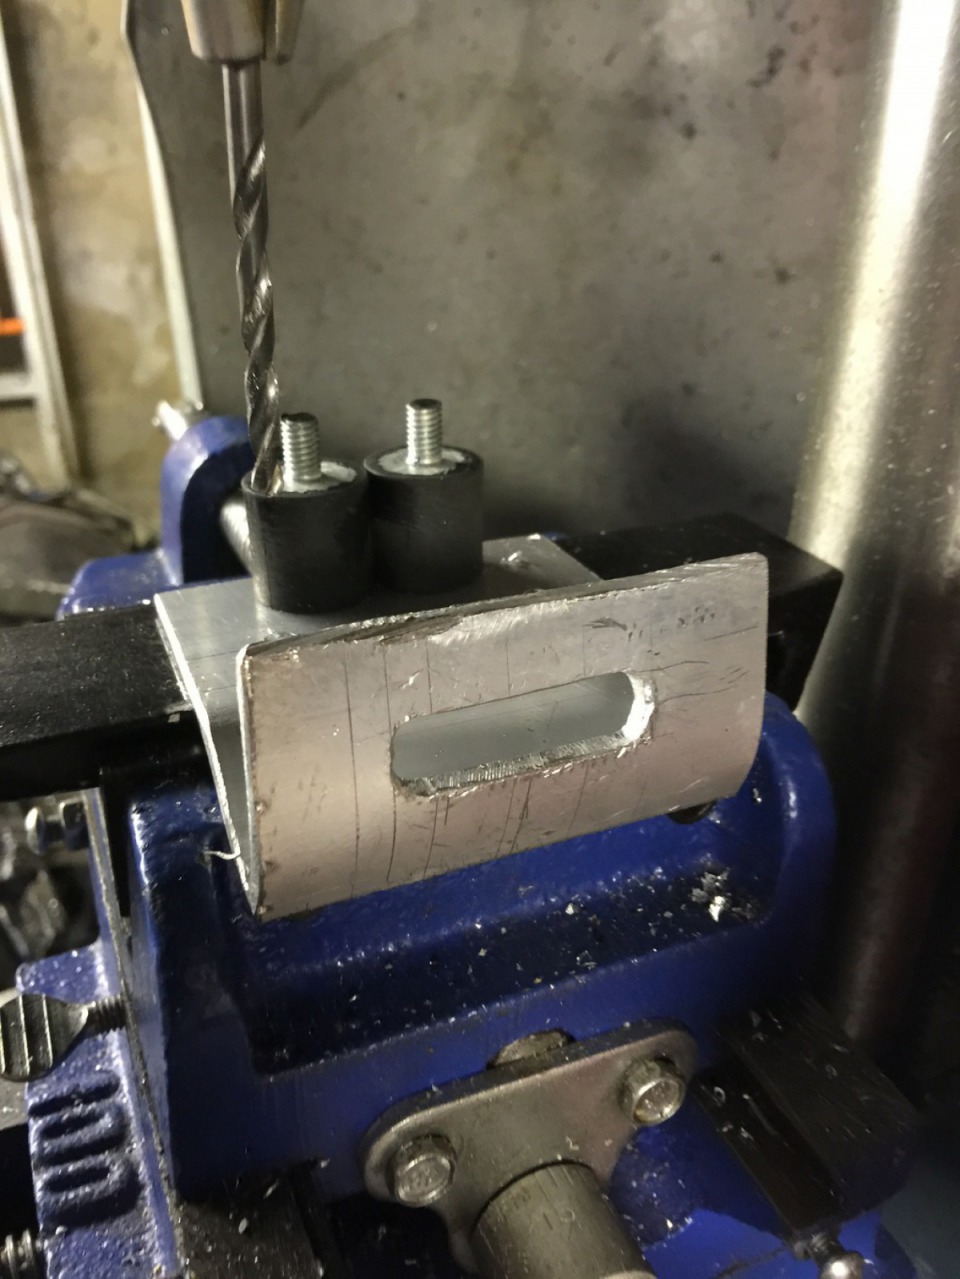
Seat Mount finally made.
Just fettled and bent a piece of ally to the shape used Box section that was left over from Chain Guard. drilled through to mount on the Tank mountiung Bracket works great.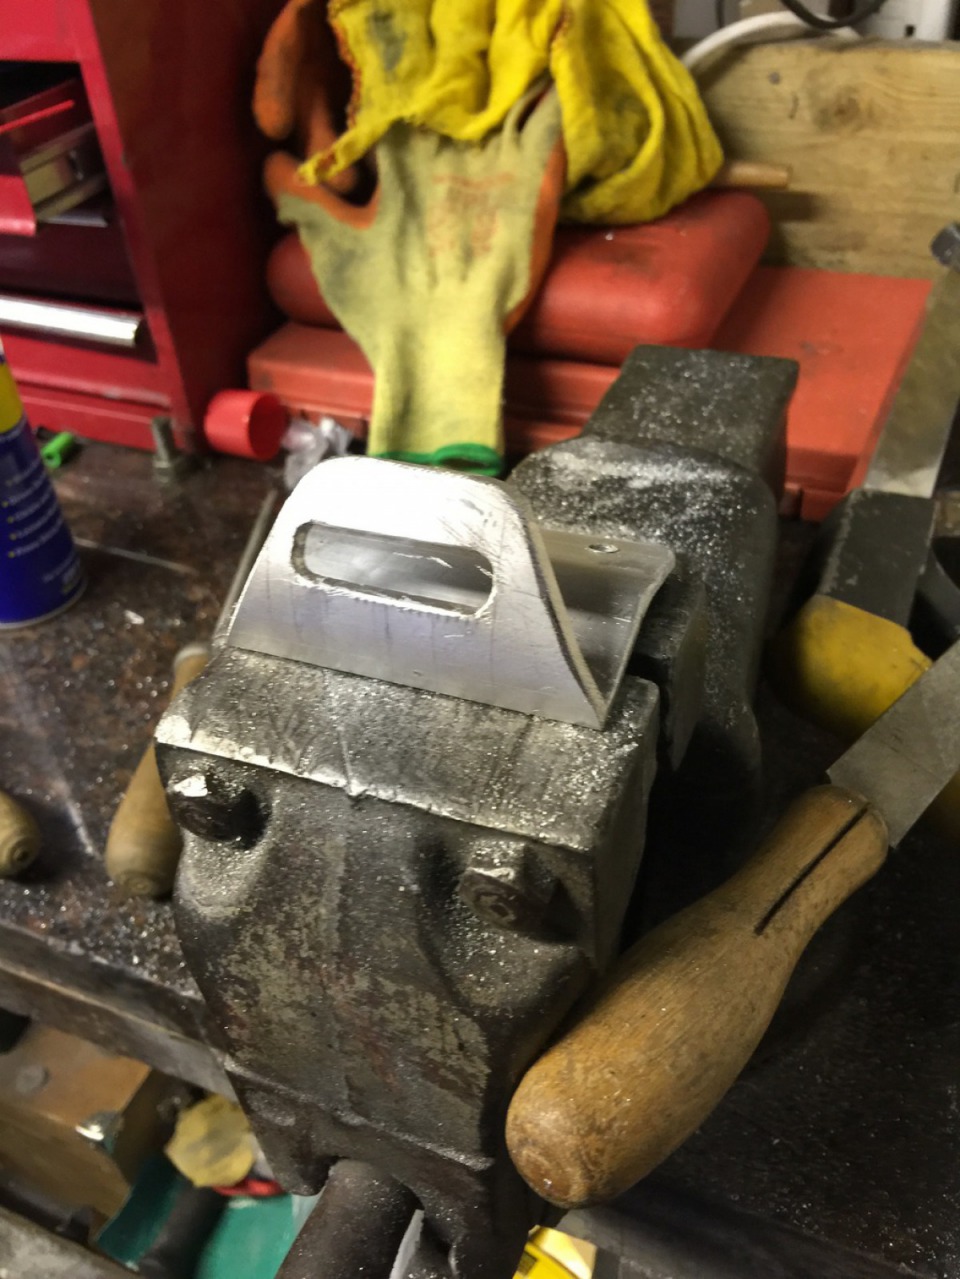
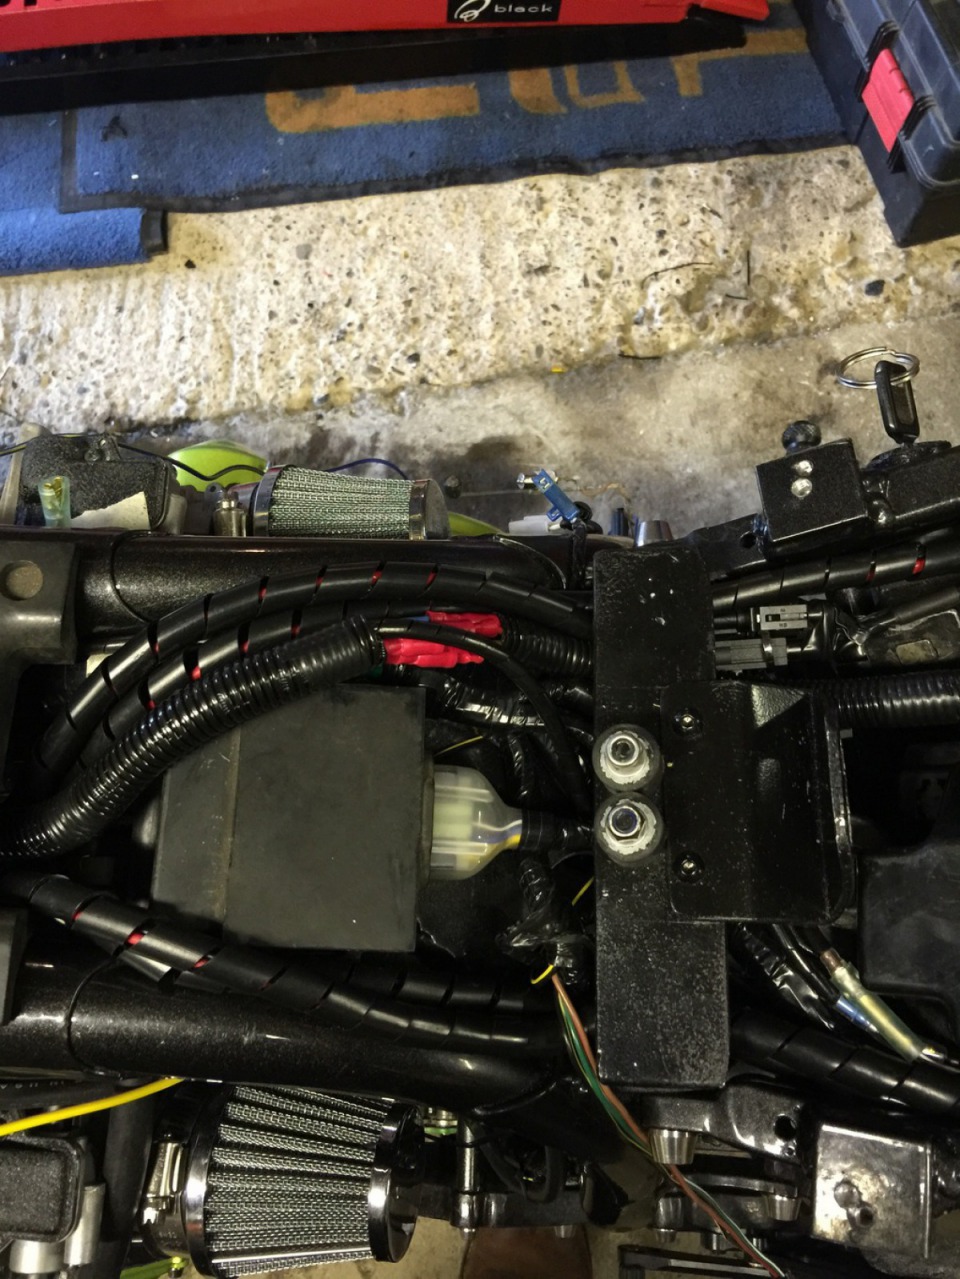
Wiring Started.
Managed to source a Brand New Full Wiring Look fro GPZZONE in thre uk.
Worlks a treat, all in place just now have to connect everything up and modify what doesnt fit, which will be most of it.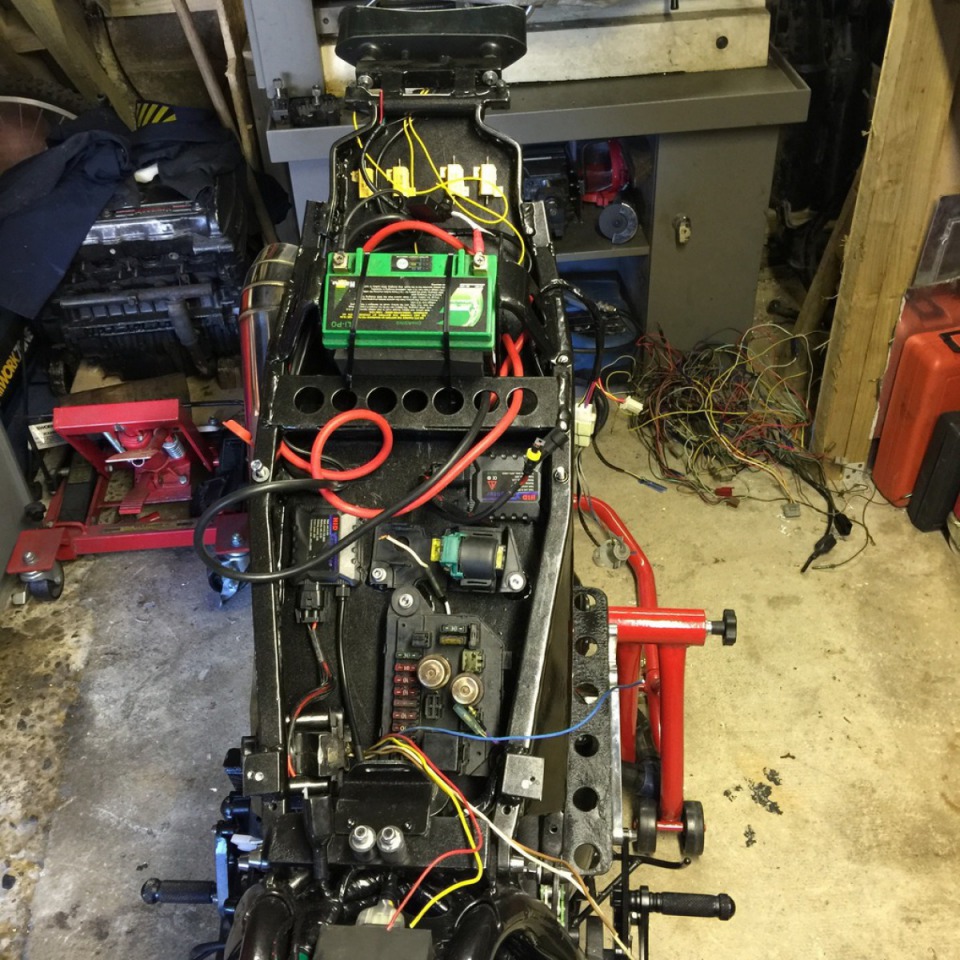
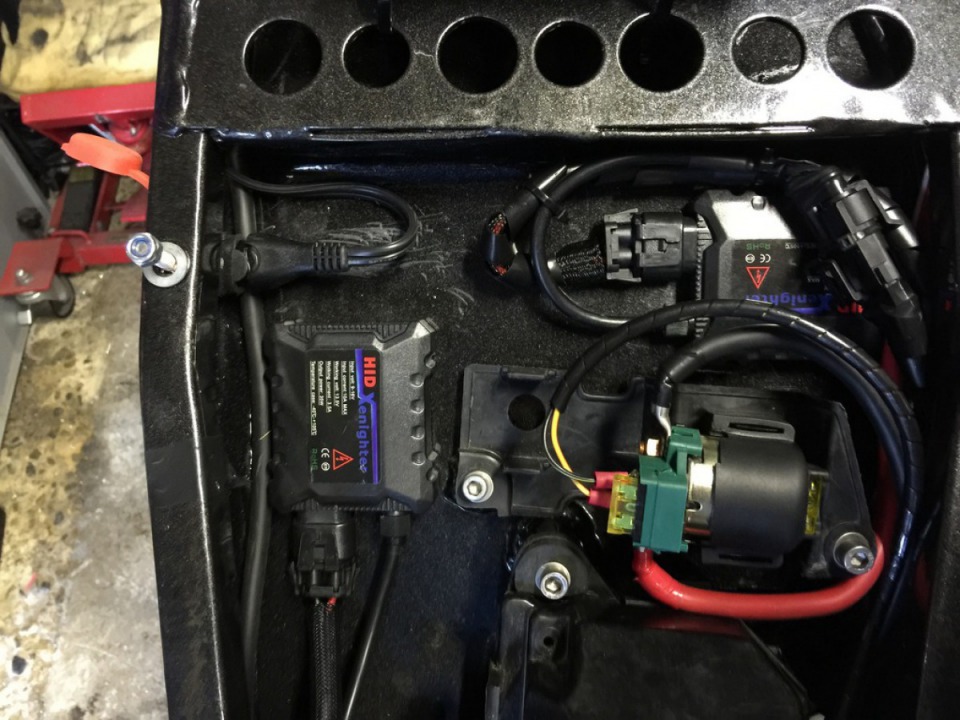
Upgraded the front gilera Scooter Headlight to HID Units, only problem the starter units will only fit in the tail unit.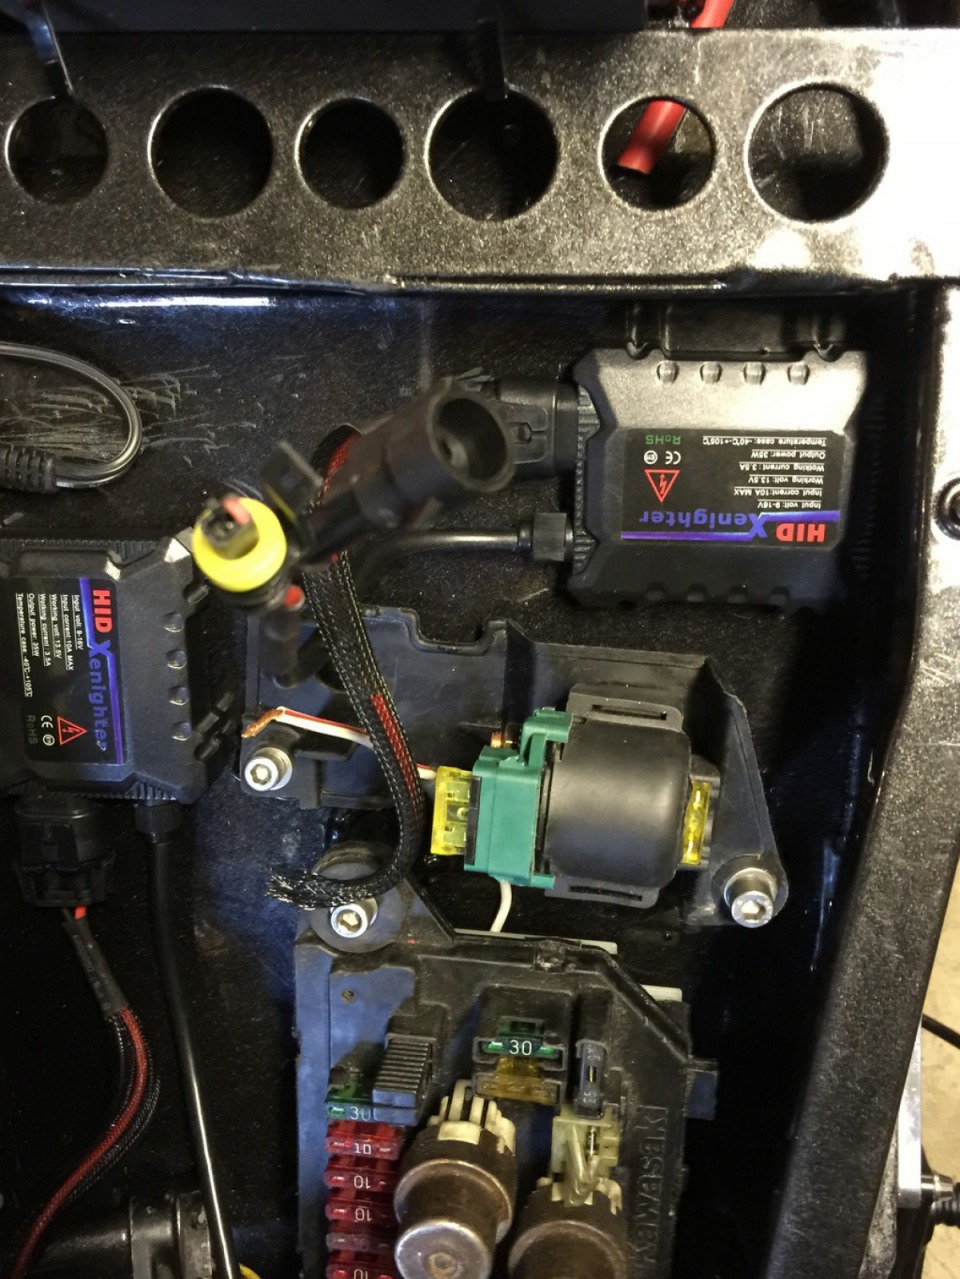
Looks like Im going to have to extend the Light wiring from the front all the way to the back.also mounted all 4 Led Indicator resistors in the tail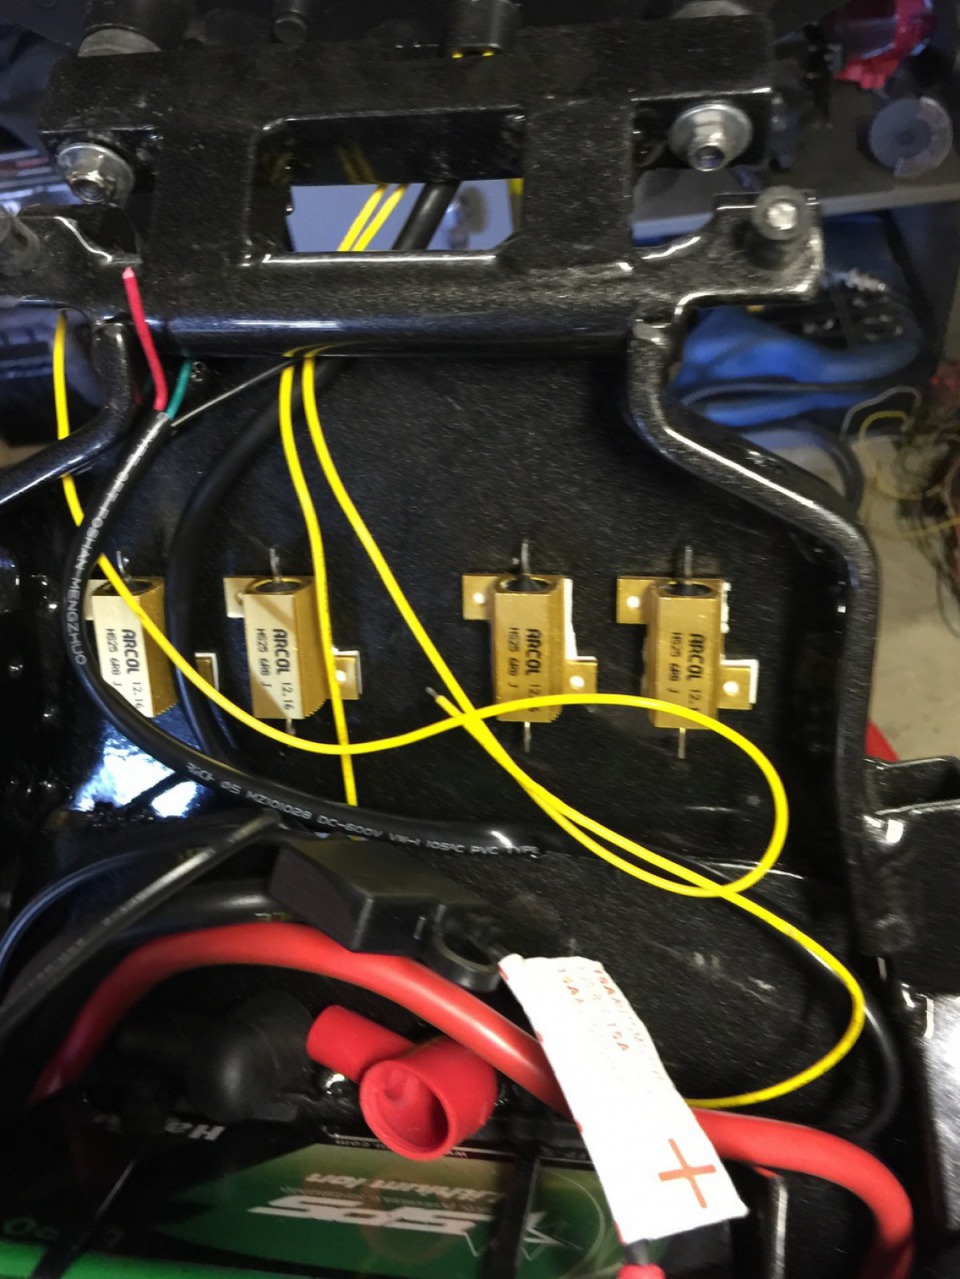
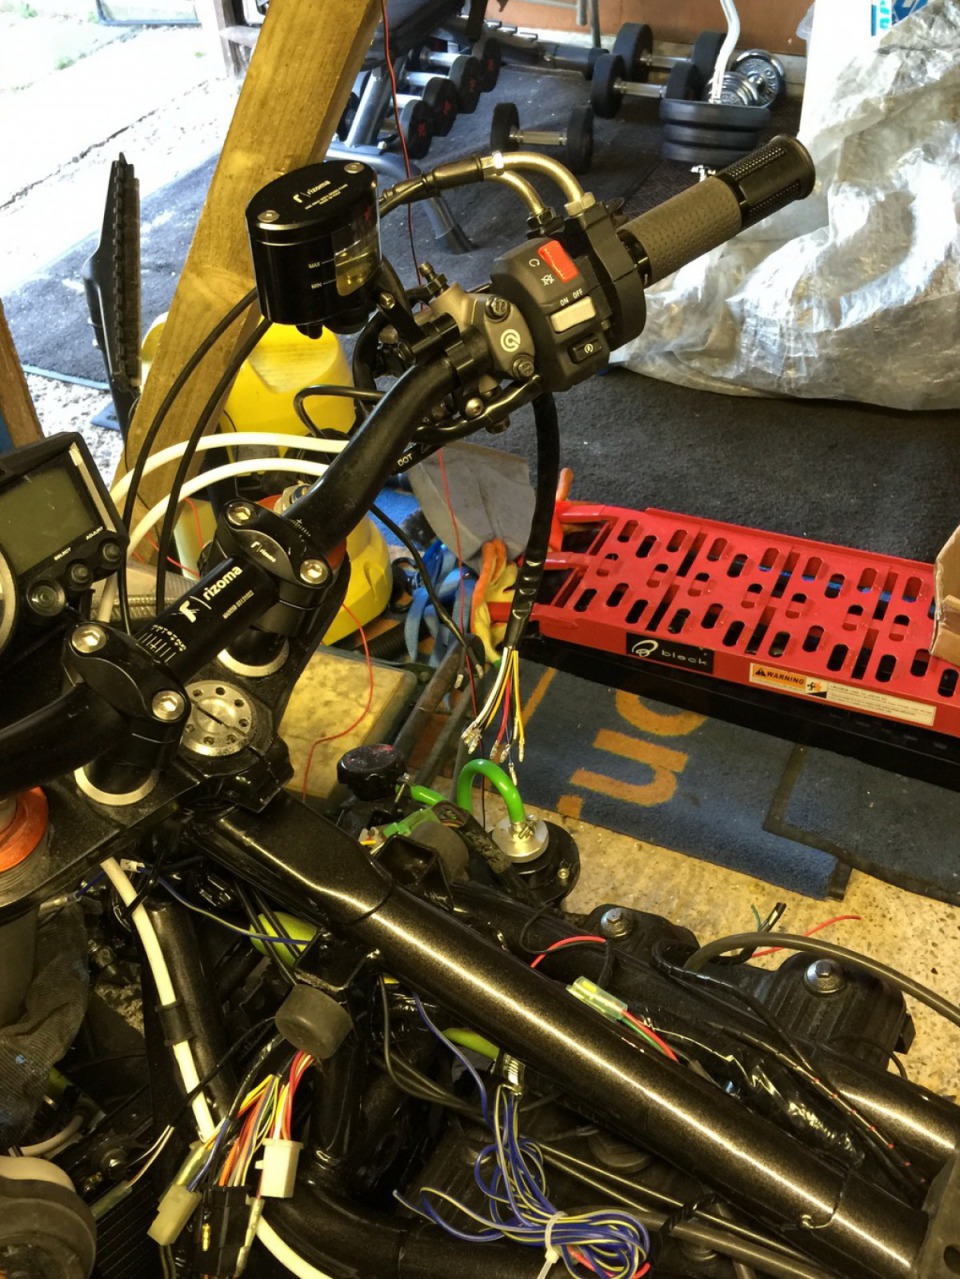
Front loom Wires roughly connected to original switch gear.
This will all change becuase ive just taken delivery of some New venhioll Switch units so they both need rewiring.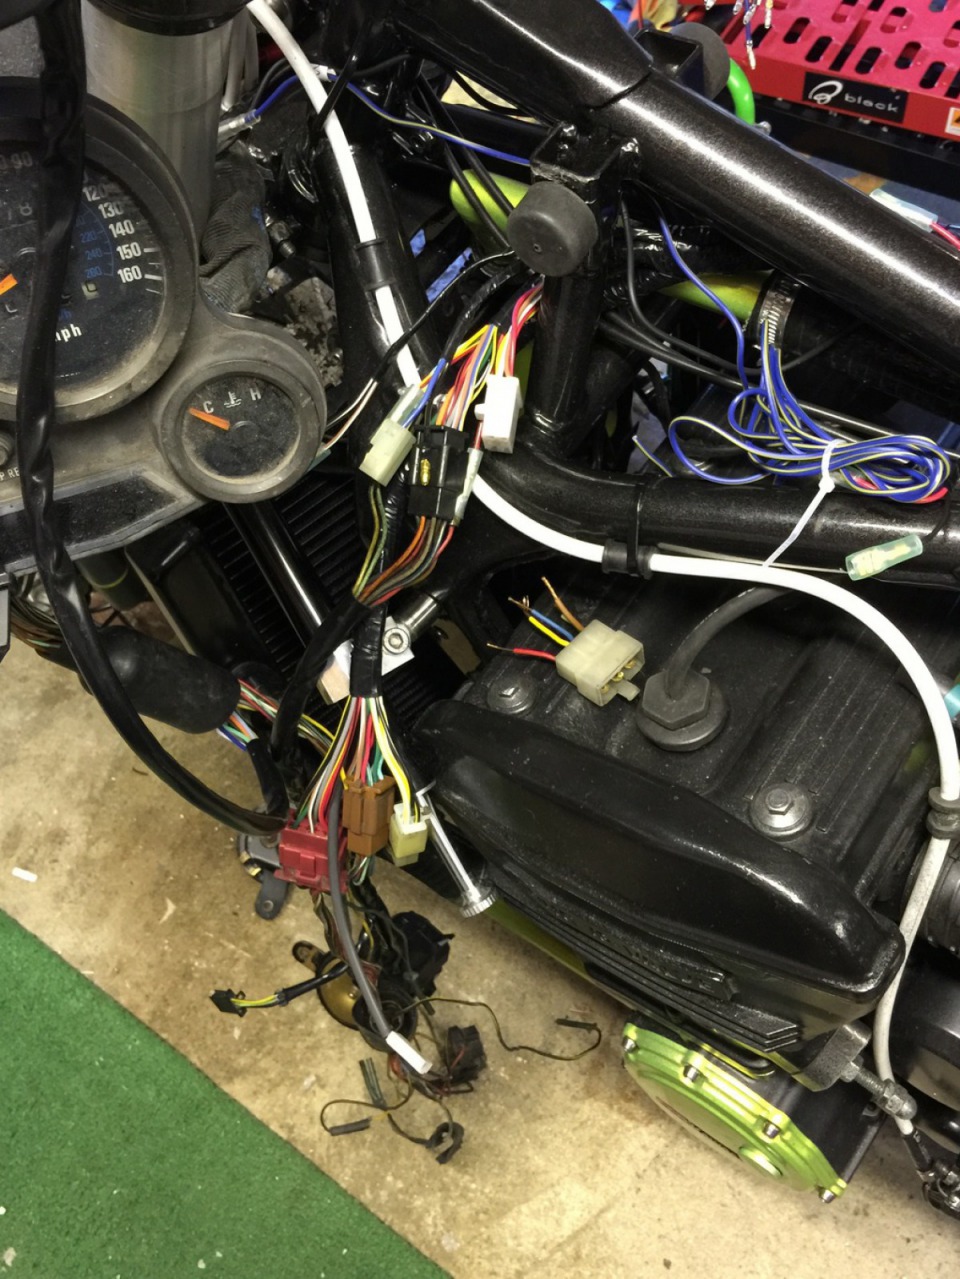
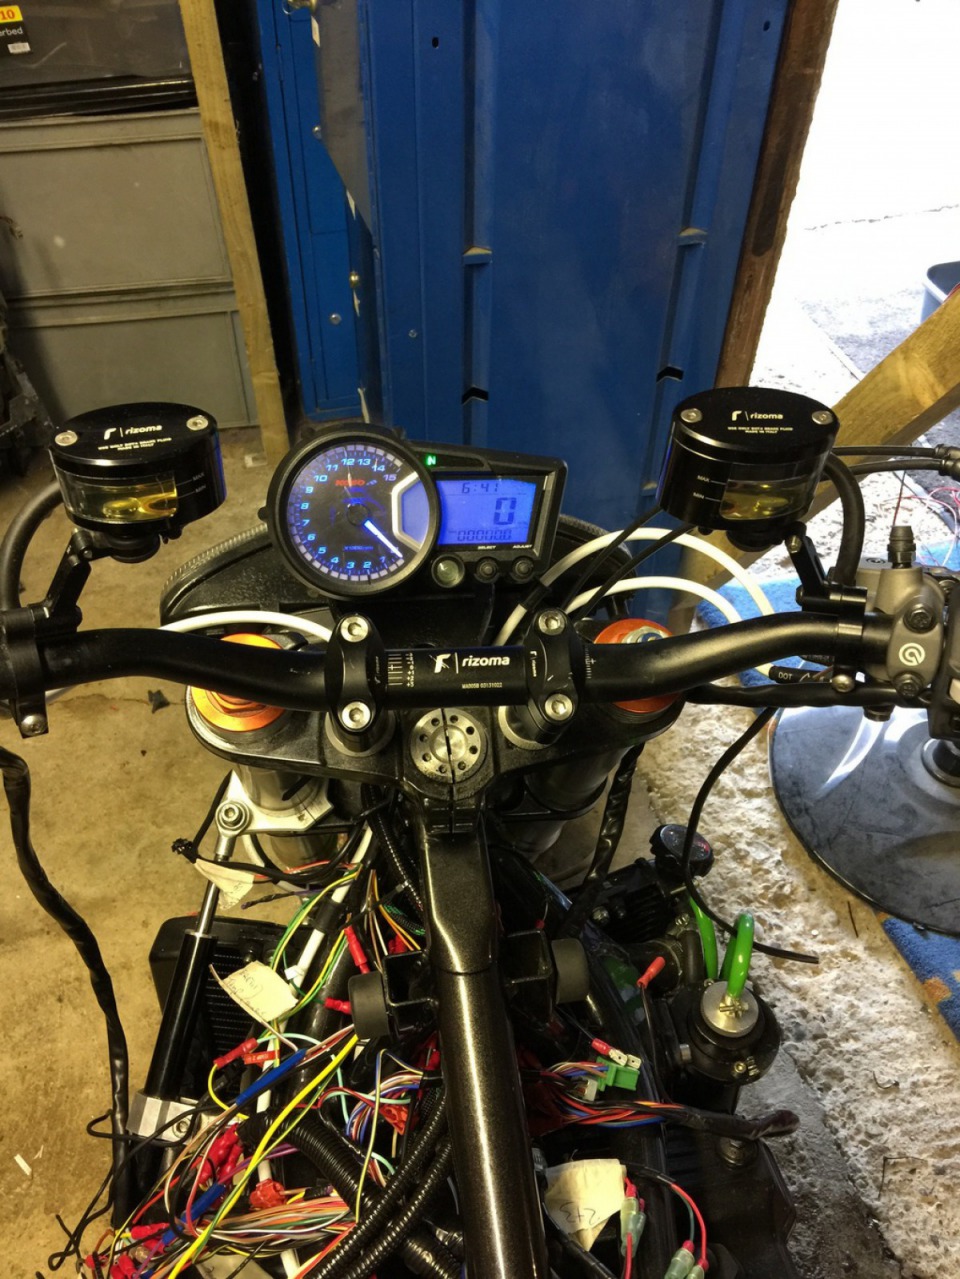
She Runs...
Connected up the starter circuit and dash unit purchased one of those plastic tanks with tap filled her up
Turned her over and she started first time.sounds Awsome with GP Pipe.
Big issue though spotted Massive Oil leak via link pipes across the cams.
removed this and went back to standard, but plenty of Oil pressure with the Updated ZZR1100 oil pump. And Larger Diameter oil feed cam drip pipes
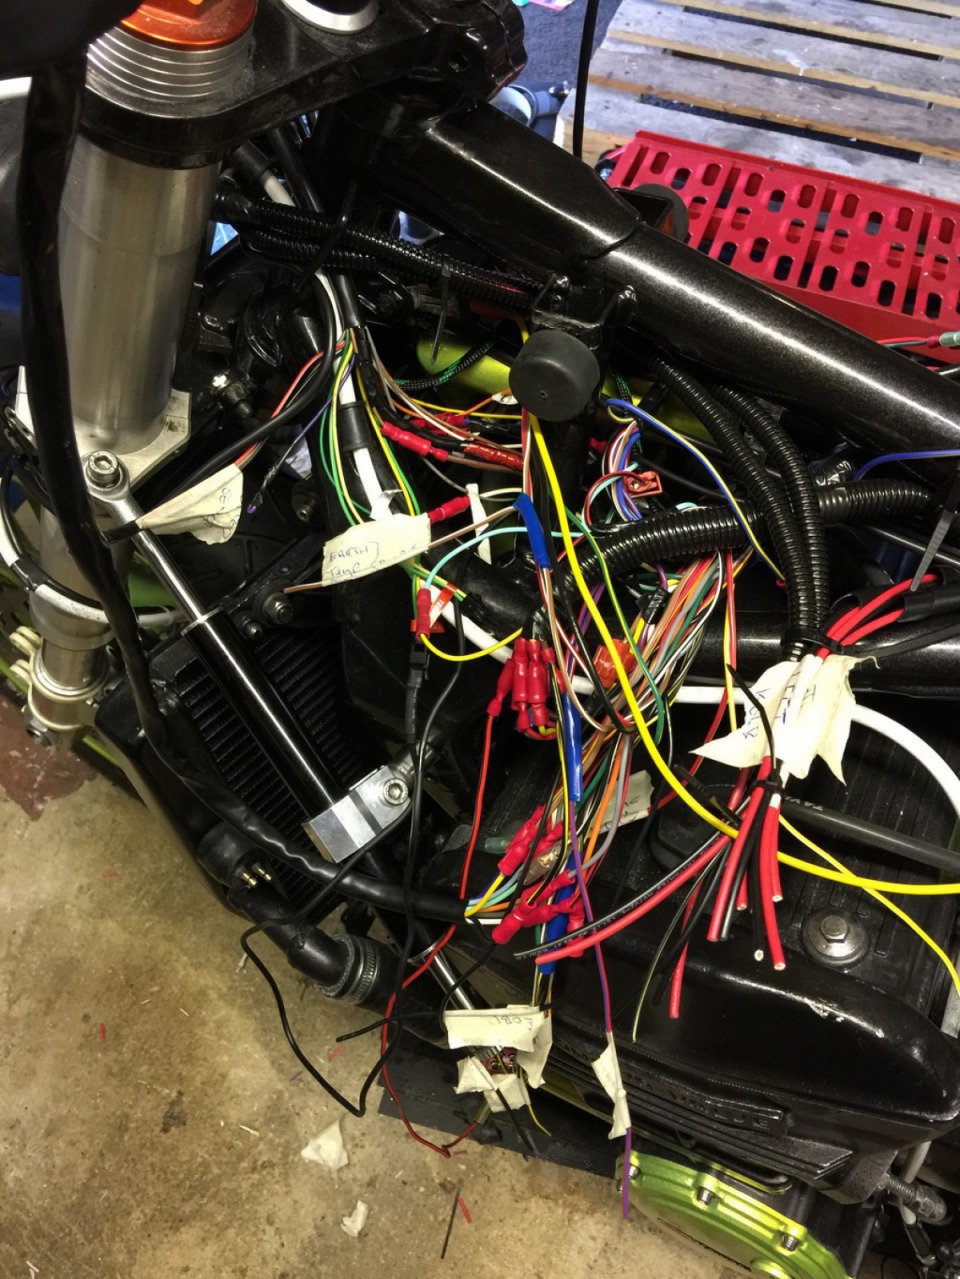
Wiring on track extended Headlight wires back to the Subframe.
Haven't full connected wires though, I just ordered some proper bullet connections which I will Soildering.
Looks a mess at the moment but everything is now marked up.
Having Difficulty loading images, but they will follow.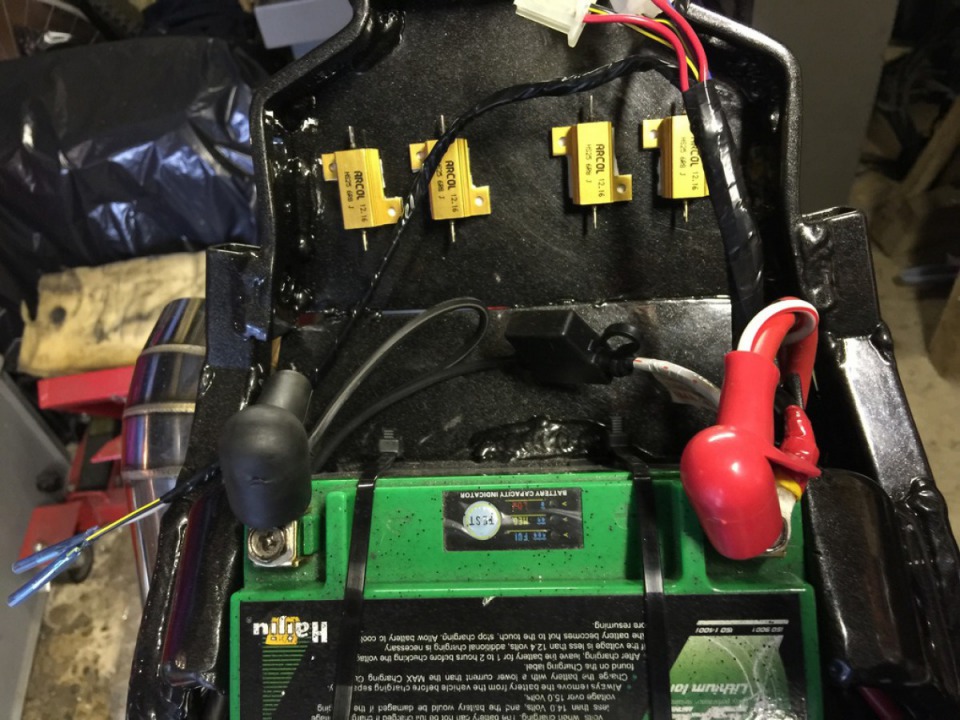
Just received a picci of paint all flattened out ready for stripes.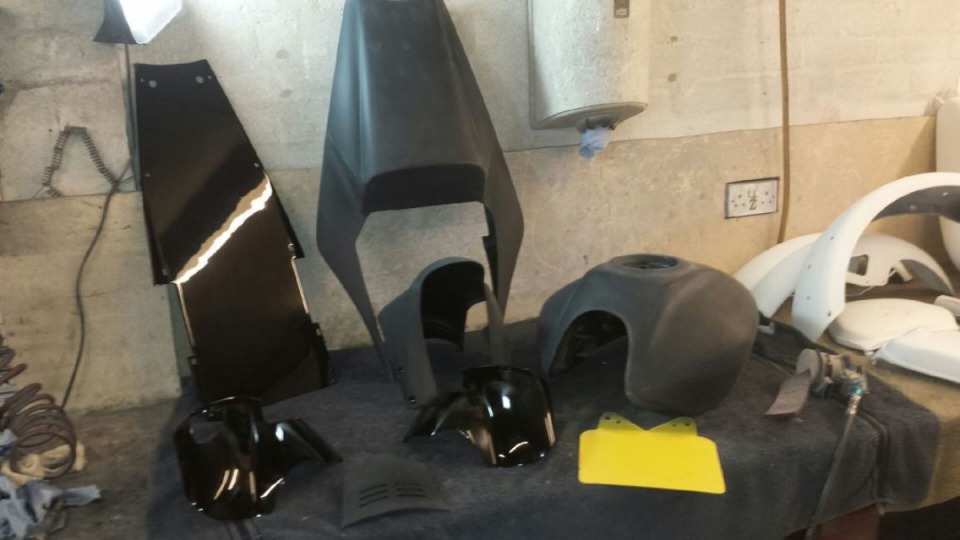
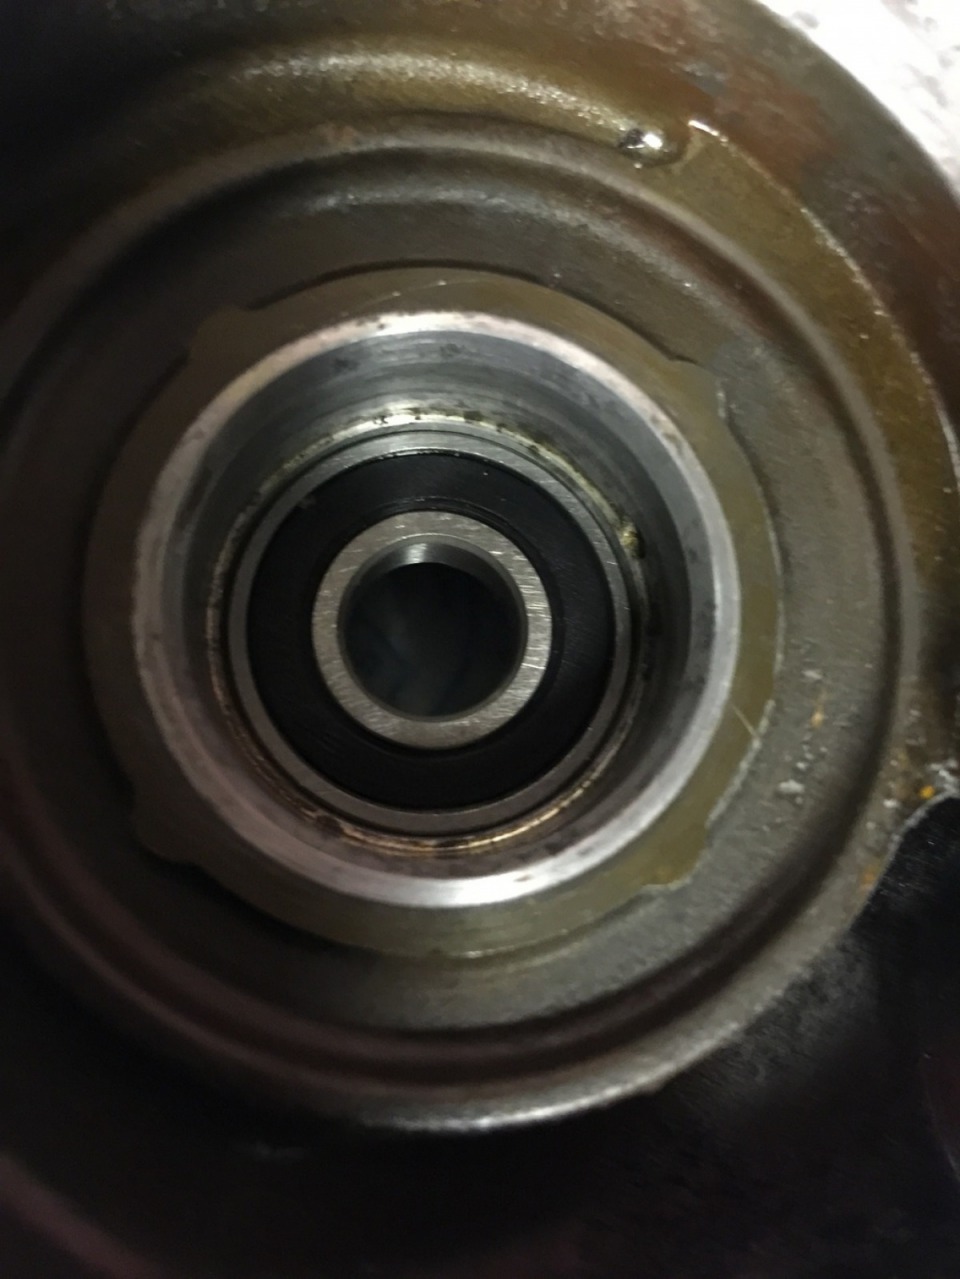
Had the bike running, spotted two lovely oil leaks.
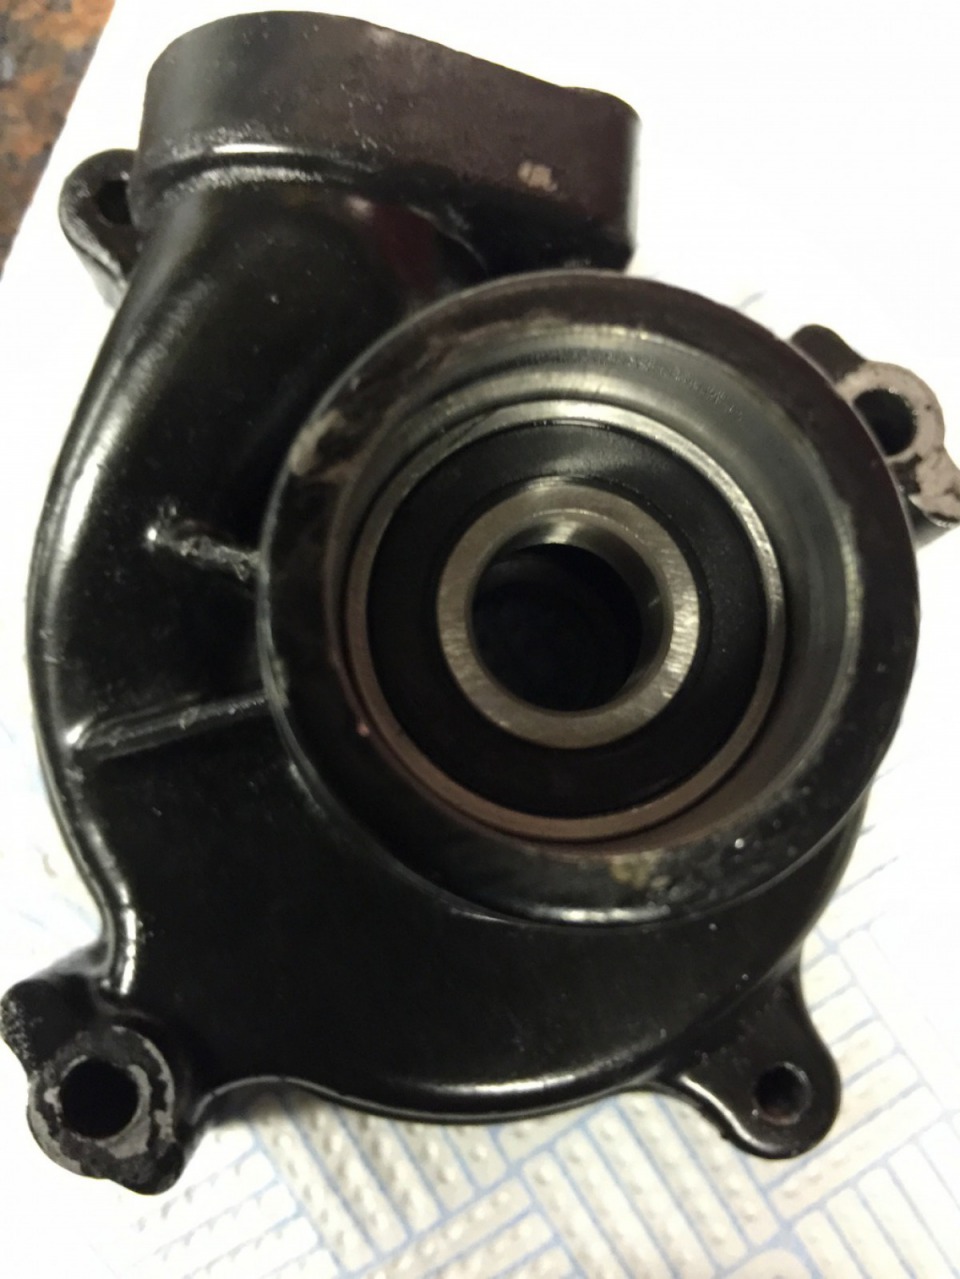
One at the back of the water pump, the other on rocker cover.
Stripped rocker cover stripped thread on one of the front rocker cam units.
Unbolted and managed to drill and help coil 8 mm.Once done tightened down no leaks from rocker cover.,Next Job Water pump strip down.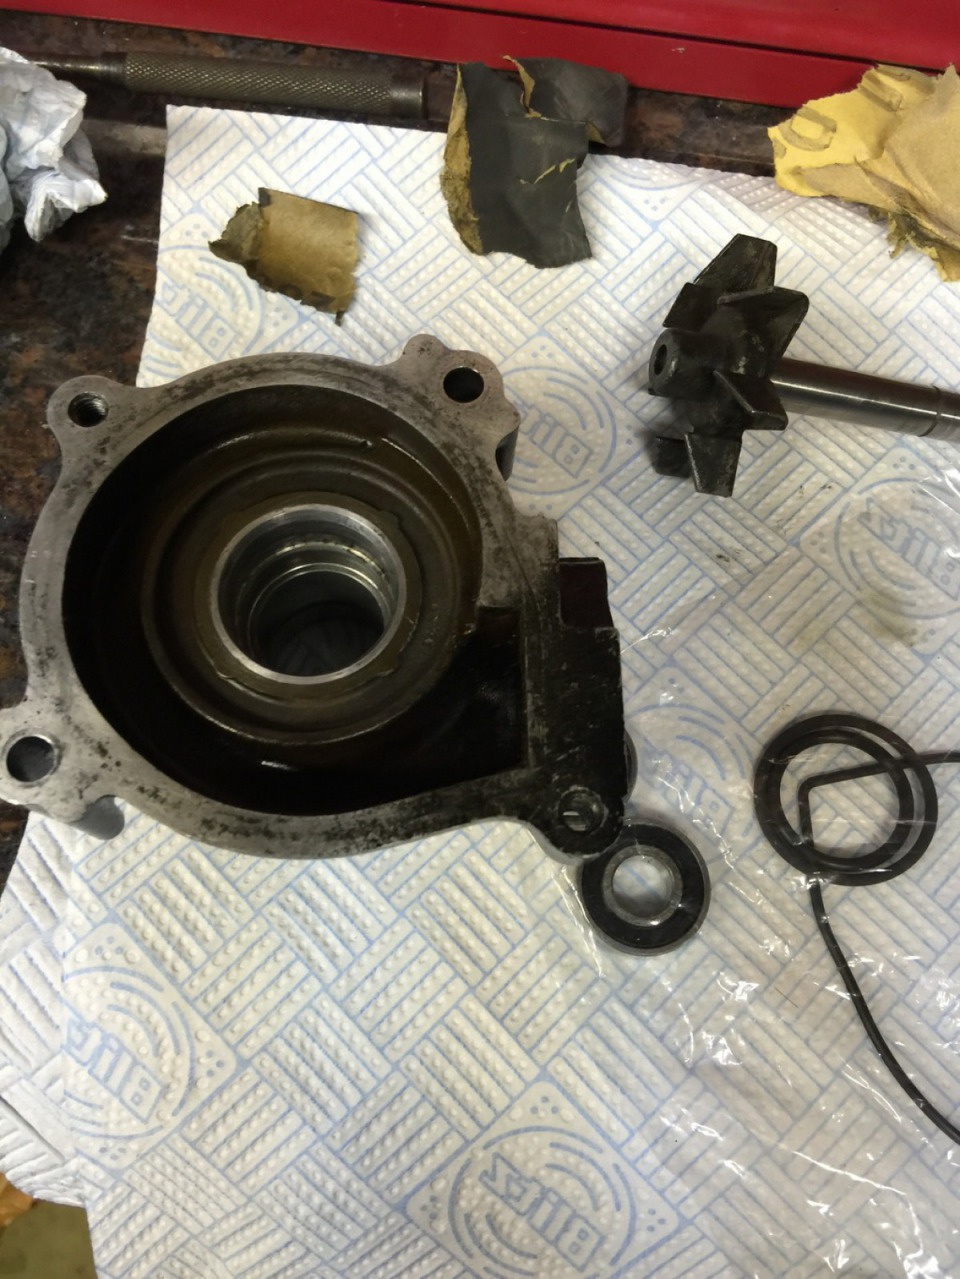
No Oil Leaks
Just two water laeksOne from coolant pipe at the rront of engine.One on the modified Left hand Top Radiator Pipe.Exhasust has to come off to get at the back pipe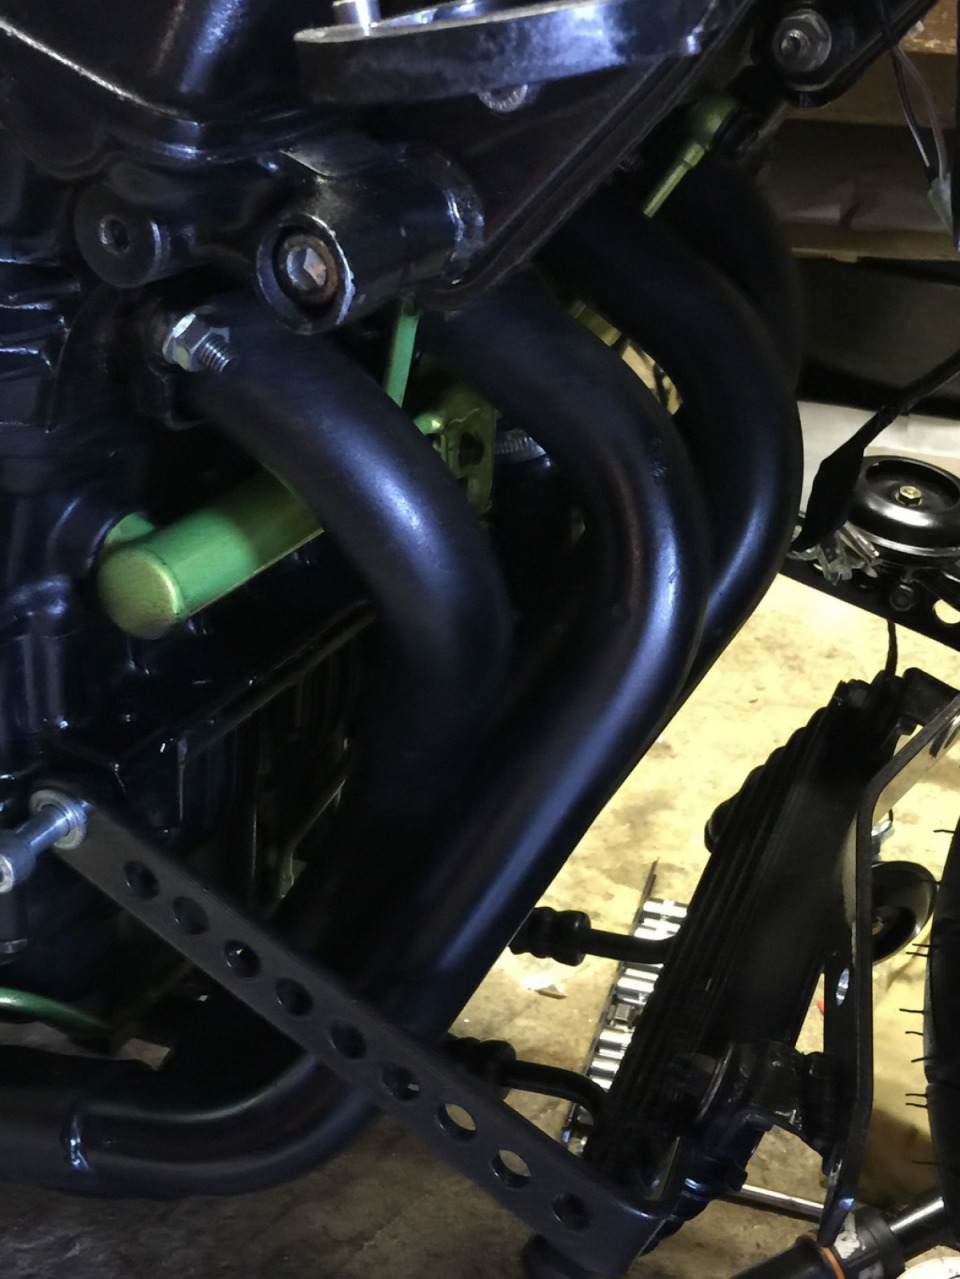
sprayed Exhaust while it was off.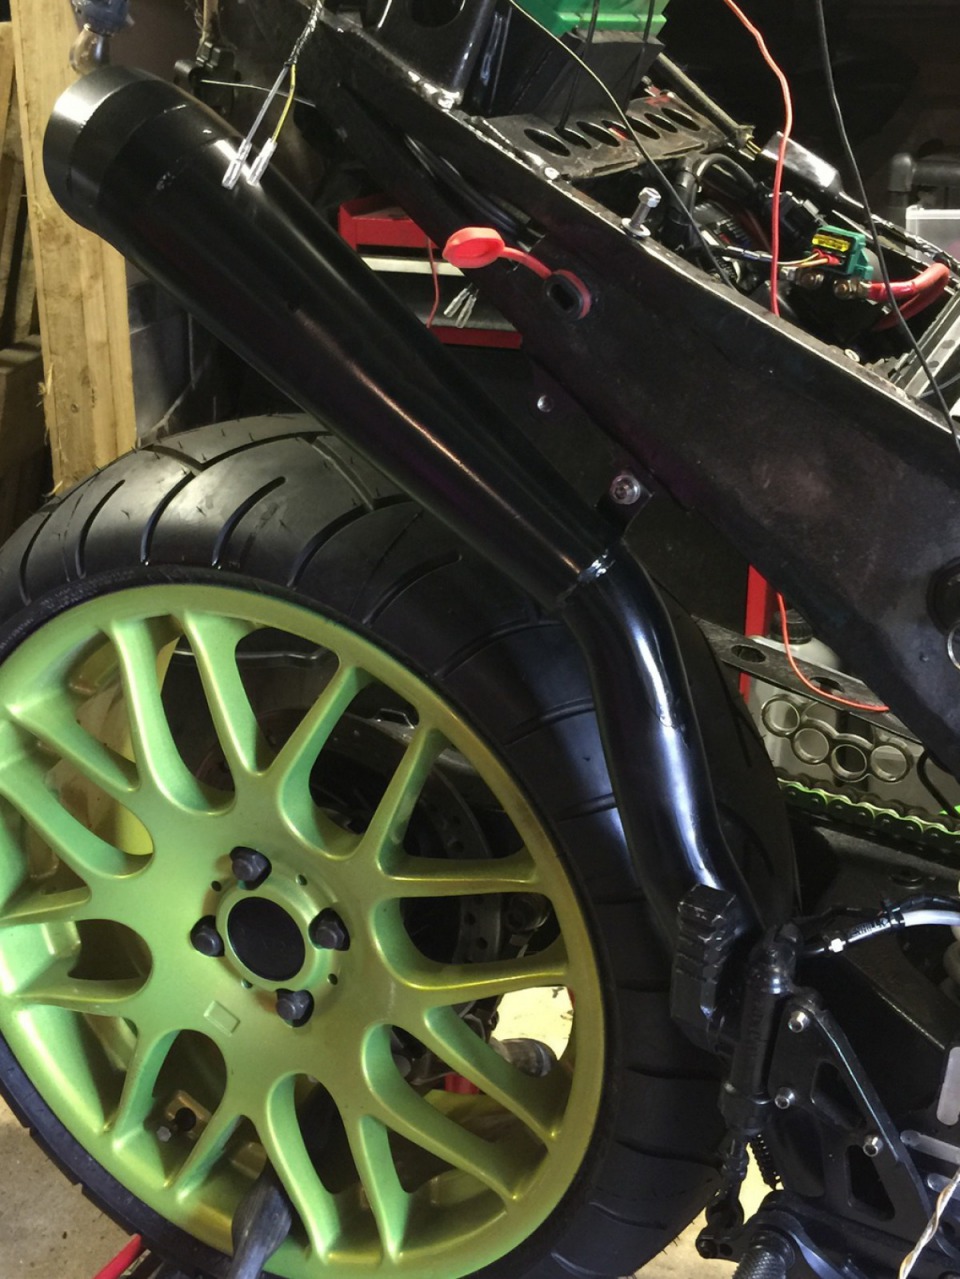
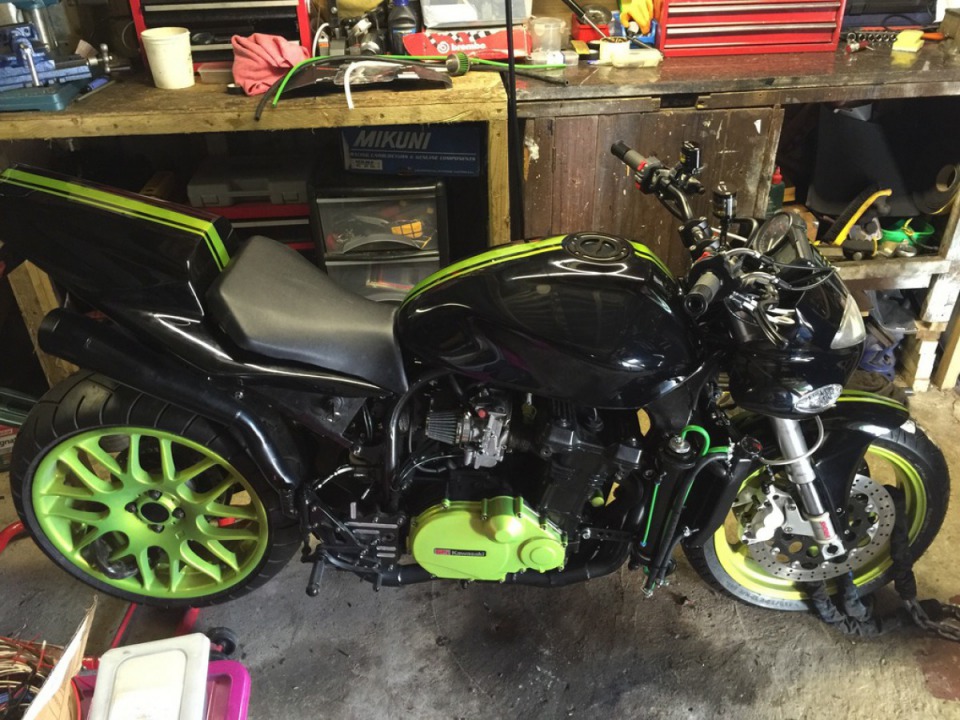
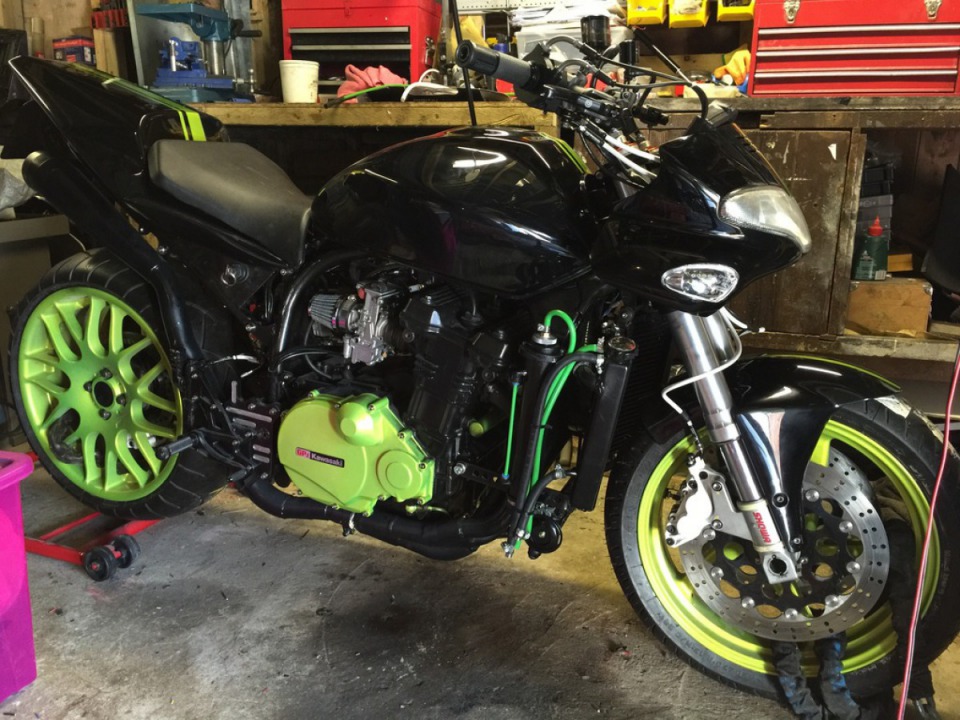
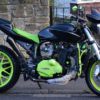
Paint Work all finished.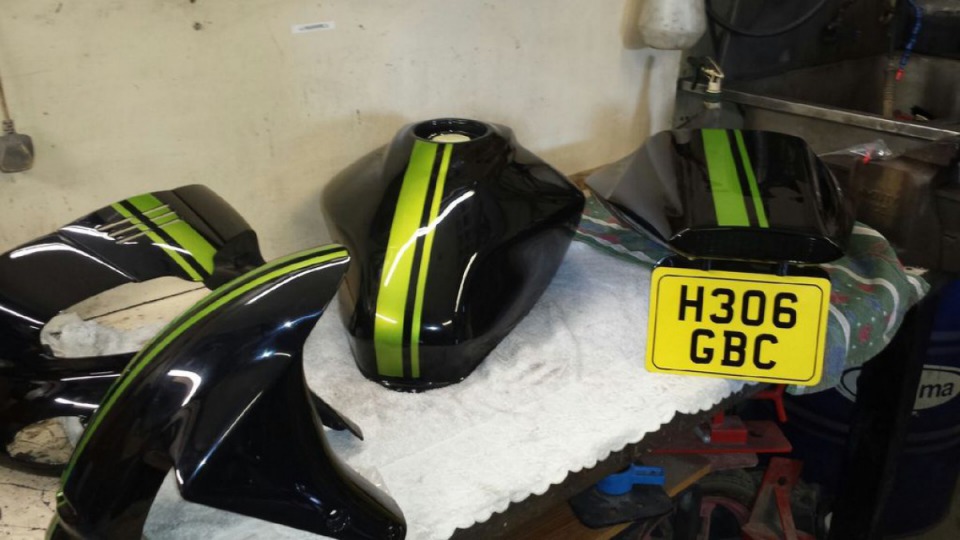
Had to chop 2 inches of the back of the rear subframe,as the light unit is now fitted on an internal bracket inside the rear tail unit, painter recommend this so he could make the rear tail light fit snug and it does.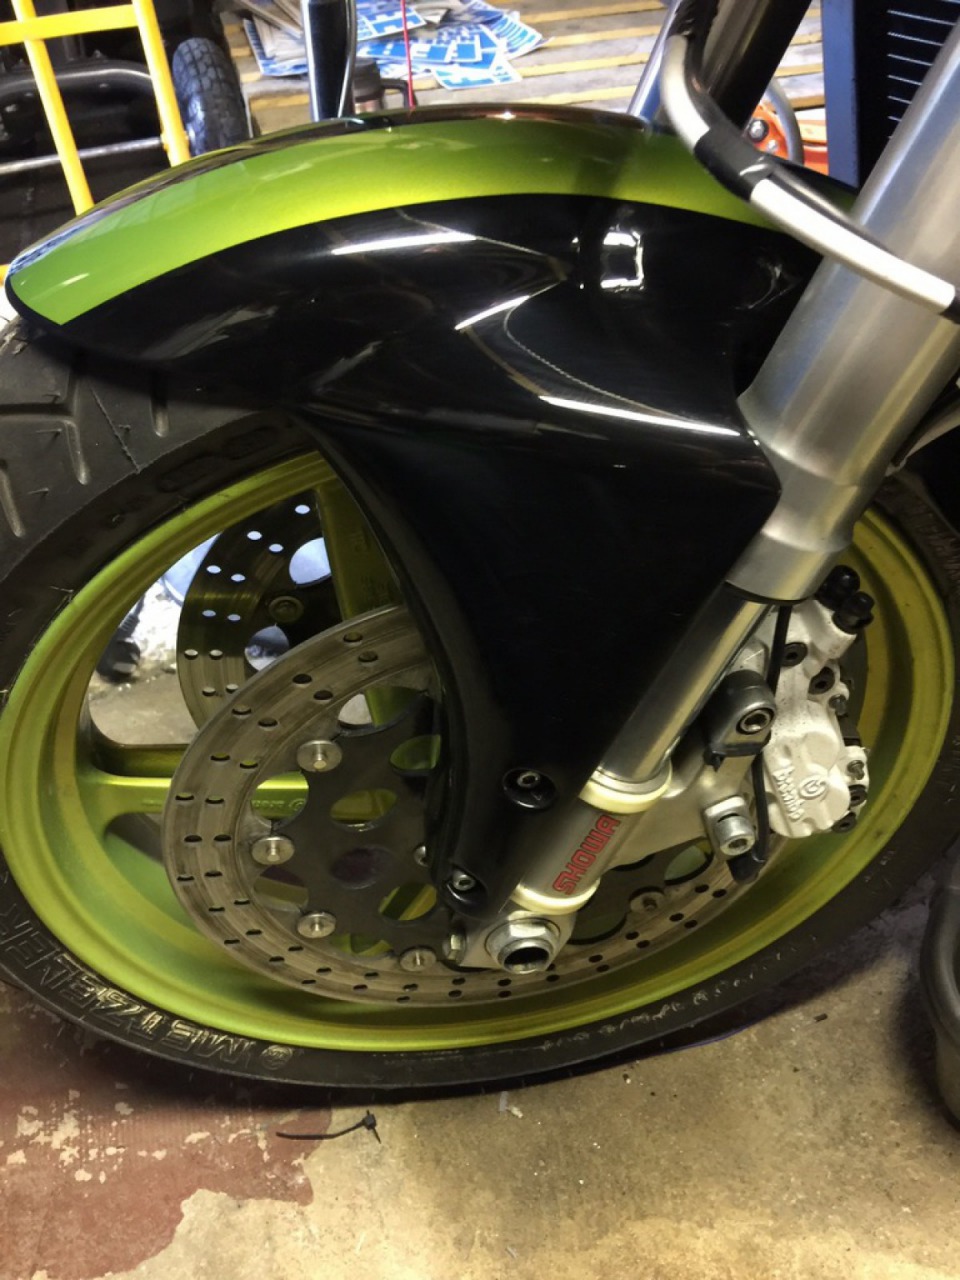
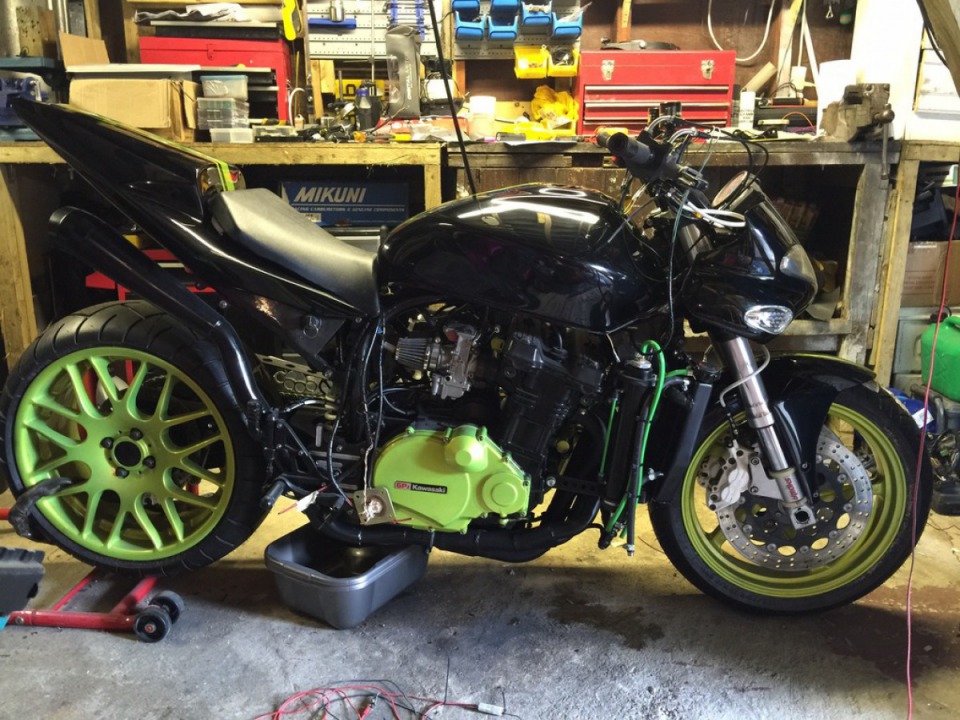
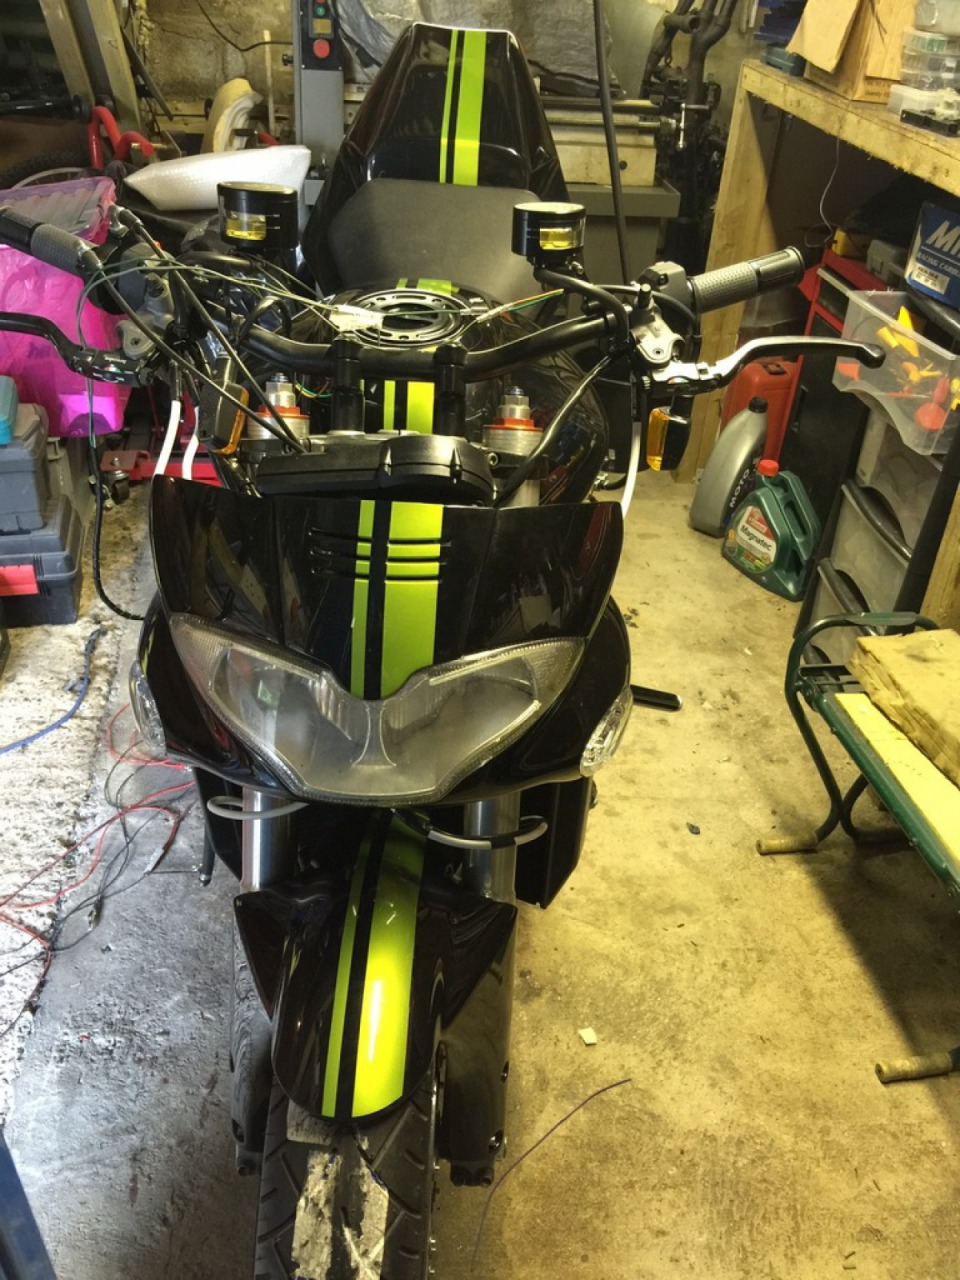
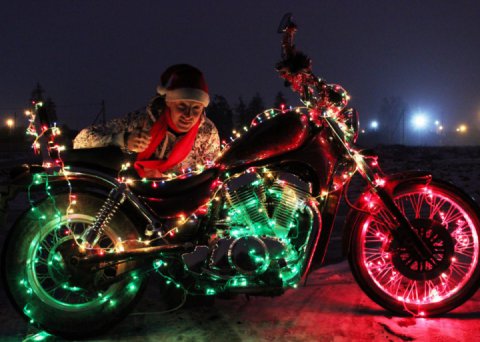
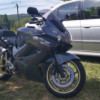
Images of assembled bilke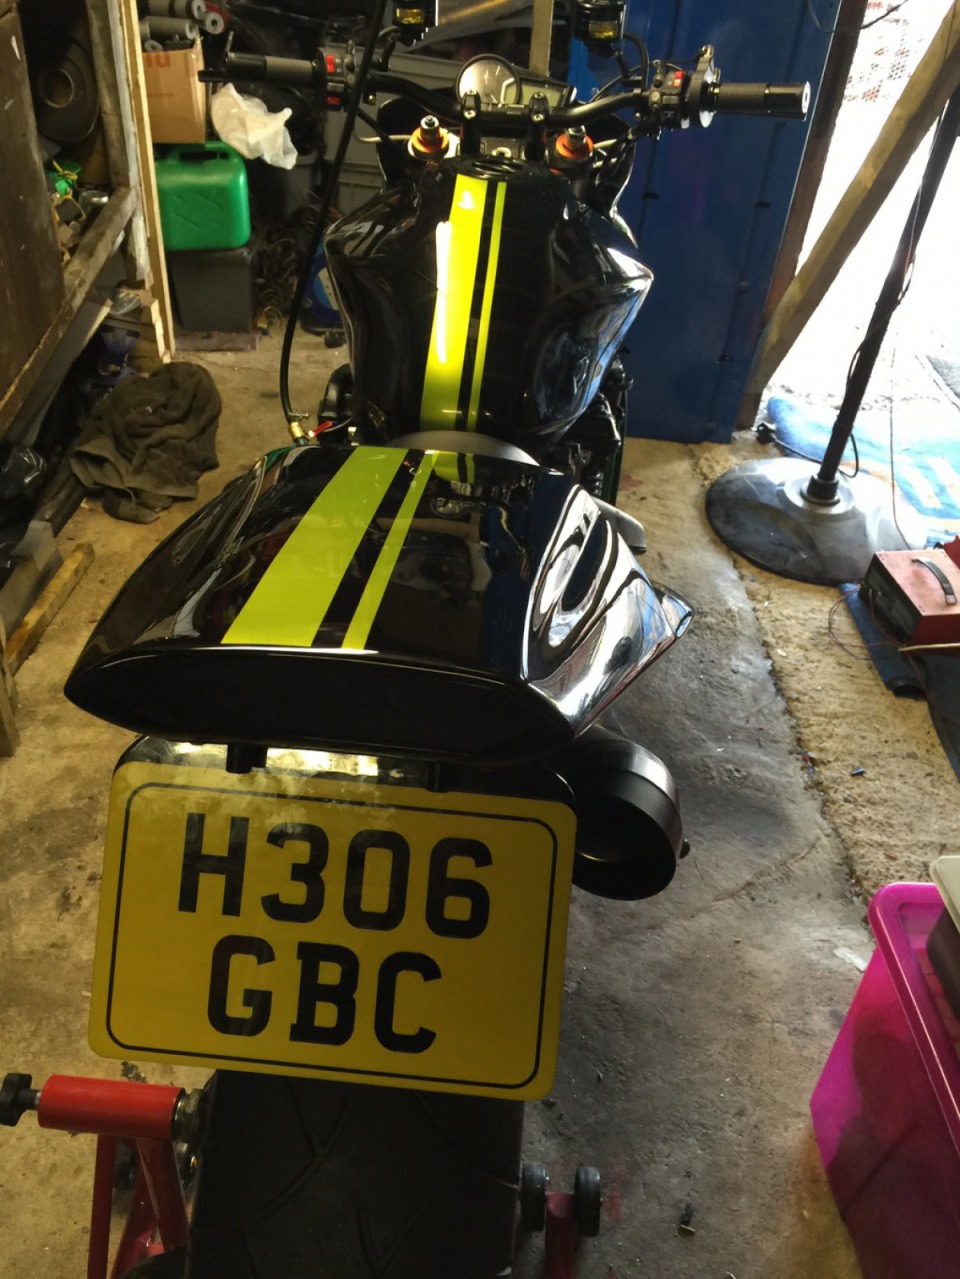
Thank you who's here!, continued in part 9
 Follow
5.1K
Follow
5.1K