How to remove rust from gas tank
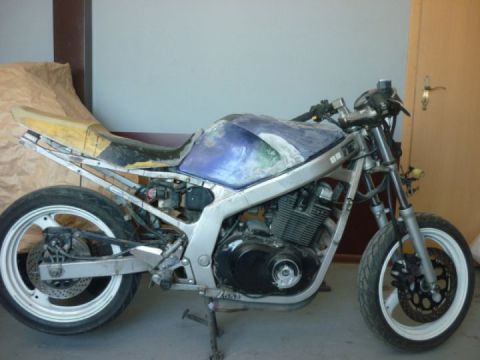
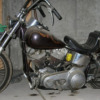
Today I am going to show you how I took care of the rust that was inside the gas tanks on my new winter project. The bike was originally registered in Florida and I suspect it was either in a flood or has been exposed to a lot of salt water. All the wheel and swing arm bearings were worn out with a lot of rust. These parts are not too expensive and are easy to change but when it come with a gas tank, it is more costly and most will try to keep their original tank.
When you have a problem with rust like I had with this project, you can’t simply blast if off like some small miscellaneous parts. We need to take it off with another method….Electrolytic rust removal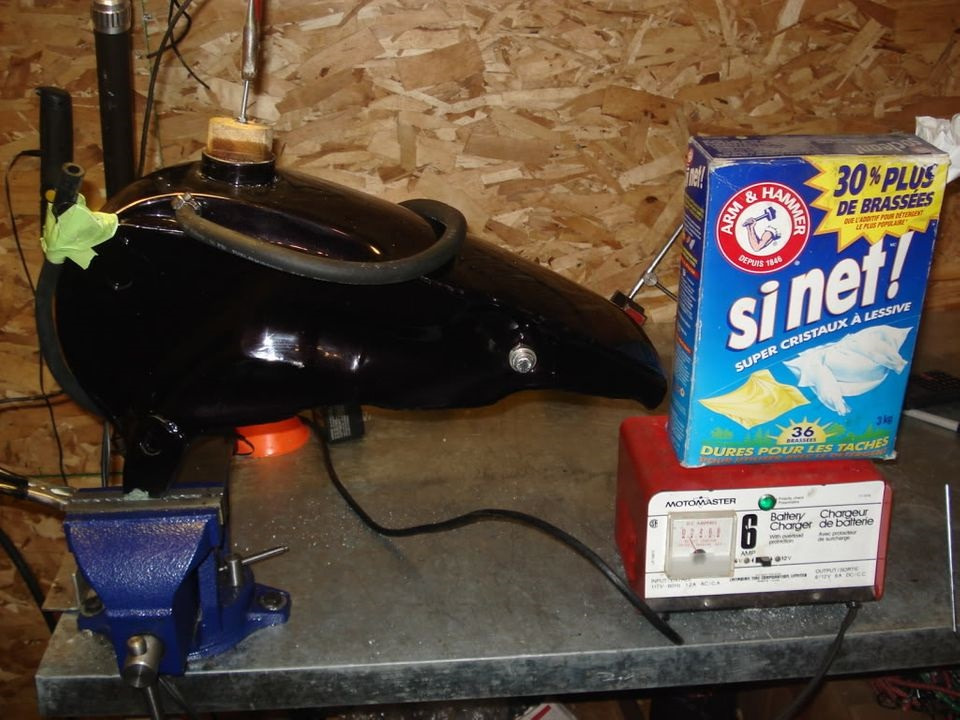
I will show you how I did it ?
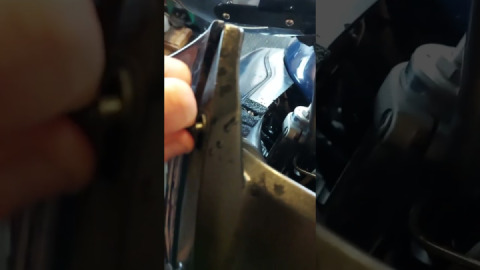
Carefully install the positive post on the rod inside the tank being careful not to let it touch the tank. I use a piece of round wood that I have shaved on both sides to allow the vapors to escape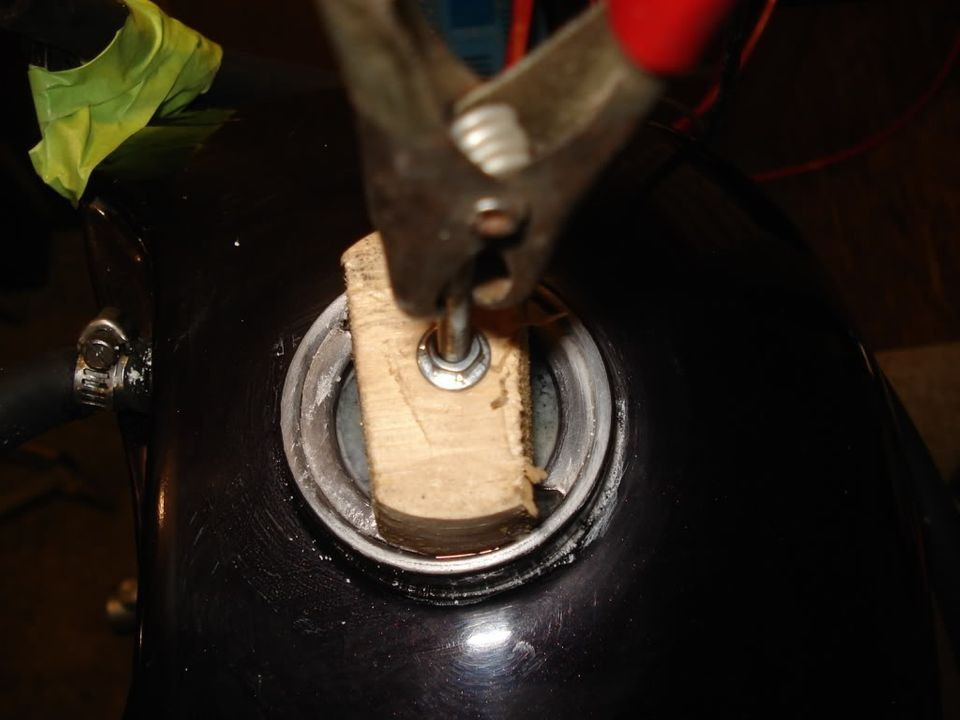
I then secure the ground on the jaw of the vise and tab grounding to the negative. I use the tank itself as the recipient. I normally use a plastic bucket to do the electrolytic rust removal trick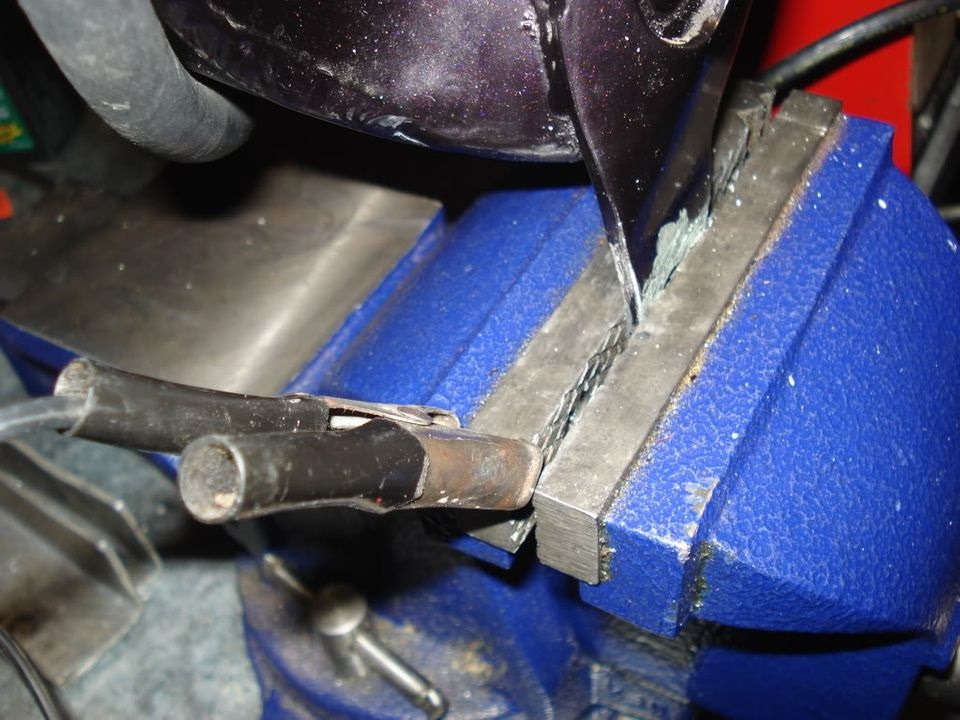
I use a basic battery charger, and after a couple of hours the amps needle slowly drop to almost zero.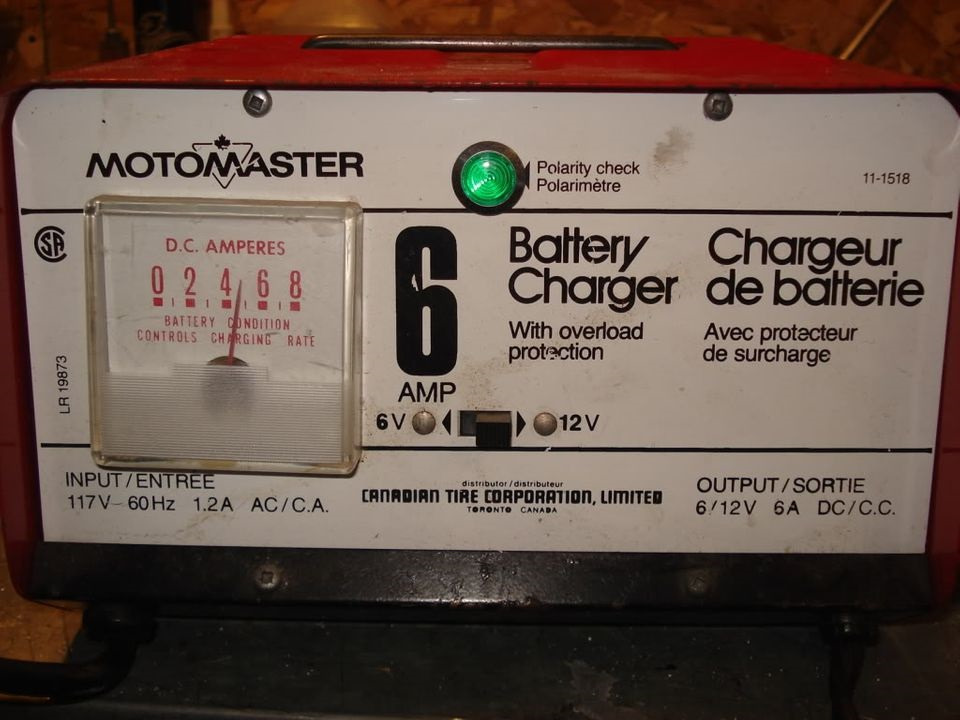
Here is the result overnight approximately 8 hours with my first try with a steel rod…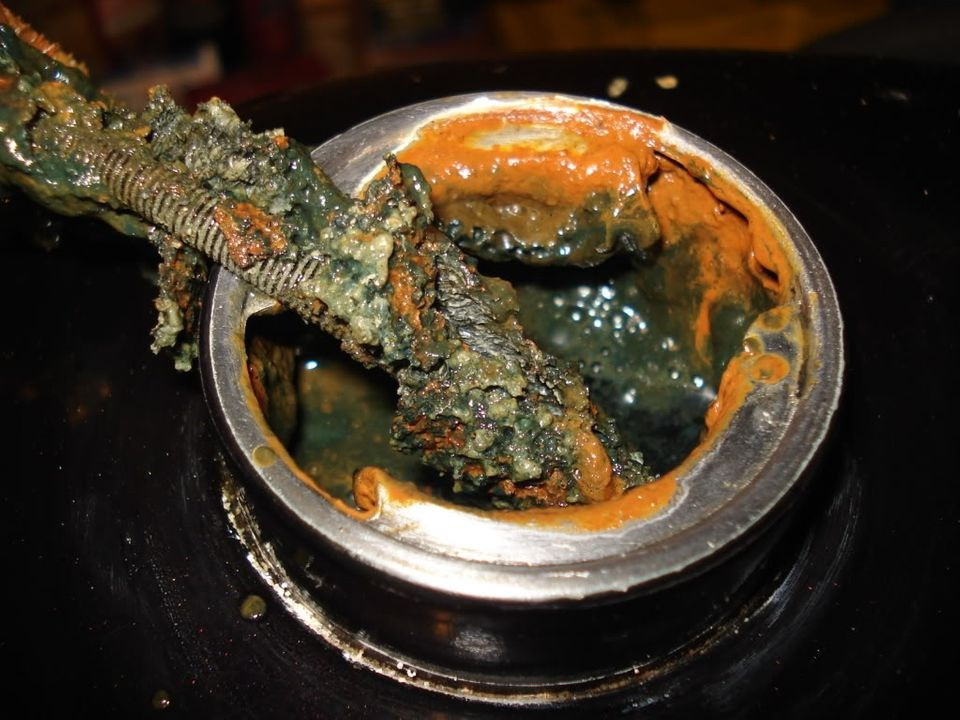
You can see on the complete threaded rods I use (a 1/4 inch bend steel rod) that a lot of rust was attracted to the positive steel rods. The white parts are actually icicles, the procedure took place in my garage with outside temperature of minus 20 Celsius.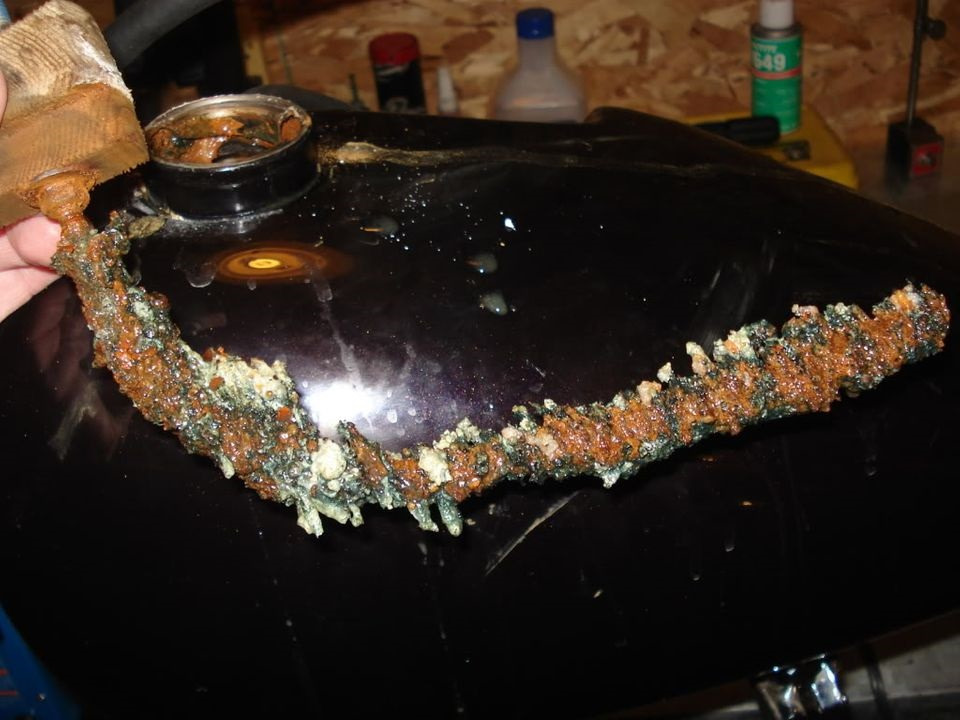
Then, for my second phase I used a stainless steel rod, my steel one was starting to disintegrate and all the thread was gone. You can see that the reaction was not the same, rust was now overflowing over the tank for the same amount of time approximately 8 hours, but that surface rust was easy to clean out.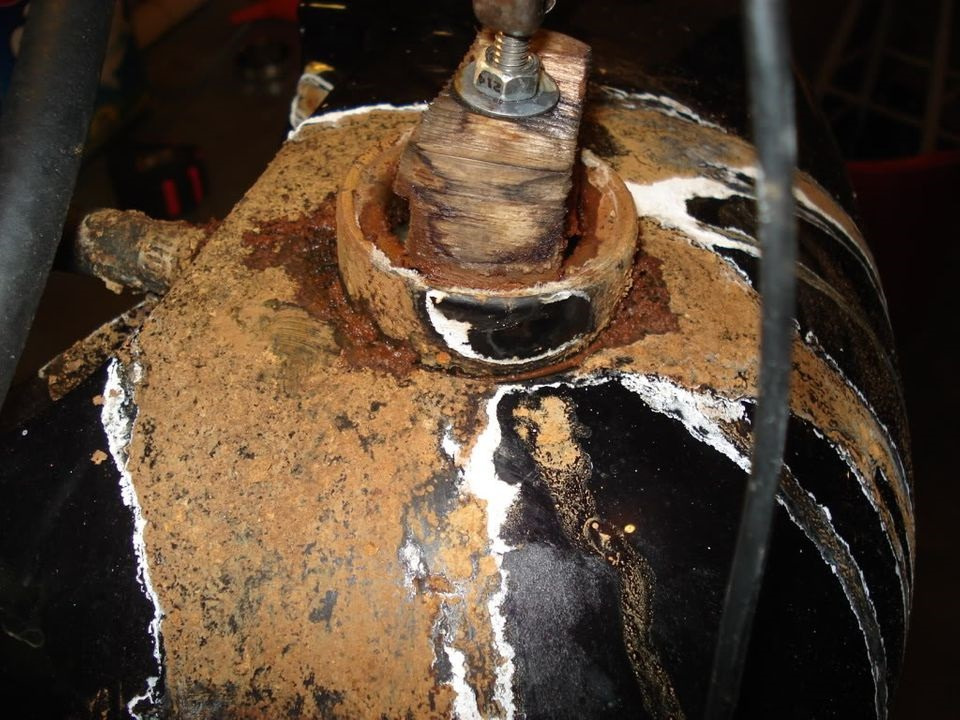
You could see the stainless steel rod started to disintegrated a bit but this one is a lot tougher. Be aware the remaining waste water is full of chromium particles due to my use of stainless steel rods instead of the iron particles left by the steel rod. Not a good thing to get rid off.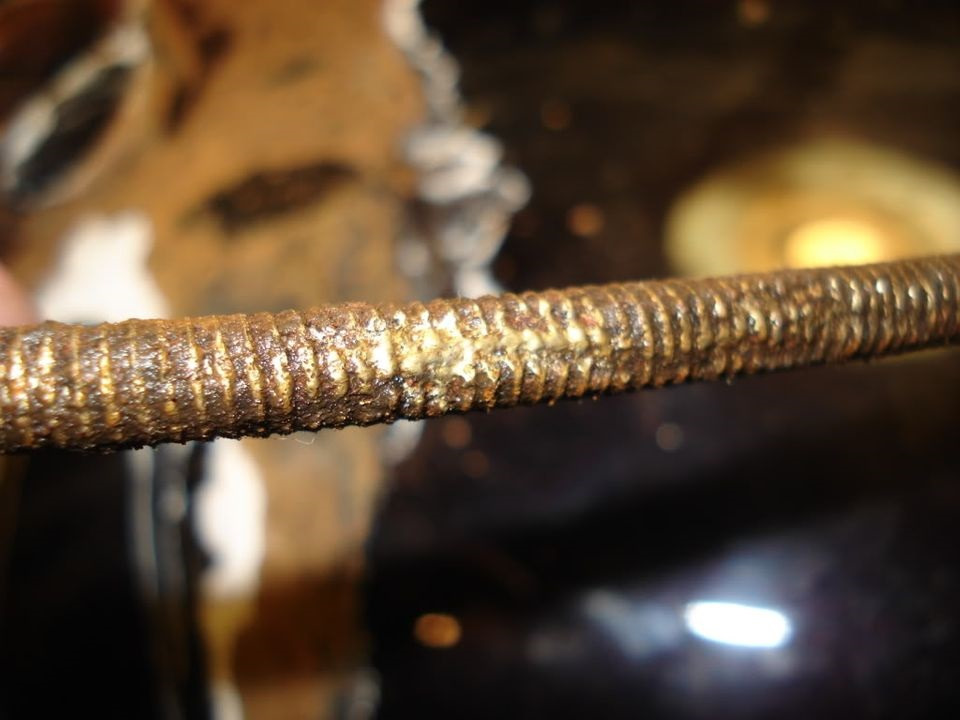
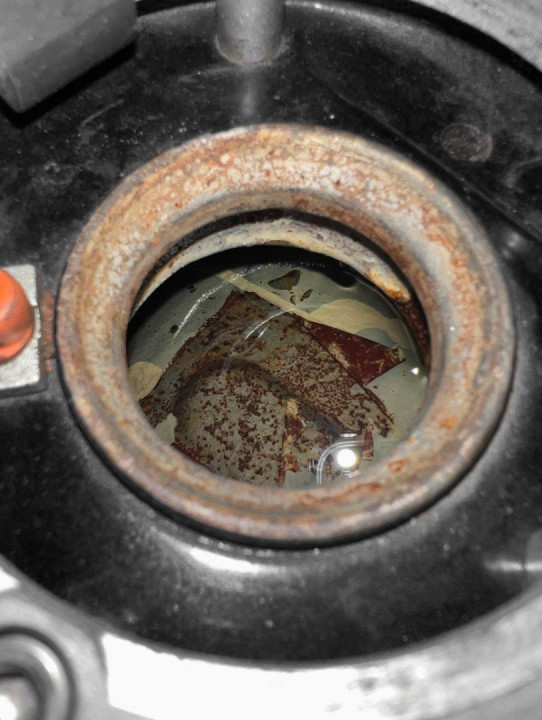
Just to give you an idea of what those tanks look like before the electrolytic process, it was hard to take clear pictures inside the tank, but you still could see the difference. Both tanks were almost identical with rust almost all around inside.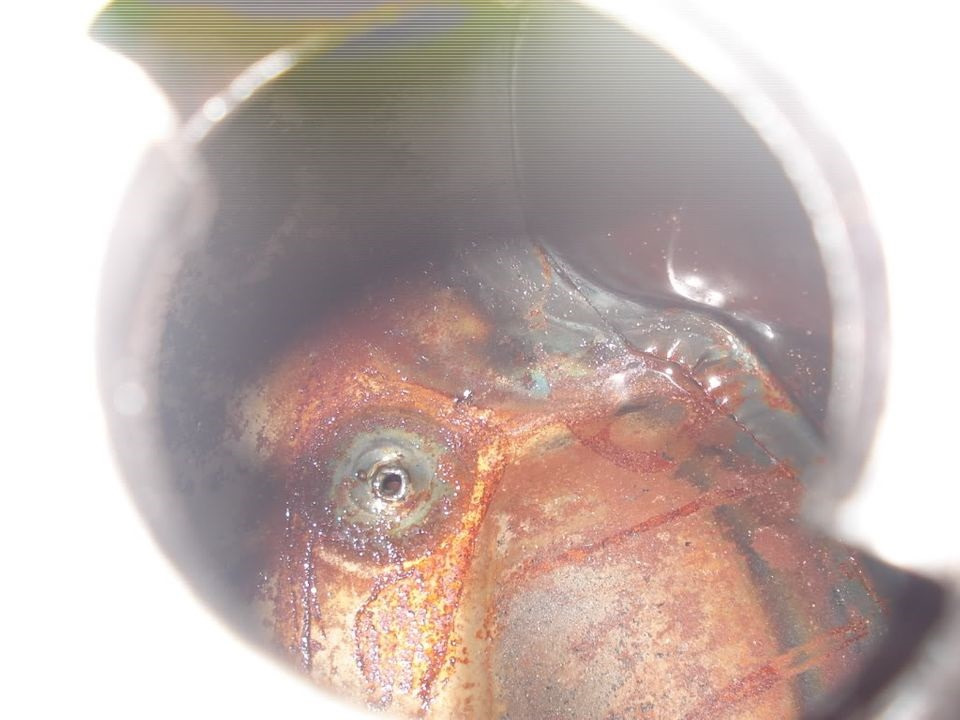
This one was just rinsed with plain clean water. Those who are using nuts, balls or anything else and shake the tank would achieve better result with almost anything left but near new metal.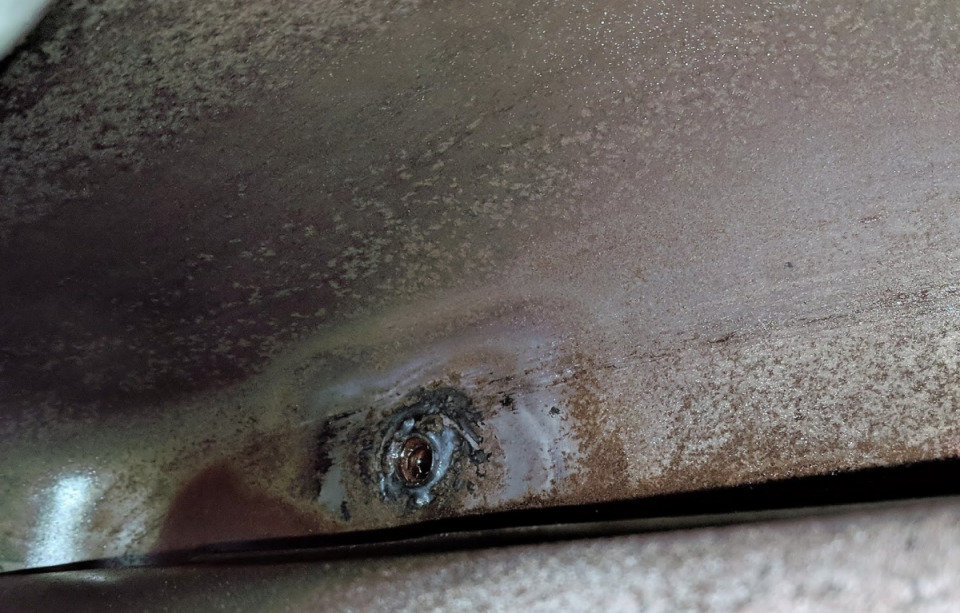
This process was to demonstrate a way to get rid of the rust inside the gas tanks. Overall it took me about a week for both tanks and I am quite satisfied with the end results. These tank would have be cleaner but I did not have the “dryer” option. That would have been if I used the laundry dryer with nuts and bolts inside the gas tanks with a blanket wrap around tanks and the clothes dryer set on the gentle cycle. I actually tried it, but the dryer was moving around on the floor,…..but don’t worry my wife was not at home when I did the test ?
I am sure some of you have the same problem and do not want to buy new aftermarket tanks, So I hope you consider this simple and inexpensive way to do it. As always I hope you have enjoy this article.
 Follow
5.3K
Follow
5.3K