How to Clean Your Motorcycle Helmet
Winter is a very good time of year to sort through your riding gear, clean it and prepare it for the new season. And since rather few fellows ride during the winter in the northern hemisphere, cleaning your motorcycle helmet is one of the good ideas ahead of the first spring outings.
Far more dirt than you think
For starters, you should know that the helmets become far more dirty than you'd think in the first place, and you don't have to be a motocross or hard-enduro rider for this. Just think about how your hair gets dirty and oily in the everyday life, without doing anything special.
Now multiply this several times, and add the confined space in your helmet, during long hours of riding. As for guys like me who ride on a daily basis to work, shopping and fun, things are even worse!
Helmets do get dirty, both on the outside and on the inside, but while the outer shell can do with minimal maintenance every now and then if you're not babying it, the inner liner has a slightly different story.
Stinky and itchy
Problem is, if you don't clean the interior of your helmet say, once a year or more often, if you ride a lot, the dirt which accumulates in there can make you hate your lid. Left unwashed for a long time, the inner comfort liner will start to stink, and you'll not appreciate riding with the odor.
Even more, all the dirt in there will eventually cause you skin problems. Sweat, combined with dust and accumulated dirt cannot produce any good result in conjunction with your facial skin. And you don't have to be a pretty lady to value a fair skin.
It's just that pimples and zits and whatnot are much better avoided than treated. So remember that as you wash your face everyday and hair once or twice or even more times a week, because they get dirty, your helmet has a much worse fate.
Preparation
First of all you should know that taking good care of your helmet is no rocket science. Everybody can do this at home, and the prerequisites are only minimal. All you need are several household tools and a bit of care; the rest will be easy as pie.
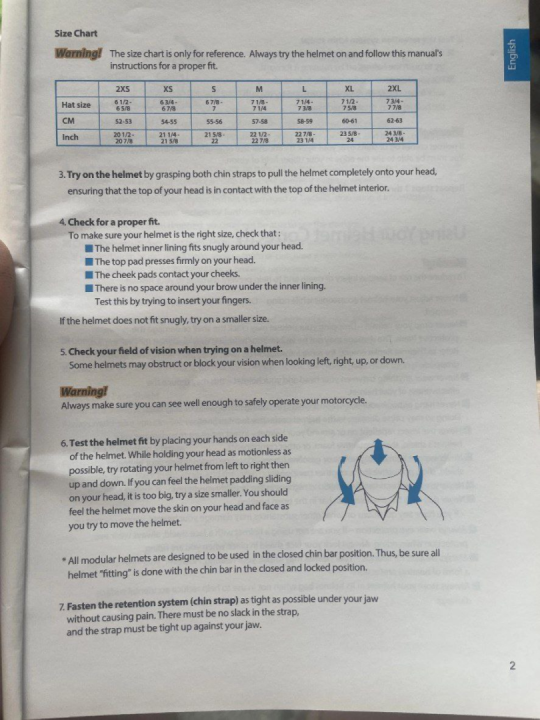
In order to clean your helmet properly, you'll have to disassemble some parts, so you'd better check with your manufacturer's manual or online resources and learn how the various removable parts come off and must be afterwards put back where they belong.
Doing so will spare you the unpleasant breaking of things and the costs. Helmets are tough, but their moving parts are not made of titanium, so they will break if handled improperly.
Your toolkit should include an old, soft toothbrush, some cotton buds, maybe a toothpick, lint-free wipes or cloth, a soft, non-abrasive sponge and some baby shampoo, in case you're willing to do things on a budget.
However, getting some special cleaning products for helmets is not exactly expensive and leads to good results, as well.
For starters, none of the cleaning foam products I've tested worked as magical as advertised, so I decided that money spent on beer is a much more enjoyable way to budget things. So instead of spending money on fancy "dry cleaning" foam cans and get only a quarter of the job done, better grab some beers to go with the cleaning of your throat.
Take your time and remove the visors without breaking their "ears" and place them on a towel so they don't accidentally get scratched. It's no use if you clean your lens, but scratch it in the process.
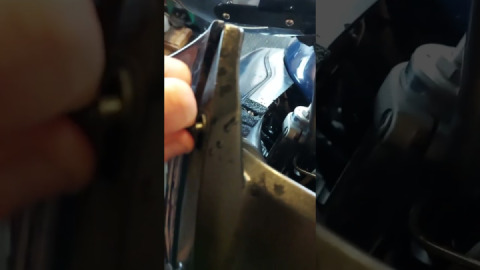
You should remove all the parts that can be removed, such as the visor, beak, cheek pads, chin curtain, nose guard and all. Once more, be careful tearing your helmets apart: if things seem like they are breaking under excessive force, be more gentle, lest they break.
You can use the toothpick and the brush to work on the tight crevices around the vents and seals, places where dirt and remnants of dead insects tend to accumulate, too. Gently brush these places clean, you'll be coming back here once the lid is all soaked.
When your helmet is bare naked, it's bath time, and in case yours has mud on it, gently washing the mud off under a stream of lukewarm water is the best way to start.
Non-removable liners
Some older helmets and the cheap ones come with non-removable comfort liners. Some of them have removable cheek pads, though, and we'll mention them in the other chapter. In case your helmet has non-removable padding, then a full bath is on its way.
You can use pretty much any container which can fully accommodate your lid, and to make sure you don't damage the outer finish, placing a towel on the bottom of the bucket or bath tub is a very good idea.
Fill the container with lukewarm water and sink the helmet. Massage the padding so water penetrates it fully and keep squeezing it gently. This step will put the big pieces of dirt on the move.
Add shampoo to the water and agitate to create a rich, dense lather. Lather contains both the cleaning product which dissolves the dirt and air bubbles which force grime out of the spongy material. Therefore, you should keep on massaging the liner until the soapy solution impregnates it fully.
Take your time to do this, as it is the only way dirt and repugnant smells can be eliminated and your liner restored to cleanliness.
Remember the vents? As you wash the interior of the helmet, the dirt in the minuscule crevices is also getting wet, and a quick pass with the toothbrush will leave them squeaky clean.
Now it's time to rinse your lid, and by all means, this process needs at least as much care and patience like anything else until now. That's because you must eliminate all the detergent, shampoo, soap and whatever cleaning agents you've been using.
If you don't clean the interior very good, the remaining cleaning agents will give you a very hard time. And if you need to know exactly what can happen, next time you wash your hair, try to only rinse half or three quarters of the shampoo and then see to your casual program.
Honestly, you don't have to put yourself through this. Just trust me and rinse your helmet thoroughly. Multiple times! You can use a medium-pressure shower or water hose, and dousing the helmet in clean water several times while repeating the “massage” routine will surely clean the liner.
From this point, the rest of the operations coincide with the one for the other helmets.
Removable liner helmets
With removable liner helmets, things are much easier and require a lot less human intervention. Basically, after you've carefully removed the liner and the cheek pads, all you must do is place them in a washing net, and throw them in to the washing machine, preferably with other more delicate clothes, on a gentle cycle.
They will come out clean and smelling pretty, ready to take their usual place. As the washing machine does its job and you enjoy the beers, it's also wise to clean the EPS liner inside the helmet.
EPS is not resistant to either high temperatures and chemical agents, so you should use a piece clean, lint-free cloth, water and a mild soap, shampoo solution to wipe it clean. The EPS liner also gets dirty and retains unpleasant smells, so having it carefully cleaned is a good thing.
Shells, visors, beaks
First things first: thou shalt not use strong chemicals, solvents, petrol-based compounds, abrasive ones for cleaning the helmet shell. Most of these will damage its finish, in the best-case scenario. In the worst-case scenario, such chemicals will damage the integrity of the shell and even render your helmet unusable.
For cleaning the shells, a soft lint-free cloth, or non-abrasive sponge with the same mild soapy or shampoo-ey solution works just fine. Some riders use a 50-50 solution of household, alcohol-based window cleaner and water, which seems to work well, too.
Gently cleaning it and wiping it dry does all the magic you need: the helmets' finish is not that easily stained so cleaning it this way should be just fine.
The beaks of MX helmets can be rinsed in water and the same treatment will leave them clean and ready for installation.
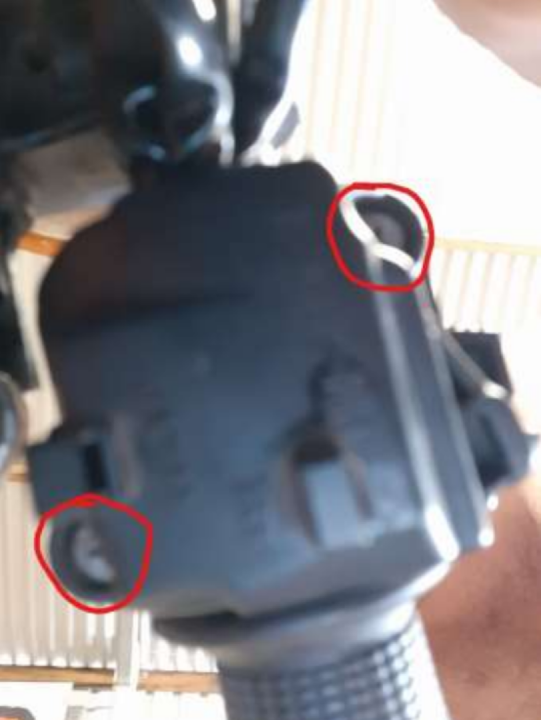
Visors, on the other hand, are a bit trickier, because handling them improperly can damage them. If your visor comes with a Pinlock lens, you must remove it prior to cleaning. Carefully screw the pins in the visor and remove the Pinlock.
Both the Pinlock and the visor are susceptible to scratches, nevermind the scratch-proof advertising. You should use special cleaning products for the visors, to stay on the safe side. It's been more than once when products riders thought they were harmless damaged the helmet visors.
usinga washing bag for the interior linis is wise
Damage can mean, adding coloration to a clear visor, or discoloration to a tinted one, adding “fog” and making images blurry, and so on. Just like in the case of the shell, abrasive products are an obvious no-no.
Drying
The most advisable way to dry the helmets and especially their inner liners is not accelerating the process by leaving them in direct sunlight or using sources of heat, such as hairdriers and the like.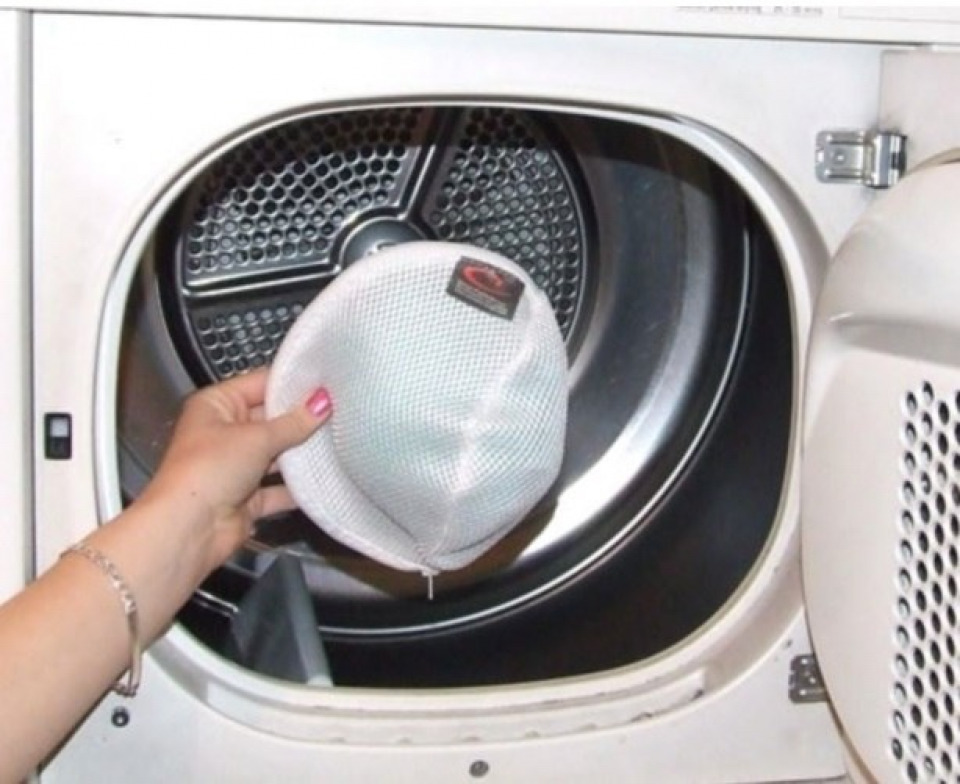
Likewise, hanging the comfort liner to dry may change its shape and make placing back inside the helmet difficult. The safest way, though the slowest, is reinstalling the liner in the helmet and placing a fan in front of it.
The steam of air helps water evaporate, while the vents and channels in the helmet wick moisture away. It may take some time, but gives the best results. Or, if you're riding in very hot weather, wearing a wet helmet will help you beat the heat and ride in enhanced comfort.
Just before you reassemble all the things you tore down from your helmet, you can use silicon grease sparingly on the moving parts to reduce friction, eliminate squeaks and help things work smoothly.
Finally, using a special carrying and storing bag for your helmet keeps dust and dirt out, and you can use it even overnight. Oh, and do avoid leaving your sweaty gloves in the helmet!

 Follow
4K
Follow
4K