ZX 14 Cruise Control
NOTE: This information is for educational and entertainment purposes. Take this information with a grain of salt and good sense of humor. I does not advocate that you try this at home, or anywhere else.
SAFETY WARNING: This modification, if improperly done, can be life-threatening. If you know how hard the ZX14 can accellerate, you know that you only want it doing that when you intend it to. If you are not extremely careful in performing this modification, the throttle could inadvertantly open at an inappropriate time, potentially resulting in a crash and/or injuries.
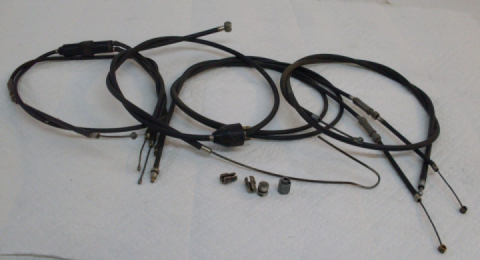
The first order of business was to check the contents of the box, inventory and see if special tools were required. They weren't. The 2nd, and probably most difficult obstacle to getting started is where to put the monster sized servo. Before pulling the fairings, I test fitted the servo in a variety of places; it won't fit under the seat (but a S&W J, K, L or even an N frame revolver will, incidentally), there's practically zero room inside the back fairing, tail section, or underneath. Finally, I took the servo & bracket and test fitted them along the rear subframe rail on each side. This would work, but would inhibit my ability to haul cargo. I resigned myself to removing the fairing to check out the throttle linkage and consider the mounting area for a while.
With the fairings off, and the bracket removed from the servo, I was able to test fit the servo into a gap above the lower portion of the engine case, just above the oil fill on the right side of the bike. See the top picture on the left. With the cable facing rearward, the unit would fit and function. I left it stuffed into that empty space and when I came out the next day tried one more time to scheme another mount. Nothing else looked practical, so I began running the cable to the other side of the motorcycle where the very convenient throttle linkage is. The cable runs underneath the tank, through the frame, and up along the left side. The vacuum canister fit unmodified into another gap on the right side behind the fairing. It's nestled on top of the valve cover, underneath the main frame spar. See the middle picture, left. Hooking that up was incredibly easy. I took a short section of vacuum hose and inserted a "T" connector before the #4 carb vacuum port. I sent the hose to the "Man" port on the vacuum can, and the remaining port went to the CC Servo. Note in the picture below I left extra vacuum hose to allow for the servo or vacuum can to be pulled out without creating a mess of disconnected stuff.
With these two hurdles overcome, the next was the throttle linkage. This is the part of the project which gave me the most cause for concern. The linkage has to be free from obstruction on both directions of travel. Fortunately the ZX14 linkage is exposed on the left side of the bike.
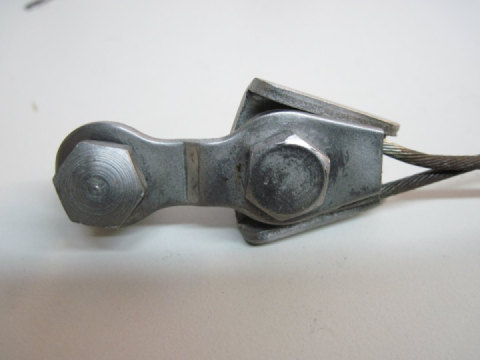
I tried several different mock ups and came to the conclusion that there wasn't a practical way that I would be able to run the cable in the same direction as the throttle cables. I wanted no obstruction, and no bending, cajoling or other questionable engineering practices involved in this part of the installation. Finally, I began actuating the throttle eventually locking it in the open position. With a brief mock up I was able to make a fit with a link to the throttle stop tab of the throttle linkage. See the picture ...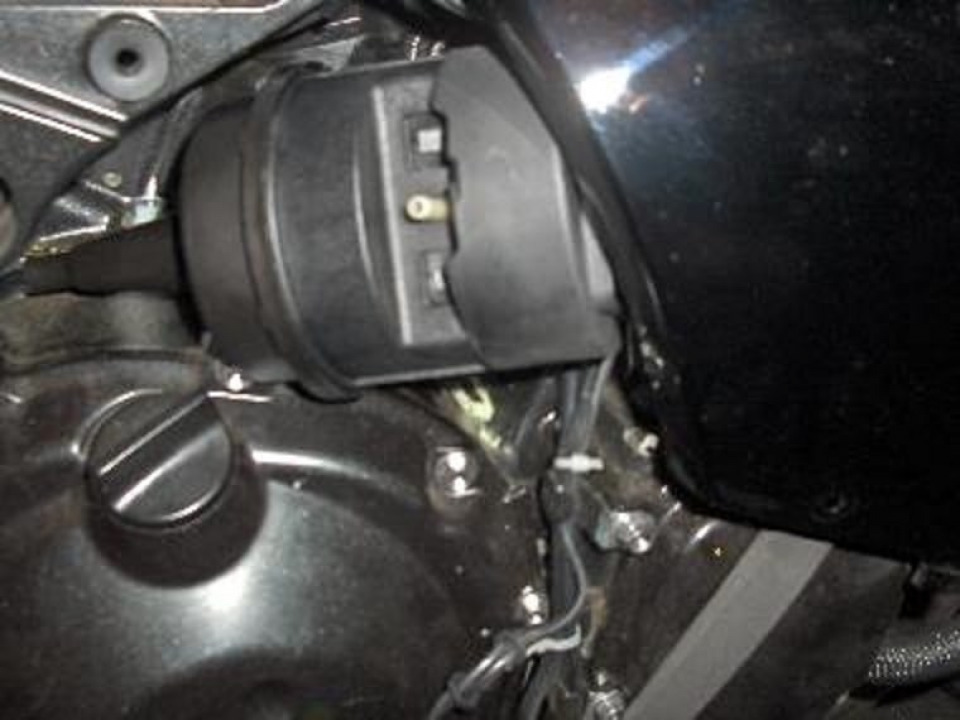
Here's the servo, oriented in the correct manner. Exposed is the vacuum port, and in the front is the wiring harness & dip switch access.
Here's the vacuum can, nestled between the top frame spar and valve cover.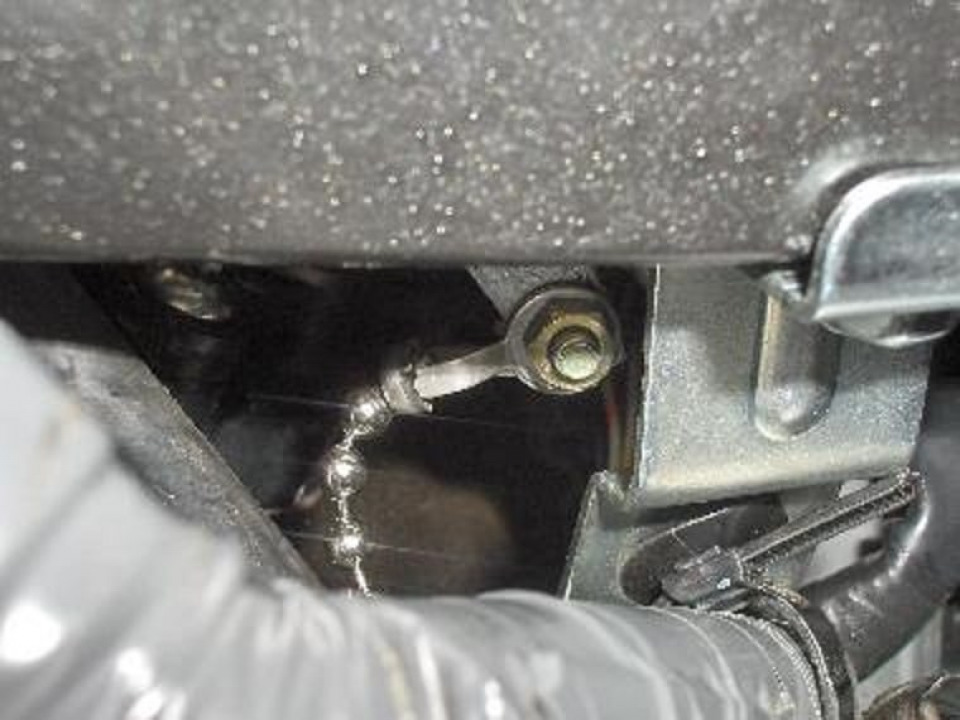
Here is the cruise linkage hook up I used.
I will split the post into several parts because there is too much text, read the continuation in the next part.

 Follow
5.7K
Follow
5.7K