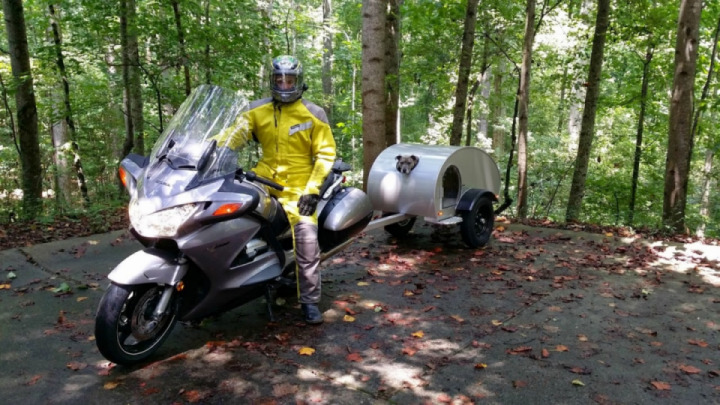
Trailer for Your Pooch, part 2.
Freshly painted. Here is the only place you’ll see the spray foam inside.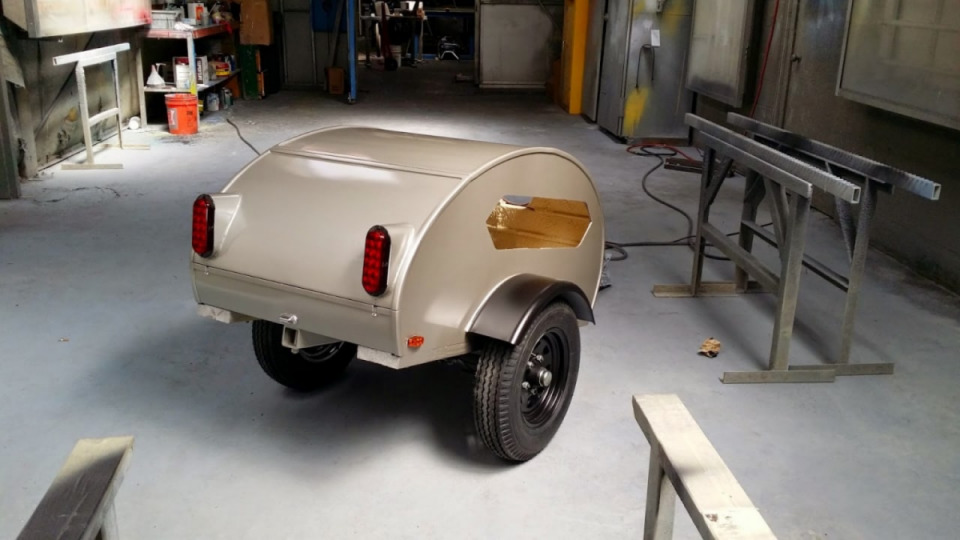
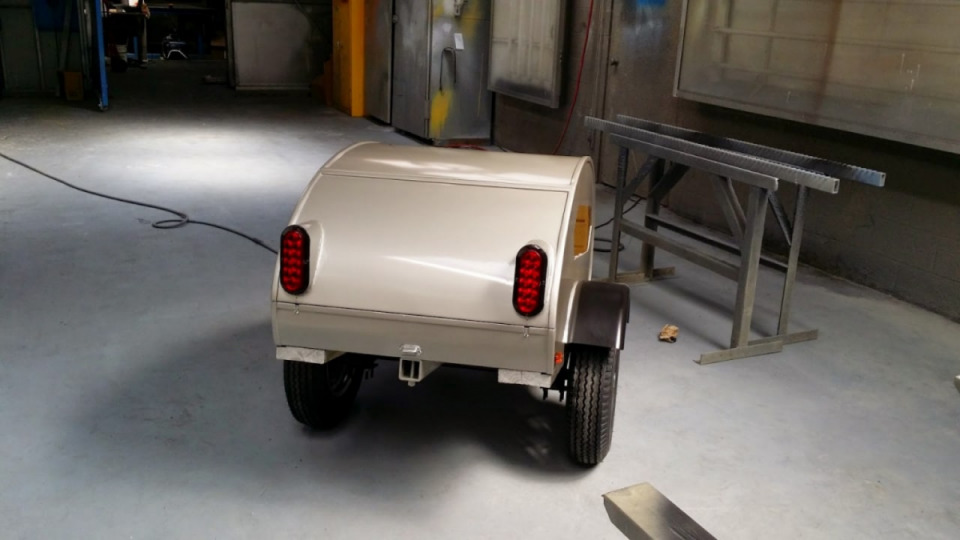
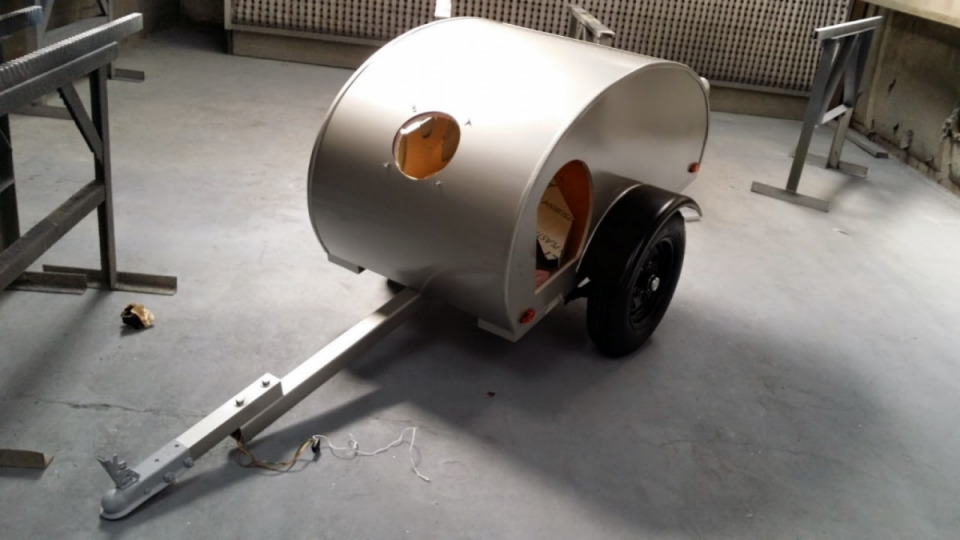
Rear bumper made of (you guessed it) aluminum composite material. Mirror finish. The plate should fit between the sloped lines. Attached with VHB Tape and silicone and will be screwed but I want to make sure the plate will hide the screws before I do it.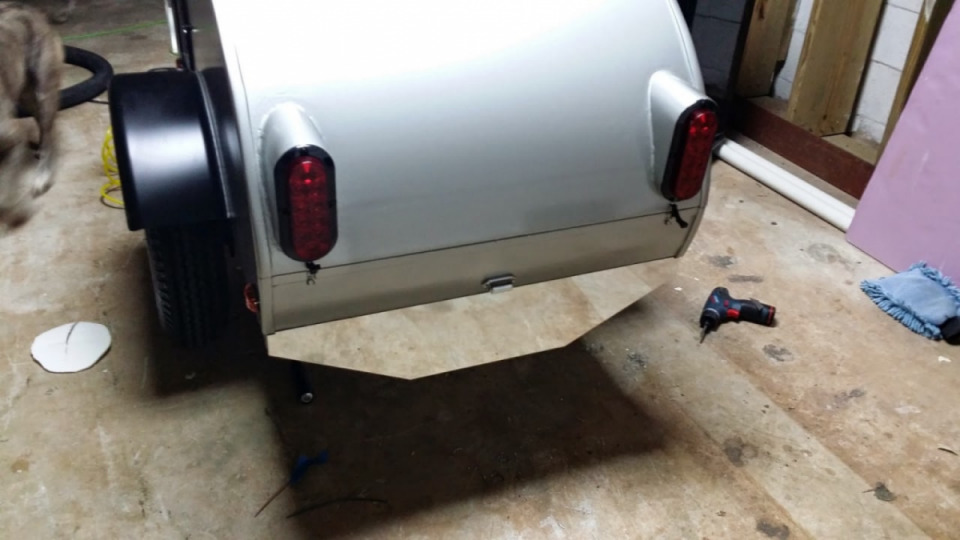
Finished lexan door and new step which is large enough for Maggie to use rather than jump over.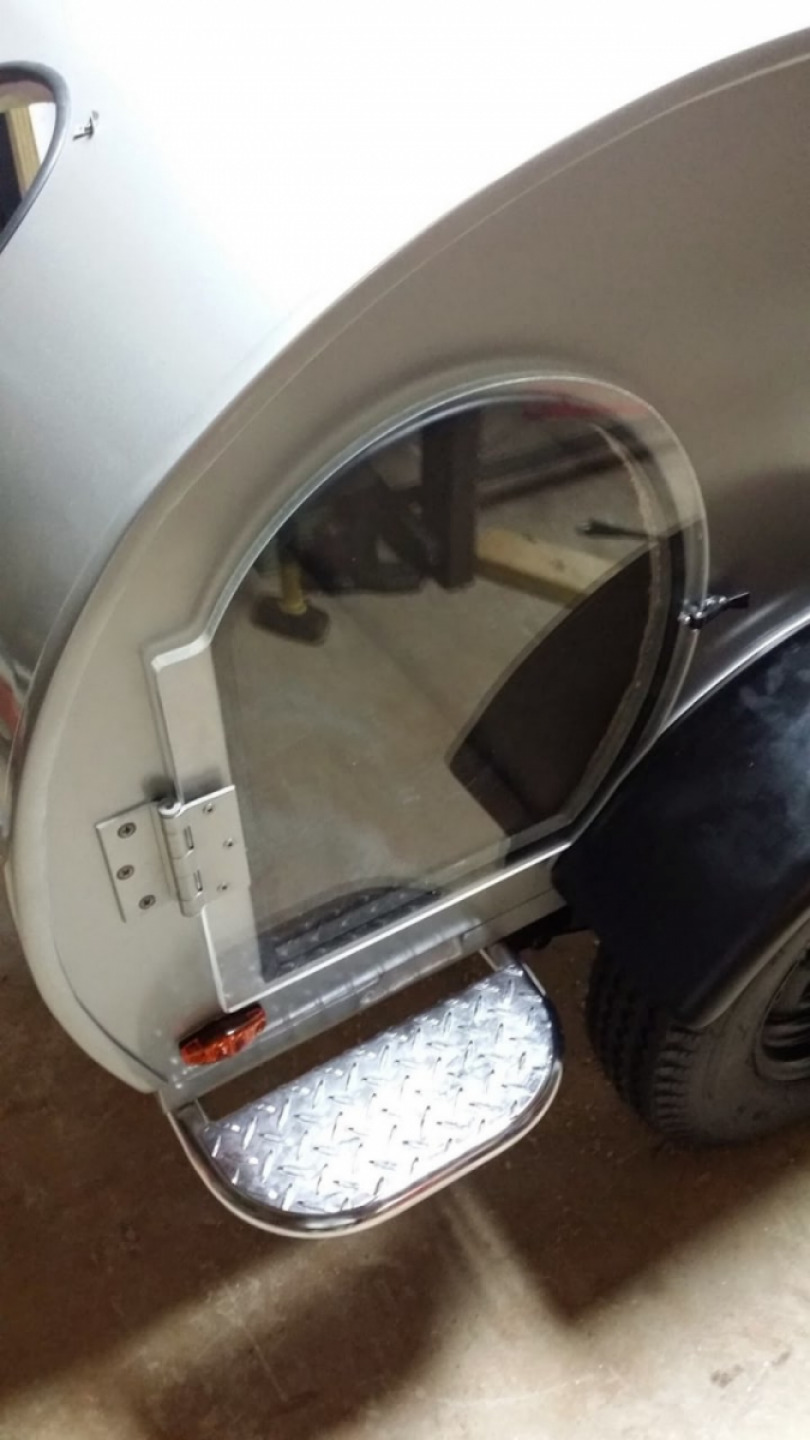
Finished shot of the window. It is bolted through the trailer wall and has silicone all around for sealing. Any water that hits the glass drips out the bottom. It should work well. I water tested it with a garden hose before installation and none got through.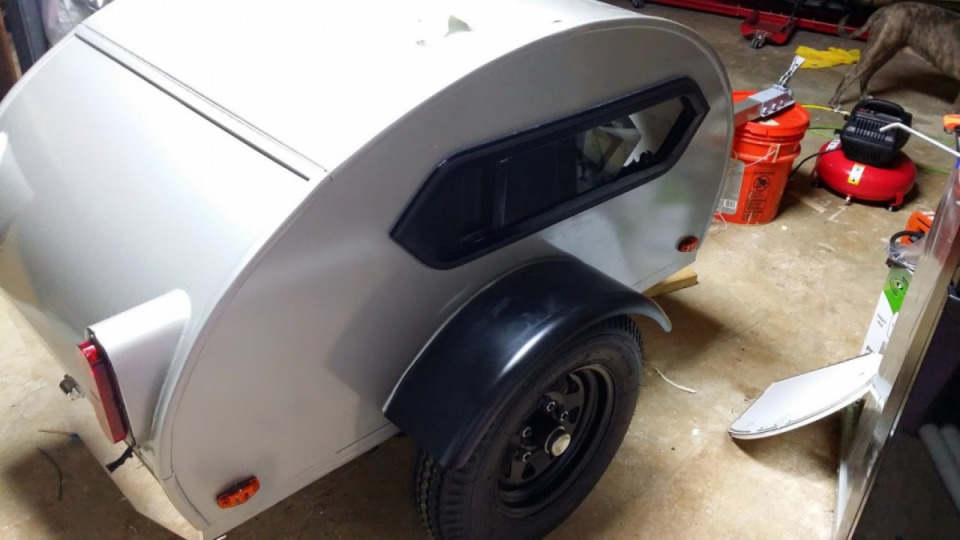
I printed a paper template that matched my original cnc cut files. I used it to mark my upholstry for rough fitting. Then I would put the pieces inside the trailer and remark/trim until they fit where I wanted.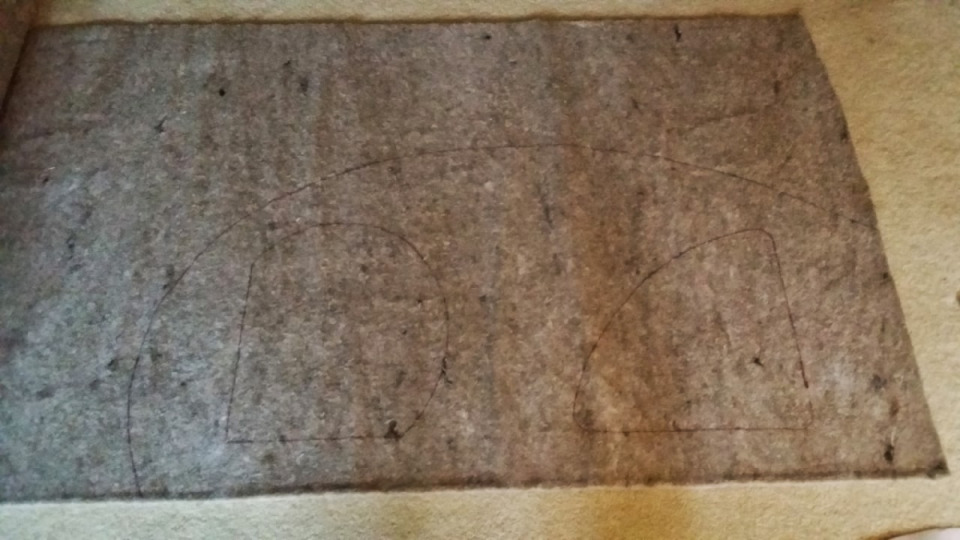
I first installed this carpet padding between the supports, then I installed a second layer over everything. This is attached with spray adhesive.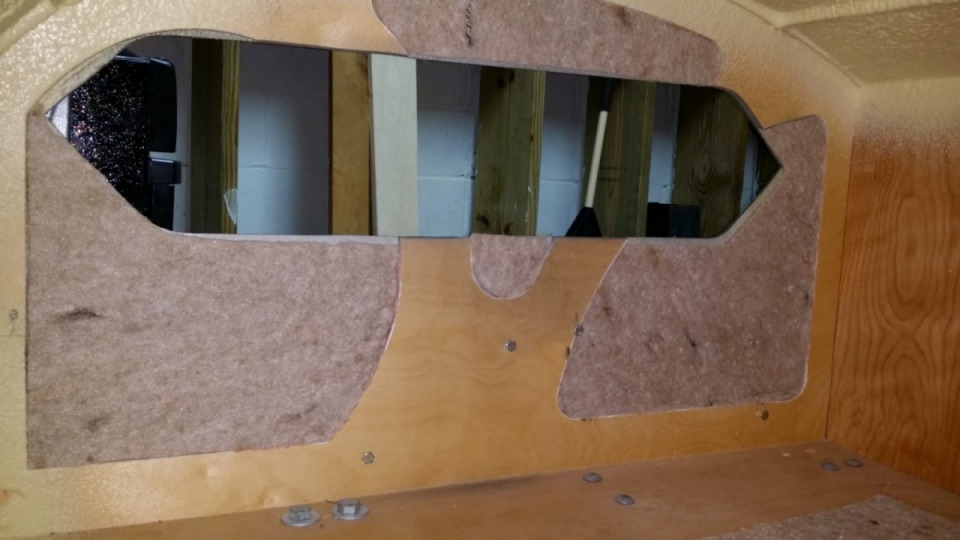
Nearly finished interior. I used 2″ foam and vinyl over 3/8″ plywood to make these 3 cushions. I don’t have any progress photos, but basically I just cut the plywood to size, cut a rectangle of foam the same size, and stretched the fabric over and stapled it from the bottom. I have to go around the fabric and remove staples, tighten, loosen until I got the shape consistent, but it’s just tedious work. The pads had to be small enough to fit through the door if I ever wanted to take them out to clean etc. so that is why there are 3 of them like this. I used automotive carpet on the walls. Same as the foam, just cut to shape and spray adhesive to attach. I also stapled around the perimeter fo the carpet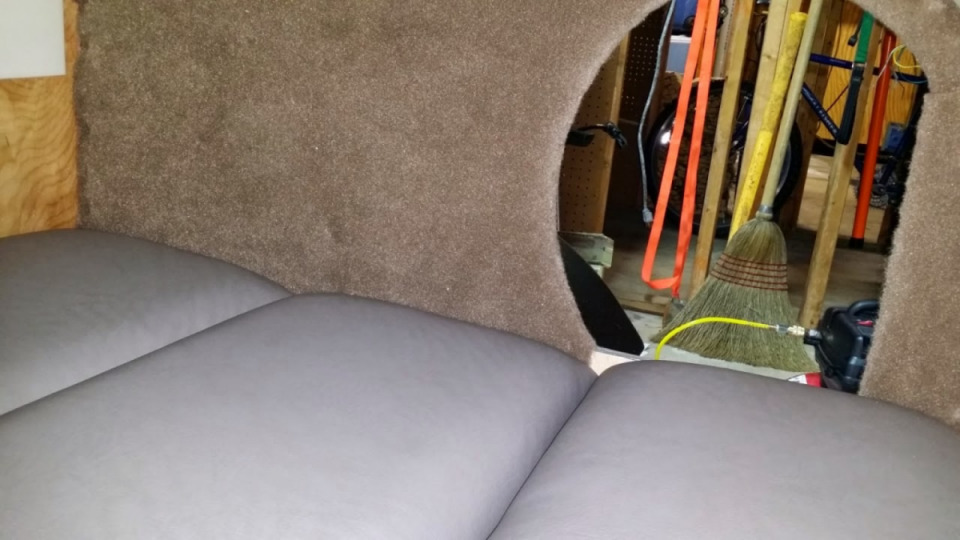
Nearly finished interior. I just need some sort of head liner possibly.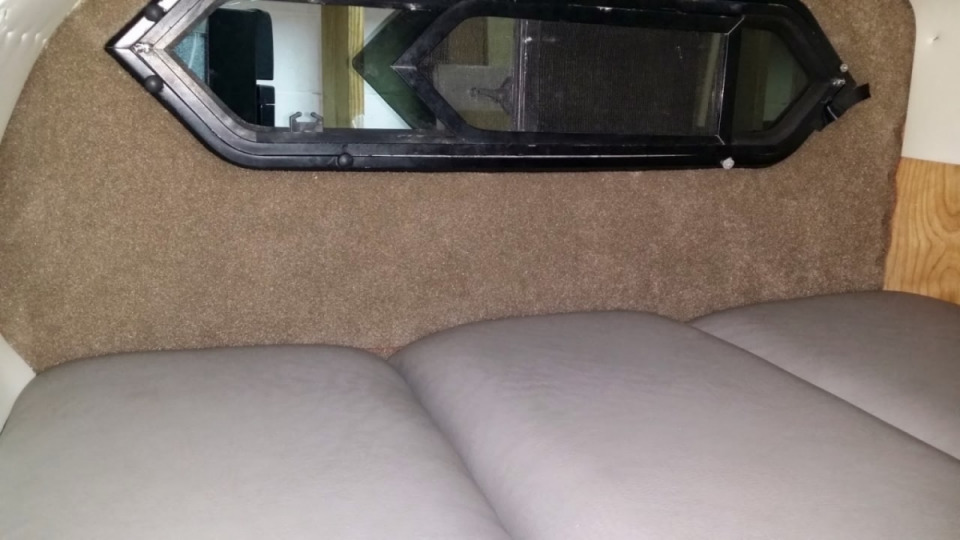

 Follow
2.9K


