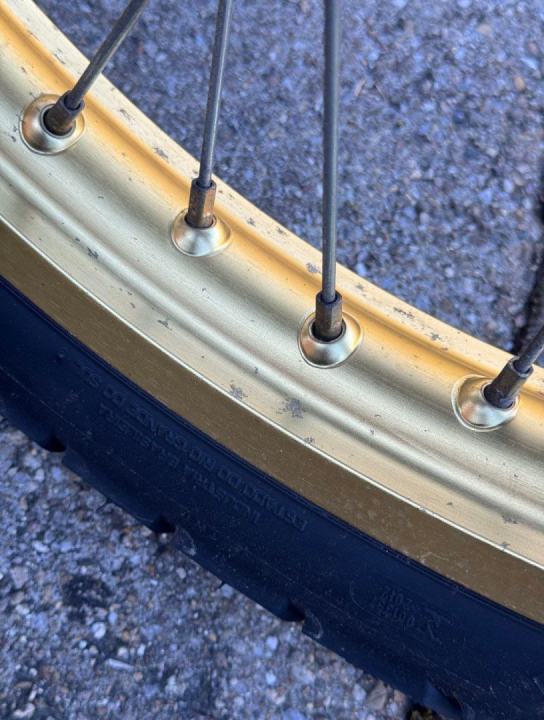
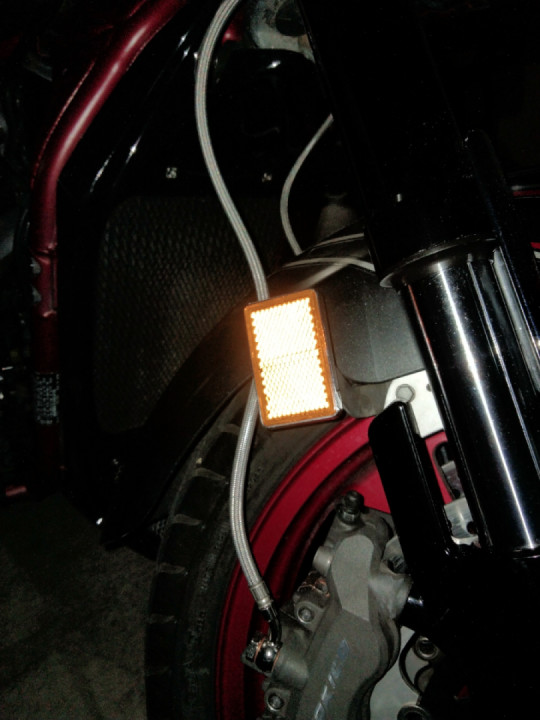
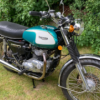
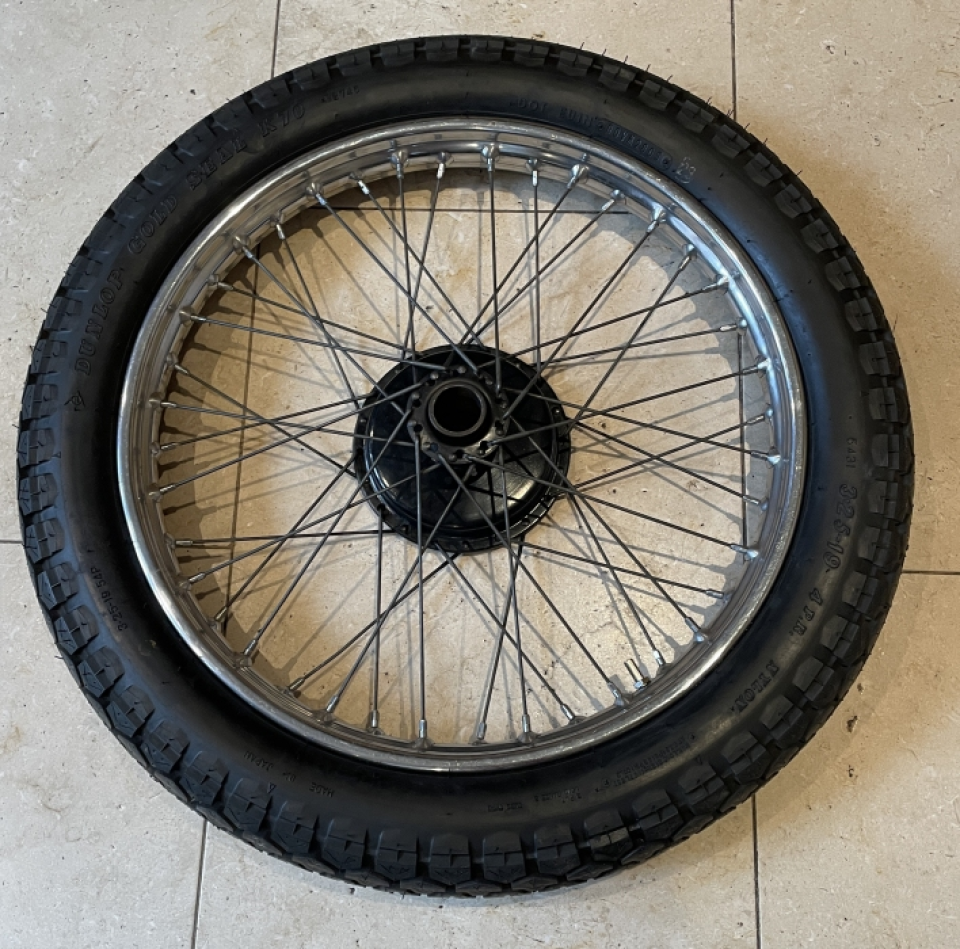
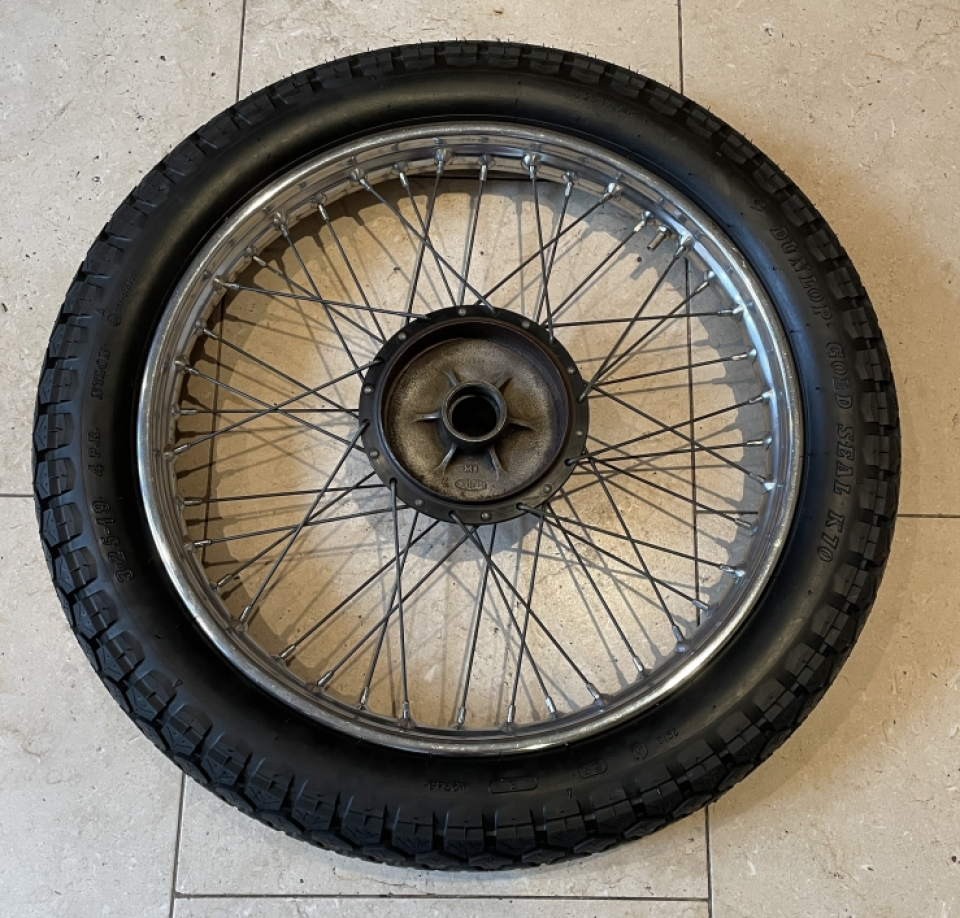
Front wheel & Bearings
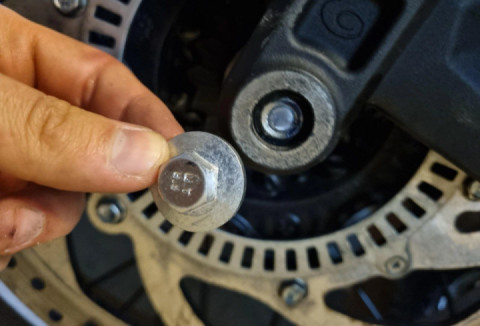
The RH front bearing locking cover has a left handed screw so you need to turn it in the opposite direction to normal to get it off. I don't have the special tool required and didn't fancy spending £30 on a tool I would probably just twice. I tried a hammer and screwdriver, but It didn't budge. So I made a tool out of a flat plumbing spanner and two 4mm drill bits. As I had elongated the existing holes in the bearing locking cover I drilled them both out a little, the holes were originally about 3 or 3.5mm now they are 4mm so not a lot of difference. With this new tool and slightly larger holes it became an easy job. The cover started moving with the first hit of a hammer. Tapping the spindle from the other side brings both the RH bearing and spindle out. Once the years of rock hard, old grease and dust had been removed to expose the circlip the LH bearing and cover was easily knocked out with a hammer and a drift from the opposite side of the wheel. The front wheel only needed a quick clean and polish.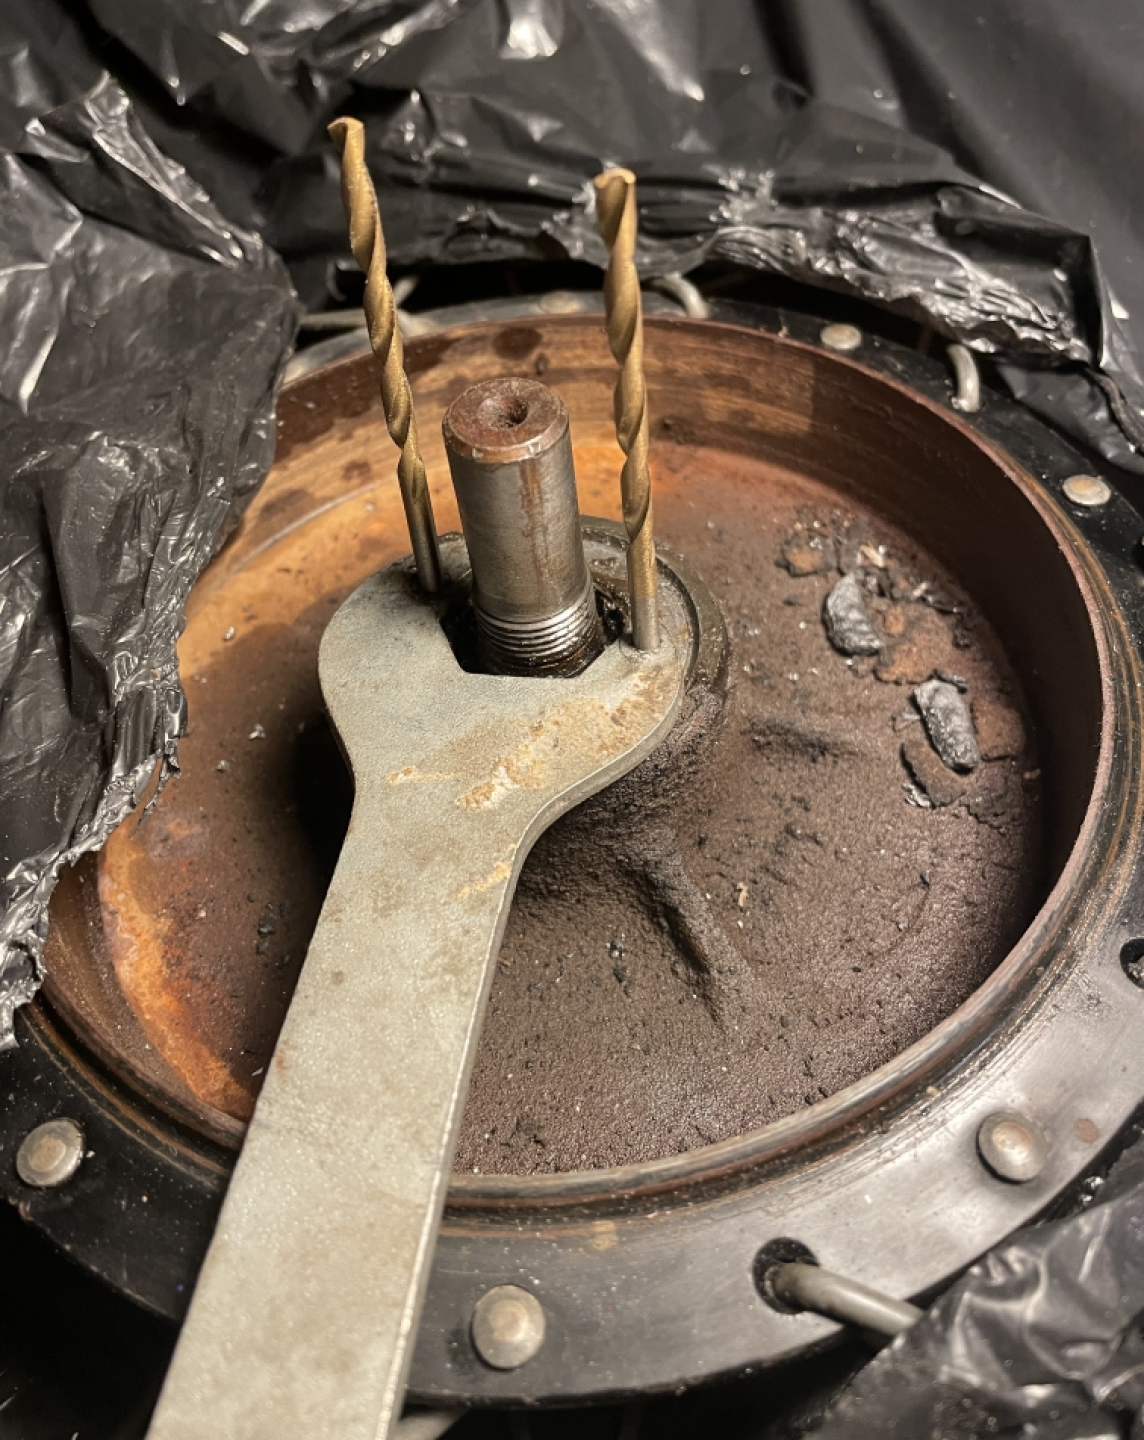
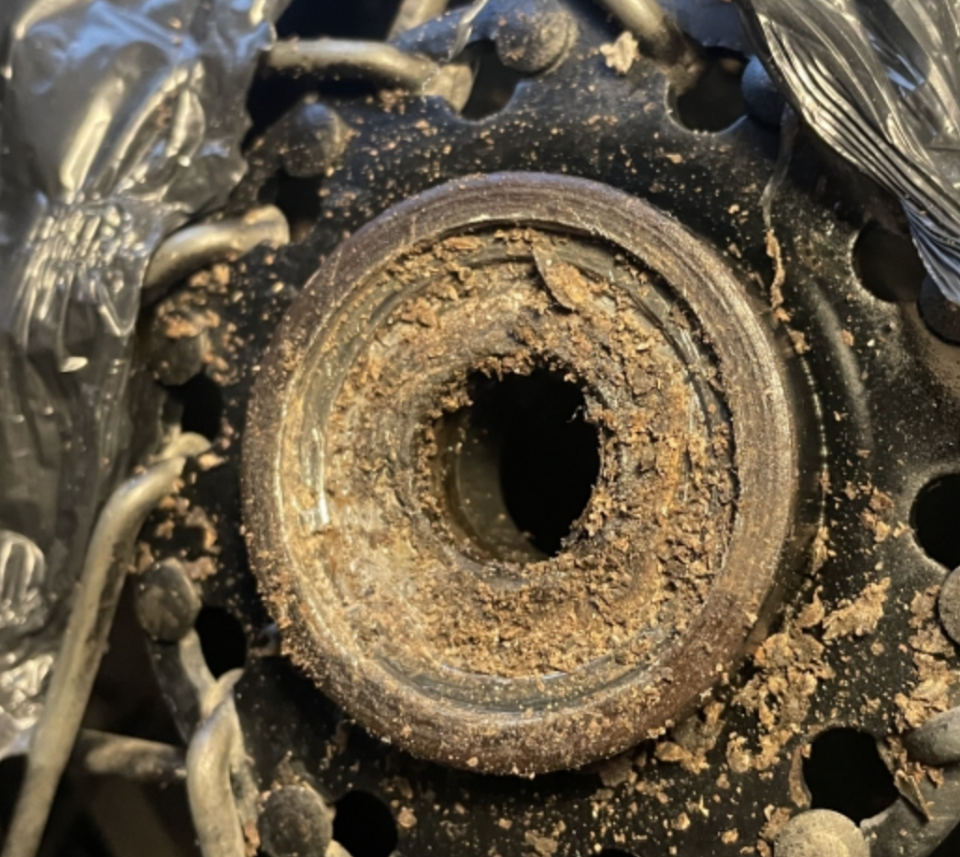
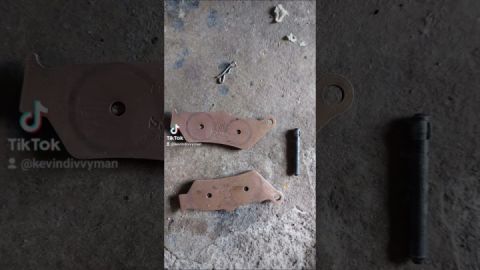
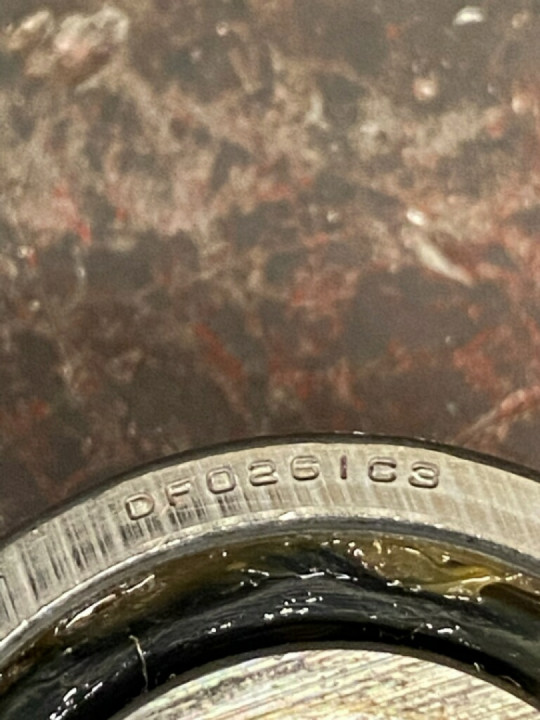
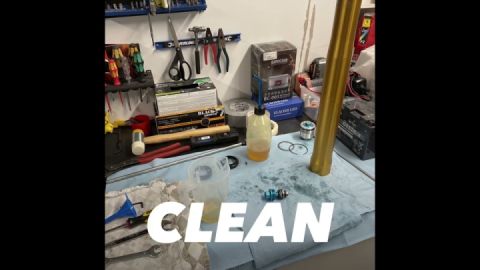
Inside the brake hub on the other hand required lots of wire brushwork with isopropyl alcohol to remove rust, crud, WD40 and oil that had dripped onto it from the forks. The spindle, front brake plate securing nut, the RH bearing securing cover, the LH bearing protective cover and circlip were all cleaned before refitting. The new bearings were bought from FEKED.COM.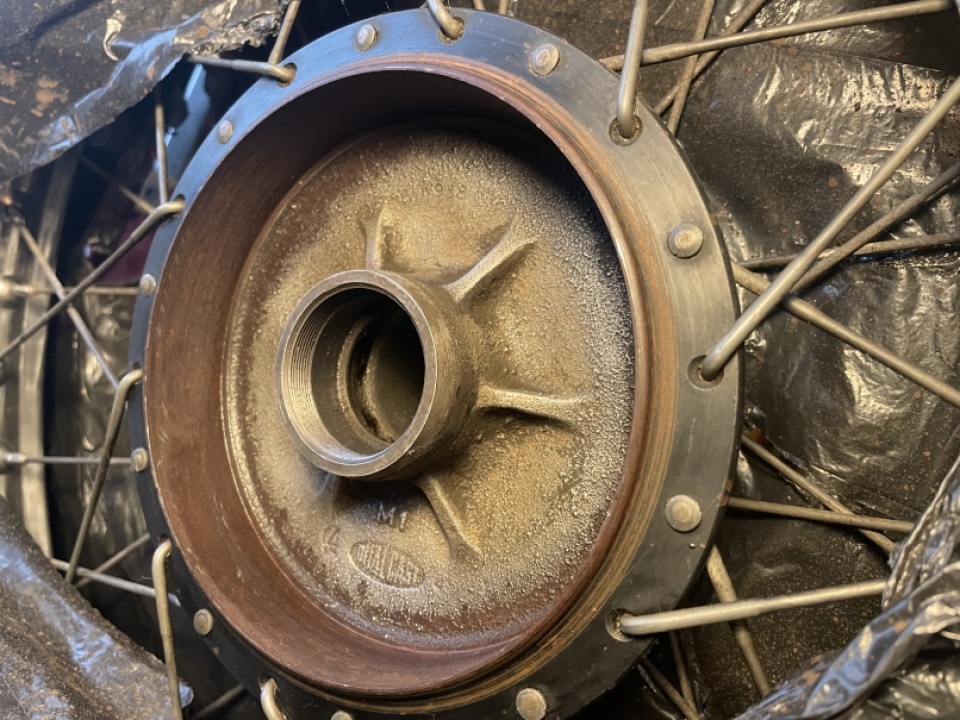
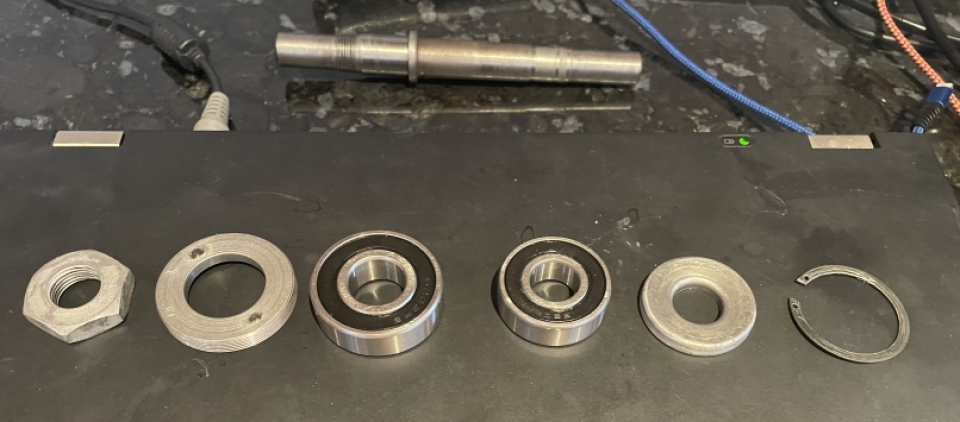
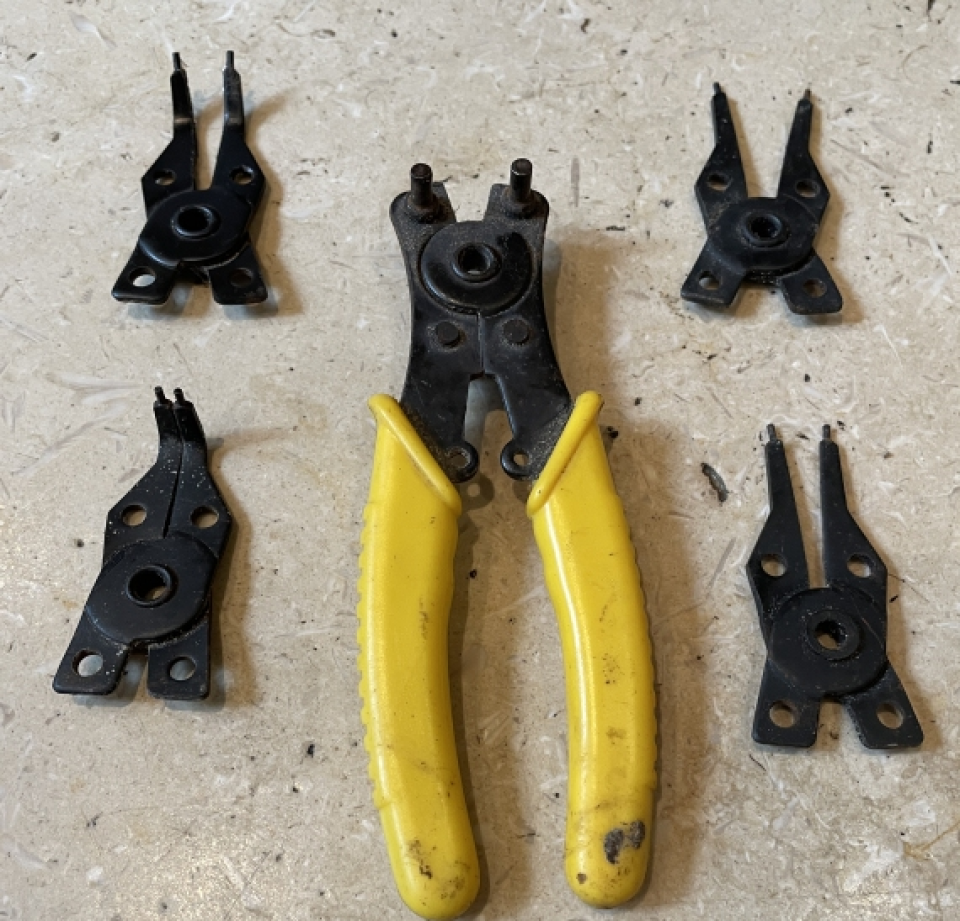
The bearing replacement proved to be very easy. First the smaller LH bearing was tapped into place with a hammer and drift. I applied grease followed by the protective cap, again tapped into place using a drift, and then the circlip. Very cheap but useful circlip pliers can be bought on Ebay. The spindle was inserted from the other side followed by the larger bearing which was tapped in until part of the securing cover thread on the hub was visible. I applied more grease and then screwed the securing cover into place with my new tool, this also drove the bearing into place. The brake plate with the new shoes was put back in place and secured with its large nut. Job done.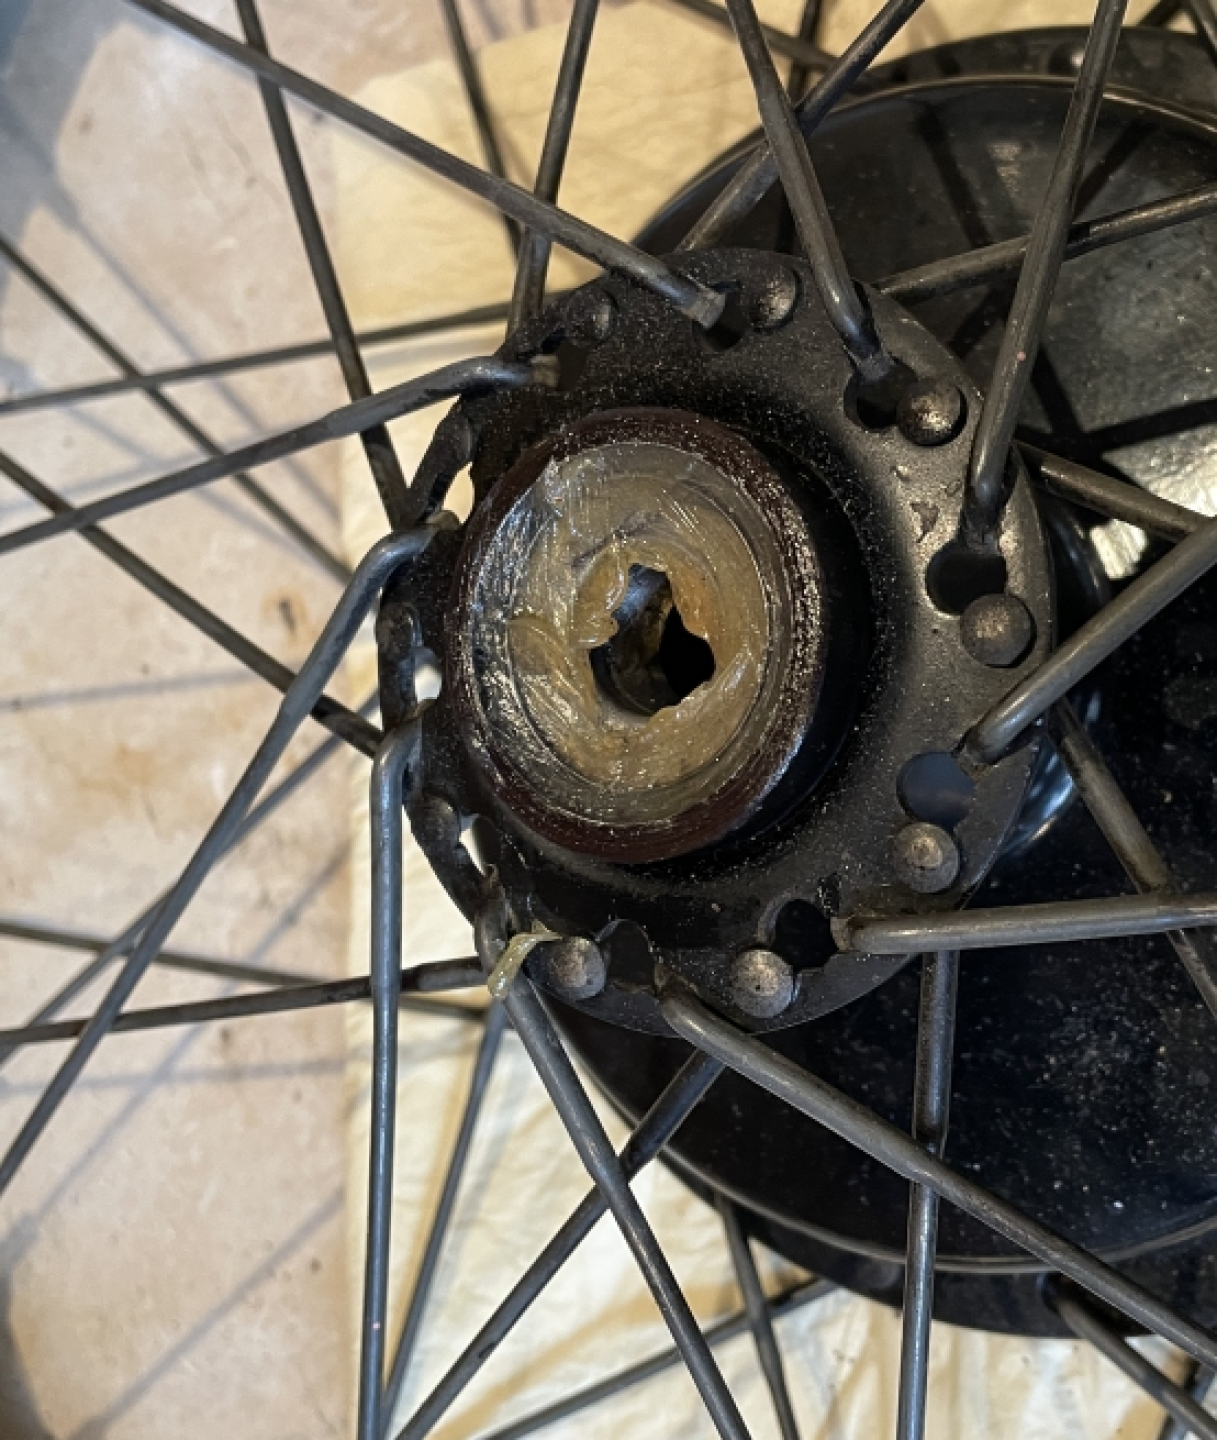


 Follow
1.5K
Follow
1.5K