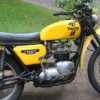
1974 Honda CB200 CL200 Engine Rebuild Tutorial
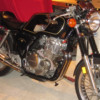
...I began hearing some SCARY sounds from the engine. At times it was a ticking from the head, other times a clanking from the crank area. So the engine must come out and be inspected.
Camshaft look great, rockers are good, journals are OK but good enough. Cam chain is immaculate, I thought maybe it would be broken.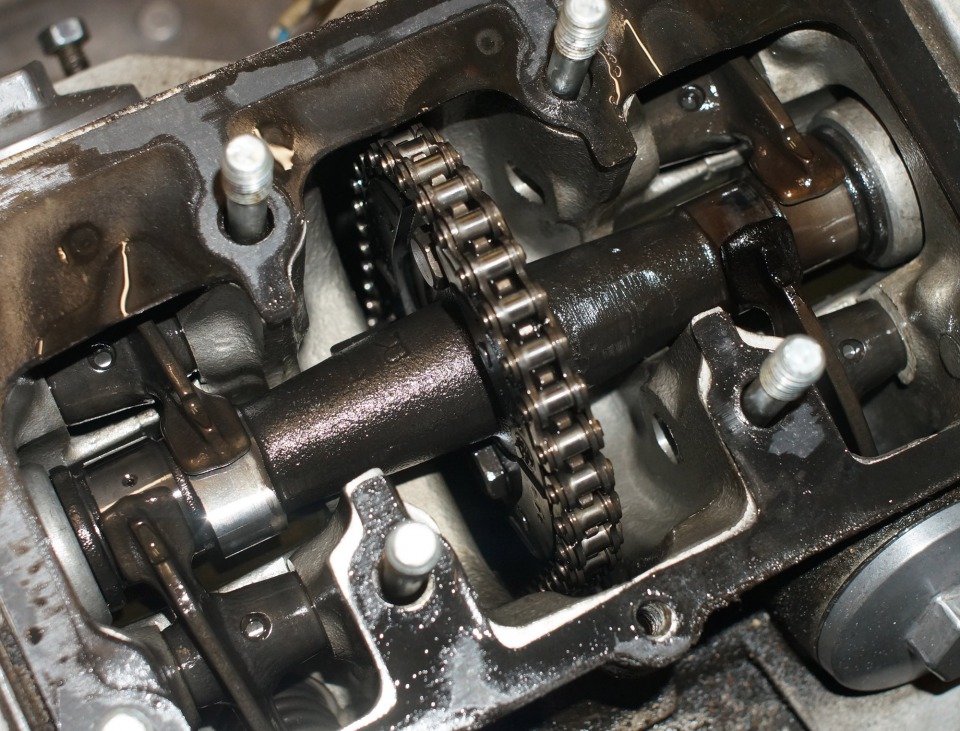
Pull the head off, and it was not pretty. VIEW DISCRETION IS ADVISED!!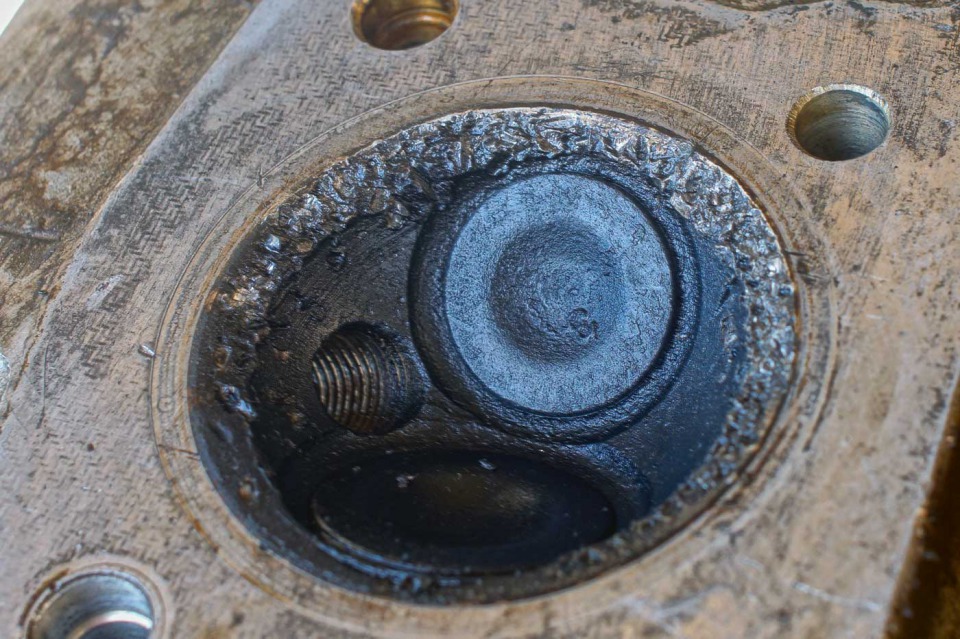
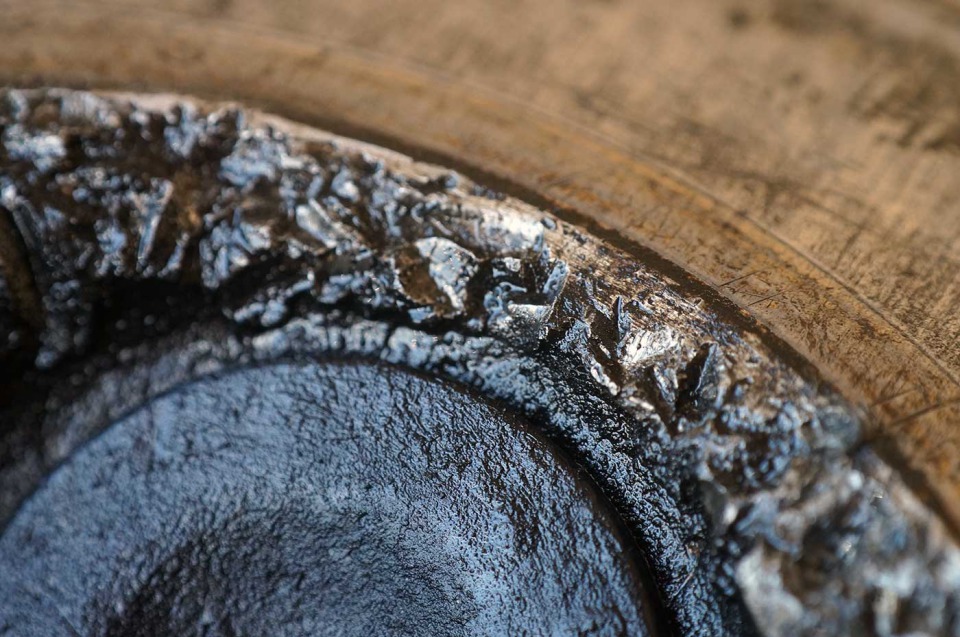
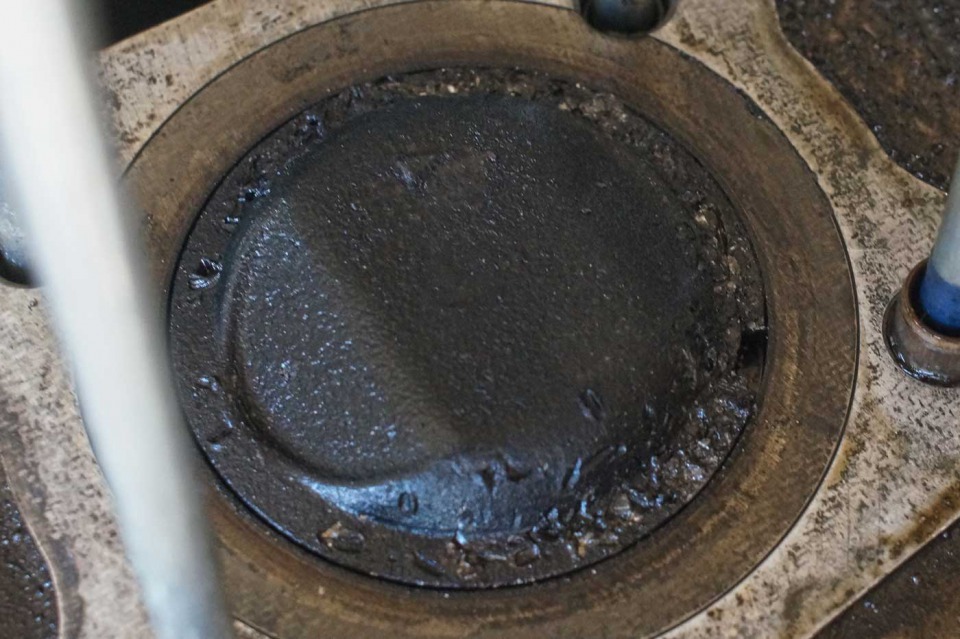
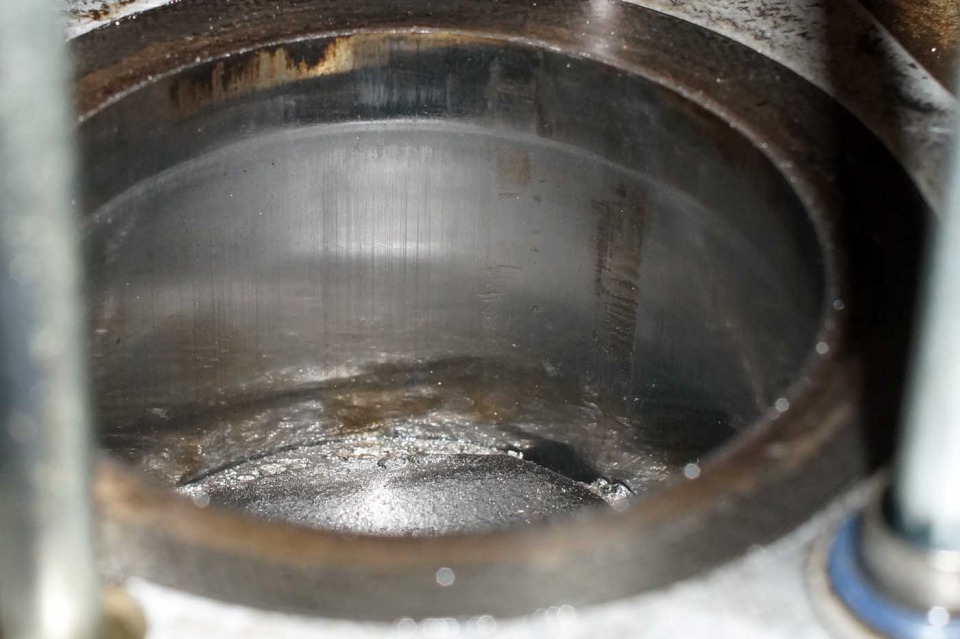
I have no idea what happened to it, but it certainly looks like something was in there.
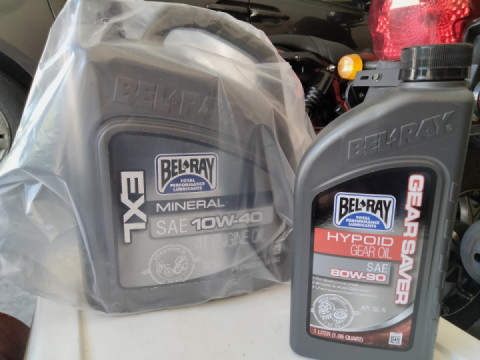
Perfect! I'll probably continue to wonder "what if??" but right now I can't spend another dime on this project. Pistons, rings, oil seals, etc where somewhere around $230, paying the machine shop $300 for a valve job and cylinders bored and honed and to sandblast everything, plus bought some hondabond and UNI filters to replace the emgo pods.
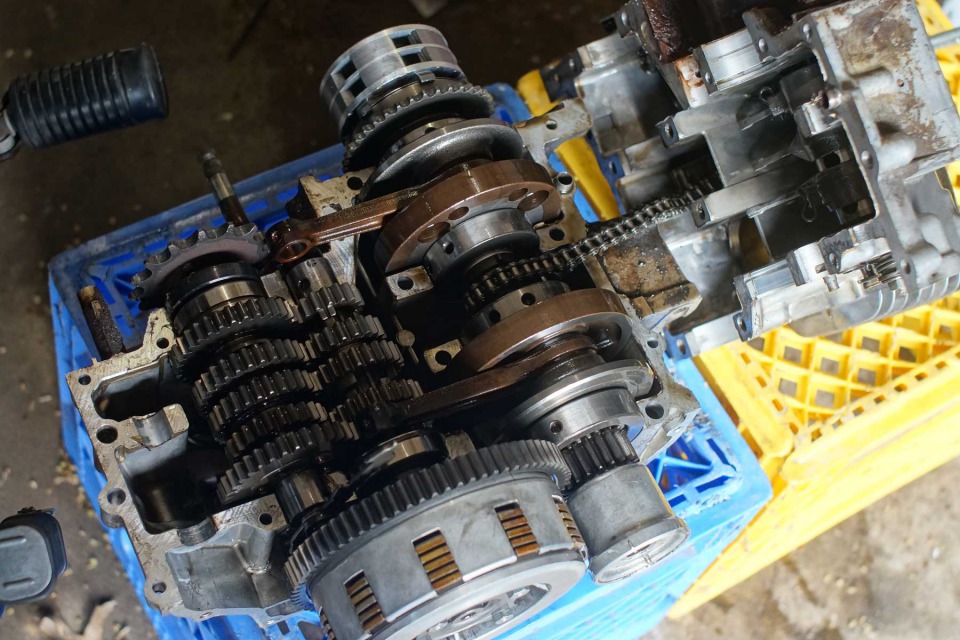
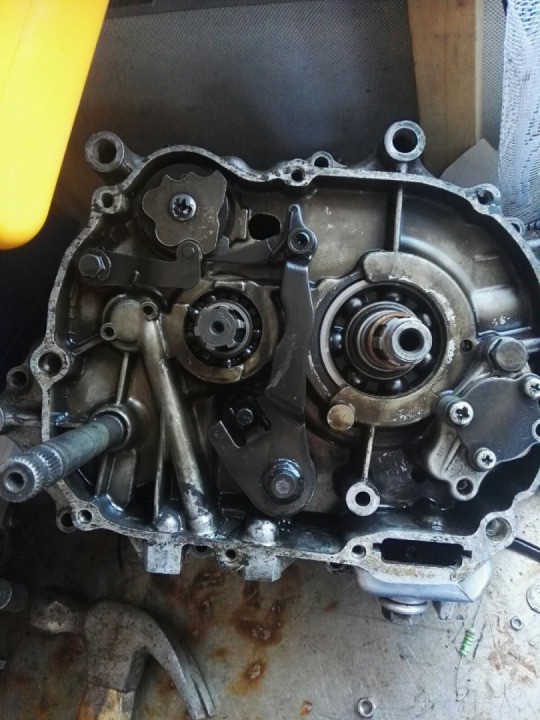
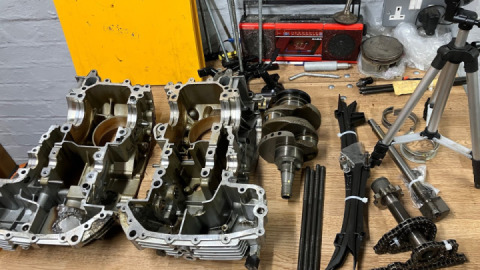
The first thing you may be asking yourself is, why did he remove the upper crankcase and not the lower? Well, I had it upside down to remove all the bolts. Then I broke it free but left it like that last night. While I was asleep, my friend (who does know a lot about motorcycles, but not after a dozen beers) decided he'd have a look at it. I woke up with a text message from him saying he thinks I need a new piston (duh) and with the engine now flipped right side up. I was so mad. I found a retaining ring (at first I thought it was half a piston ring) and two tiny cylinders (looks like they're for oiling the crank) at the bottom of the case. Thankfully the gasket surface doesn't look messed up.
So I just went ahead and pulled the upper crankcase off instead of the lower. BTW, I didn't need to remove the clutch, fuel pump and filter. All that needed to be done was wiggle the shifter arm out of the drum spindle thingy. It would be easier with the clutch off, especially for reassembly. I have to move gears and crank into the upper case half (after I paint it first), it would be impossible to put it back together the other way.
I also inspected the gear shifting mechanism to find out why I get the shifter stuck sometimes. The forks look good I think, but the gear selector arm (the thing with the big washer on the end) seemed a little off - the rivet was warn and the washer could sit off-axis. So I'm replacing both that and the neutral stopper arm.
You can tell from this pic that there was almost a millimeter of wiggle-room.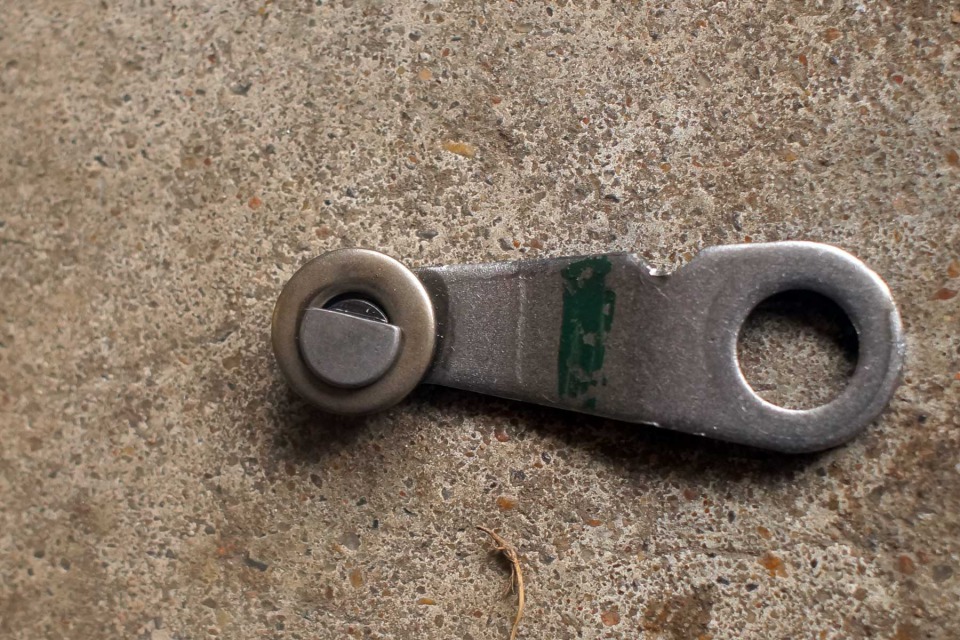
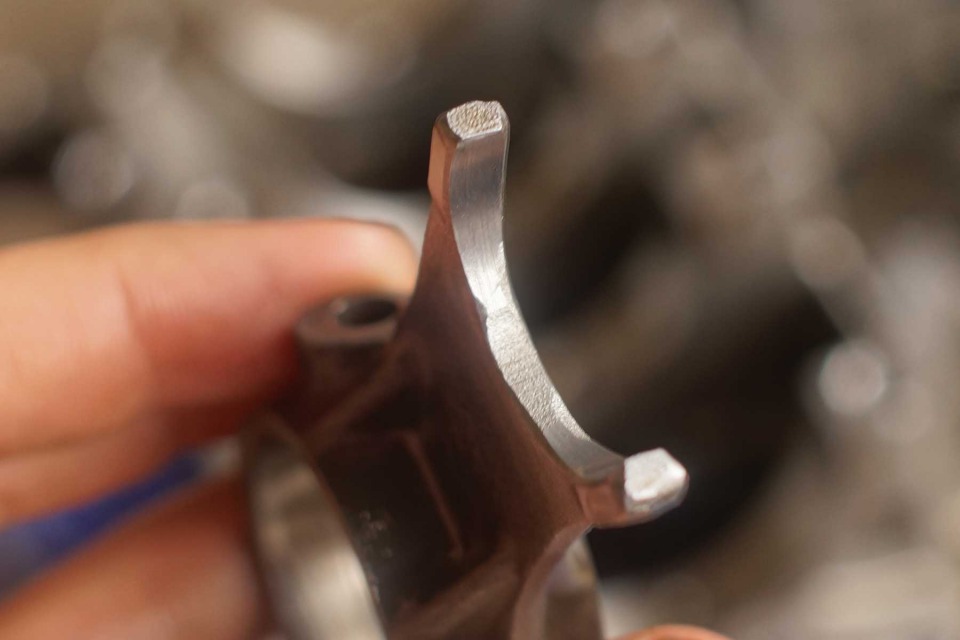
no burs or flat spots in the labyrinth, and the forks where not warn looking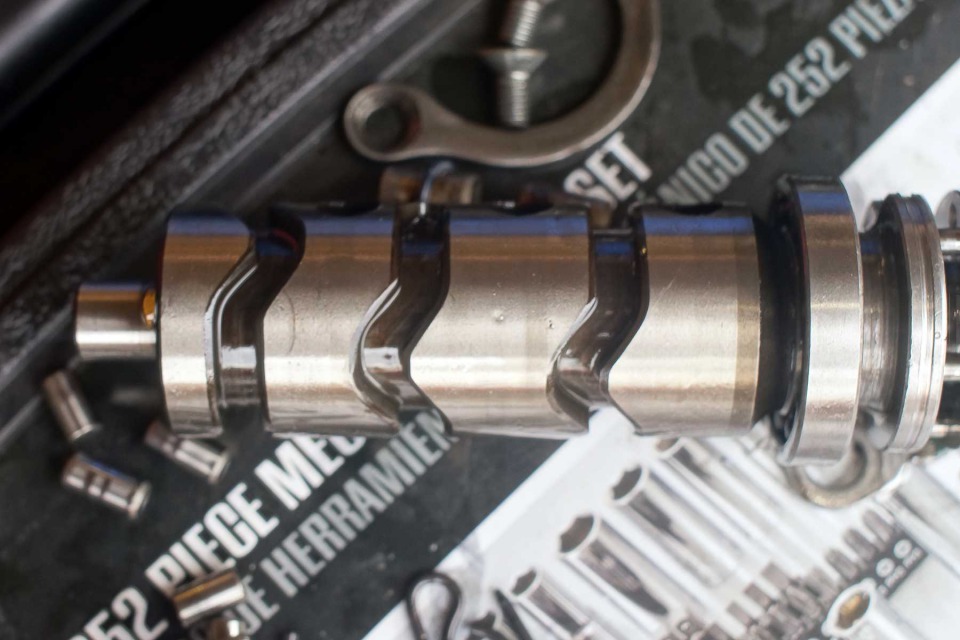
Painted cylinder jugs, head, and both case halves with VHT engine enamel in the cast iron color. I think it looks great! The head and jugs where first coated with VHT self etch primer and the finish is very hard. I didn't bake in the over, either. But I didn't have the primer for the case halves, so instead a prepped with something called Alluminum Jelly, from the makers of Navel Jelly. It has phosphoric acid in it which etches the aluminum and eats away rust and organic matter (oils). The finish is pretty solid, but not likely as good as with proper primer. The case covers will all be polished aluminum.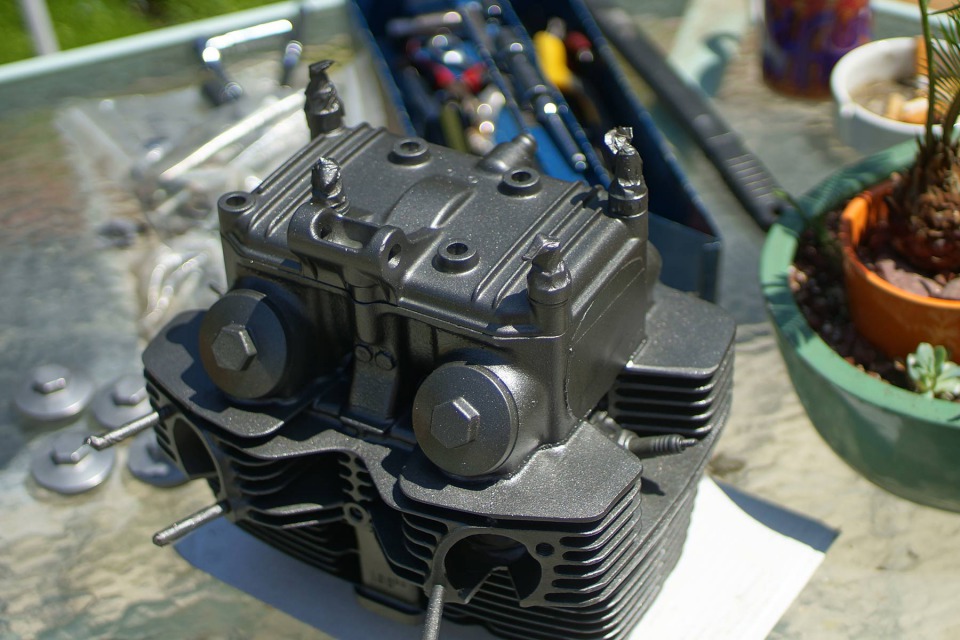
Time to install the pistons! They're hard to find. CMSNL has the best inventory but the highest prices. I couldn't find two matching pistons off ebay, so what I did was buy one +0.25mm and two sets of rings off ebay to save money, and one +0.25mm piston from CSMNL.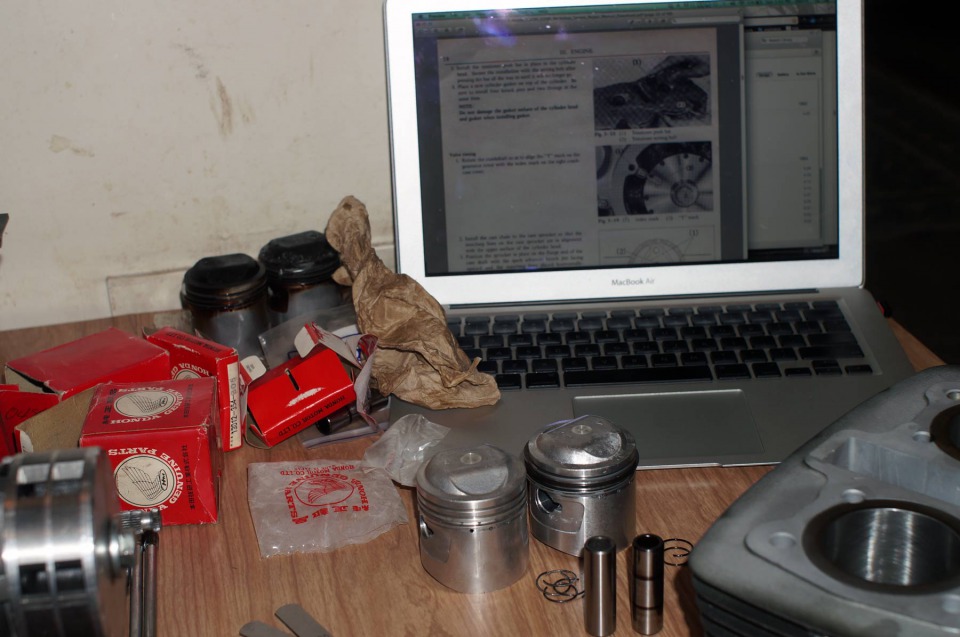
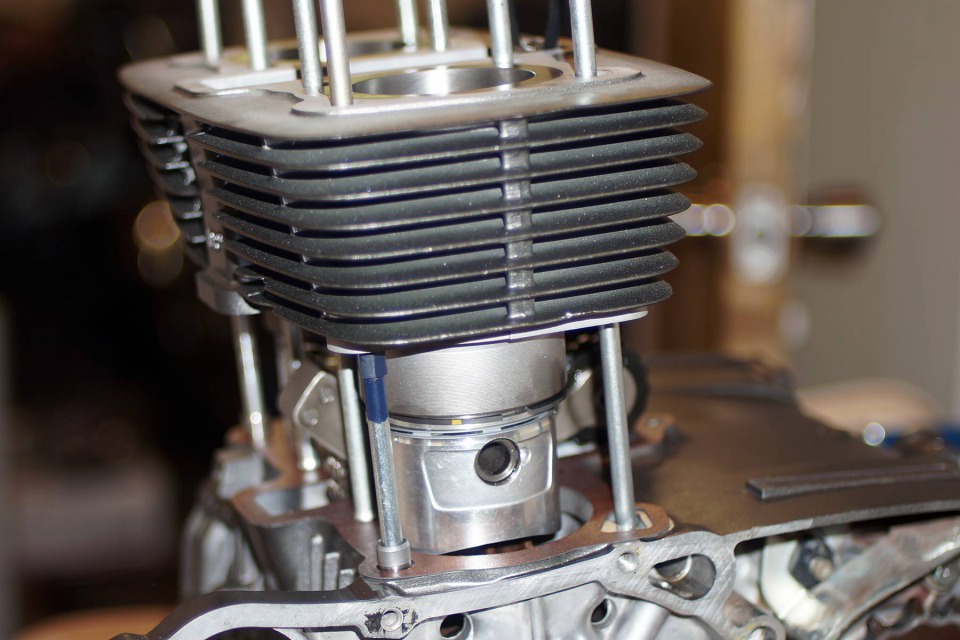
Checked ring gap clearances first, they're good. Oiled up the rings and installed them on the piston - made sure to install in correct order and with the right-side-up indicator facing up. With the pistons somewhere after TDC (so they're coming down) and a penny wedged in the clutch/oil filter gears so they won't move, I dropped on the cylinder jugs down on them. I thought that I would have to pinch the rings with my fingers all the way (remember, this is my first time overhauling an engine) but the bottom of the cylinders sleeves are tapered I guess, so that wasn't really necessary. I just had to guide rings in (doing my best to keep them spaced 120 degrees) and give a good amount of steady forced down on the cylinders.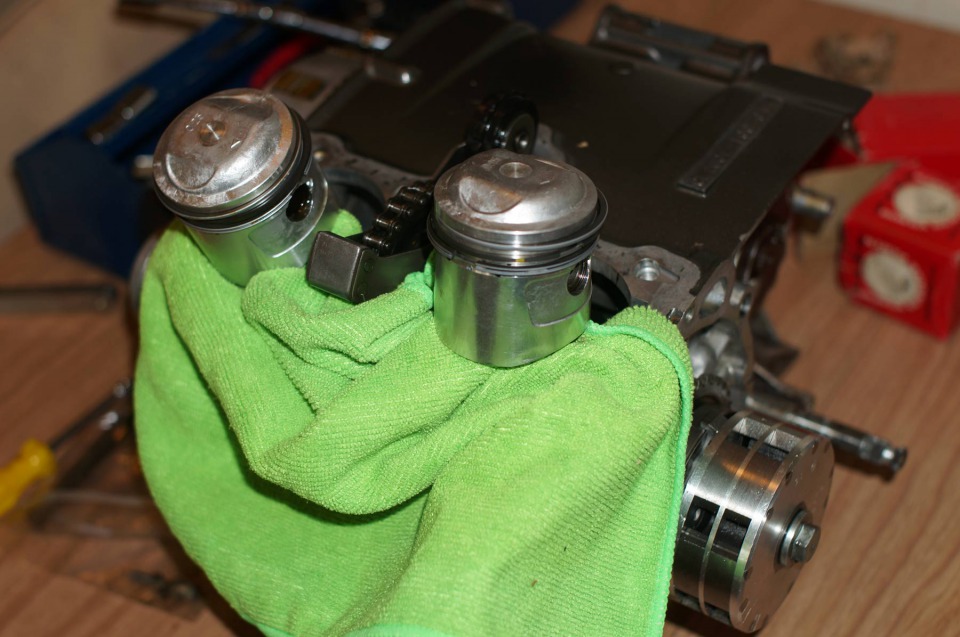
Now onto the head. The only hangup I had here was getting the chain onto the sprocket. It wouldn't go on this way: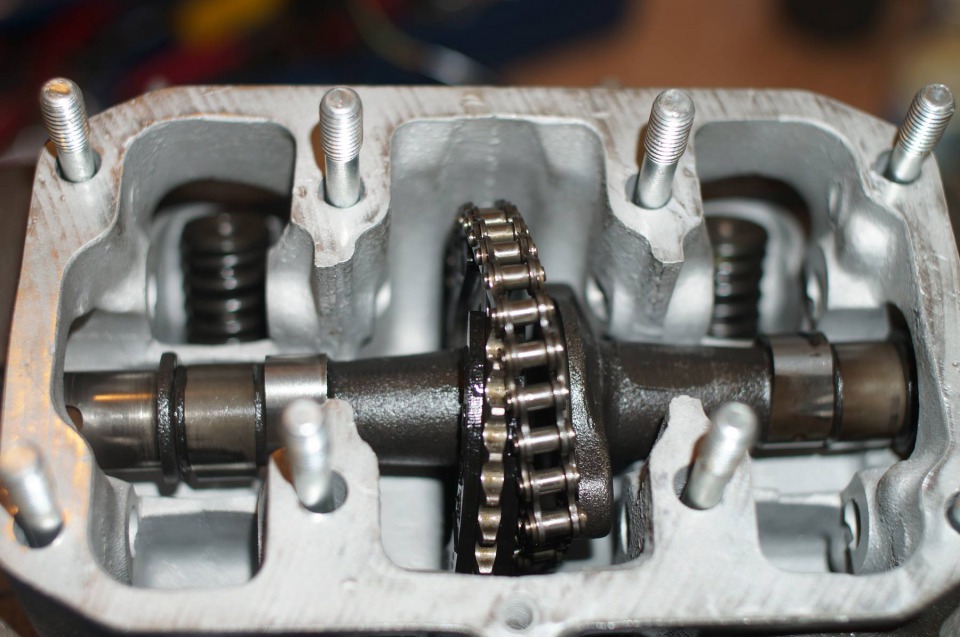
with the chain in the middle between the sprocket and the cam flange, I couldn't get the chain onto the sprocket because the sprocket couldn't turn. I had to slip the sprocket under the chain and then I could get it on.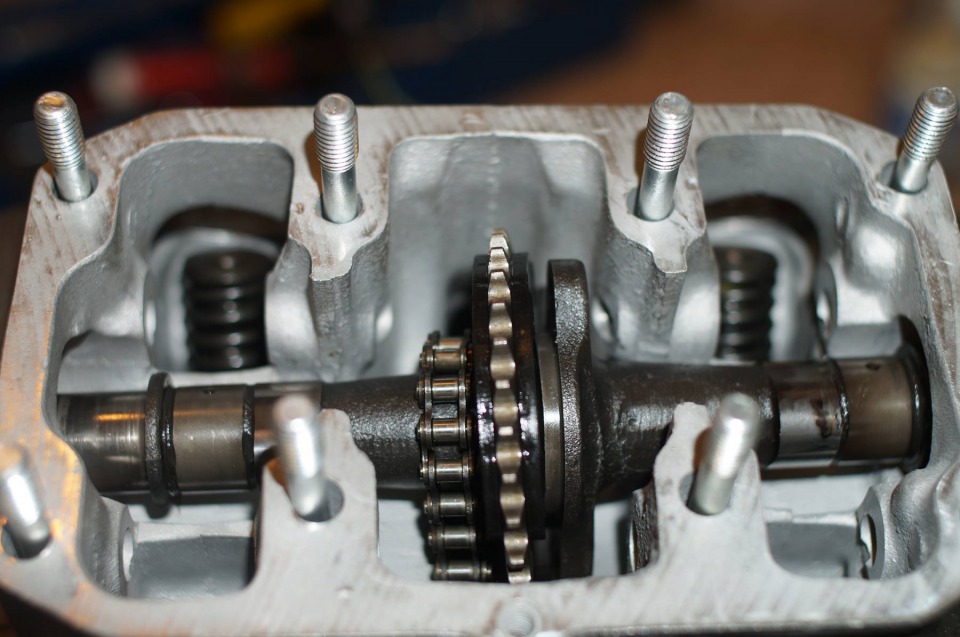
Set the timing by following the FSM. Used loc-tite on the sprocket bolts and engine oil to lube the cam up (didn't use assembly oil because I didn't want anything synthetic, but I really don't know which is best). Installed the rockers next, then the timing house and tach gear house, and then bolted on the cover!
Done. Right? Wrong. Turns out I installed the kickstarter wrong - the "friction spring" isn't in it's grove, so it doesn't, well, it doesn't kick start the engine. So I need to open the case back up. That's when I removed the side cover to find that the gasket had slipped out of position when I was tightening it down, and it was completely blocking an oil passageway!
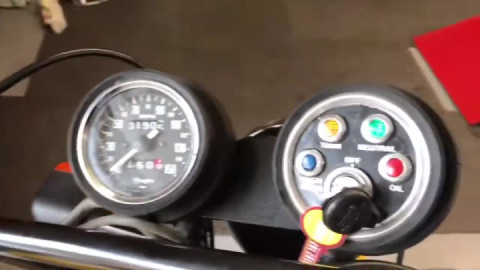
It's running! I'm going through this break-in procedure to seat the piston rings: http://www.ntnoa.org/enginebreakin.htm
I think oil flow is good. I finished putting the bike back together and was ready to check to see if oil was being pumped. I kicked it around 50 damn times and could see no oil on the tappets. I read about how others had this same issue and that the engine needs to be running before theres enough oil pressure to circulate the oil. So I turned on the ignition (took quite a few kicks, and will need to adjust the carbs to get it to idle) but it fired up and was running and then oil started squirting out the tappets! Woohoo!! The oil pretty much sprayed all over the front wheel, so I'm guess that it's good.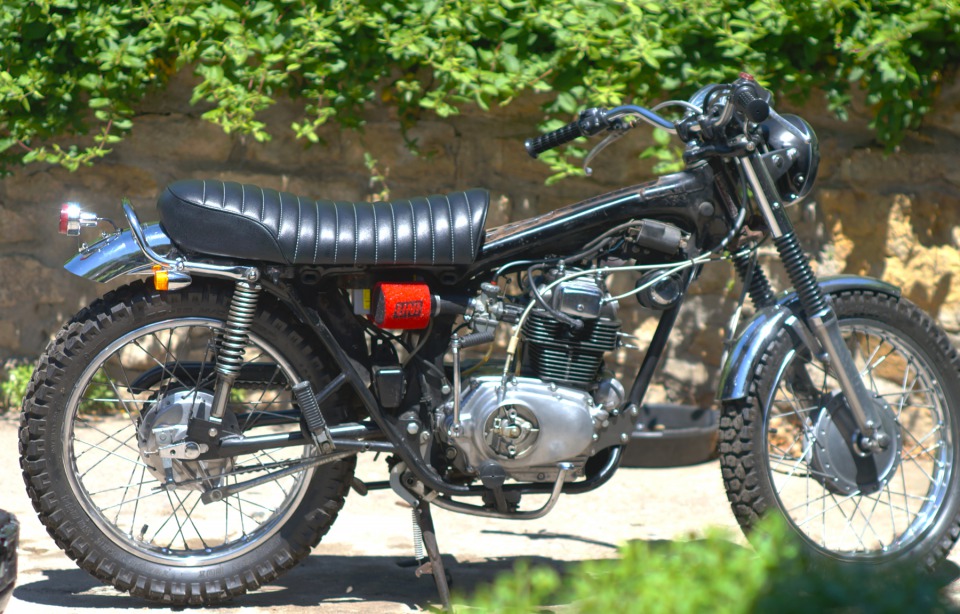
 Follow
9.6K
Follow
9.6K