Part 5: rear suspension, steering wheel, homemade side stand and gearbox foot
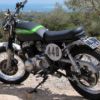
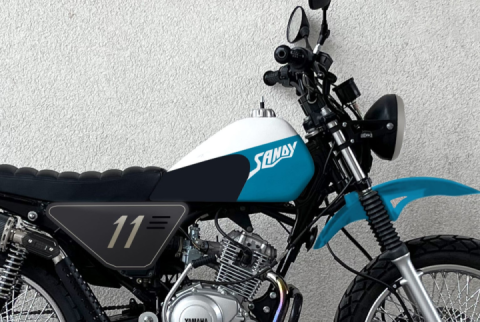
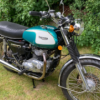
We continue working on the Sandy project. For those who don't know yet - it is dedicated to building a unique scrumbler based on Yamaha YBR 125 motorcycle. Many people will say that it is strange, complicated and pointless, but I treat the project as a kind of a challenge - to create a full-fledged dual-purpose bike, taking as a basis a simple and reliable scrambler.
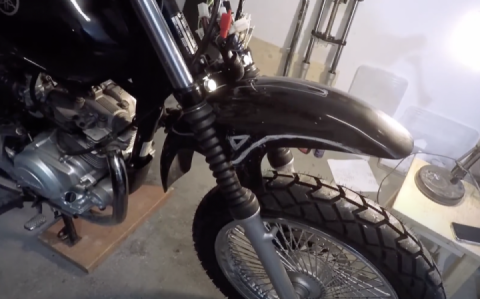
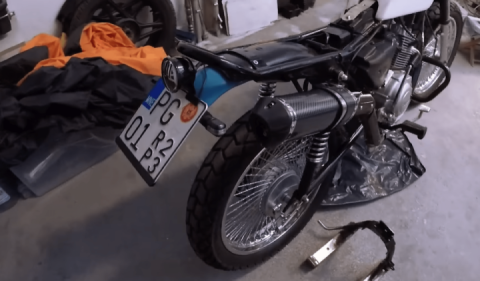
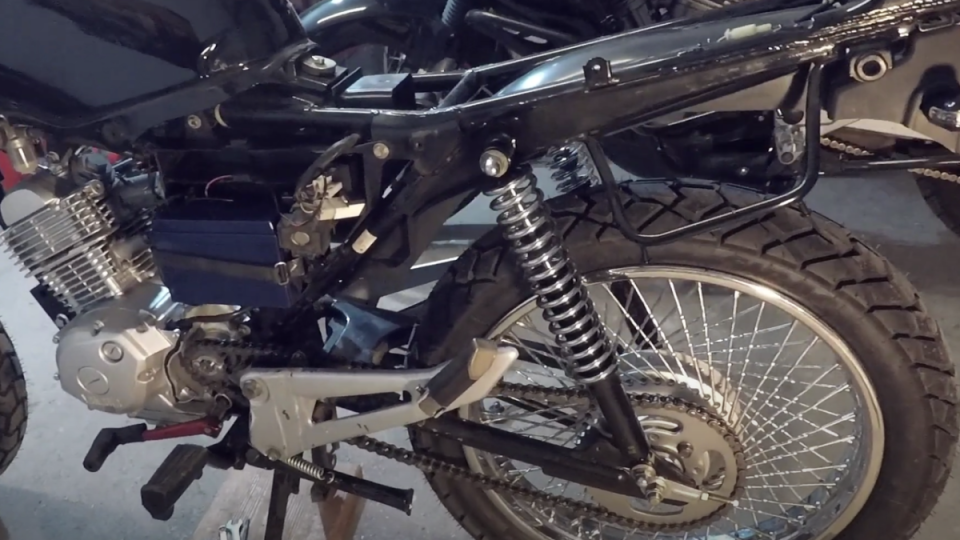
So, in order for the skirt to consider itself a scrambler, it was left to deal with the rear suspension. Of course, I could simply saw out spacers to increase the height of the struts, but I was tempted to buy longer amorts of similar design (380mm vs. 340mm) - they fit like a native:
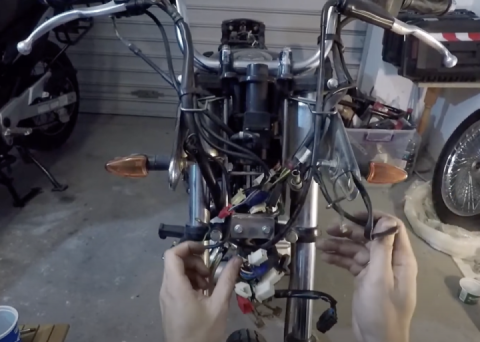
Since that moment the center stand has completely lost its function, and the side stand too :) And as it often happens - one modification entails another, third... Anyway, now the side stand must be urgently lengthened, and the center stand... I have an idea, but about it later. Not thinking long, I welded this construction from 2 U-shaped blanks: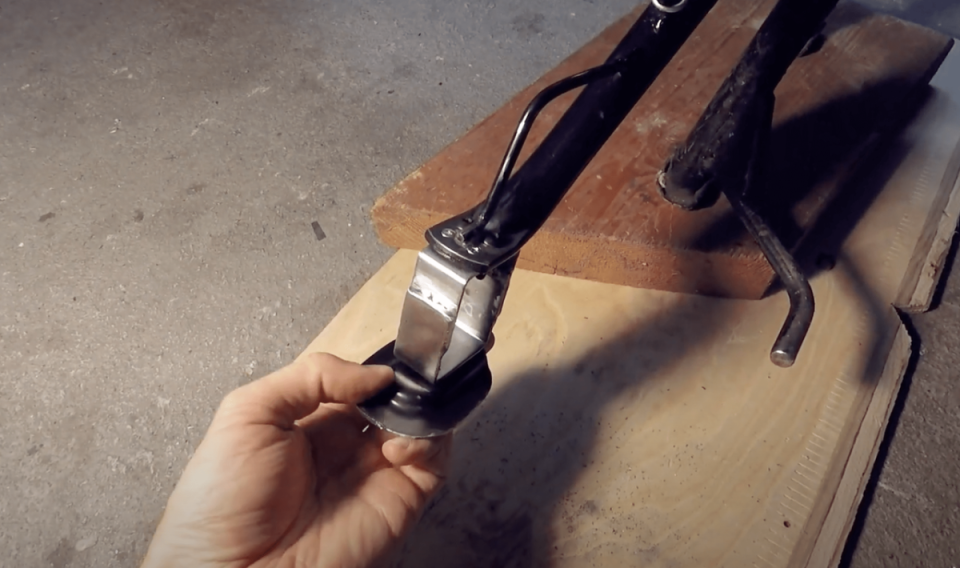
Then, I welded a shoulder to it - for loose soils. The resulting adapter was tightened with 4 bolts, so you can easily return to the base length of the stand, if necessary. Repairability and the possibility to use stock parts are also important.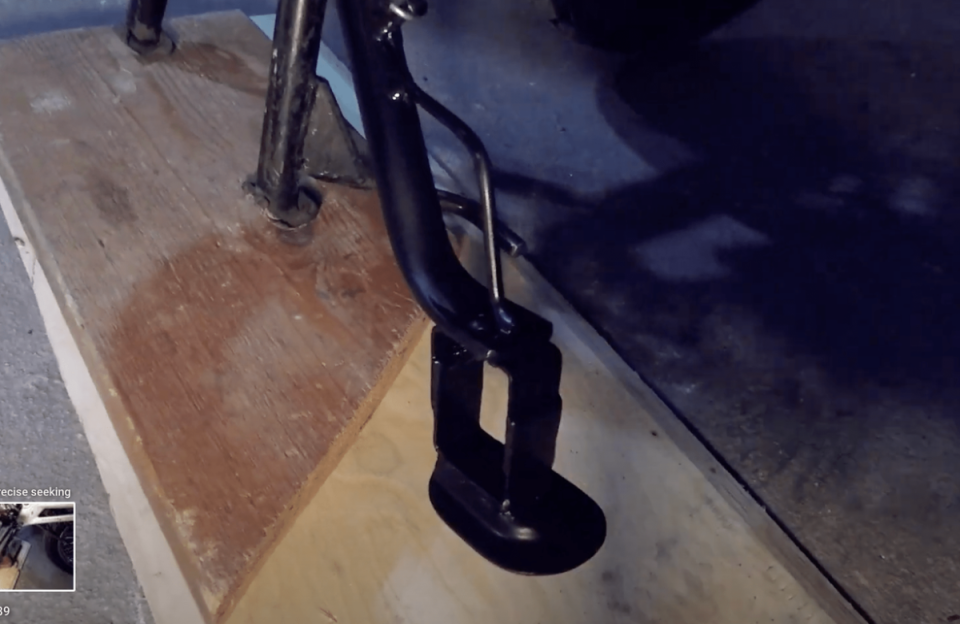
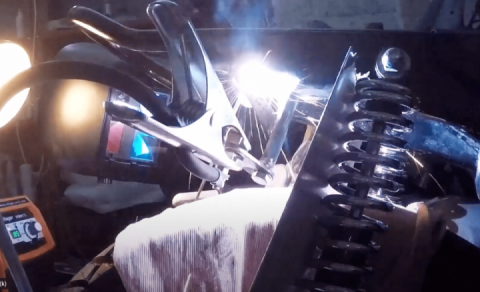
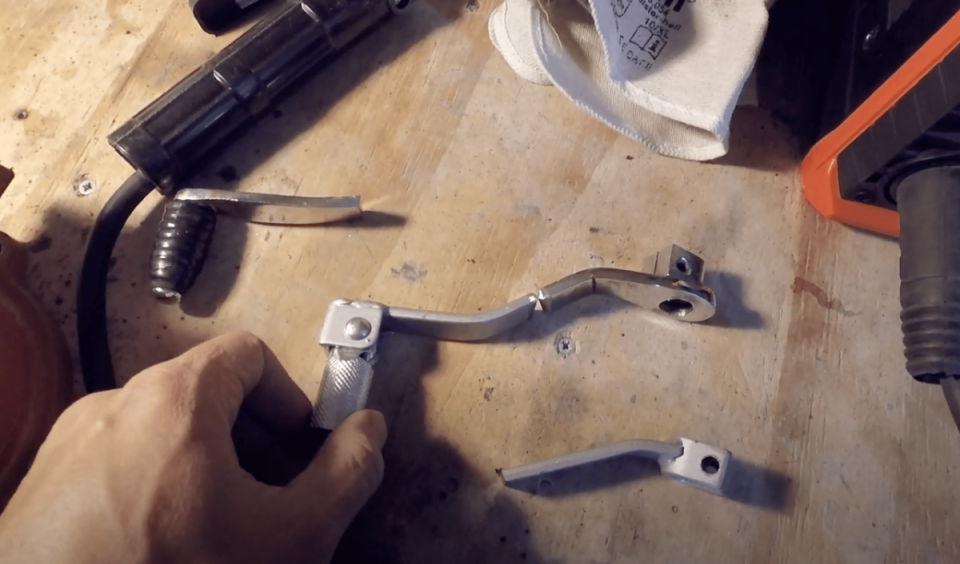
At the same time I decided to do all sorts of little things: I made fasteners of brake hose and speedometer drive from dural and aluminum, and also welded the gearbox foot from the bent standard base. The resulting parts were of course blown in black :)

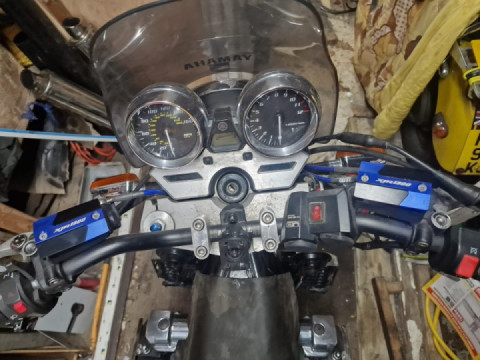
Now the handlebars - swapping out the chrome bike dredge for a Chinese aluminum offroad handlebar with a crossbar:
And then there were problems with compatibility: due to the large width of the skirt controls, the levers on both sides had to be mounted on the curve of the steering wheel! My disappointment was unprecedented. I had to bend the brake lever to make it lie in the same plane with the handle(!) and leave everything as it is for now - temporarily, for testing. There is little chance that I will have to redesign it.
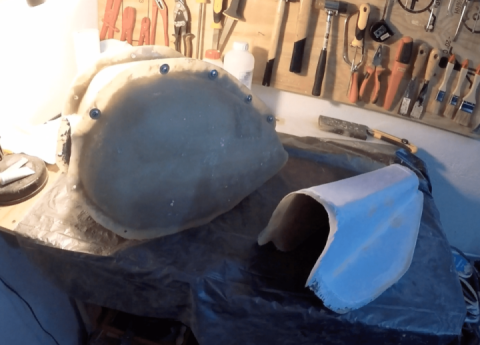
I let go of the situation with the steering wheel, and to distract myself a bit, I returned to the front fender. There is a lot to do here: the fender needs to be cut along the marked lines and reinforced at the mounting points - it will be bolted to the lower crossmember with four bolts.
Cutting:
And where something needs to be reinforced, there's nothing better than fiberglass. Glue it on:

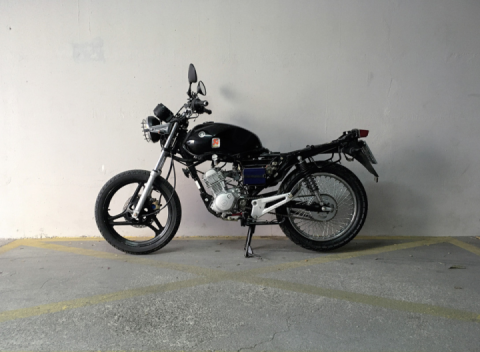
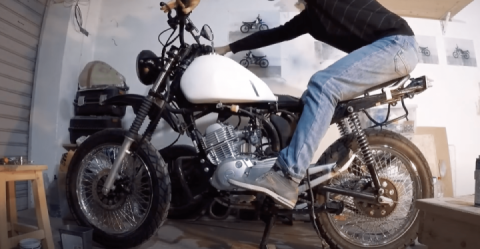
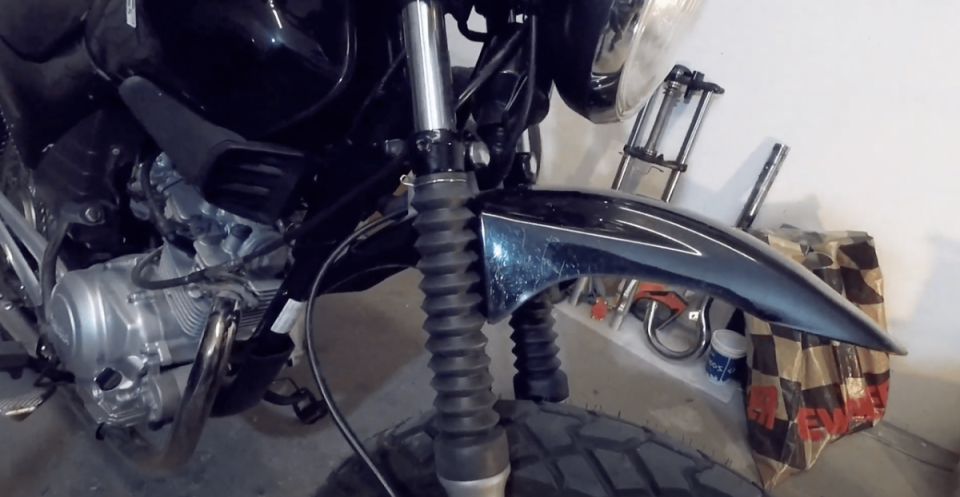
Fender turned out to be a blast! It's amazing how such a simple detail can affect the overall look: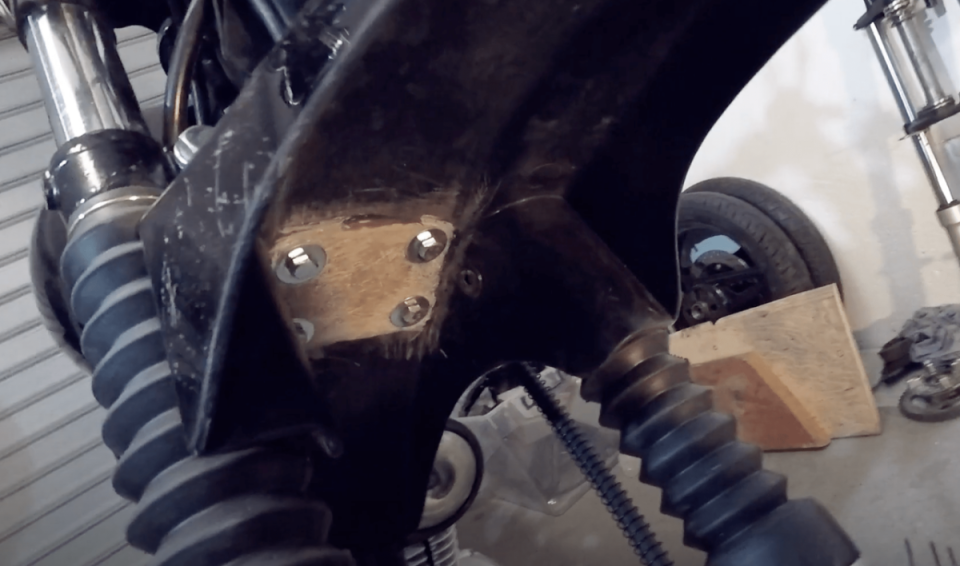
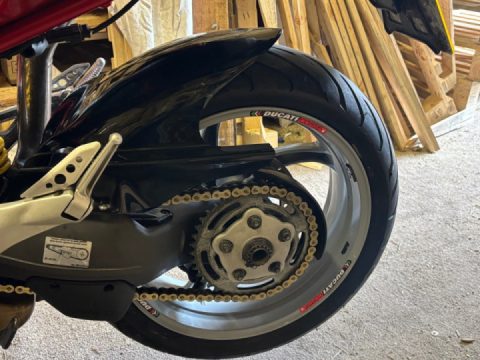
I still have to deal with the defective rear sprocket. Here's the story: from the factory on the wheel from Honda CG goes 42t, I pre-calculated that I need to put on 46t. I bought - put, and it is crooked, Karl... What to do?! - of course to put a spare, which is a sprocket on 47t, which was lying in my pockets :). Done and done. Again, for testing it is enough to understand how the bike rides. And, after a quick look at all this splendor, I decided that the footrest adapter is still weak - so just before the ride I welded a thick plate into it at an oblique angle for strength, so that all this stuff would not fold into a parallelogram: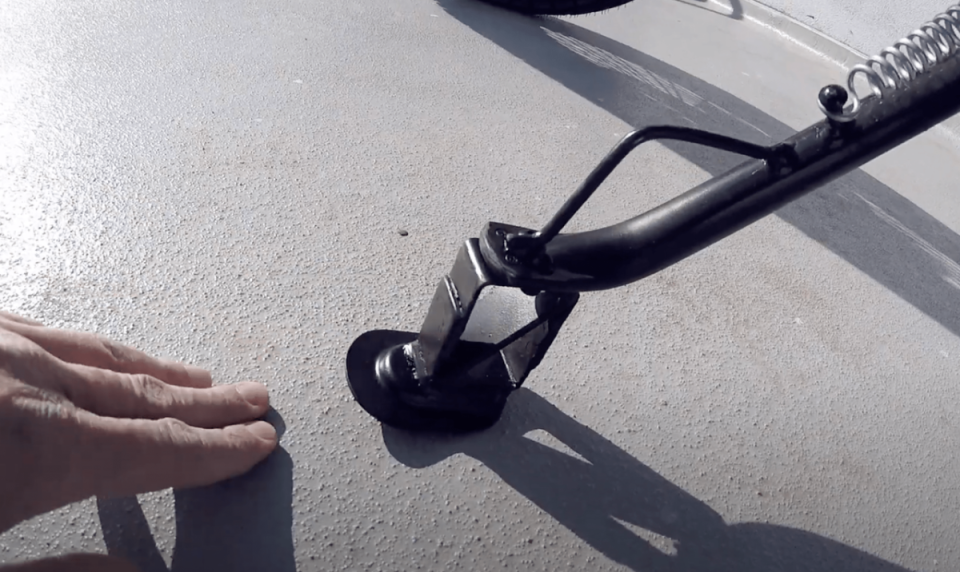

 Follow
2.4K
Follow
2.4K