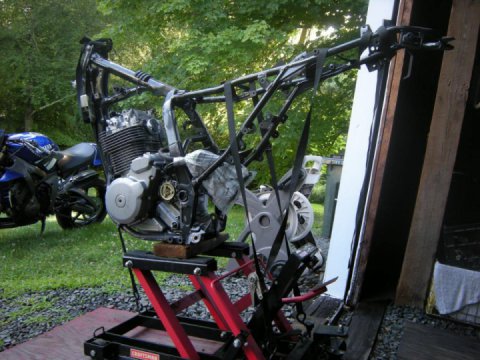
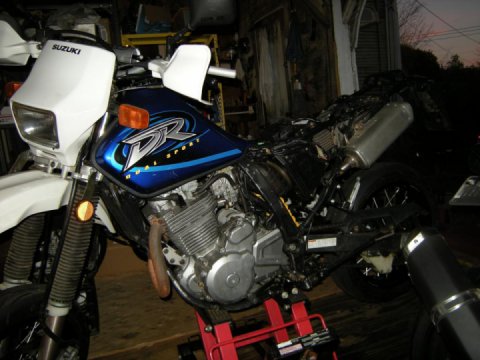
Part 7 Suzuki DR650
This was the card board template from the last post, it was traced from the cut down plastic panel I had a bunch of posts ago.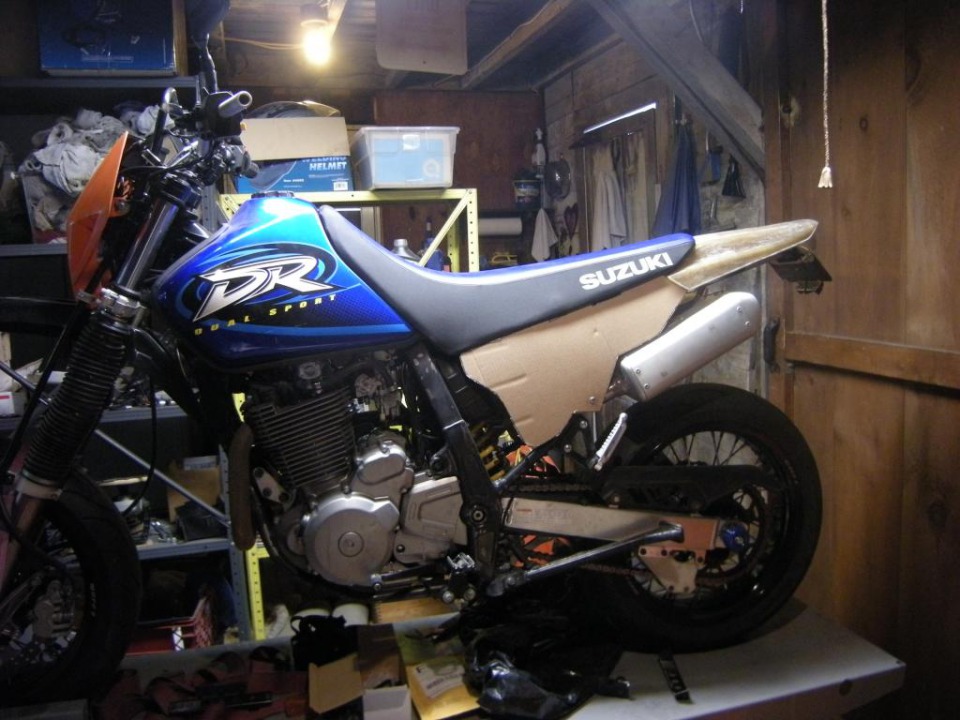
I trimmed those down to match what I had in my head for the new shape of the panels.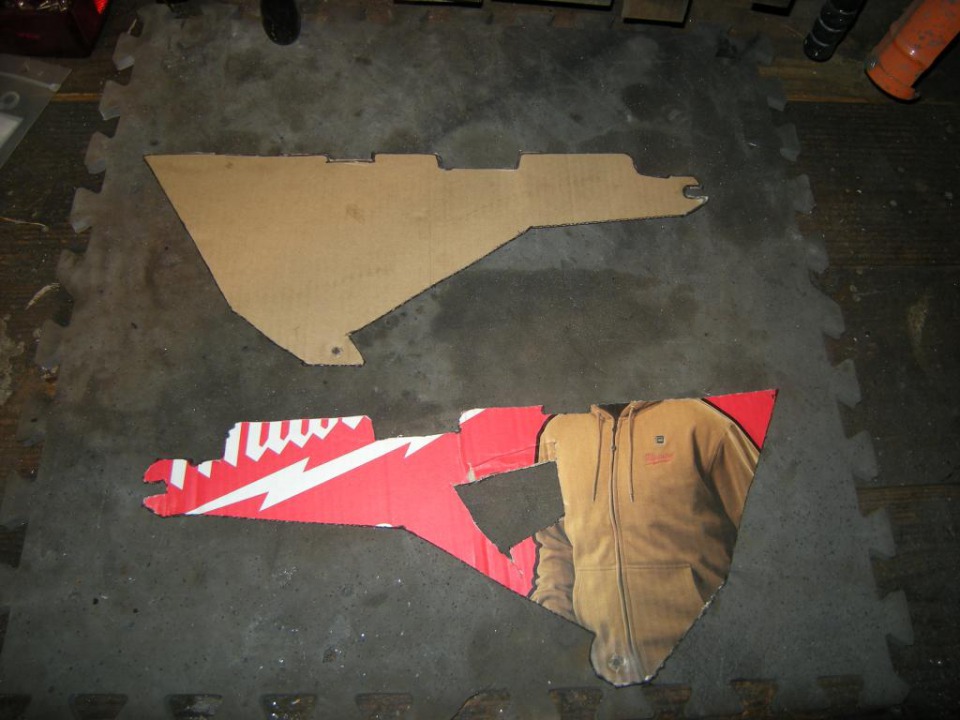
Bought some 16 gauge steel and cut them out, then popped a couple of bends in.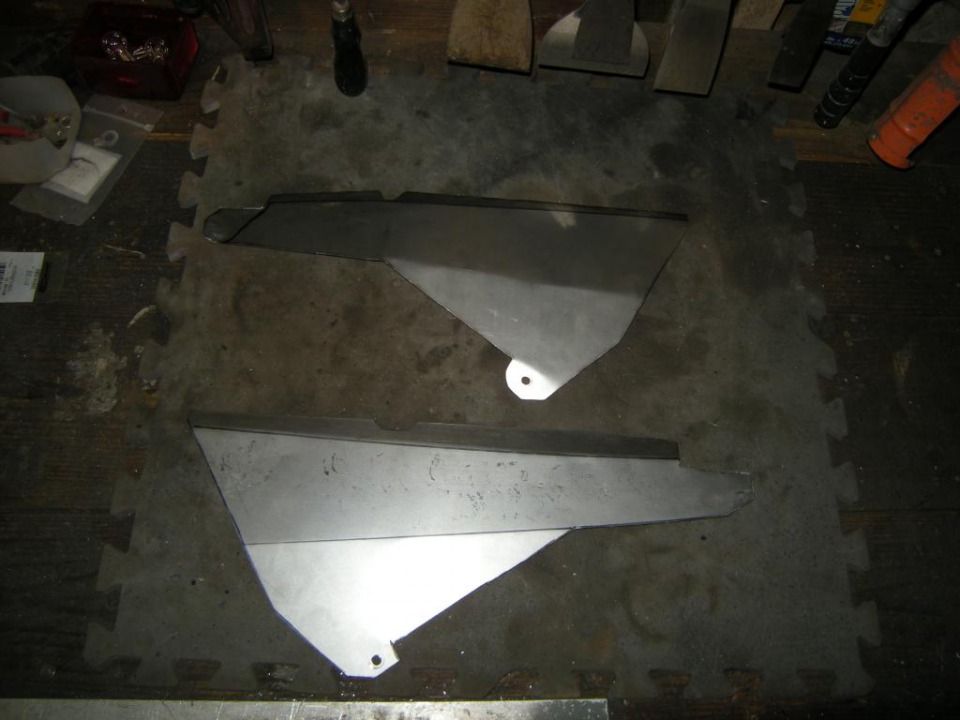
Bend is a little different on the right side in order to clear the starter relay.
And bam.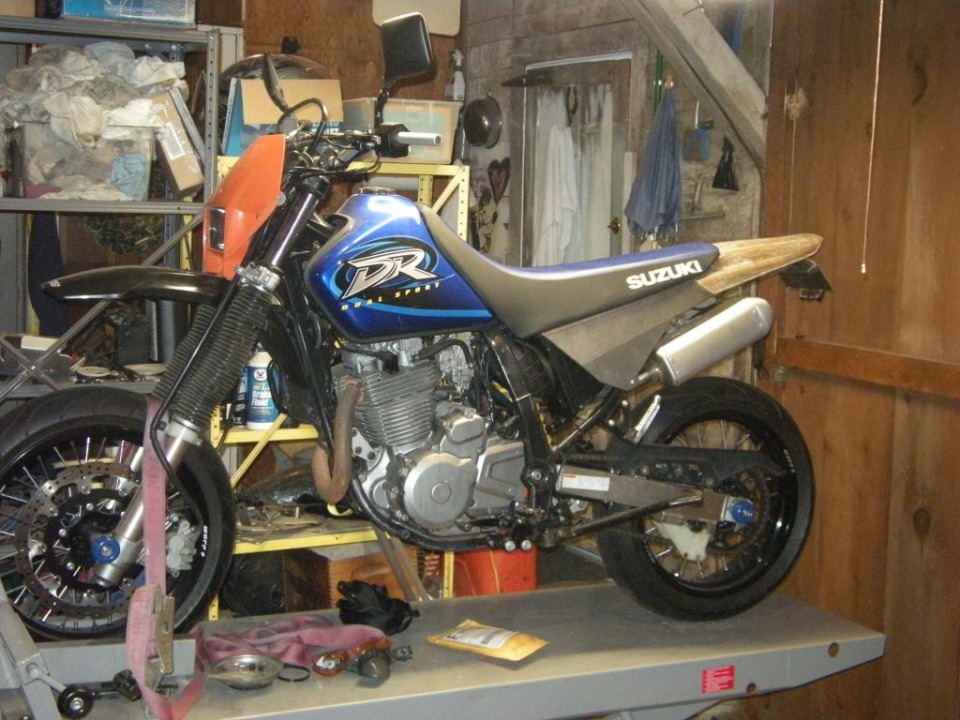
16 gauge sheet metal: $39
Ended up making a quick change to the right side panel. One of the bends was going the wrong way and didn't match the other angles on the panel. I figured I'd post this up to illustrate a point. If you make side panels or things like body work for your bike, I've found that matching body lines and angles into the new piece will make everything flow better in the end.
I highlighted the bends with some red lines in paint to show you what I mean. Here is the first from yesterday, it's bend was rushed and went in the opposite direction of the other angles making it stand out.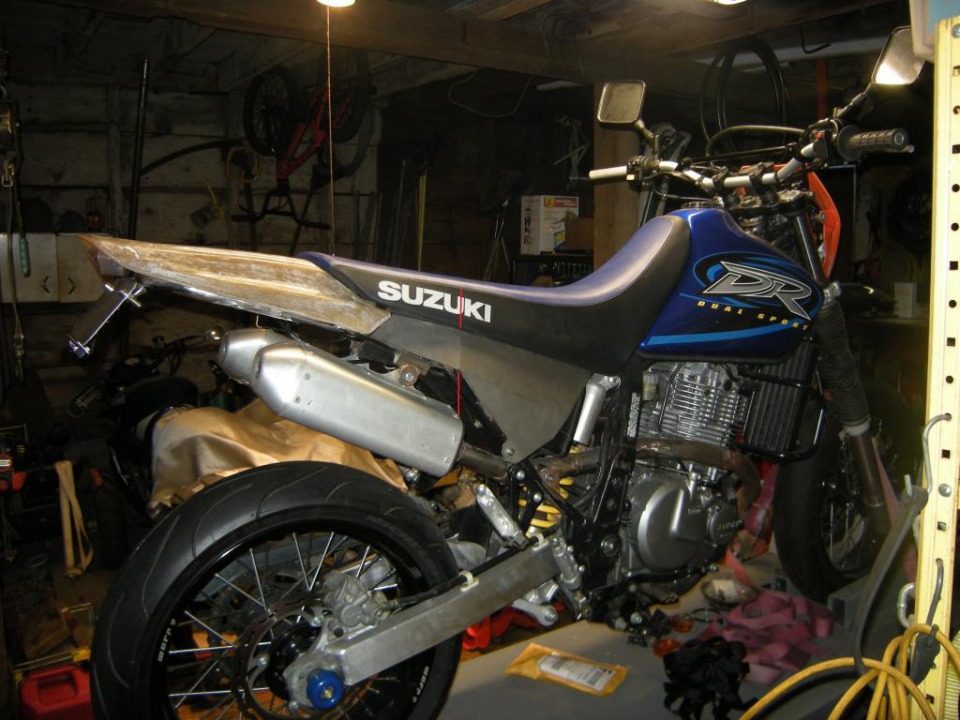
Here is the adjusted. I followed the same angle as the front of the panel, which follows the angle of the seat on the tank. Not a drastic change but it flows with everything much better now. I couldn't leave it, would have bugged the hell out of meTake the spare clutch and stator covers and cover them in aluminum, or, all you min ehh umm tape.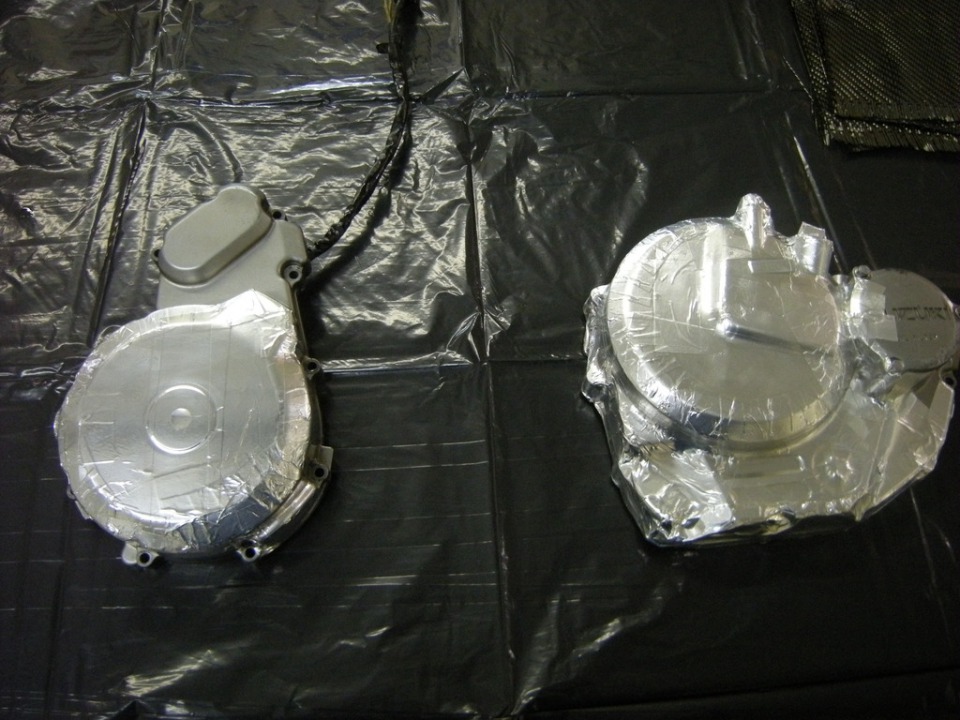
Wet out four layers of carbon fiber. 2x2 twill, in case you care,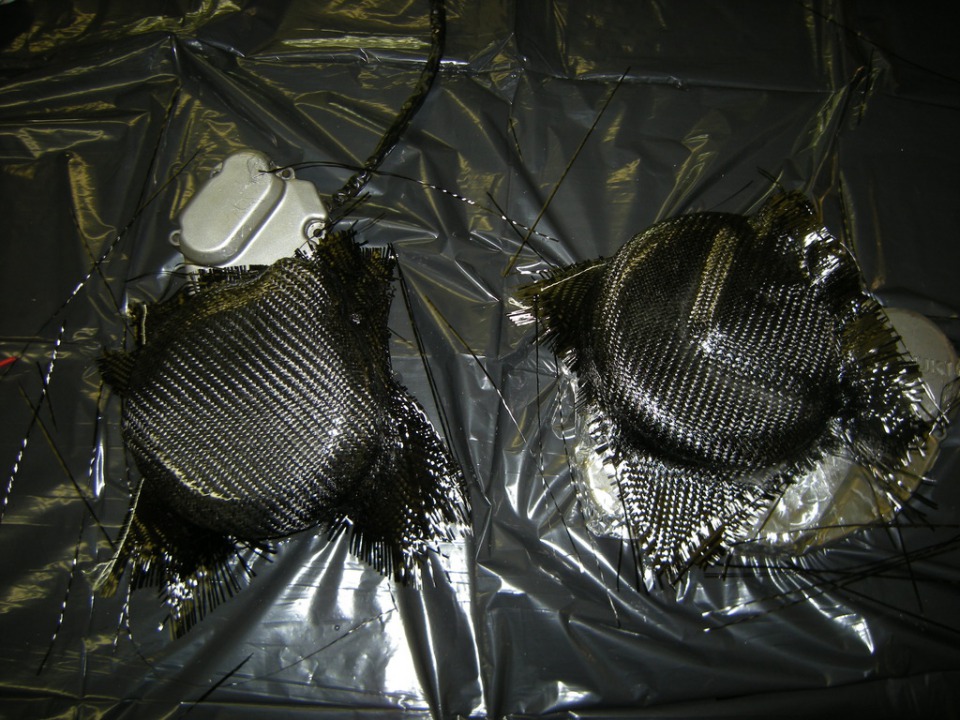
So if you haven't figured it out, I'm making some carbon fiber case guards. Hoping tomorrow they will be cured enough to pop off of the covers and trim up. Then I have hours of wet sanding and finishing work to do. They'll be RTV'd onto the covers in the end, but that won't happen until the motor is painted and back in the bike. And that won't happen until next month. When they are finished up I'll post up a pic of them "on" the motor for y'all to see. Cloth and resin left over in horde from projects in the past.
Really appreciate all the high fives!
While waiting for a fresh coat of resin to dry.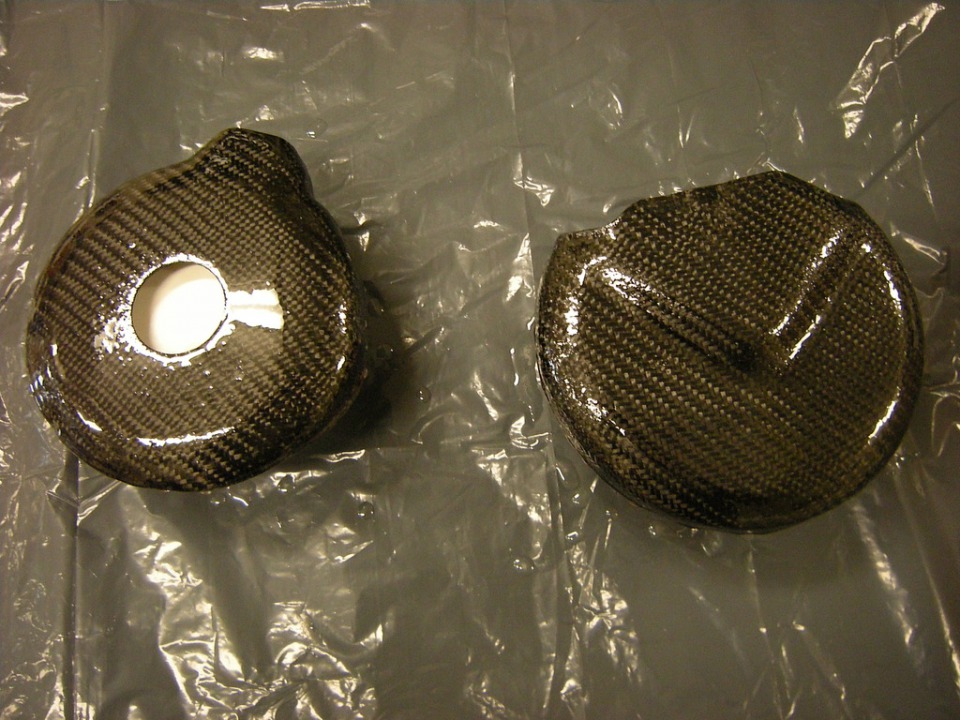
I tackled a couple of small things.
Old blinker bracket sits like this.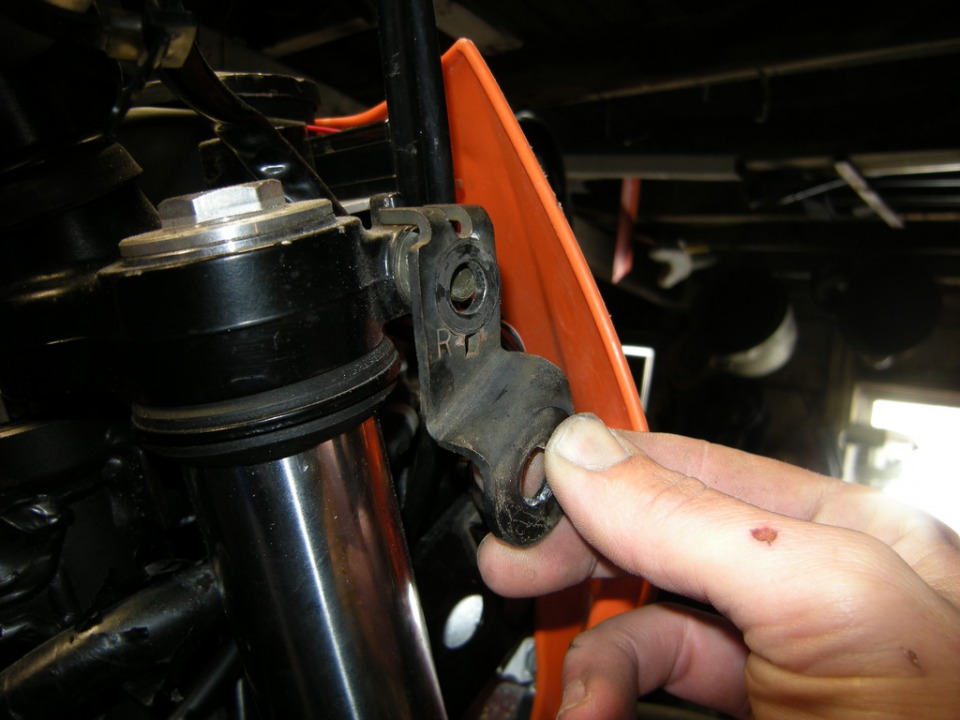
Cut the little tabs off, flip it to move the offset in and invert it. Then mount the new blinkers. Which imo look better than the hand guard setup.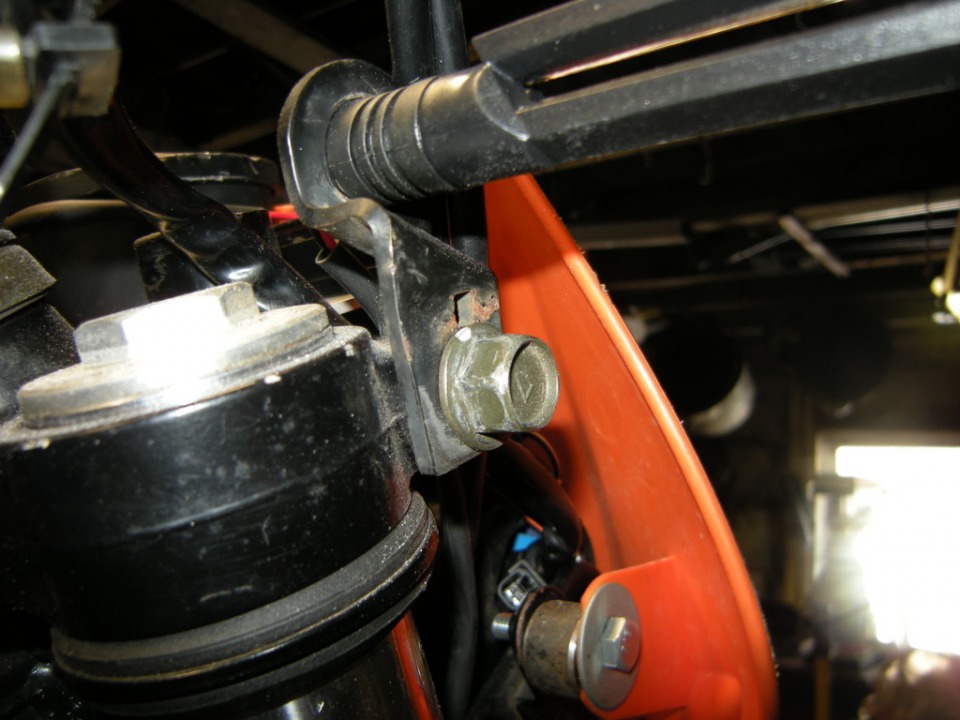
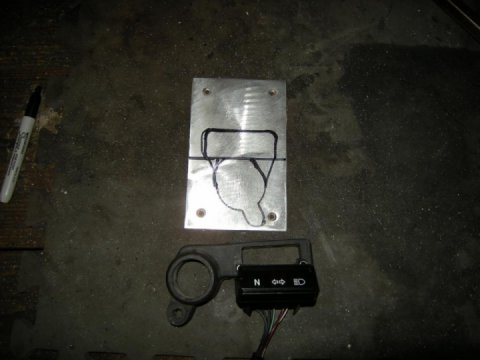
Want to be able to ride 2 up, so I need to keep the passenger peg mounts. But I don't want to have the pegs on all the time. I also don't want to keep the mounts exposed like this,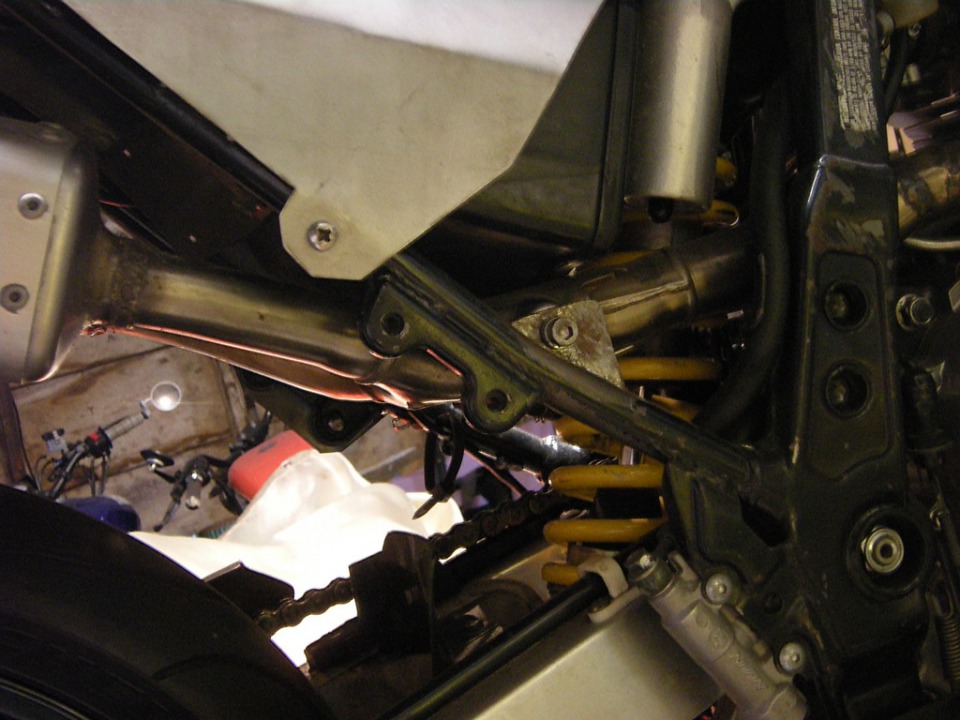
Cardboard plan laid out on the scrap titanium from the muffler I cut down on the R6 build.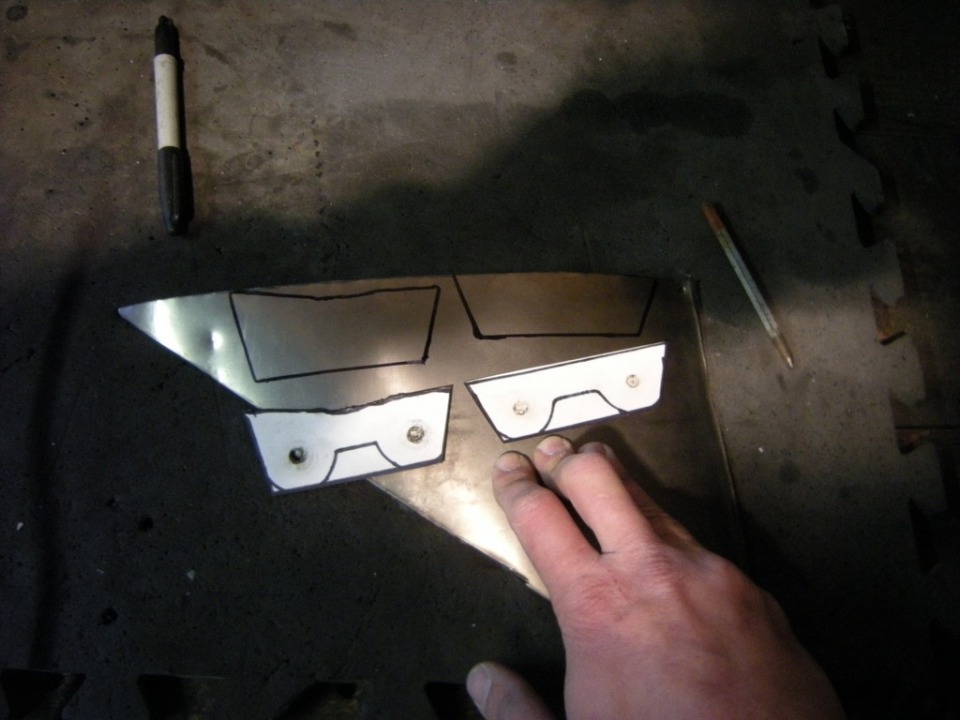
Cut out before heat treatment with the propane torch.
After some heat. Then bolt them on.
Then after a lot of wet sanding and a buff here are what the covers look like on. Main objective is to keep the brake and shifter lever from smashing a hole in the actual engine covers in the event of an off.
Thanks fer lookin'... New blinkers: $10
I had to take my aggression out on these damn things.
Happy with how this weld turned out too p.s.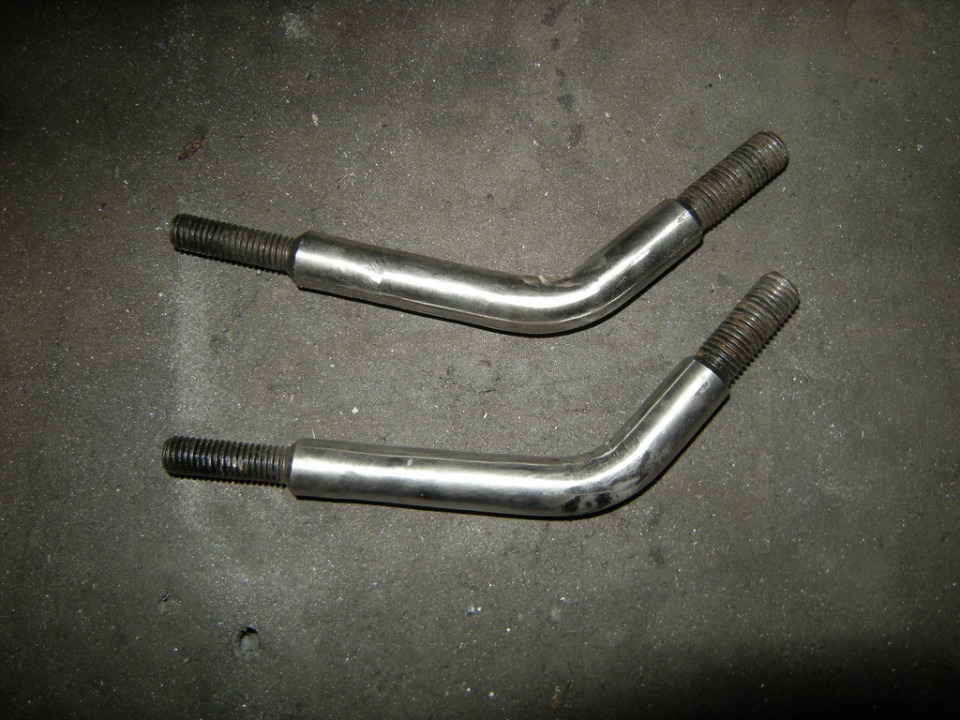
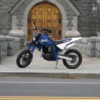
There... That's better.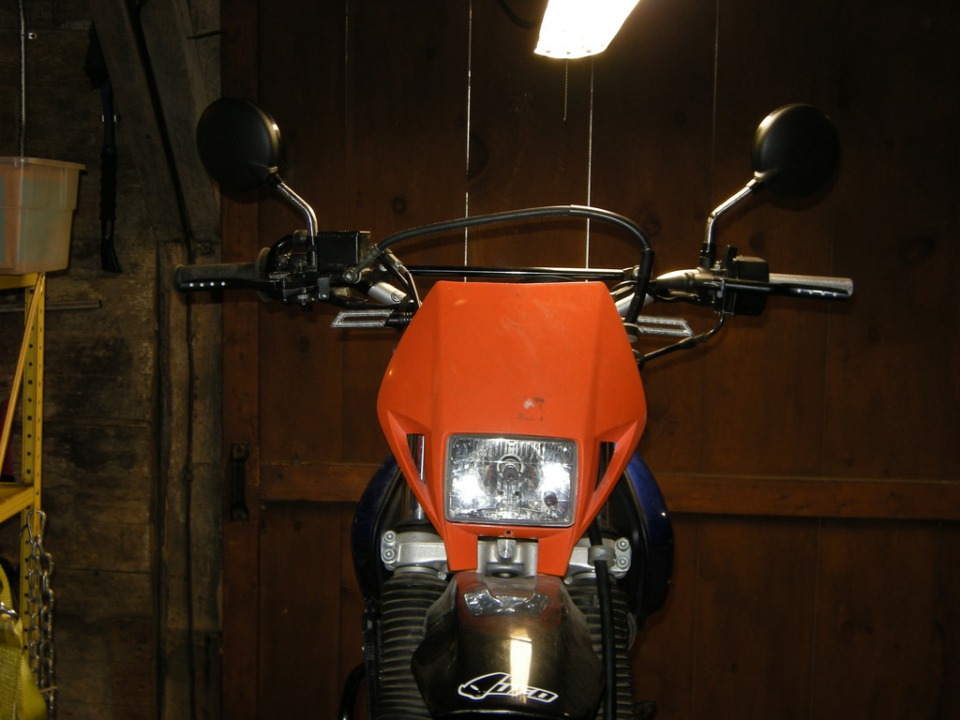
Got one more trick up my sleeve for tomorrow's post. Had to buy supplies for that this afternoon. Then I'll be breaking it down and doing the finishing work to it.
Right now I feel comfortable with the pace and being able to finish, but I'll probably need every bit of these last two months. Thanks for hanging with me on this one y'all!
New mirrors: $26.50
 Follow
6.9K
Follow
6.9K