Husqvarna SM610 - Part 3 - Assembly
I continue the story of the rebuilding of the Husqvarna SM610 06 ', which I bought in the autumn of 2013.
This will be the last post, as the assembly of the motor is finished and it remains only to add a few small details.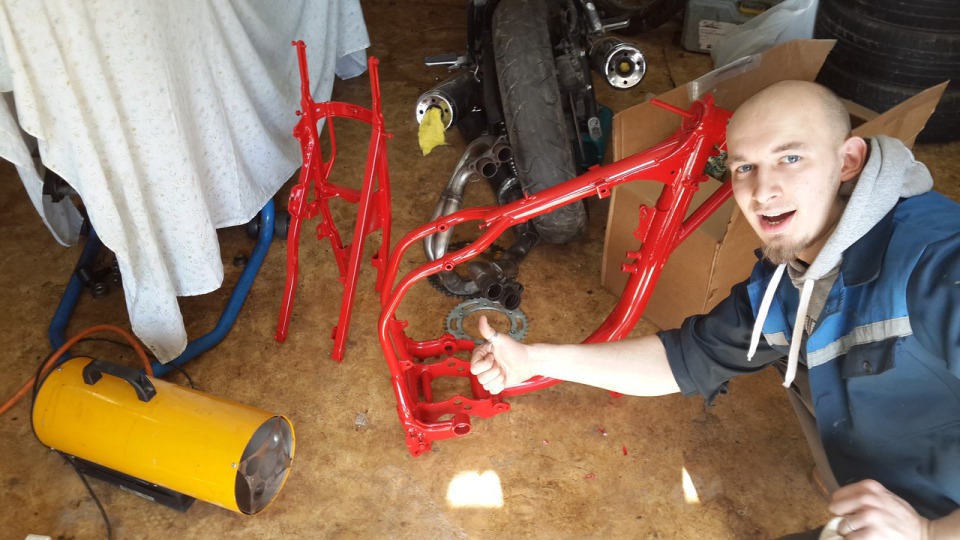
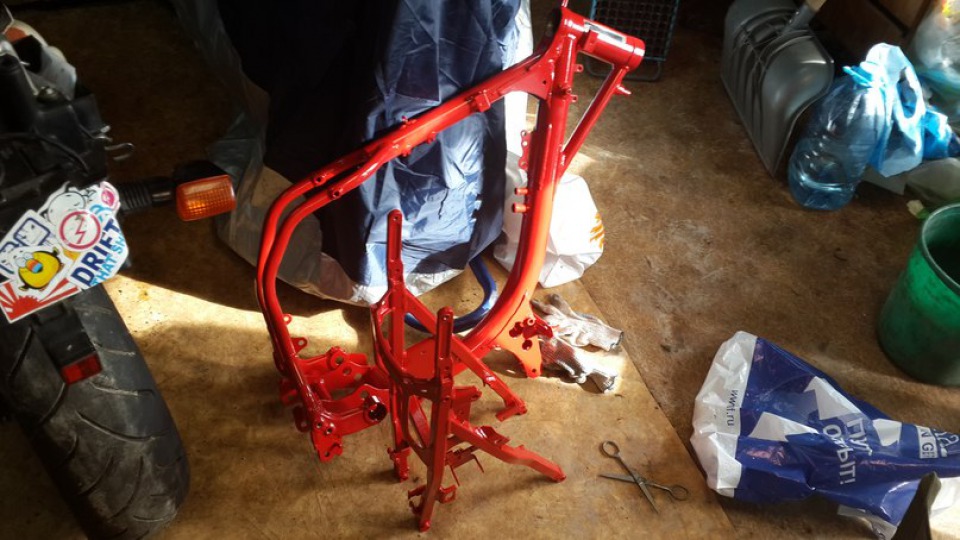
So the frame, stretcher, engine covers and other small parts were blasted out and given away in painting. Here's what we got: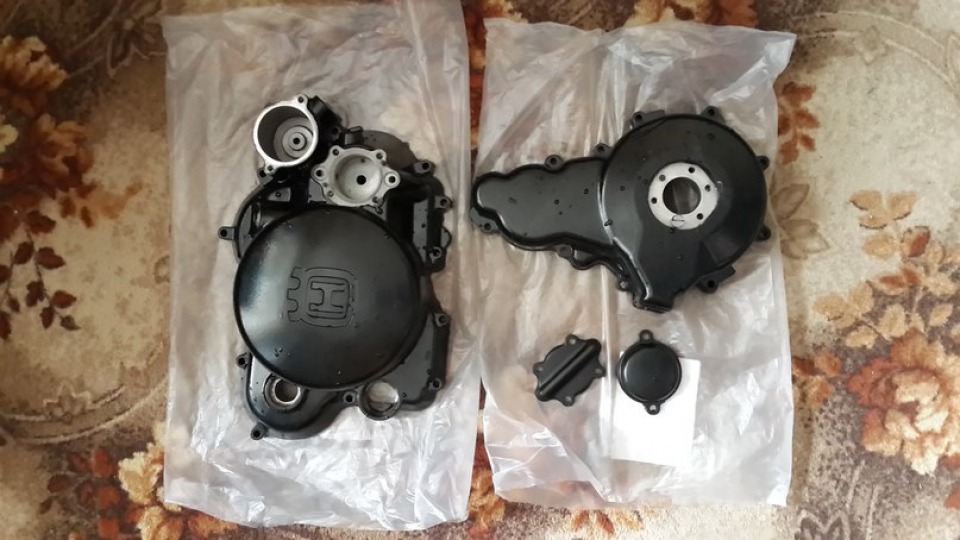
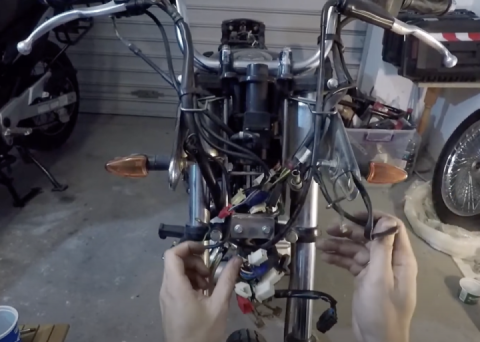
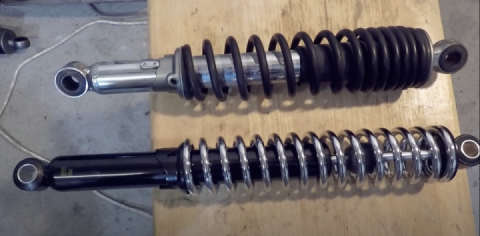
We collect the oil pump (located in the right-hand cover of the engine), fasten the covers to the motor and insert it into the frame together with the pendulum (the pendulum axis - the rear mount of the engine), fasten the shock absorber.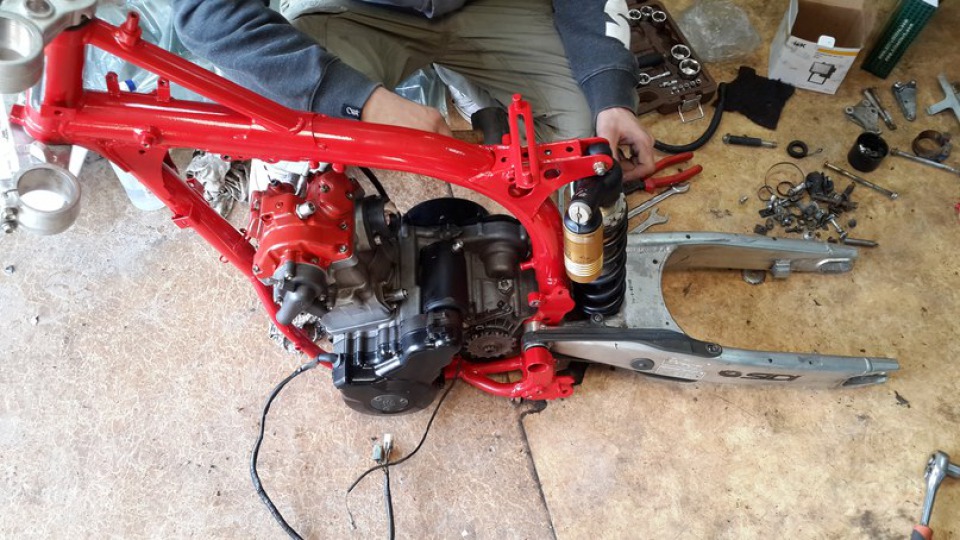
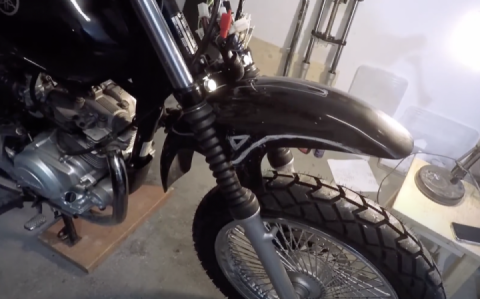
Next, we install traverses, forks, front wheel and prepare to install the front brakes: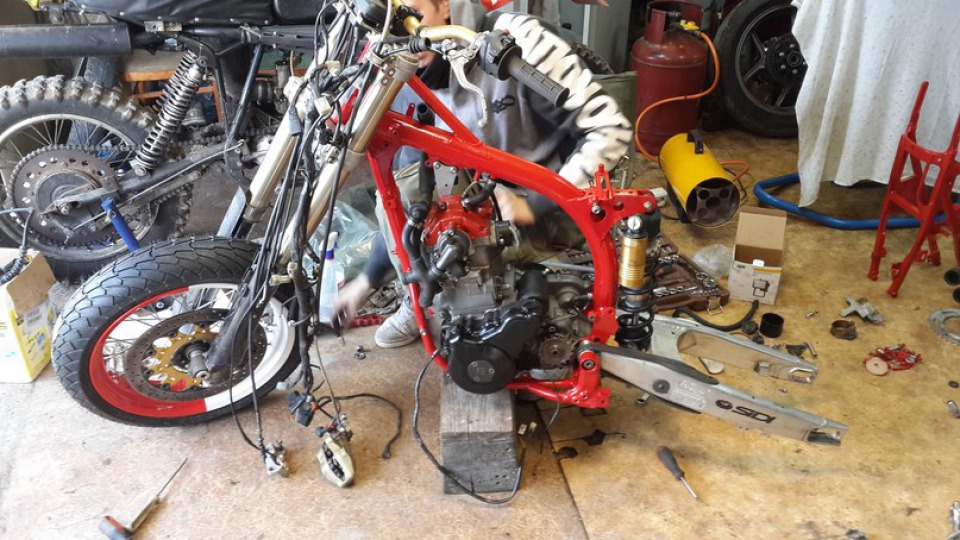
We put a support of a friont brake, a rear wheel, we start to collect the system of cooling: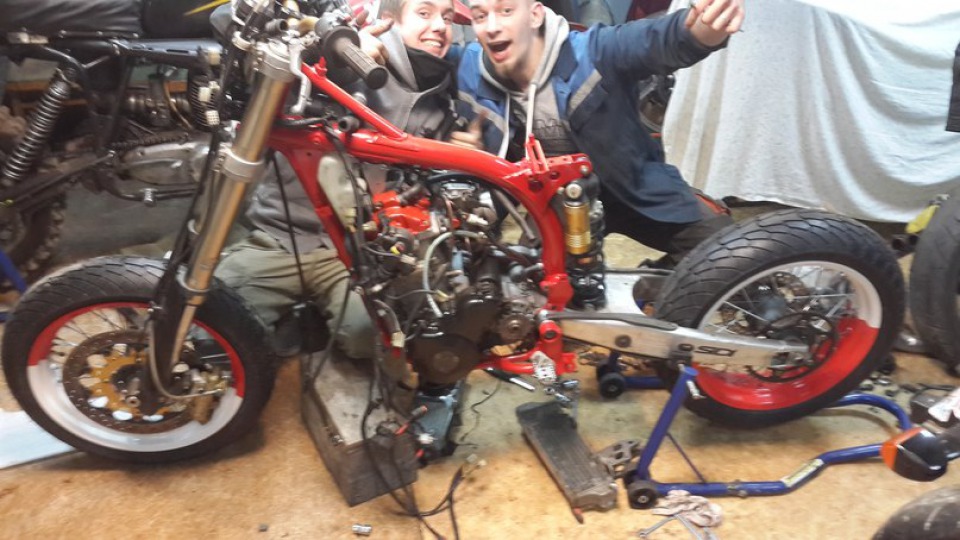
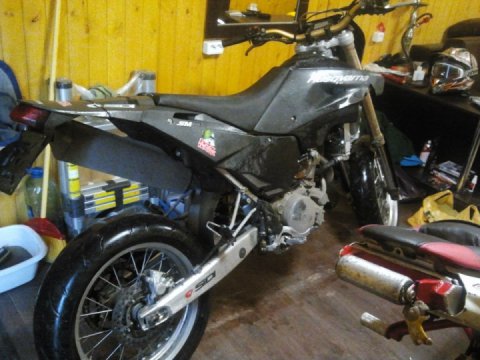
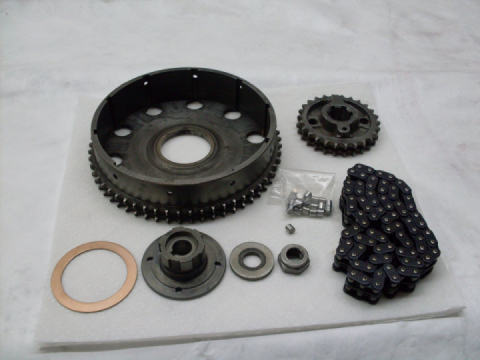
Cooling system was assembled, exhaust pipes, carburettor were installed, the wiring was partly assembled, a new chain was purchased and installed, red))) The first fitting of the tank and plastic (the subframe is not yet installed):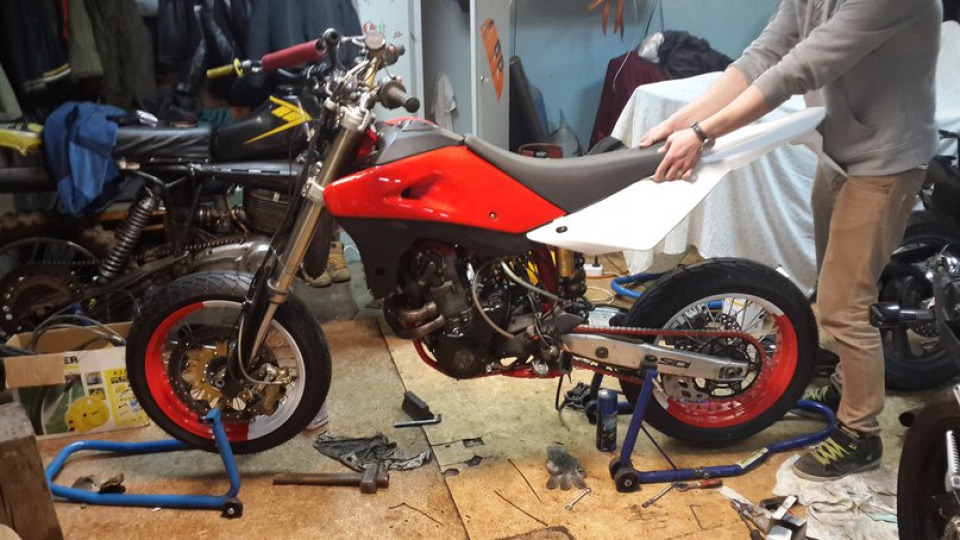
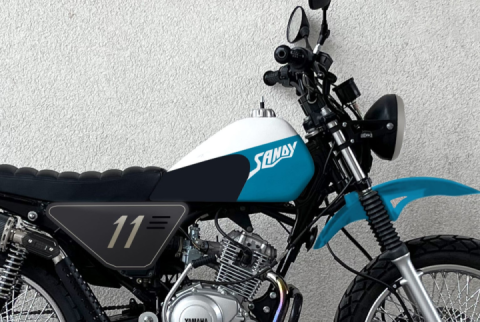
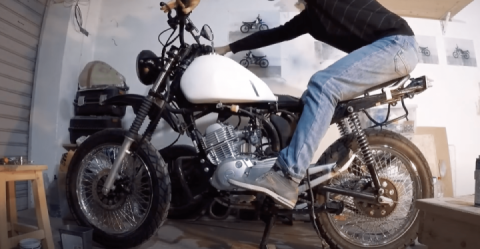
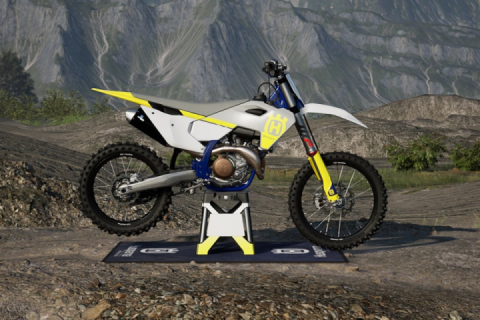
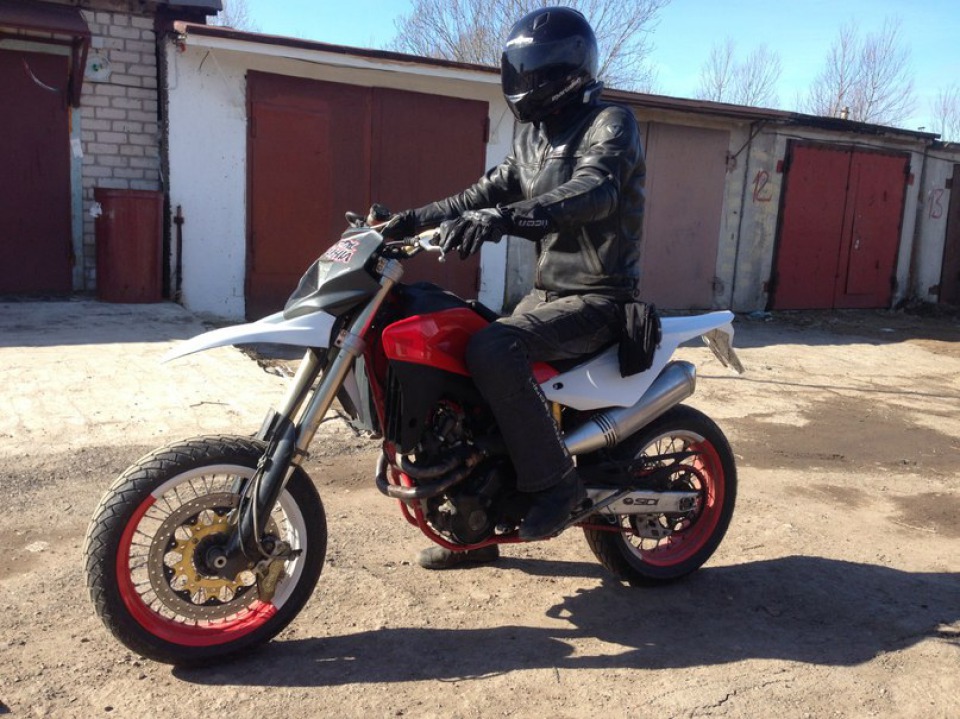
A stretcher, a tank, a plastic kit, and a seat were put in place. Everything looks awesome! And soon there will be the first ride!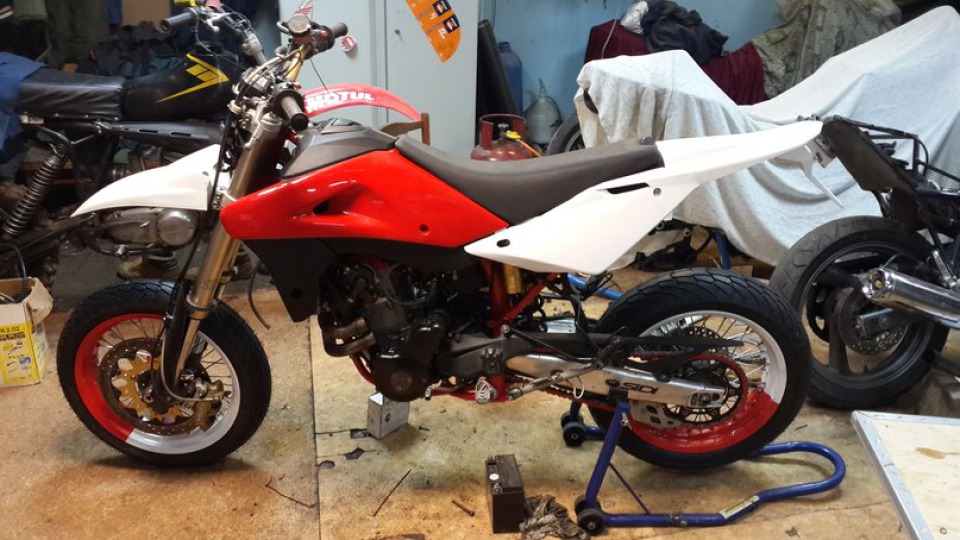
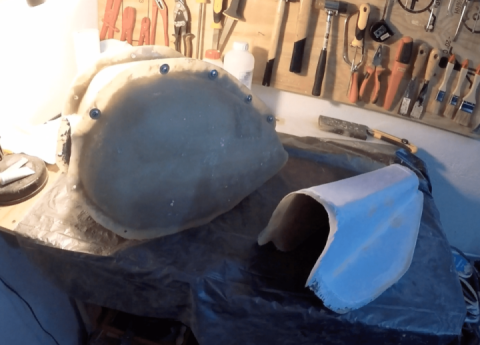
The next step is to install the exhaust system. But I really didn't ant to put stock huge, heavy item, as well as spend a lot of money buying Arrow or Leo vince one... So we will work with the stock item)) It looks like this: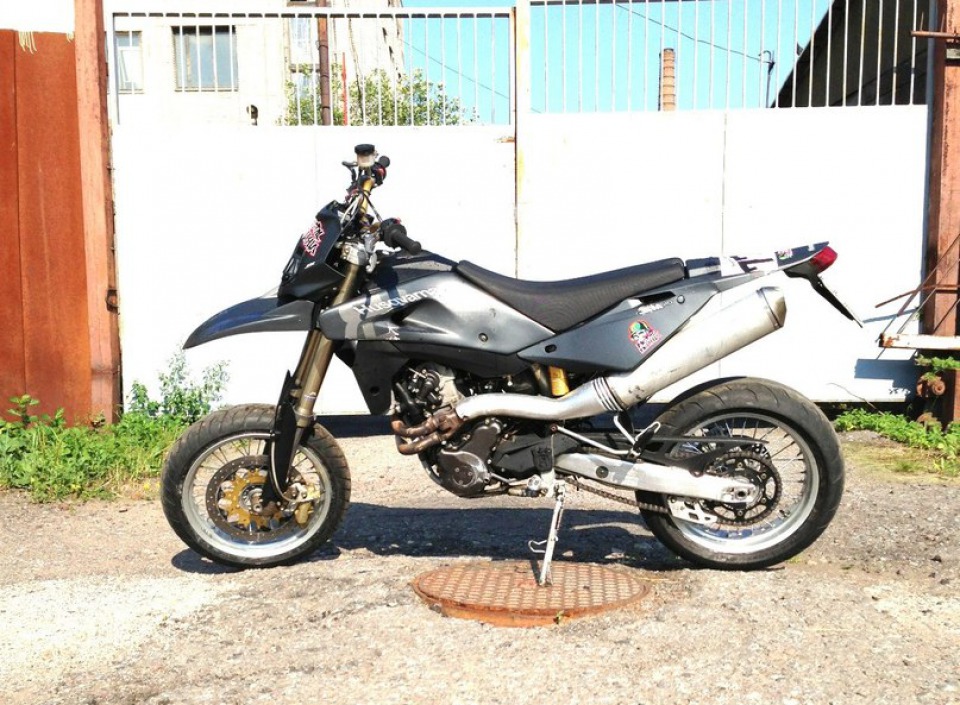
To begin with, we dismantled it. Inside the aluminum case was another one, the same steel, 1 mm thick (that's where the excess weight). At the entrance to the system a catalyst is installed. At the output there is a system of tubes that repeatedly changes the direction of the gas flow and extinguishes its velocity. In the middle part of the jar there is emptiness.
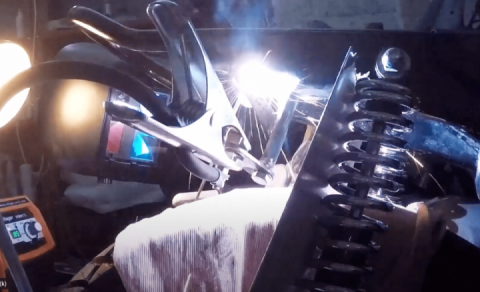
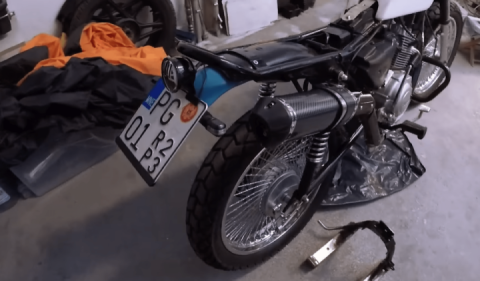
All the insides were taken out and put in a dark corner. There only the aluminum case and two plugs remained. The body was cut to approximately 250mm, a cone perforated tube was made, which was further welded to the inlet plug. Further, the jar was filled with a special packing and the outlet plug was riveted into place. Here's what we got: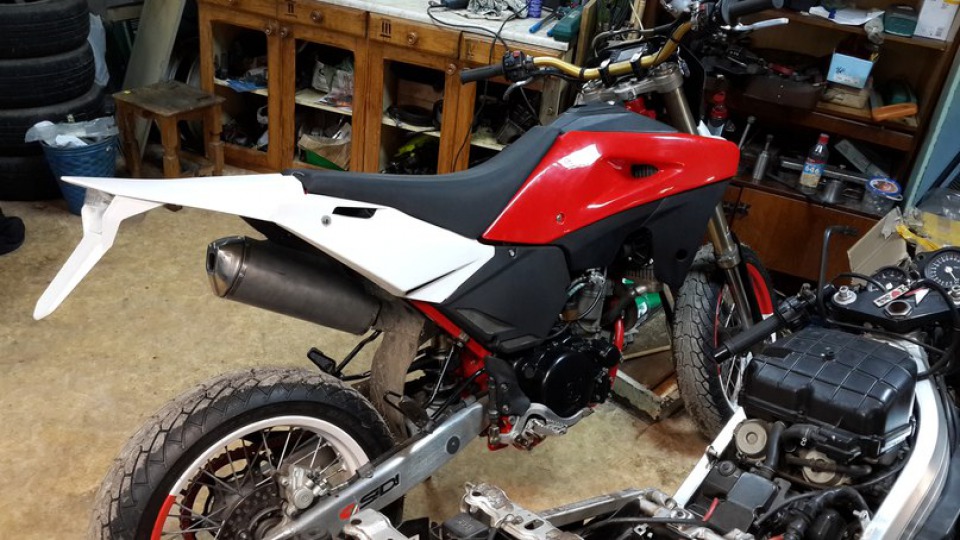
By this time, all the missing plastic, stop signal and other details had taken their place.
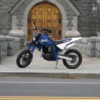
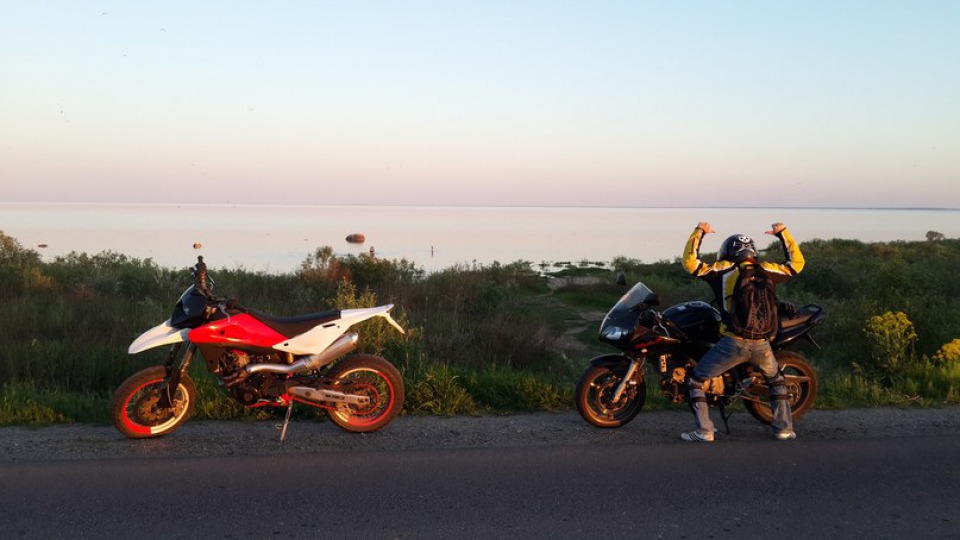
We can start riding)
The motorcycle started up confidently, worked smoothly. The first exit showed that the motorcycle finally rode as it should. Everything fell into its place)
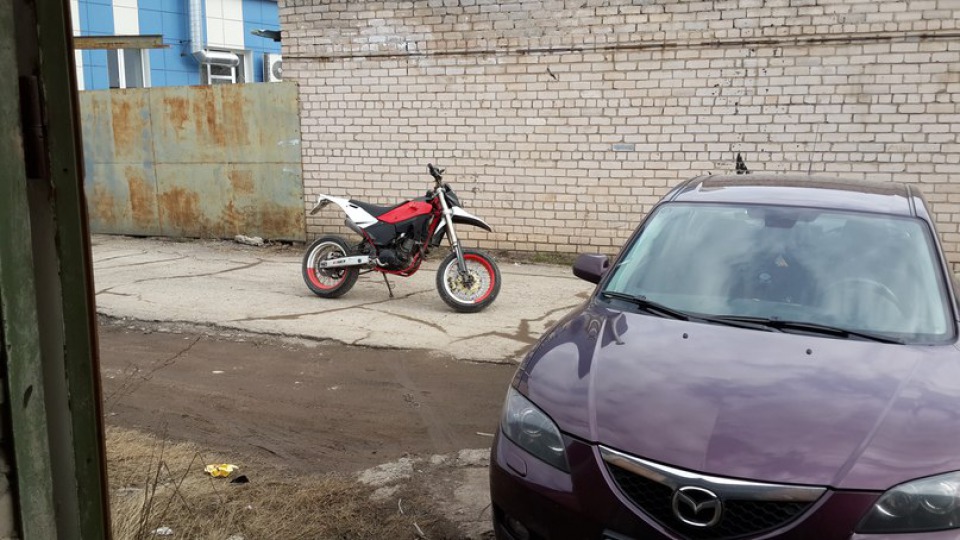
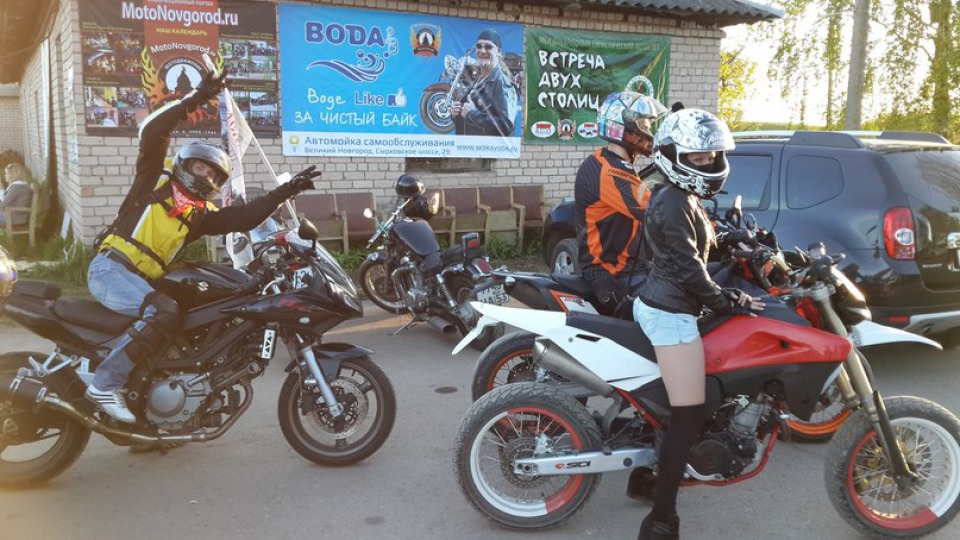
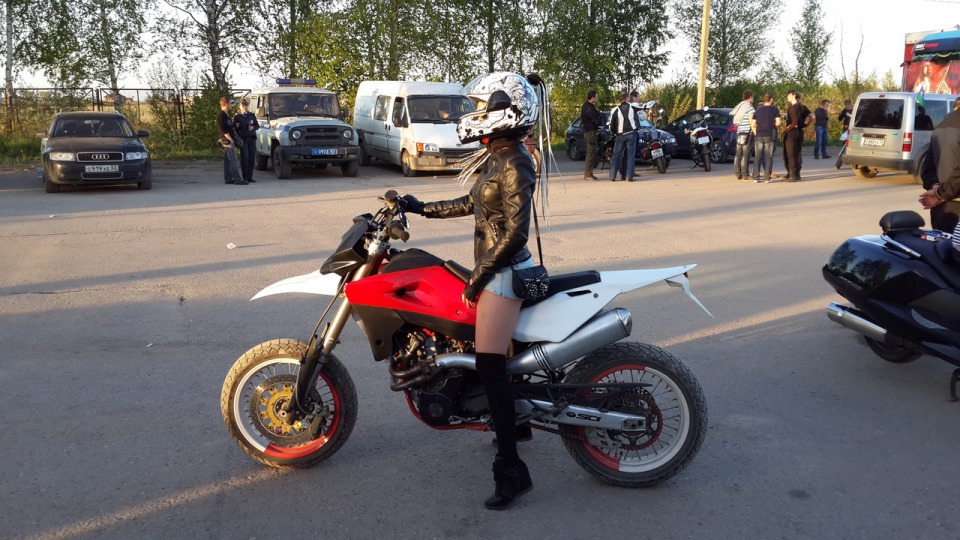
More photos: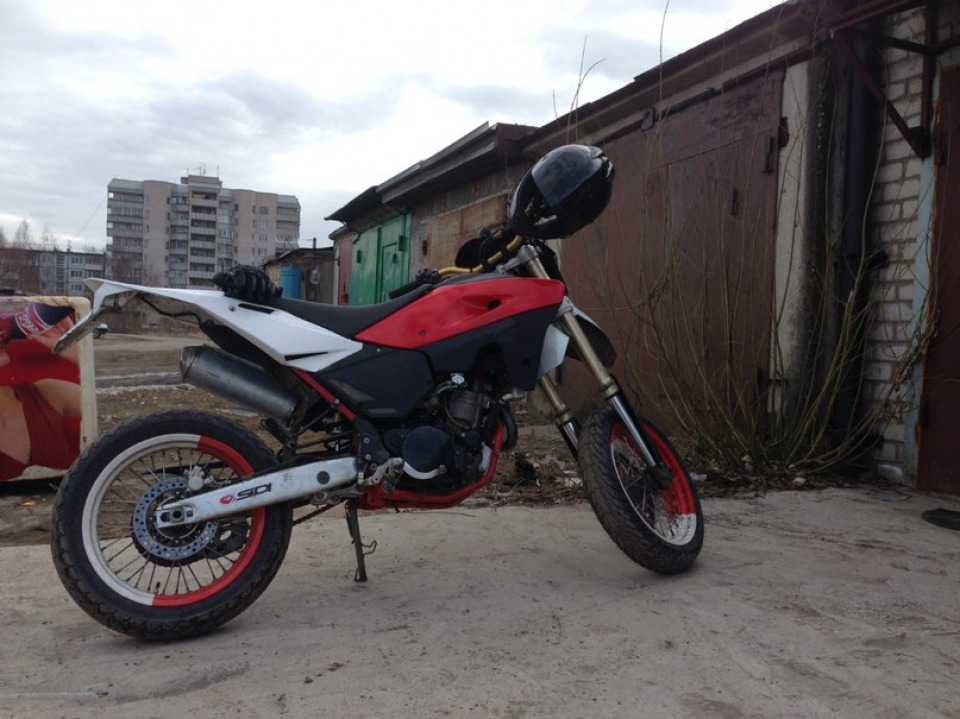
 Follow
4.3K
Follow
4.3K