How to remove the fairing for access to various things
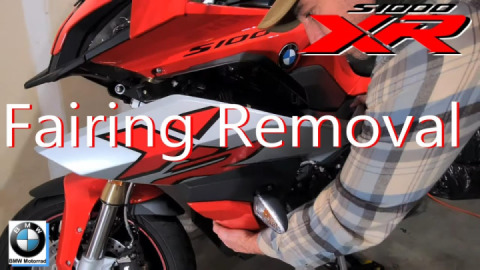
The fairings need to be removed to access a number of parts of the bike so this is a guide on how to take the panels off without breaking anything. It’s not a particularly hard job and takes about 20 minutes but you should be slow and careful when doing this.
In terms of tools, you need a hex key, a flat blade screwdriver is handy, and optionally a trim removal tool instead
OK so let’s get started, pop the bike up on the centre stand for good access
We’ll start up top with a nice easy access hex bolt, remove this. All the hex bolts are 5mm for this job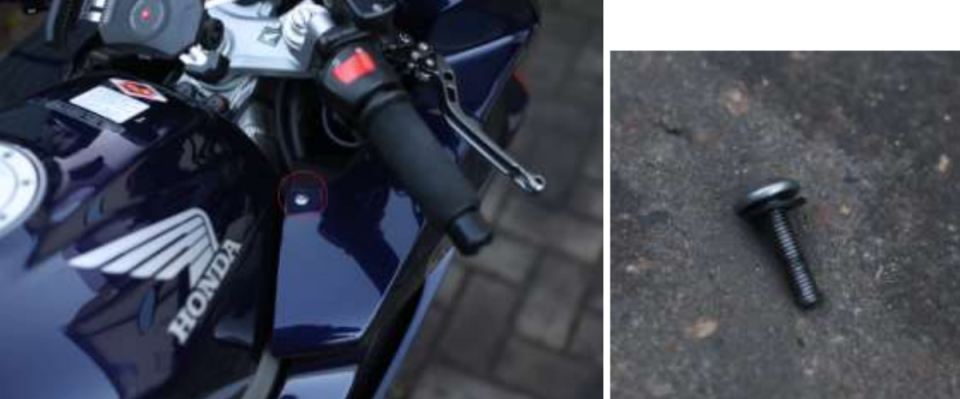
Then onto the side of the bike for anothe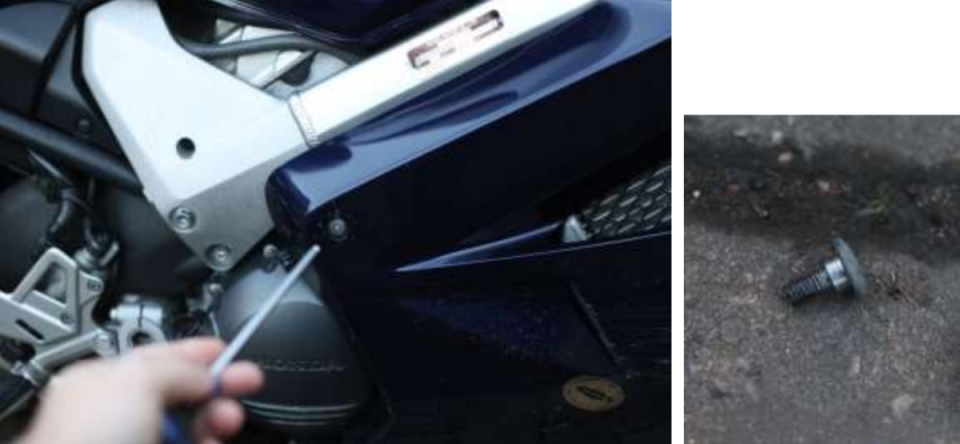
Down low for the next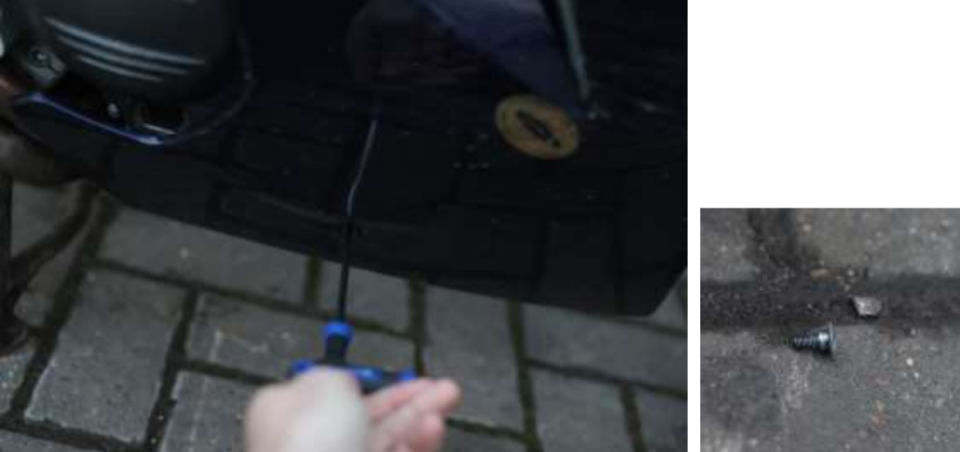
Then we will go for the bolts tying us into the front fairing, three of these to do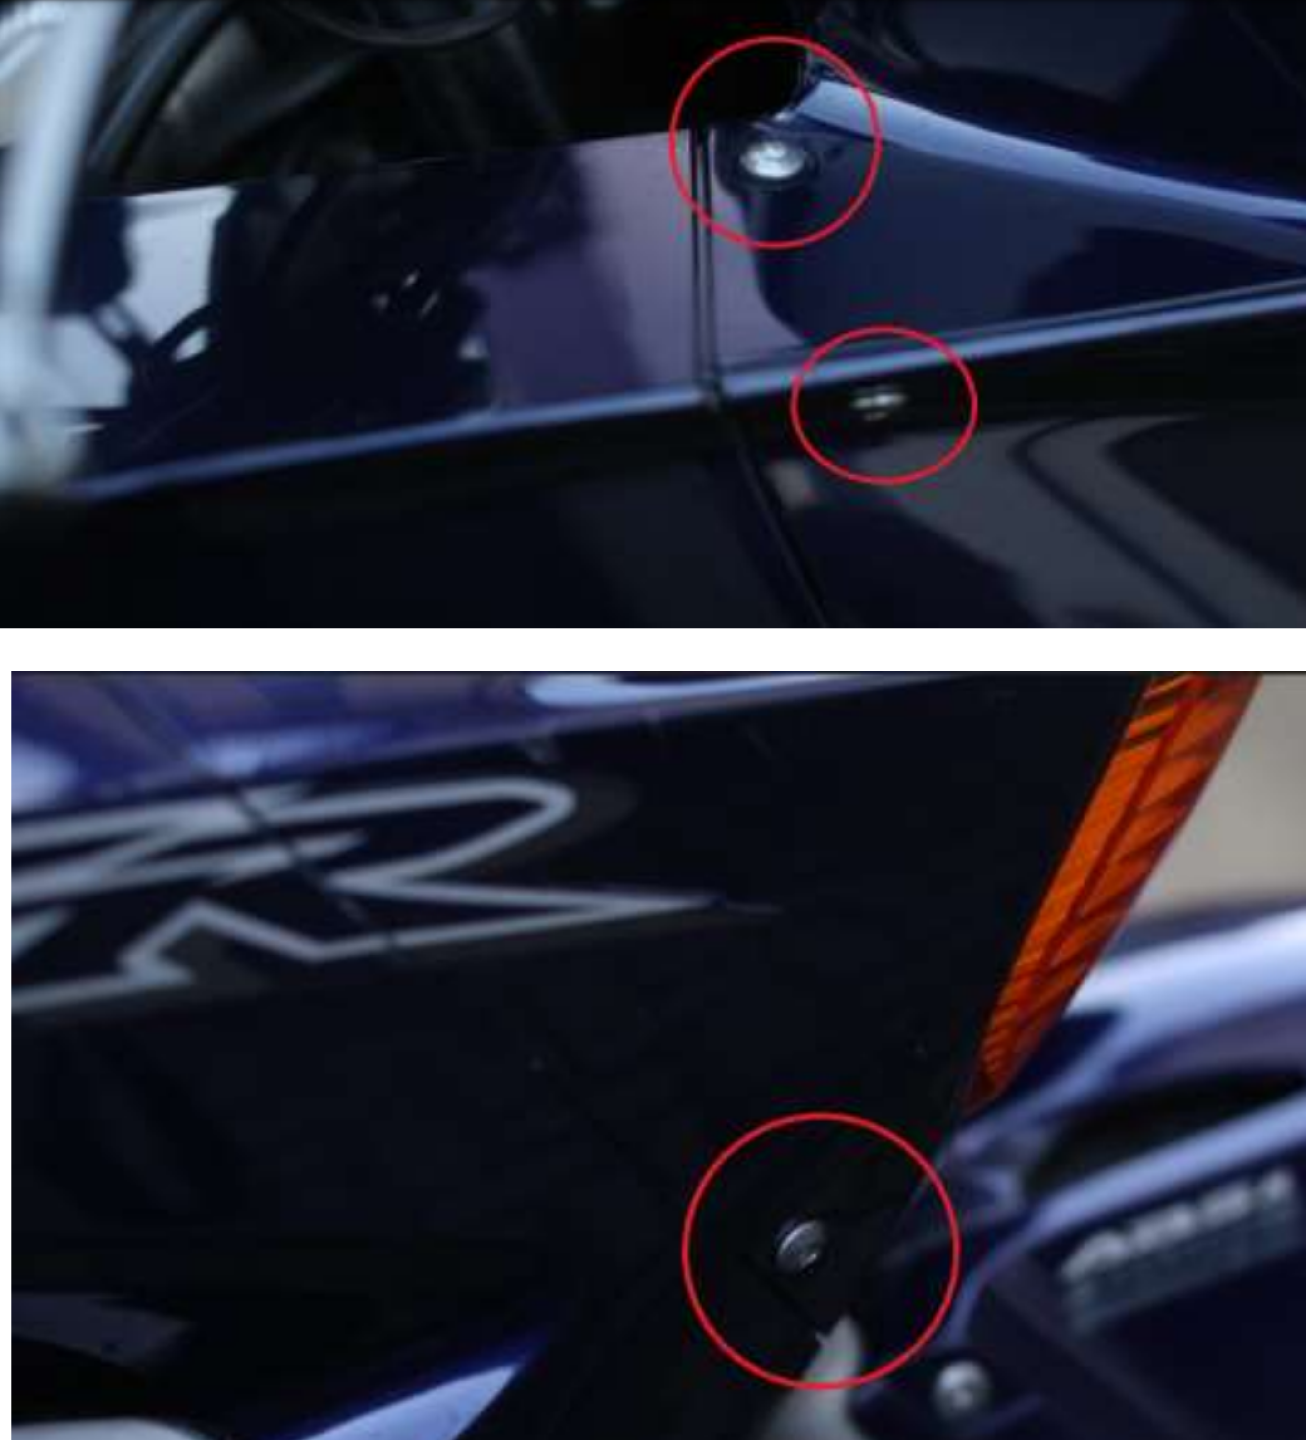
Next the two behind the front wheel 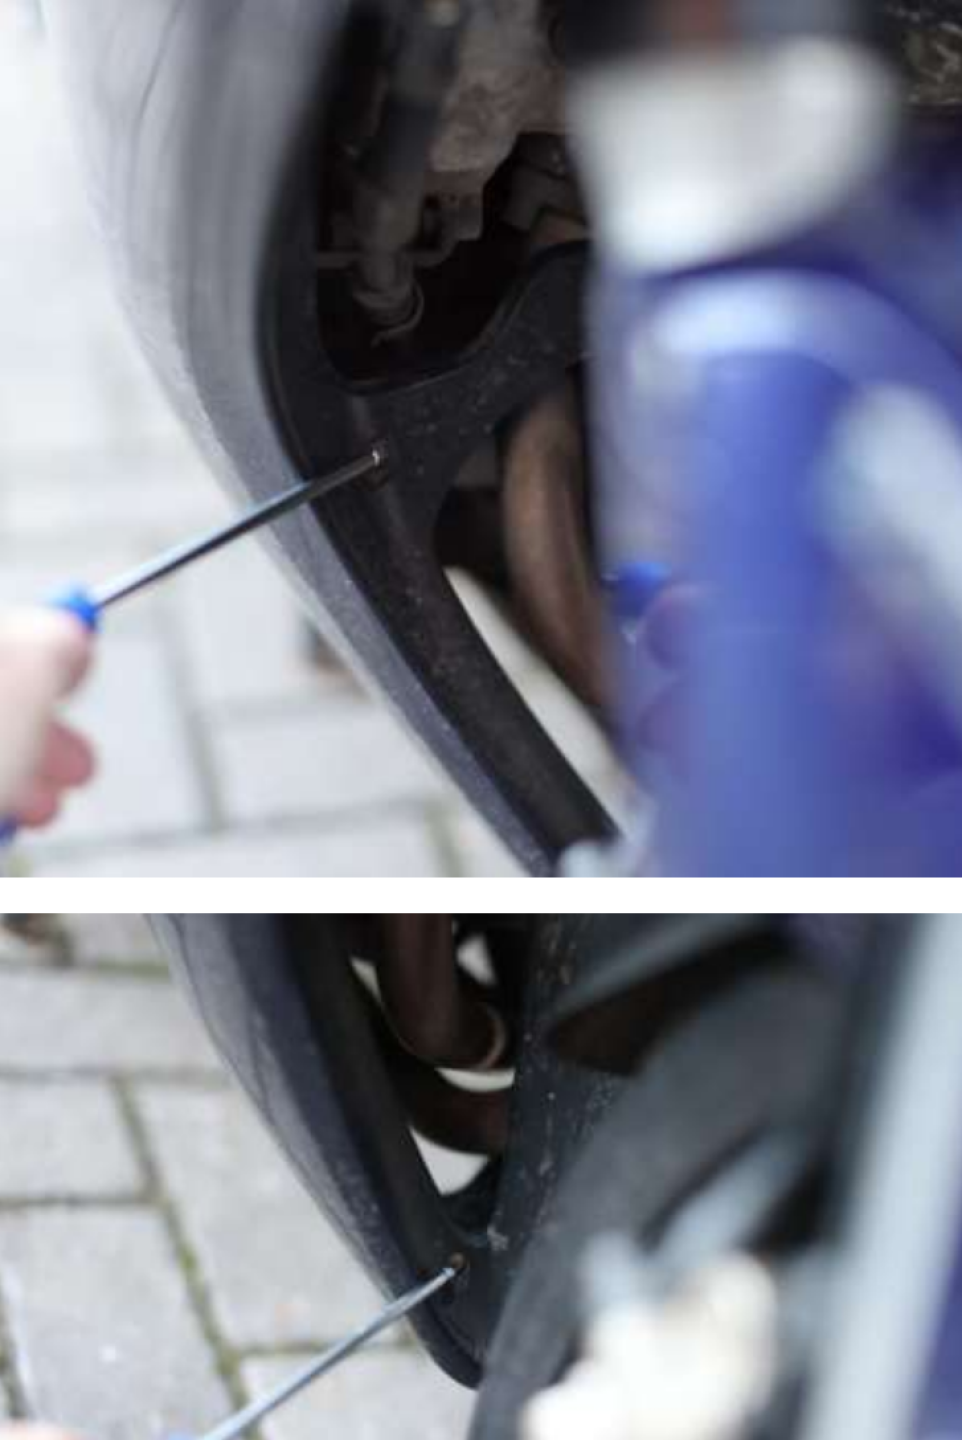
If these ones spin without coming out, you can apply a little pressure to the pointy end of the bolt to encourage them
Then repeat on the other side, top bolt on the fairing first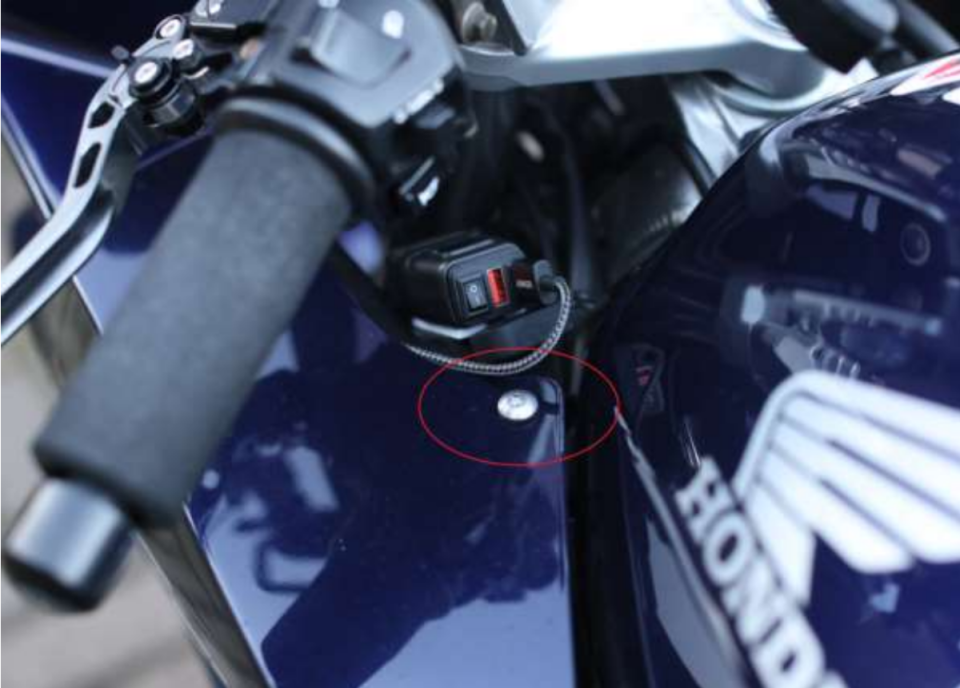
Then the 3 joining the front panel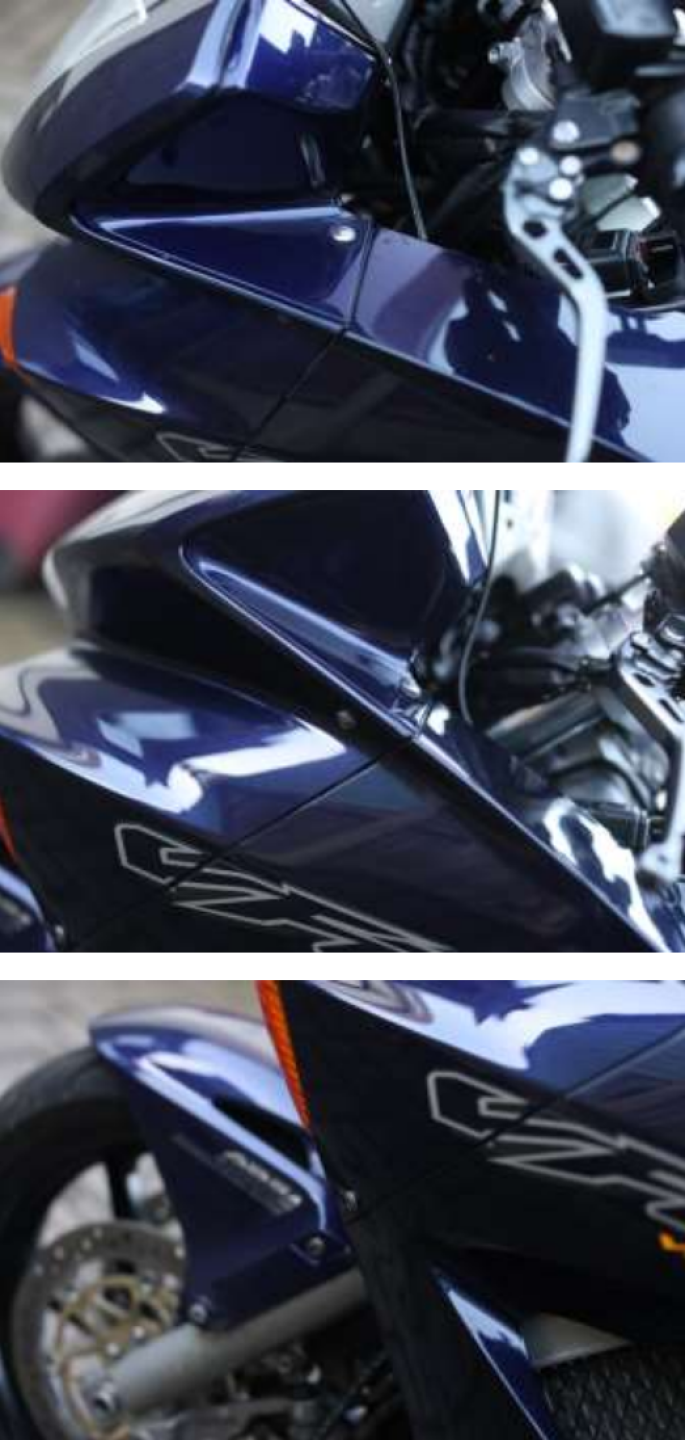
The side and bottom bolts next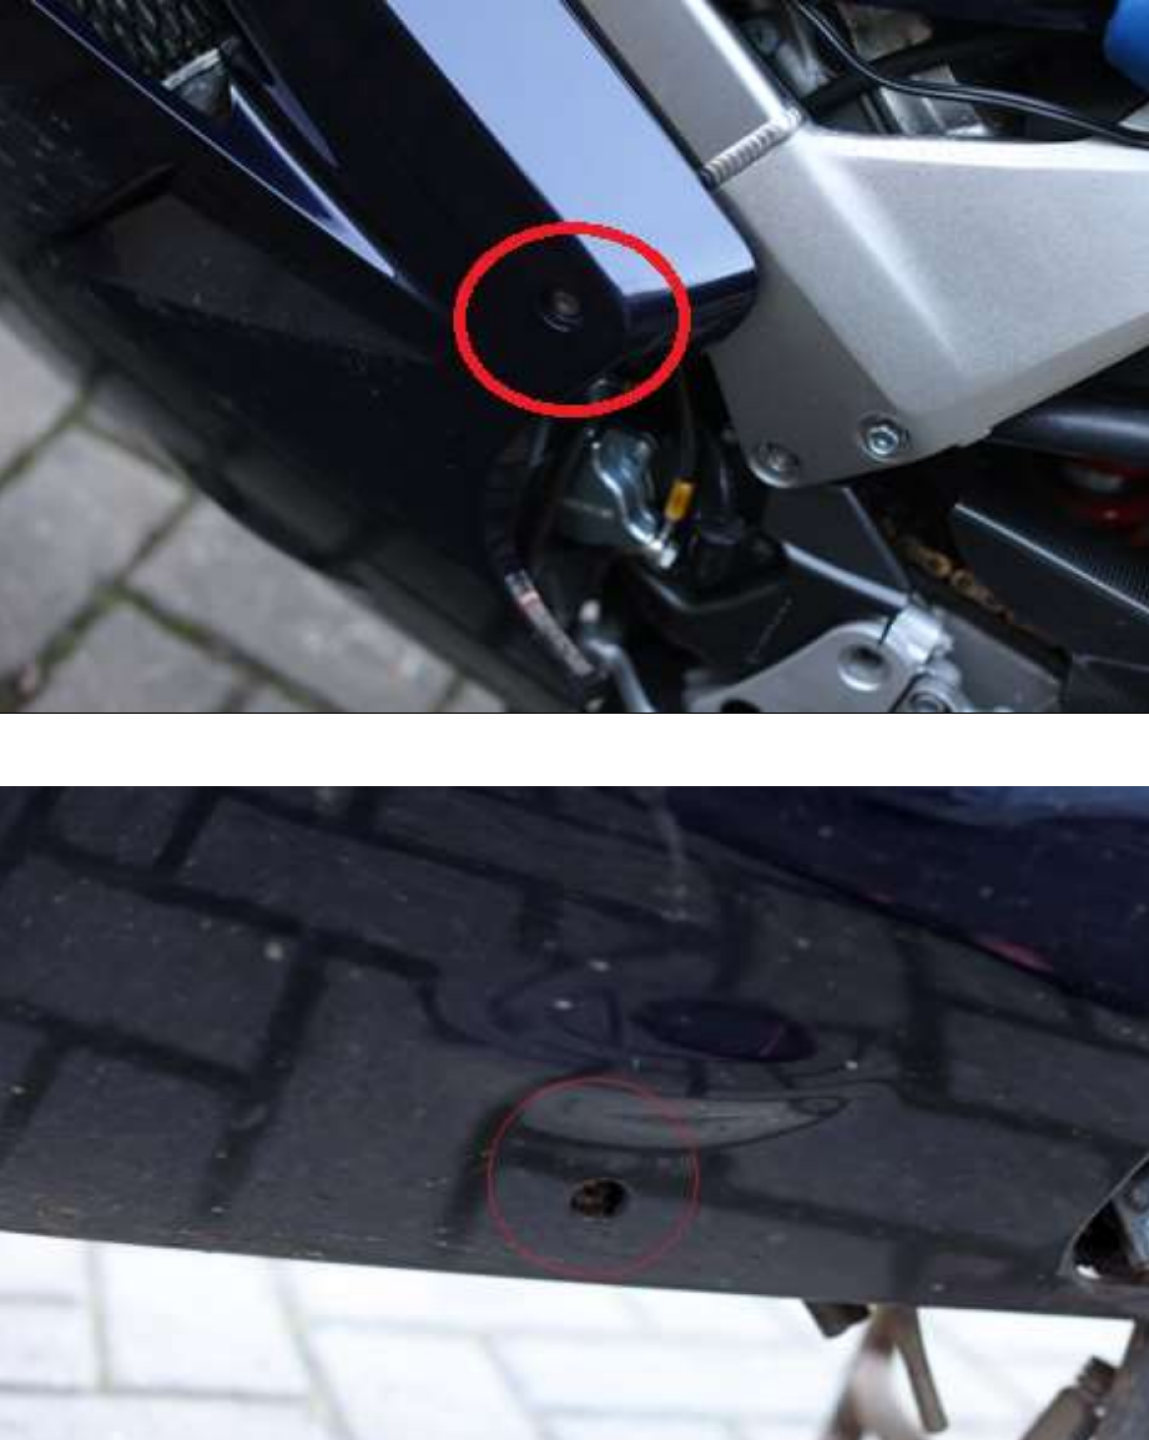
The two in the arch liner are next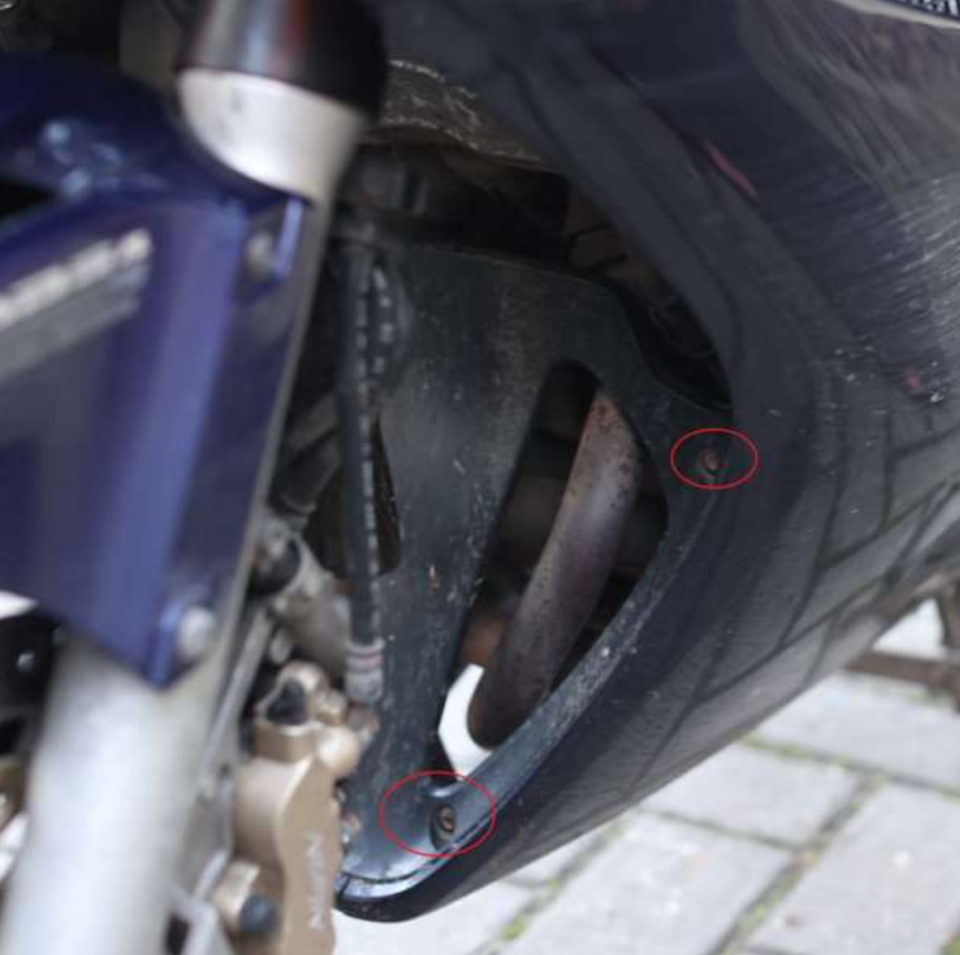
The next bolt is hidden behind the kick stand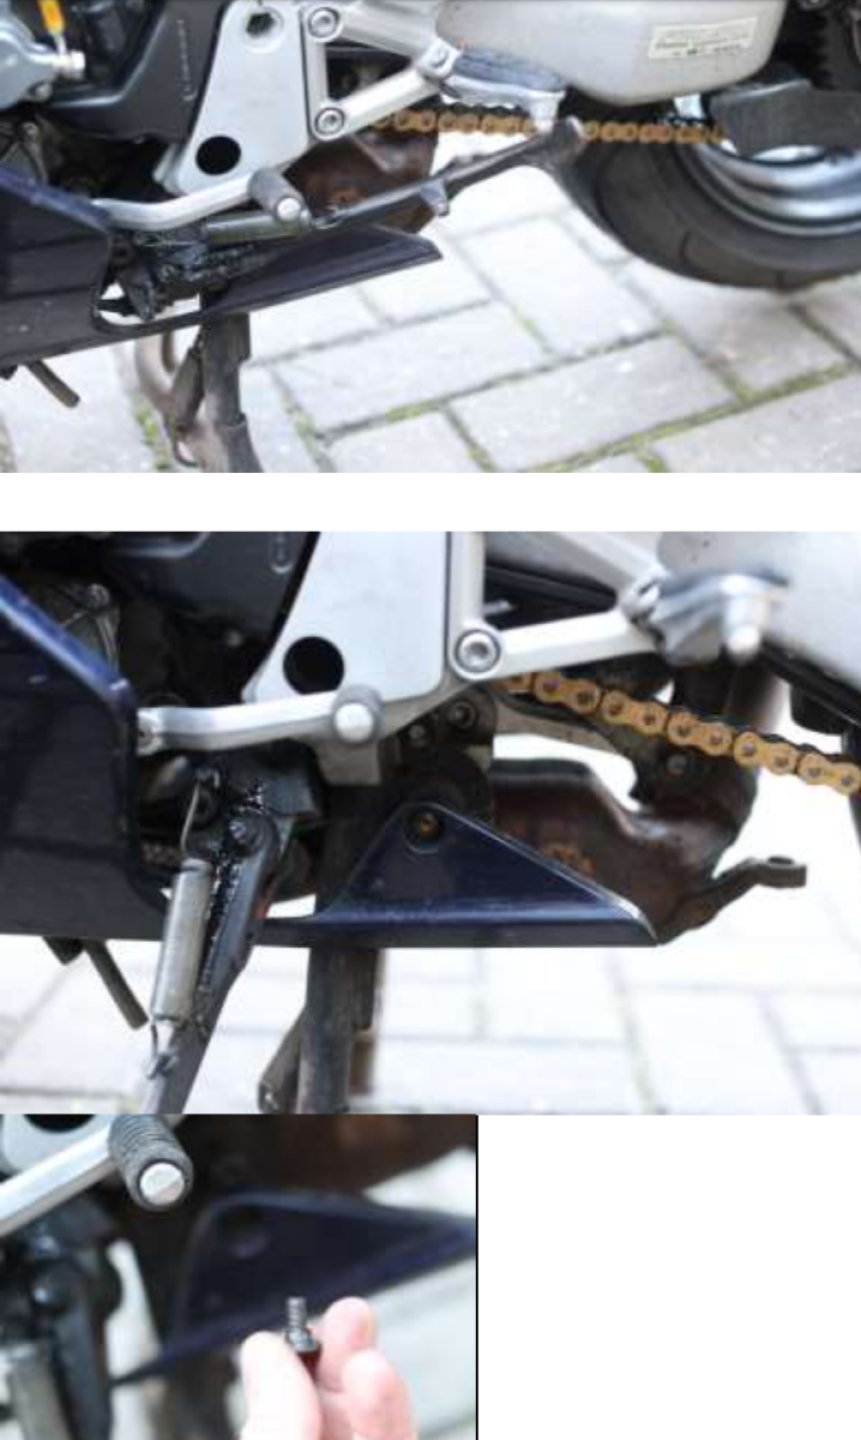
Keep the bolts in order so you don’t end up having issues on reassembly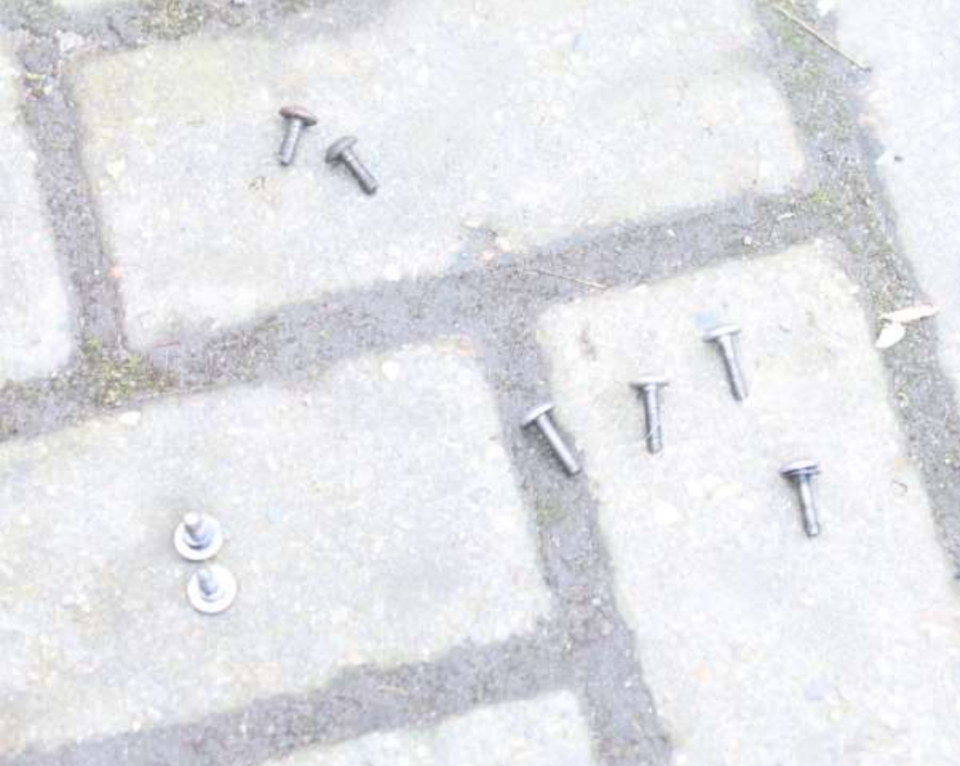
Mine was missing but you should have a clip in the arch liner here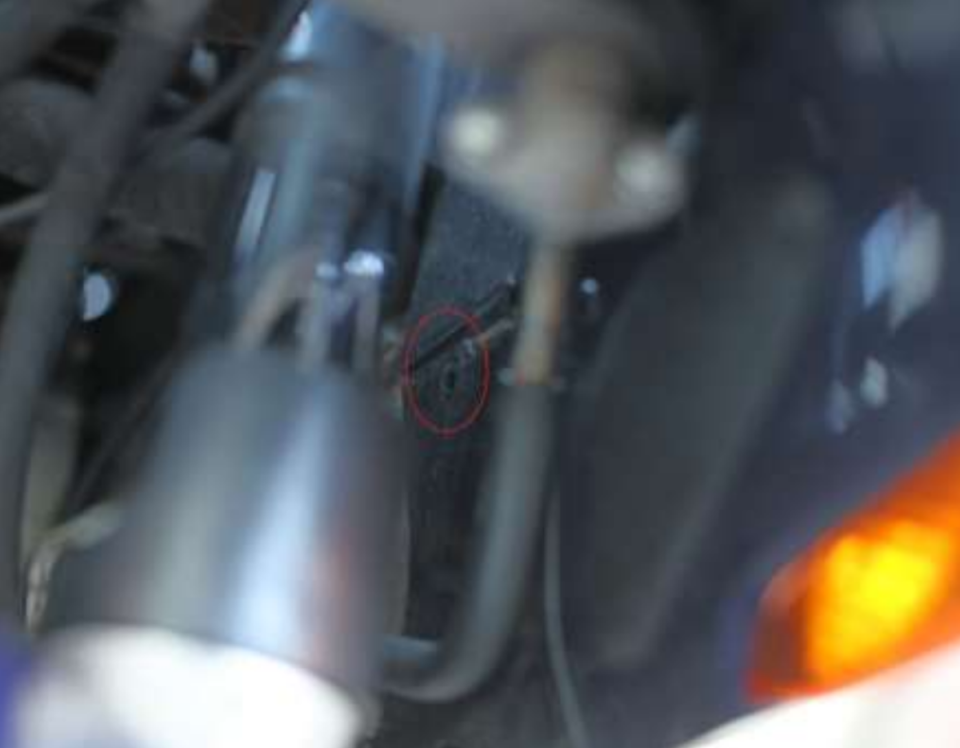
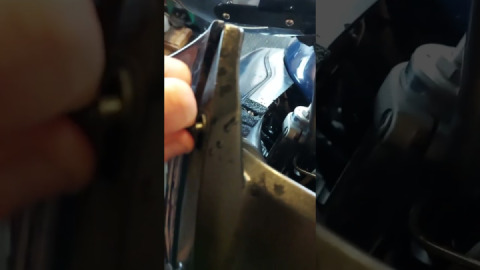
They are a neat little clip, simply push in the centre with a flatblade or similar and then they slide out. You can use a trim tool or just fingernails to retract them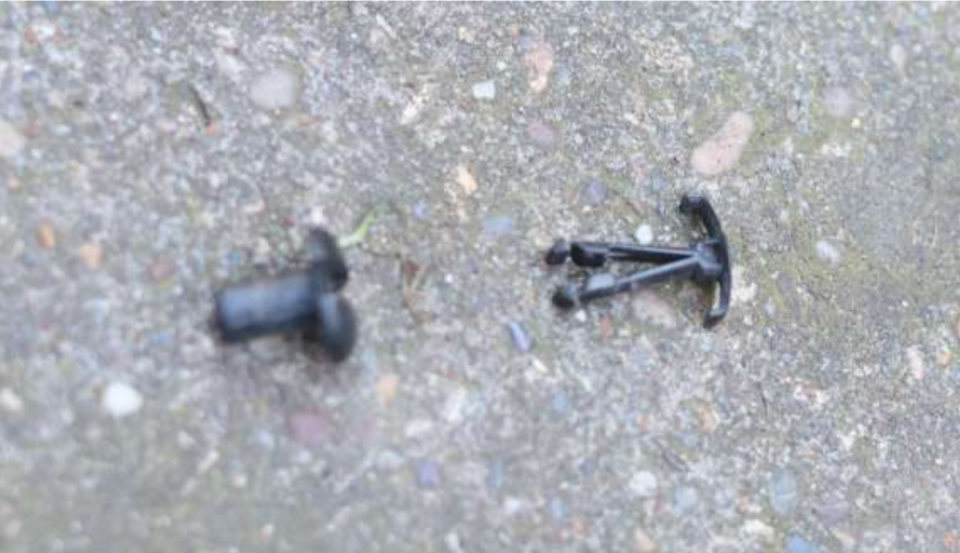
Once removed, simply pull the legs apart and push the centre piece back up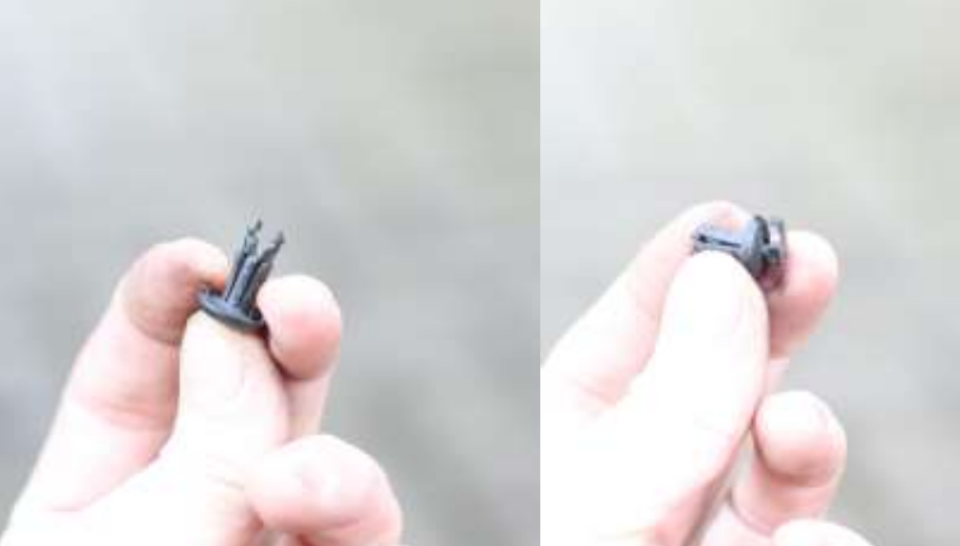
You will also find a slimmer version: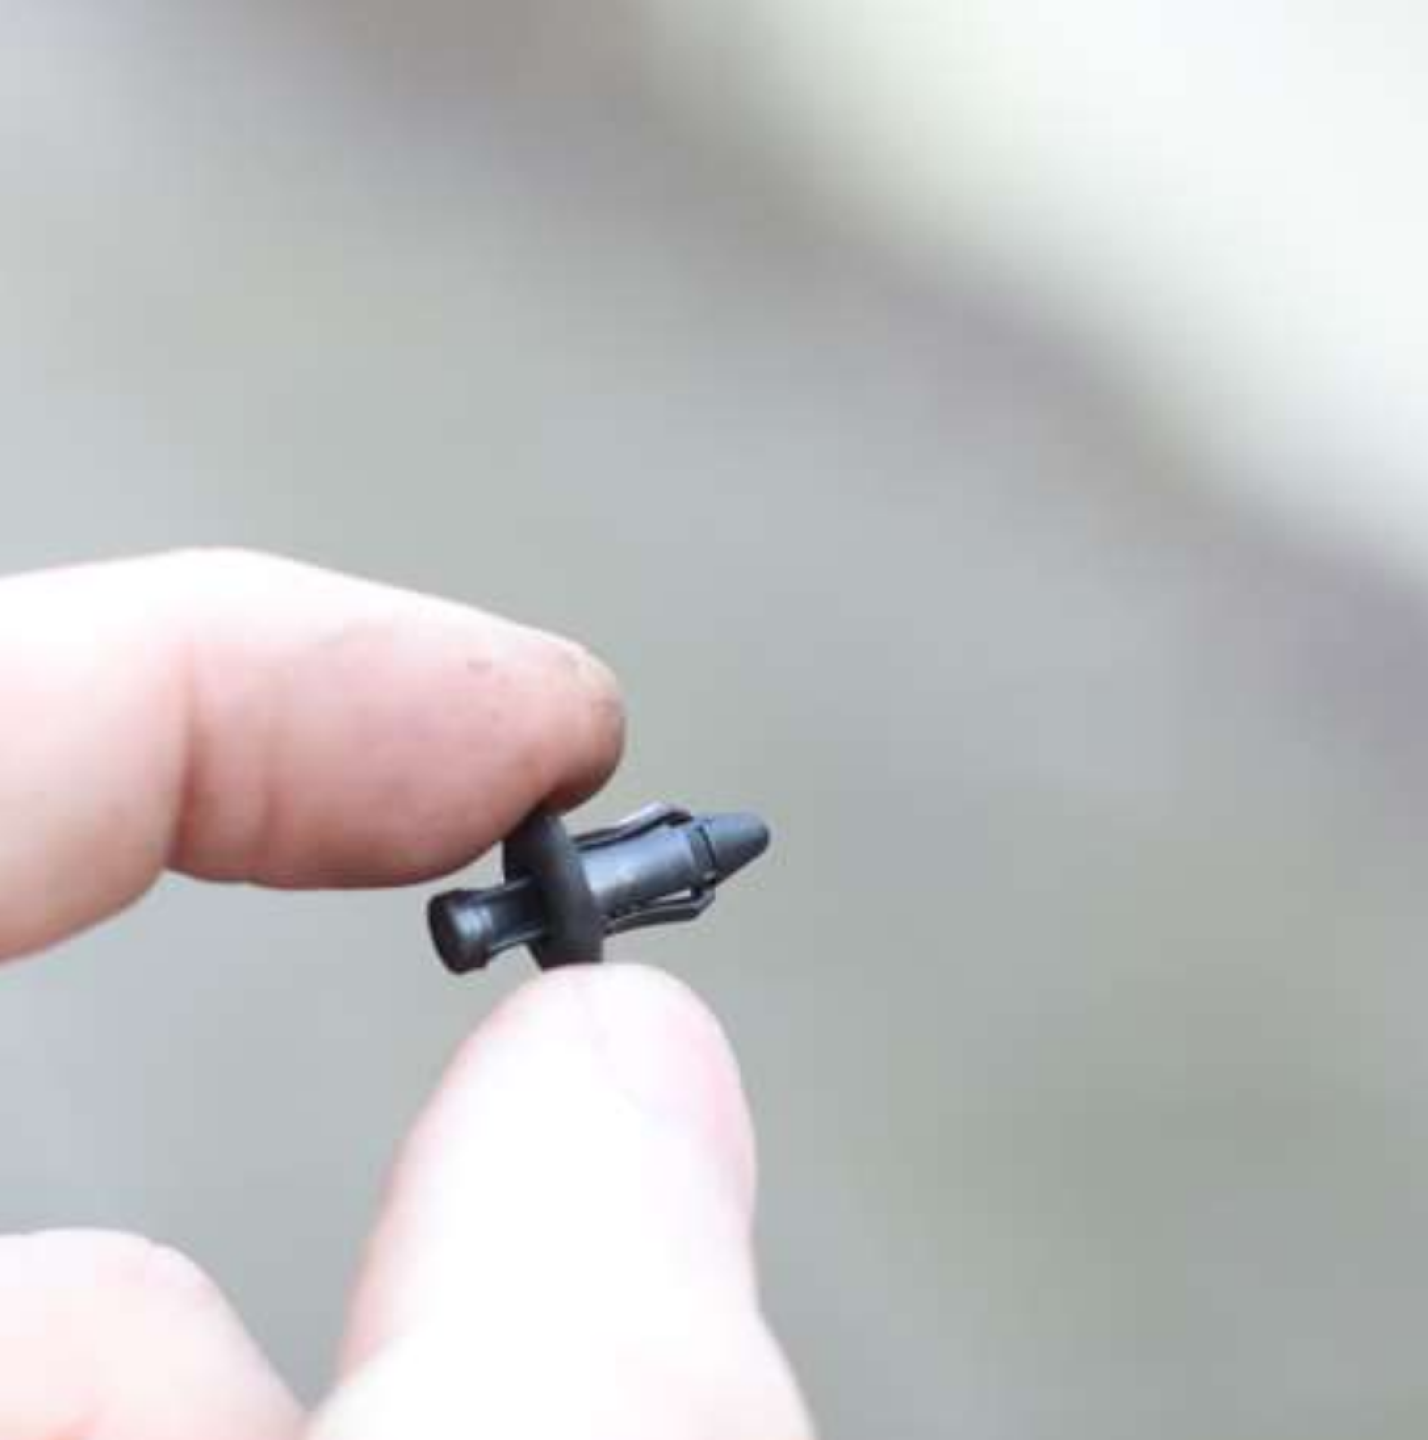
Your next challenge is the one by the dash on either side, much the same of pressing the centre and retracting the trim clip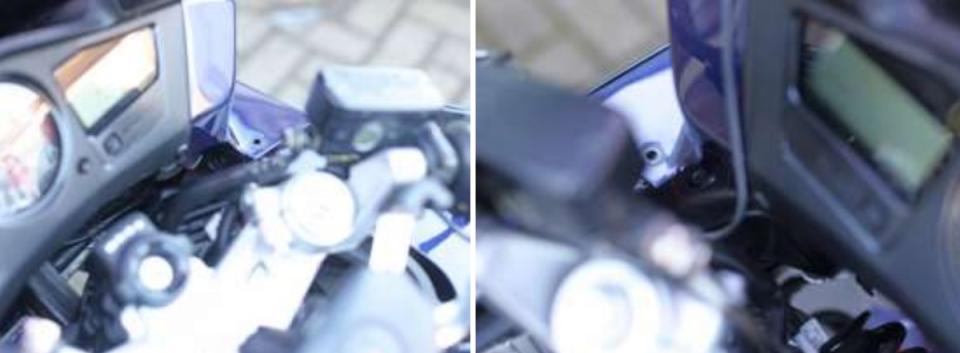
You can now pop the inner pieces of the dash away if you like, or just leave them loose in situ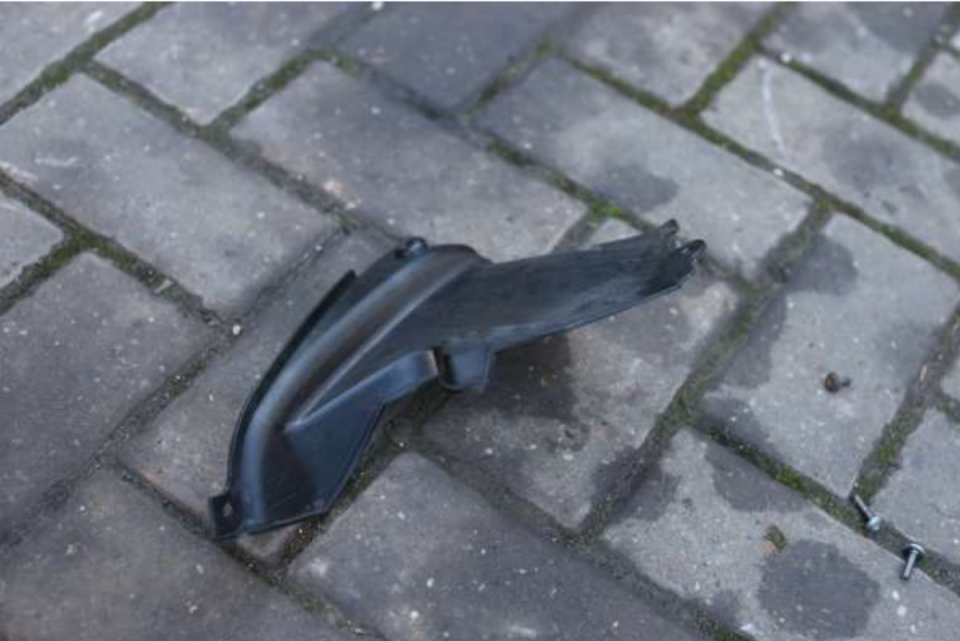
Then a little wriggle and away it comes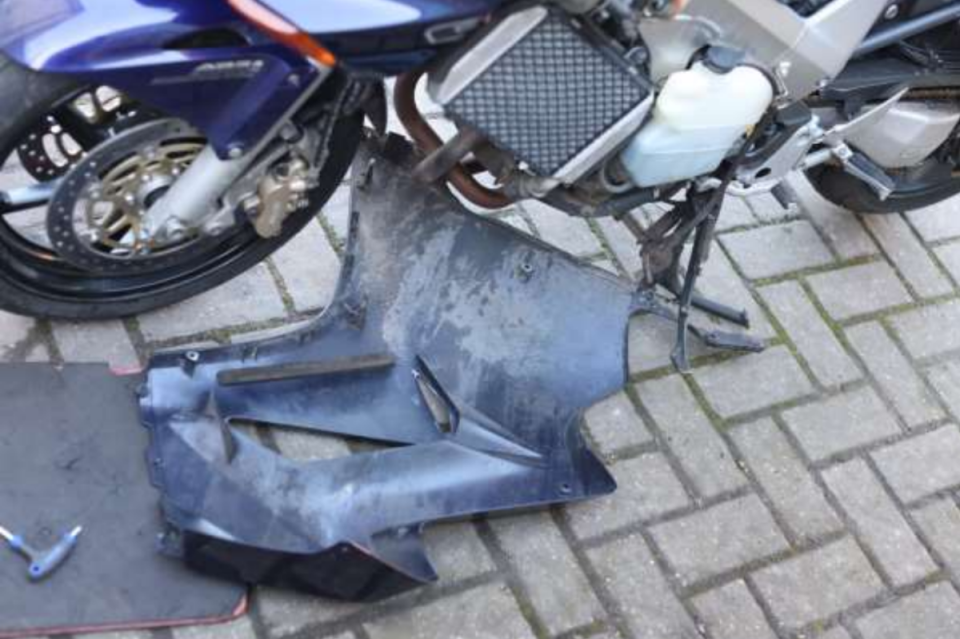
This beautiful sight is what waits for you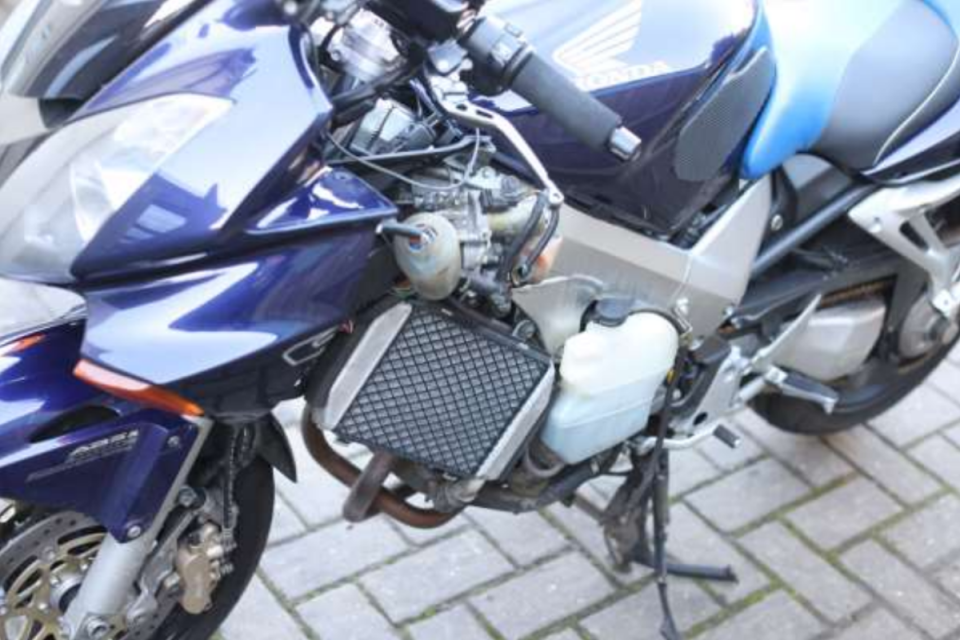
You can admire the total lack of waterproof connectors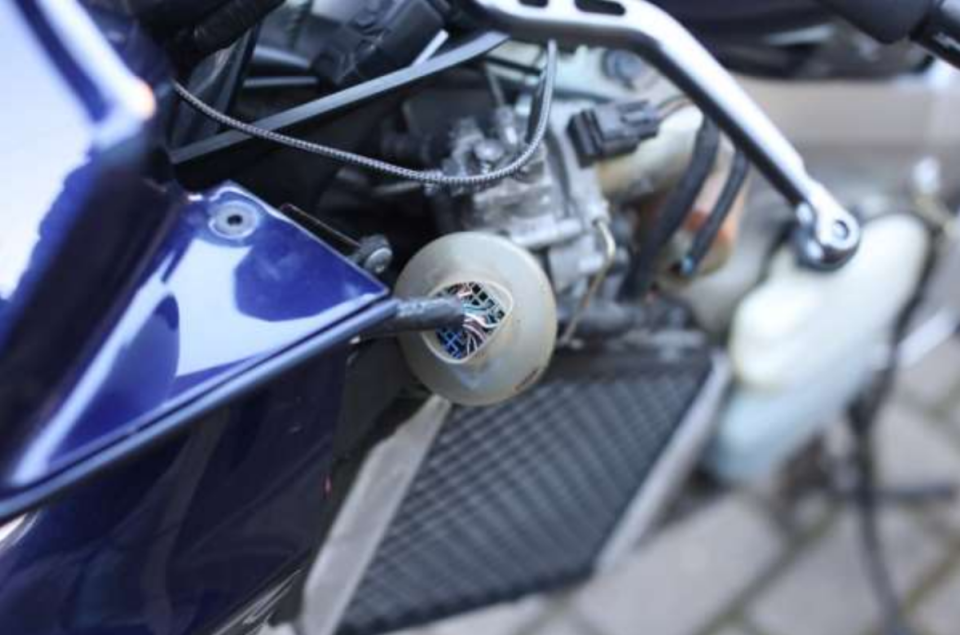
And away you go, congratulations you have removed your fairing

 Follow
2.1K


