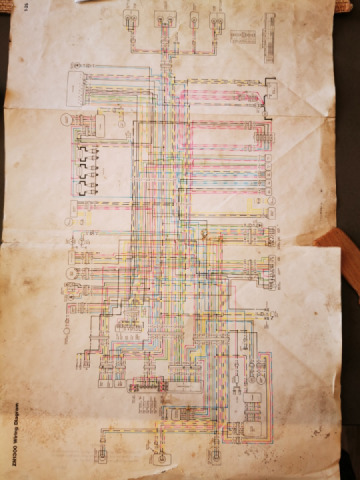
Part 1 - Kawasaki Wiring Harness Connector Identification Guide
05-06 ZX-6R
Whether you have recently received a freshly converted harness or are working with a more seasoned harness, you may find it useful to familiarize yourself with the harness and the different connectors that it is comprised of.
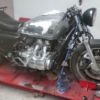
This guide is focused on the wiring harness for a 2005-2006 Kawasaki ZX6R. Please note that when referencing cylinder # designations, the outermost cylinder (left side of the car) is #1. The second one is #2 and so on. If the harness is installed into the racecar and has been used, remove it and place it onto a bench or table. This will allow you to easily identify any potential problems or other areas which may require attention. Start at one end of the harness and work towards the other, looking for areas of worn-through tape, broken wires or connectors and any signs of melting. If any of these conditions exist, gently peel pack a section of tape to further assess the damage. Any areas where bare wires are exposed have potential to cause catastrophic damage to the harness and other electronic components of the car.
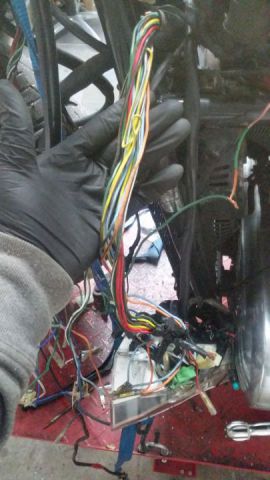
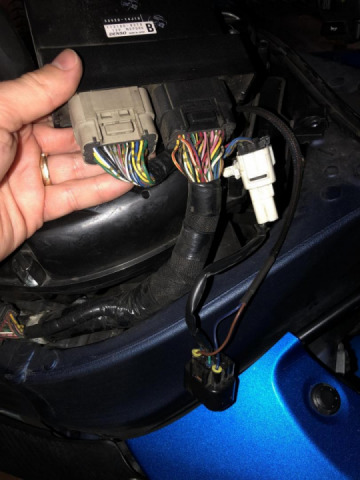
ECU Connectors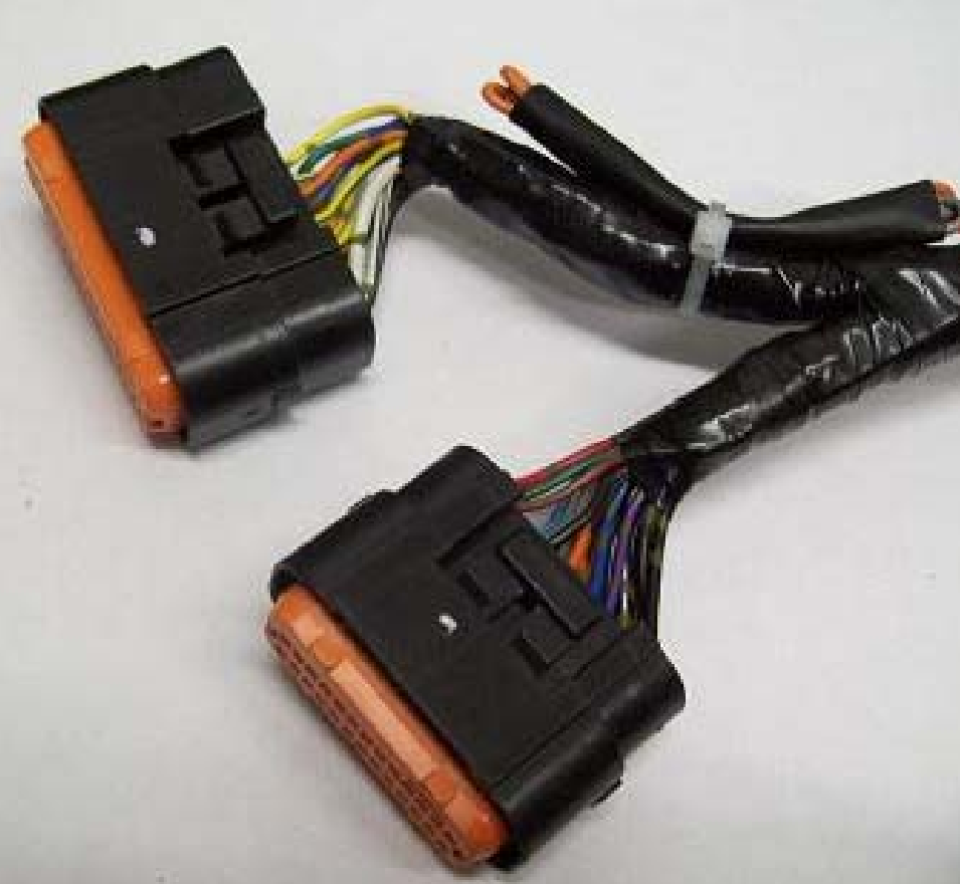
The ECU Connectors are some of the most identifiable because of the multitude of wires leading to them. These will be the largest and most populated connectors on the harness. On harnesses converted after Nov. 2010, two separate wires will be tied up near the ECU connector.
Starter Relay Connector 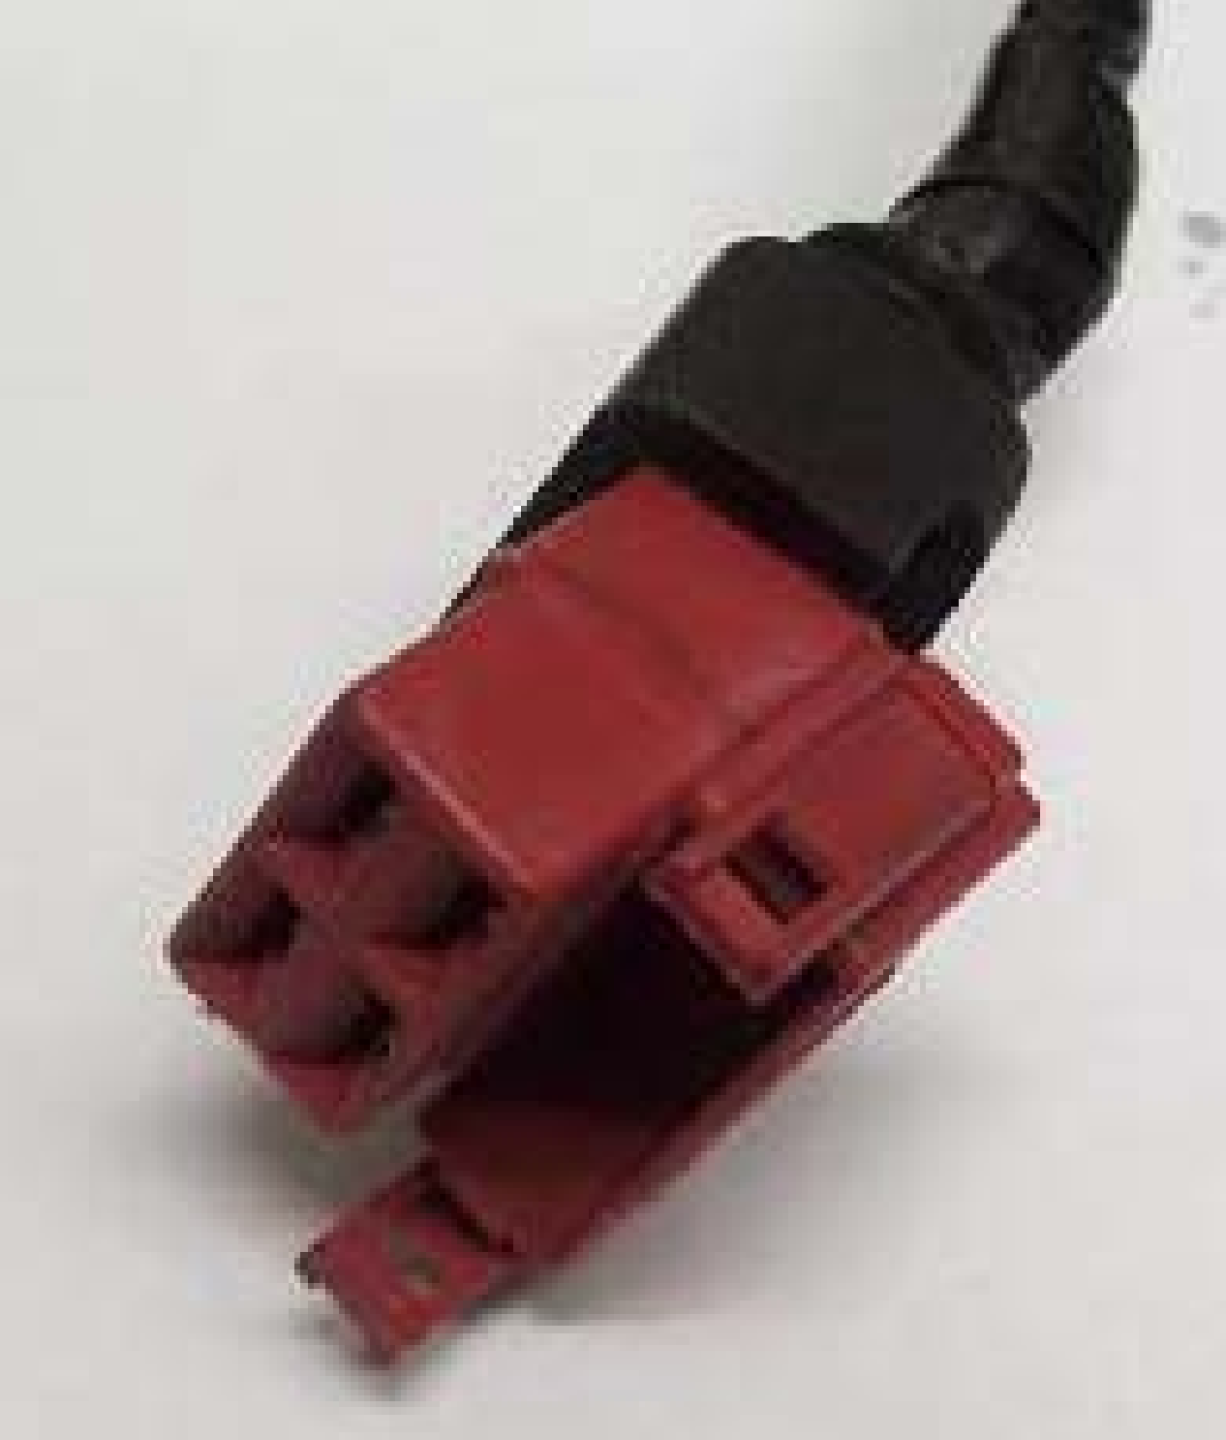
Relays use low current to control items which require high current such as a starter motor. The Starter Relay Connector is a dark red color and is located in close proximity to the ECU Connectors. In most cases, the Starter Relay Connector has a rubber boot on its top to protect the wires from dirt and moisture. Be sure that this rubber boot securely covers the upper portion of the connector. The Starter Relay is black plastic and contains a 30AMP standard automotive fuse. Also, on the Starter Relay, the positive battery cable should be connected to the post labeled “B” and the starter motor cable should be connected to the post labeled “M”.
Chassis Harness Connector 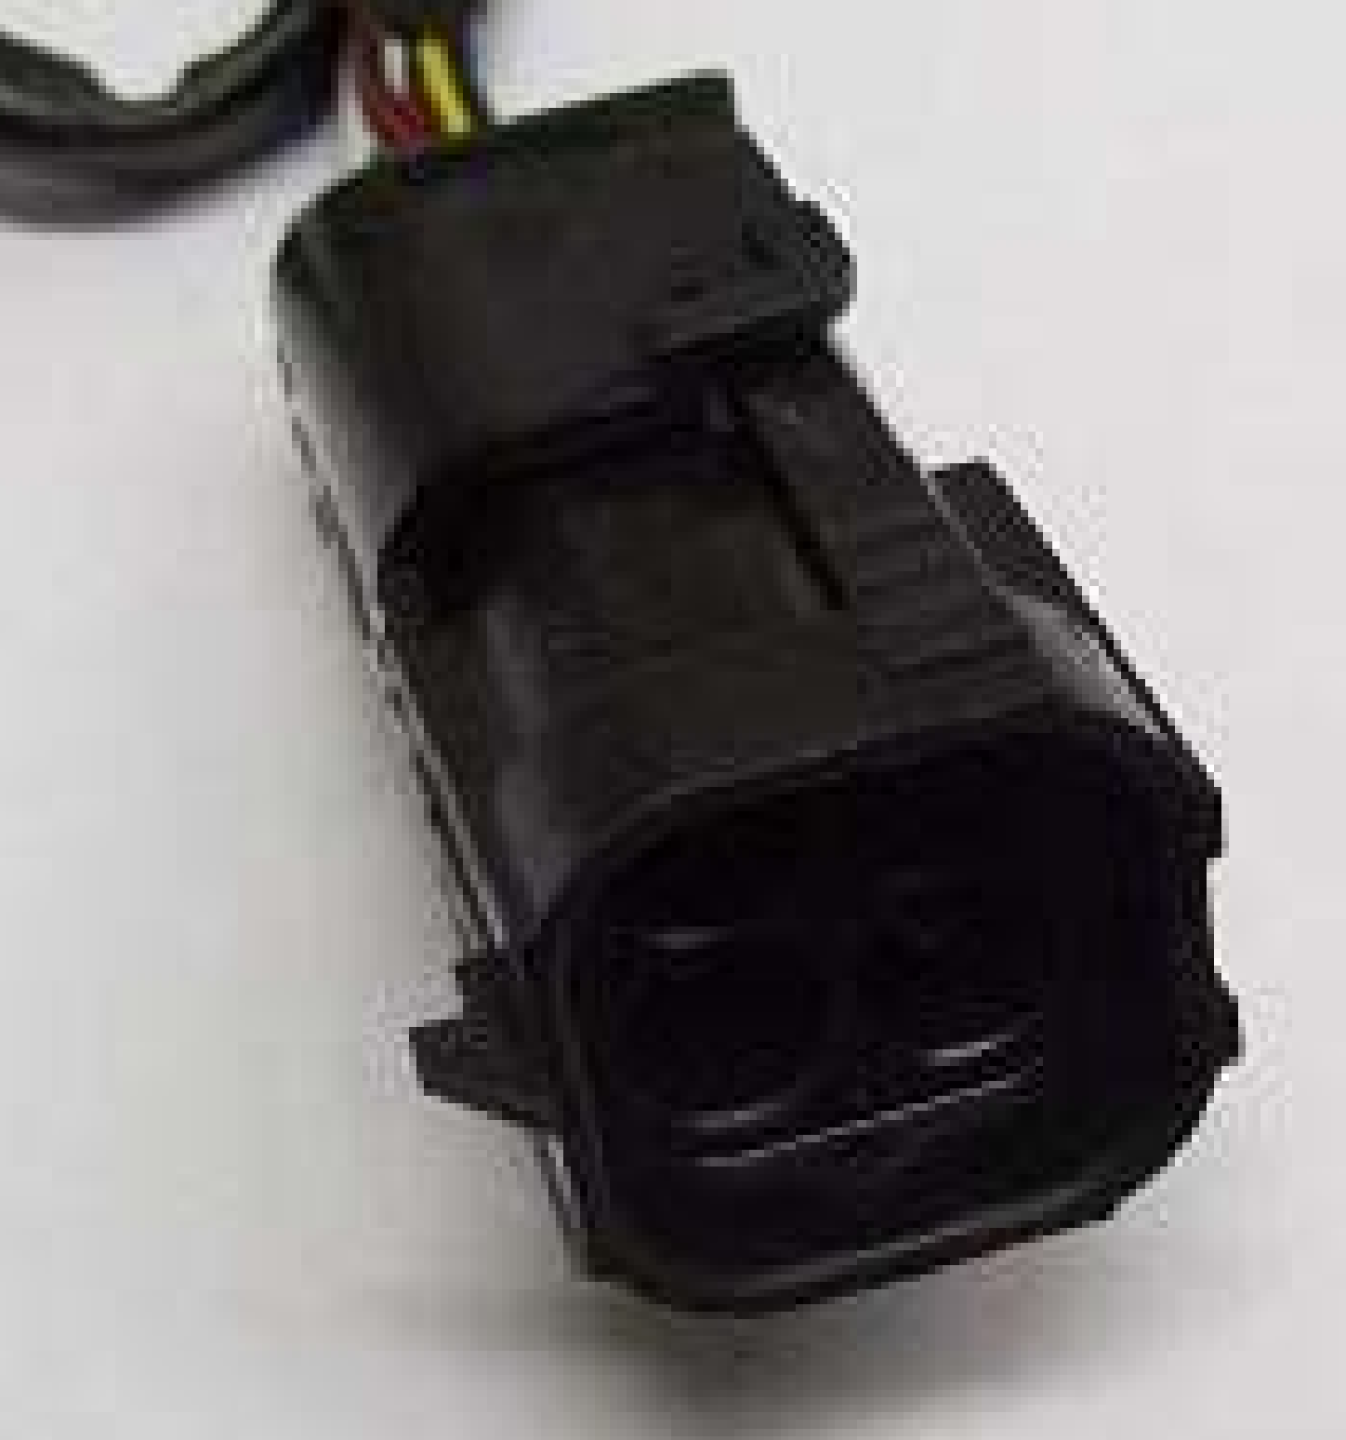
As an optional item, for use only with a Hyper FIT Chassis Harness, the Chassis Harness Connector connects the wires from the harness to the Chassis Harness and eventually to the switches through a neat and professional connection. Without a Hyper FIT Chassis Harness, you will notice a series of loose wires to be connected manually to the switches on the dash.
U6SA Technical Inspection RPM/Tachometer Plug 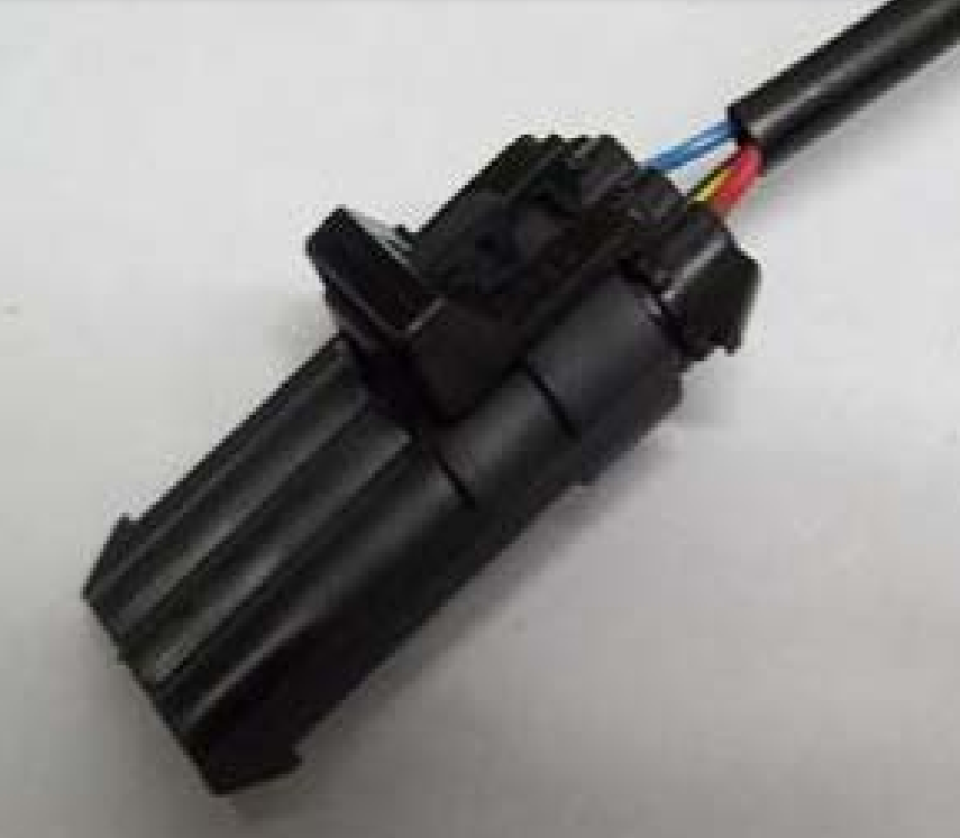
On the same harness leg as the Chassis Harness Connector or Switch Wires, another optional item is the standardized U6SA RPM Plug. This connection contains provisions for a tachometer to be connected using a professional connector. Without a tachometer, the plug contains a “dead end” cap to prevent dirt and moisture contamination.
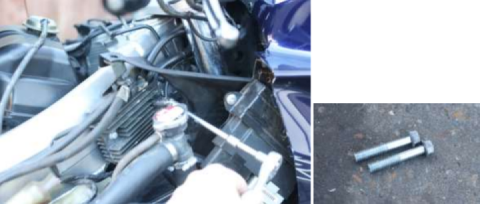
Crankshaft Position Sensor Connector 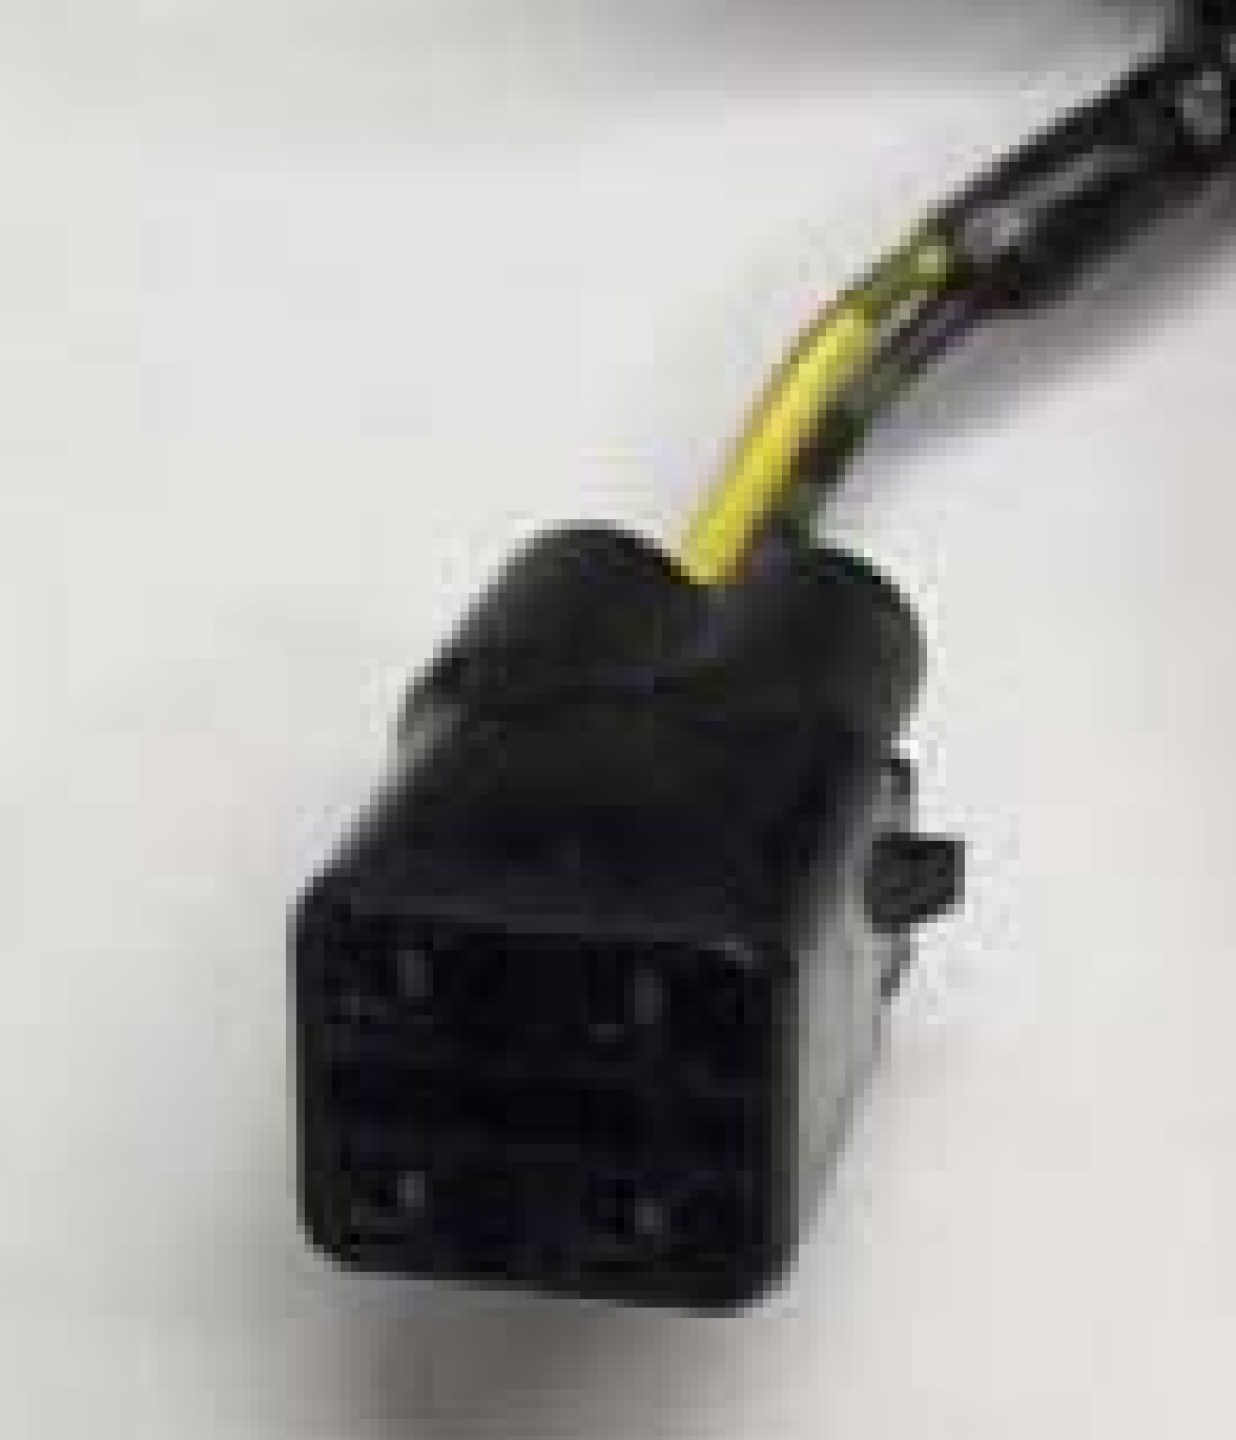
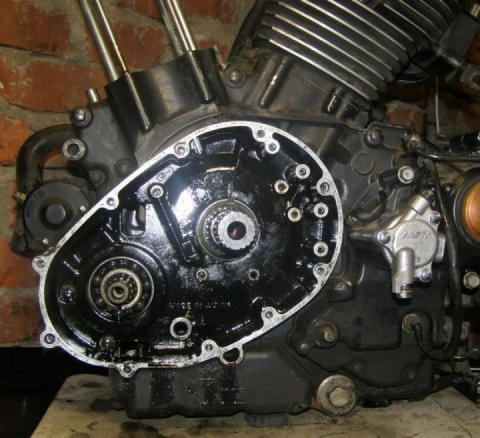
With one of the smallest and most easily damaged connectors on the 05-06 ZX6R Wiring Harness, the Crankshaft Position Sensor sends information regarding the location of the crankshaft in its rotation. Without this critical feedback, the ECU will not provide ignition spark to the coils and spark plugs. The sensor is located on the right side of the engine (near the driver’s legs) and uses a 12inch wiring pigtail before reaching the location of the connector. Because of its size and location it is often damaged and overlooked upon assembly.
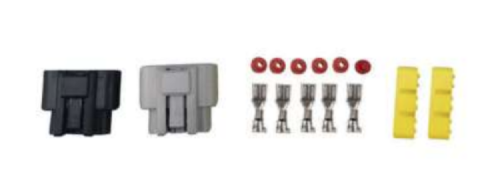
Charging System/Rectifier Connector 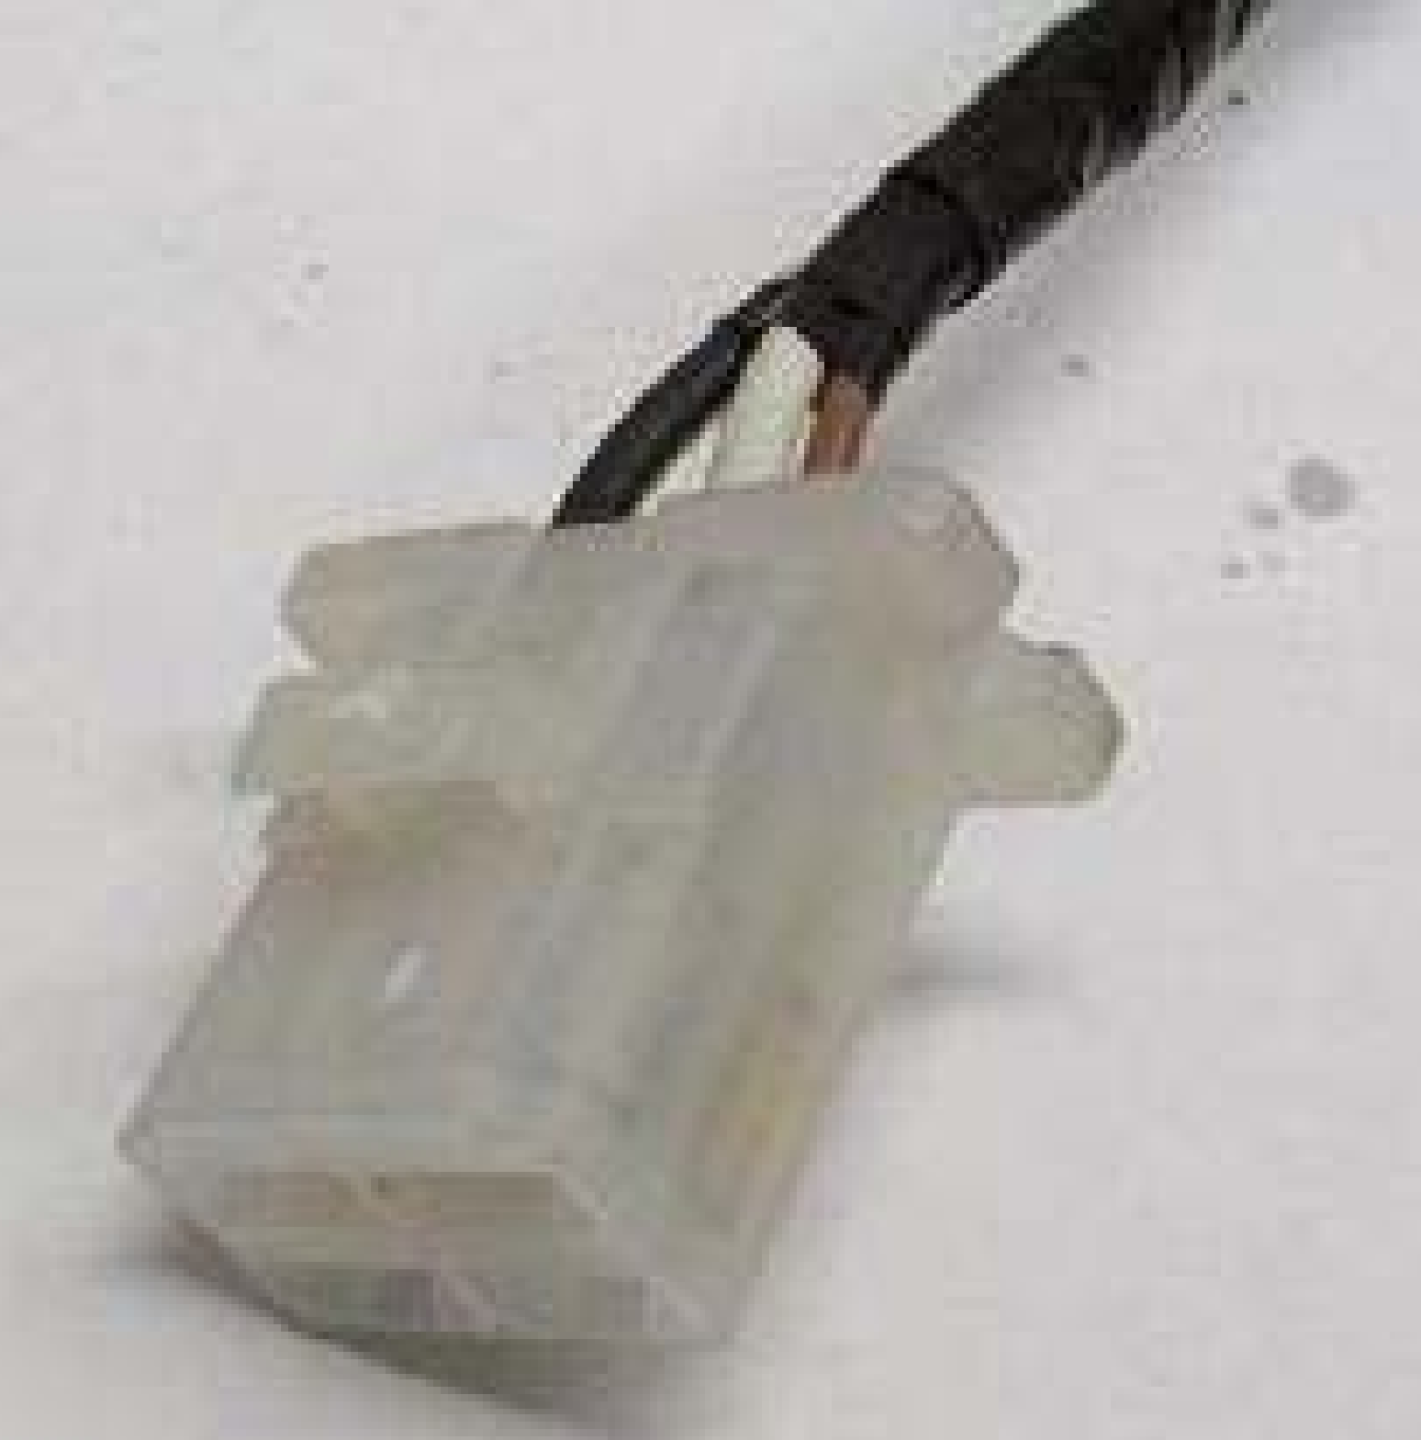
This connector is the source of a large percentage of wiring short circuit faults. The Charging System Connector is un-insulated from dirt and water which contributes to its vulnerability. In addition to being un-insulated, the connector is typically located in a position among a variety of coolant lines and other wiring related items which make it difficult to see and keep clean. The Charging System wiring consists of two plugs, white/clear in color which converges at the pigtail leading from the Rectifier or Voltage Regulator. The second plug is similar in design as the one pictured above but only has three terminals and it leads from the left side of the engine, past the starter and underneath the thermostat housing.
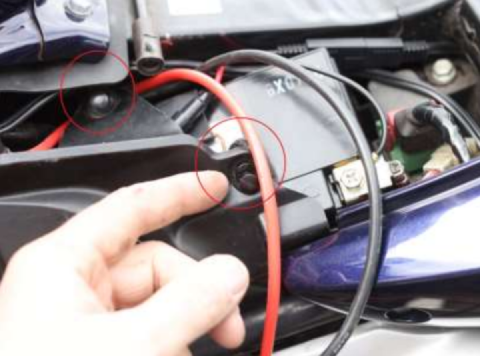
Ground 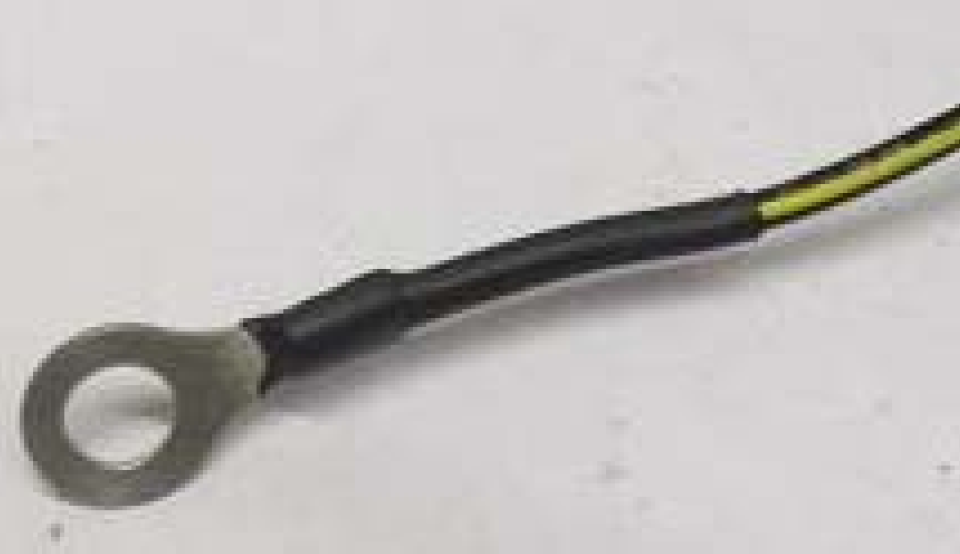
Grounding is extremely important and often one of the most overlooked items on the car. The wiring harness has only one ground. I suggest grounding to the threaded bolt hole on top of the transmission directly beside the crankcase vent. Connect a ground cable from the negative battery post to this same bolt on top of the transmission. I also recommend using this location as a reliable grounding point for other accessories requiring ground.

 Follow
3.9K
Follow
3.9K