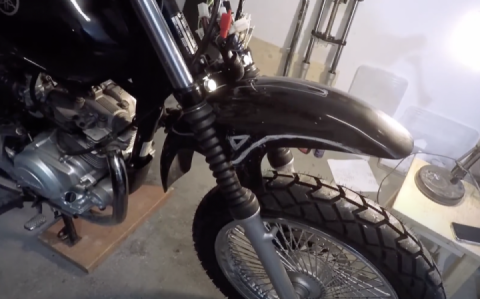
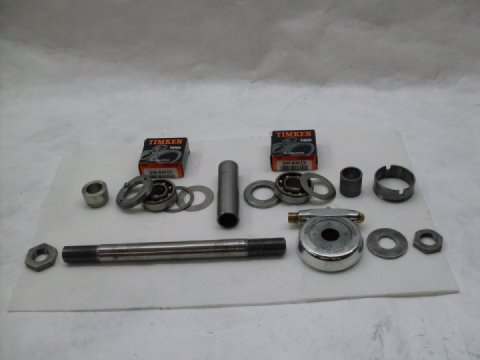
Part 2 - VFR800 VTEC (6th Gen) Brake Bleeding Procedure

Note: DO NOT manually operate the SECOND MASTER CYLINDER more than once per operation of the rear brake pedal. Continuously pushing in the SECOND MASTER CYLINDER numerous times will not bleed the SECOND MASTER CYLINDER to Rear Calliper brake-line because there is no reservoir at the SECOND MASTER CYLINDER. You will push whatever fluid is in the line and it will become empty with air.
One manual push of the SECOND MASTER CYLINDER followed by one rear pedal actuation by your helper is all that is required each time to pump the new fluid to the rear calliper.
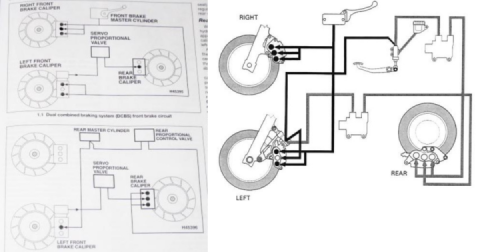
E. Right Side Proportional Control Valve (Opposite Battery), Single Bleed Nipple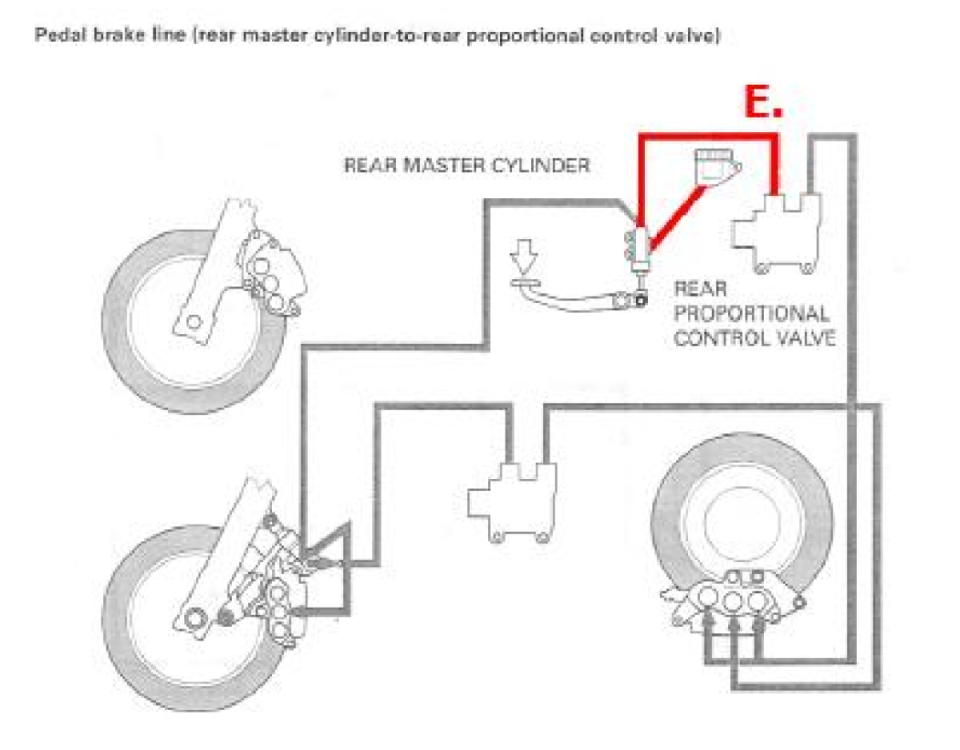
This is the easiest step. Follow the procedure as in Section A. but using the REAR MASTER CYLINDER (rear brake) pedal.
E1. Open the right side PCV bleed nipple very slightly, about a 1/4 turn, and pump the Rear Master Cylinder pedal until new fluid comes out.
E2. Close the bleed nipple.
E3. Pressurise the system; with the bleed nipple closed, pump the rear brake pedal five times and hold, the pedal should resist more with each pump. While holding, gently unscrew the bleed nipple until fluid comes out and before the pedal reaches its maximum travel, tighten the bleed screw.
E4. Top up the fluid level.
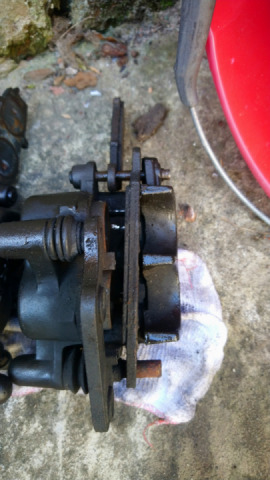
F. Rear Calliper, Upper/Outer Bleed Nipple 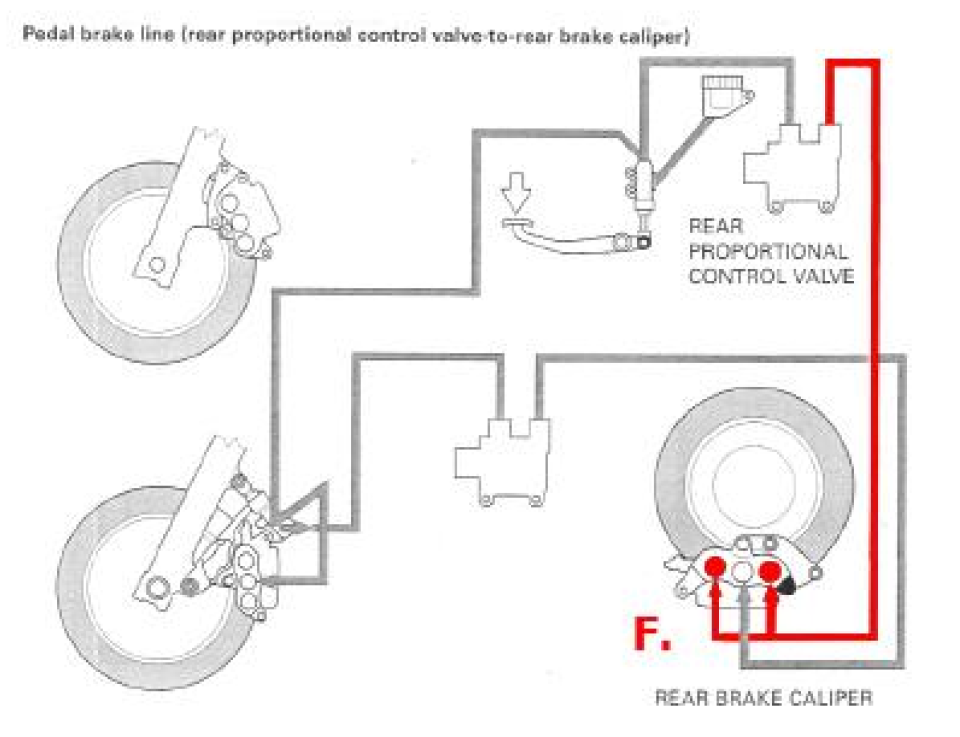
Another easy step, follow above procedure.
F1. Open the rear calliper upper/outer bleed nipple very slightly, about a 1/4 turn, and pump the Rear Master Cylinder pedal until new fluid comes out.
F2. Close the bleed nipple.
F3. Pressurise the system; with the bleed nipple closed, pump the rear brake pedal five times and hold, the pedal should resist more with each pump. While holding, gently unscrew the bleed nipple until fluid comes out and before the pedal reaches its maximum travel, tighten the bleed screw.
F4. Top up the fluid level.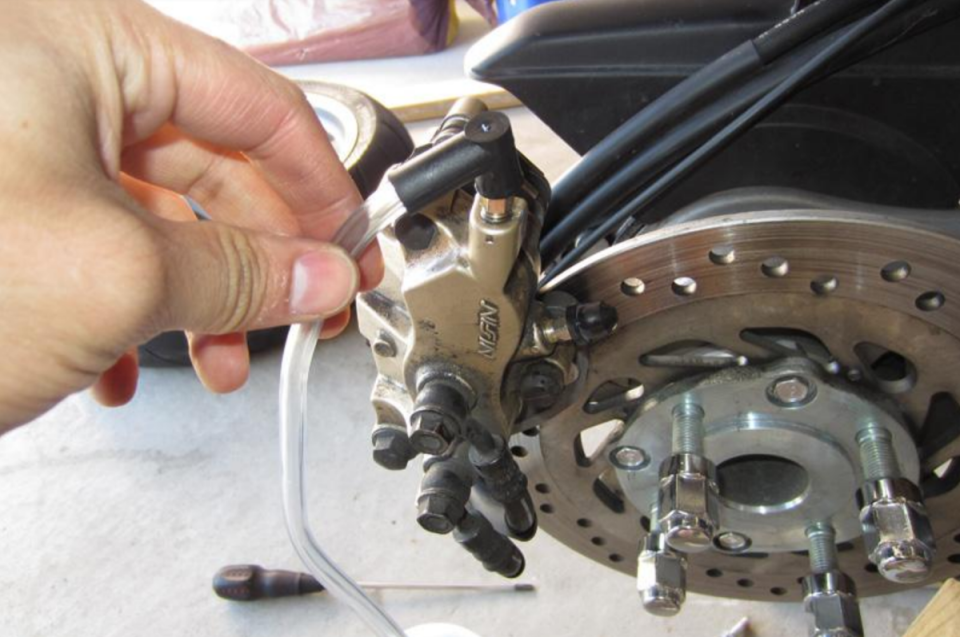
G. Left Front Calliper, Inner/Centre Bleed Nipple 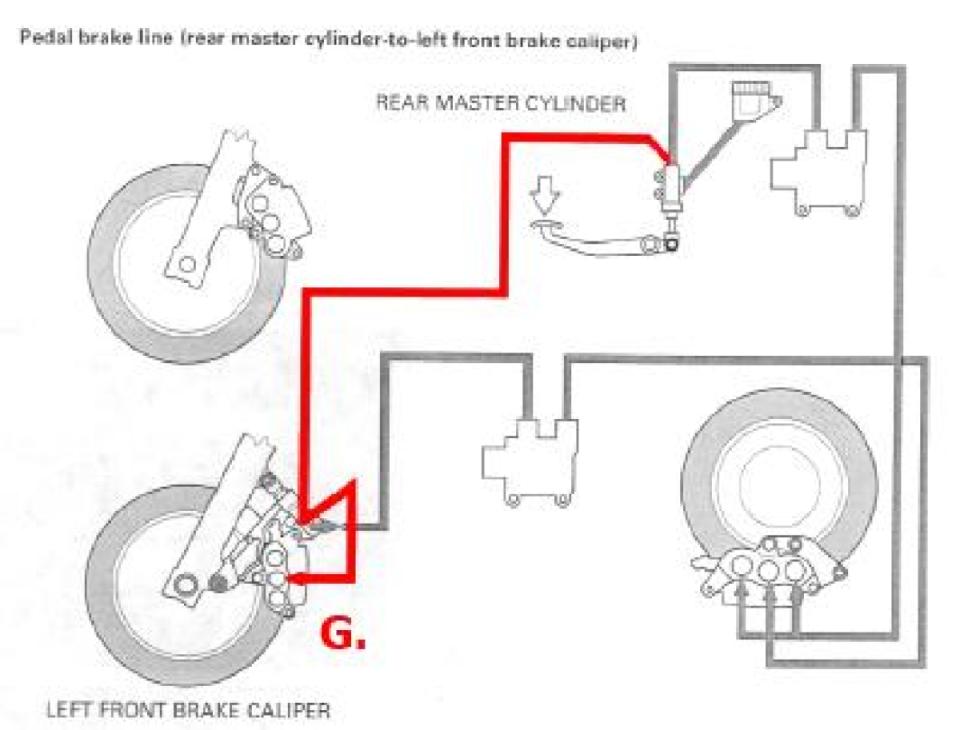
The last procedure is, again very easy and the same as above.
G1. Open the front left calliper inner/centre bleed nipple very slightly, about a 1/4 turn, and pump the Rear Master Cylinder pedal until new fluid comes out.
G2. Close the bleed nipple.
G3. Pressurise the system; with the bleed nipple closed, pump the rear brake pedal five times and hold, the pedal should resist more with each pump. While holding, gently unscrew the bleed nipple until fluid comes out and before the pedal reaches its maximum travel, tighten the bleed screw.
G4. Top up the fluid level.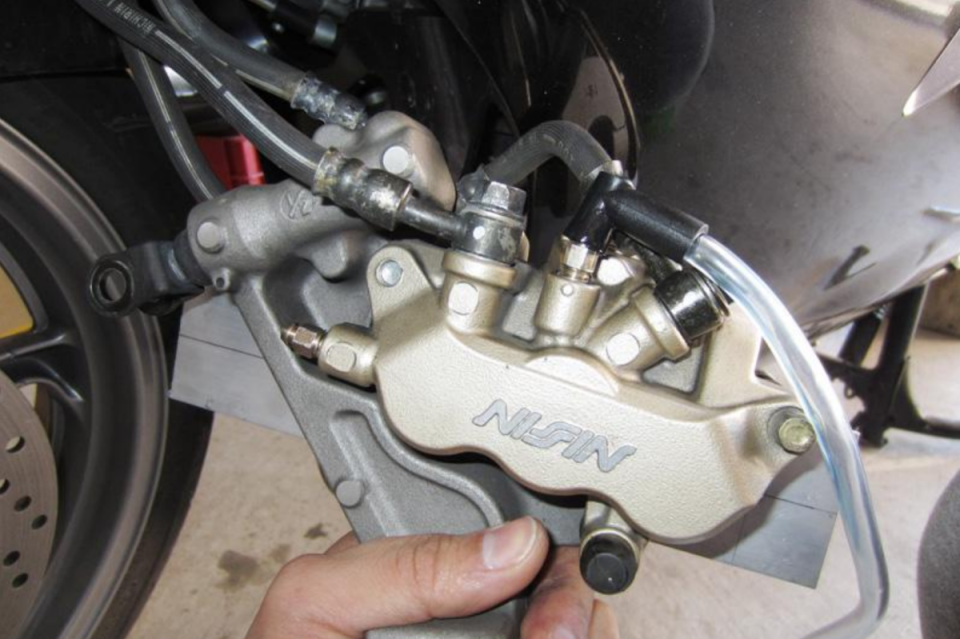
Part 4: Assembly
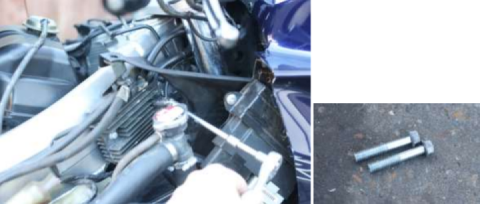
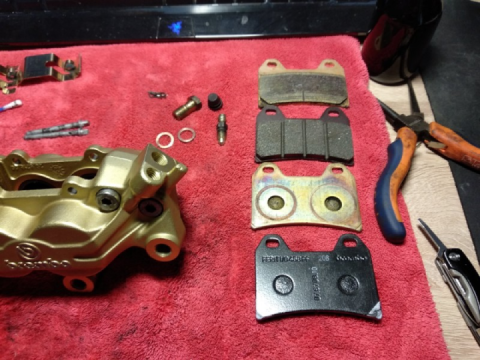
Top up both fluid reservoirs if they are low and fasten all caps and lids back on the reservoir. Attach the front left calliper and torque the pivot and joint bolts. The FACTORY SERVICE MANUAL says always use new bolts, but you could just remove the old loctite residue, reapplied some new medium strength loctite and re-use them.
Attach the rear calliper and torque the joint bolts. The FACTORY SERVICE MANUAL says replace also but you could just do the same as the front calliper bolts. Reinstall the rear wheel and torque the bolts.
Now would be a good time to prime (pump a few times) your front lever and rear pedal lever. Once primed, they should not travel a lot of distance; they should feel stiff. If for any reason the levers travel a larger than normal distance, then there's probably air in the line somewhere or you might have forgot to tighten a bleed nipple.
Note: The FACTORY SERVICE MANUAL says to use new bolts, not because there is something wrong with the bolts, but because there is probably some sort of loctite already applied to the threads.
Part 5: Clutch
I don't have to go in to any detail about this because if you just did your whole brake system, might as well do the clutch as it's very simple and same procedure at Part 3, Section
A. Remember to turn the handle bars to the right though. At the end, I took my bike for a ride and I had no idea that this bike has this much braking power! Mind you, my fluid was 6 years old which was probably the cause of that but this method works flawlessly.
A1. Open the Upper/Outer bleed nipple on the clutch very slightly, about a 1/4 turn, and pump the clutch lever until new fluid comes out.
A2. Close the bleed nipple.
A3. Pressurise the system; with the bleed nipple closed, pump the clutch lever five times and hold, this is easier with a helper. While holding, gently unscrew the bleed nipple until fluid comes out and before the lever reaches its maximum travel, tighten the bleed screw.
A4. Top up the fluid level.
 Follow
3.6K
Follow
3.6K