Working on the starter – ST2 (ST4s)
After the last post I decided that it was worth ordering and fitting a new set of brushes to the starter on the ST2. At less than £10 a set and only an hours job to change them, it made no sense not to. The standard procedure is to remove the starter motor from the bike, but this involves a huge amount of work and special tools. Access for removal is from the left side of the bike and after dropping oil, removing engine casings and finding special tools for removing the flywheel, gaskets would then need to be sorted to rebuild afterwards, no way!
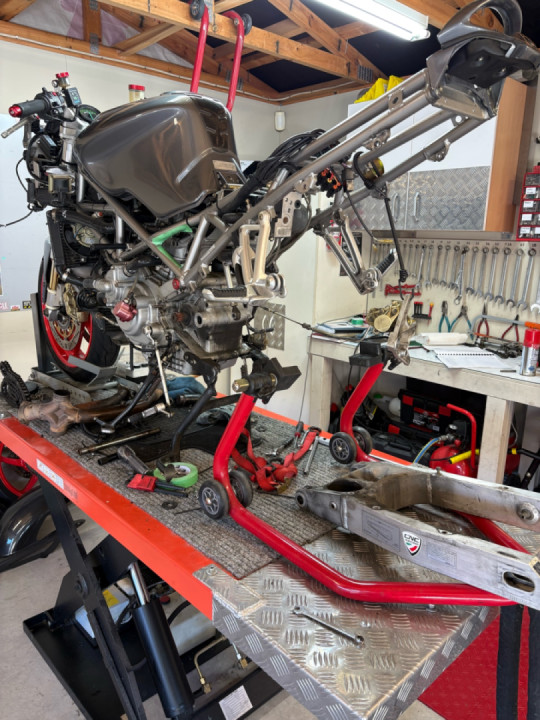
I am lucky to have a hydraulic bike ramp in my garage, and have fitted a front chock stand to that, so one man operation is simple. When the ST was ready I removed the lower right fairing panel, six allen screws, which gave all the access that I needed for the starter motor.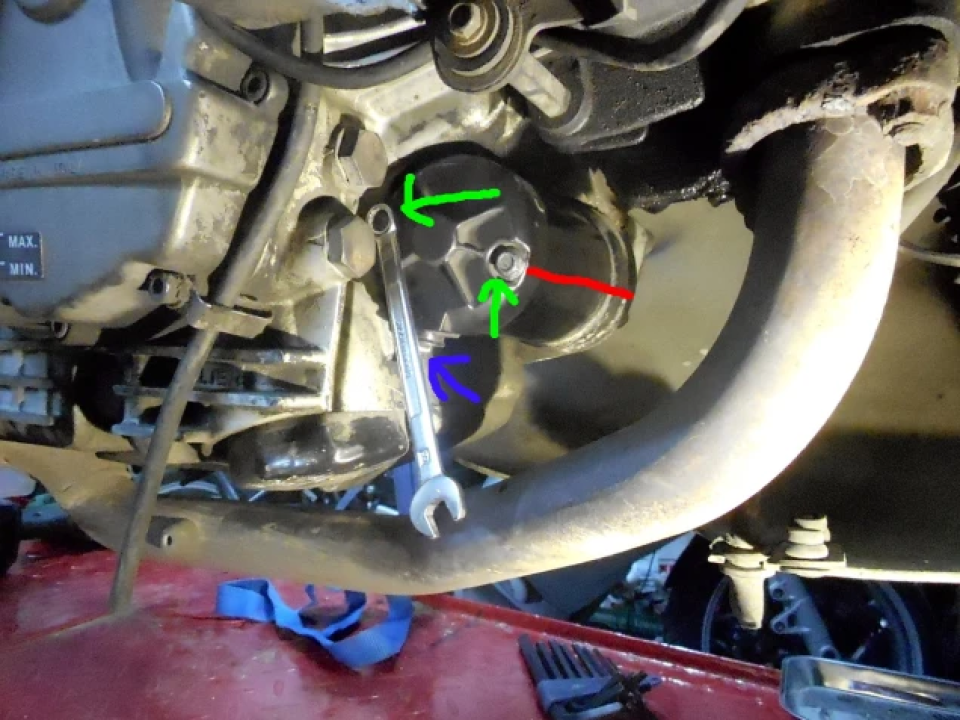
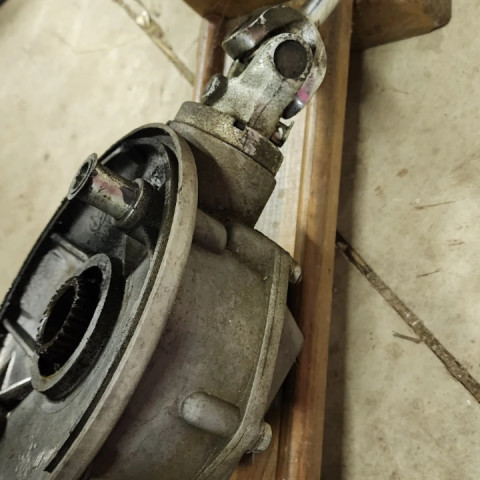
The cable from the solenoid is removed (10mm spanner) from the terminal with the blue arrow and stowed out of the way. I used a ruler to draw a red line with a marker pen from one end of the starter to the other, so that everything is easily lined up on reassembly. The two 8mm screws (marked with green arrows) can then be removed. The forward one can be pulled completely out of the motor. and the rear one, with the spanner on it, just undone so that it is not engaged in the threads any more.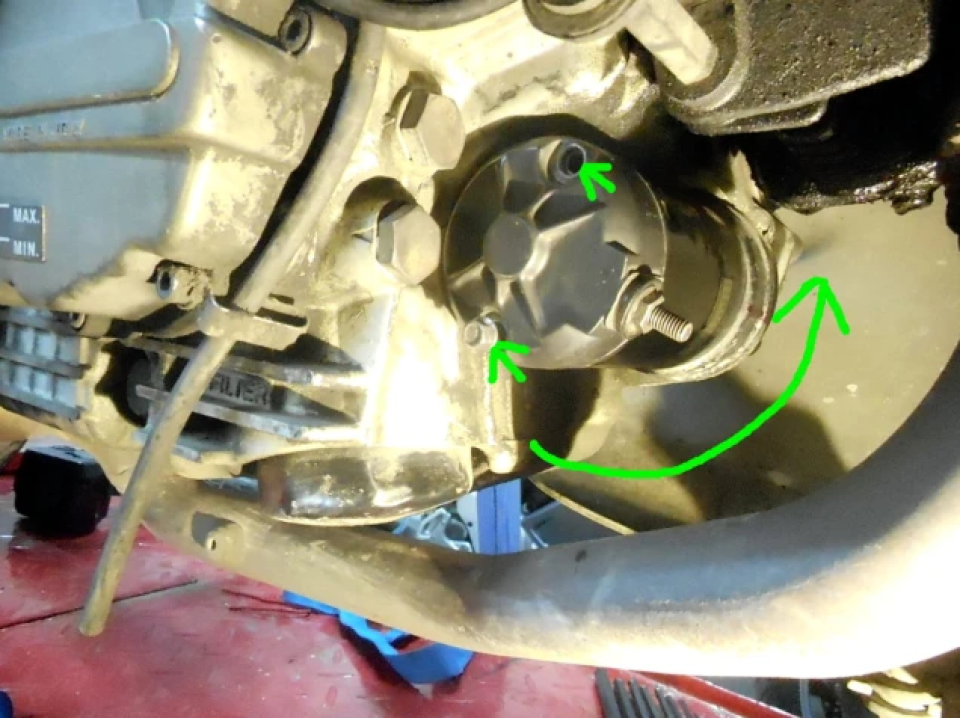
At this stage rotate the whole motor 90 degrees anti-clockwise.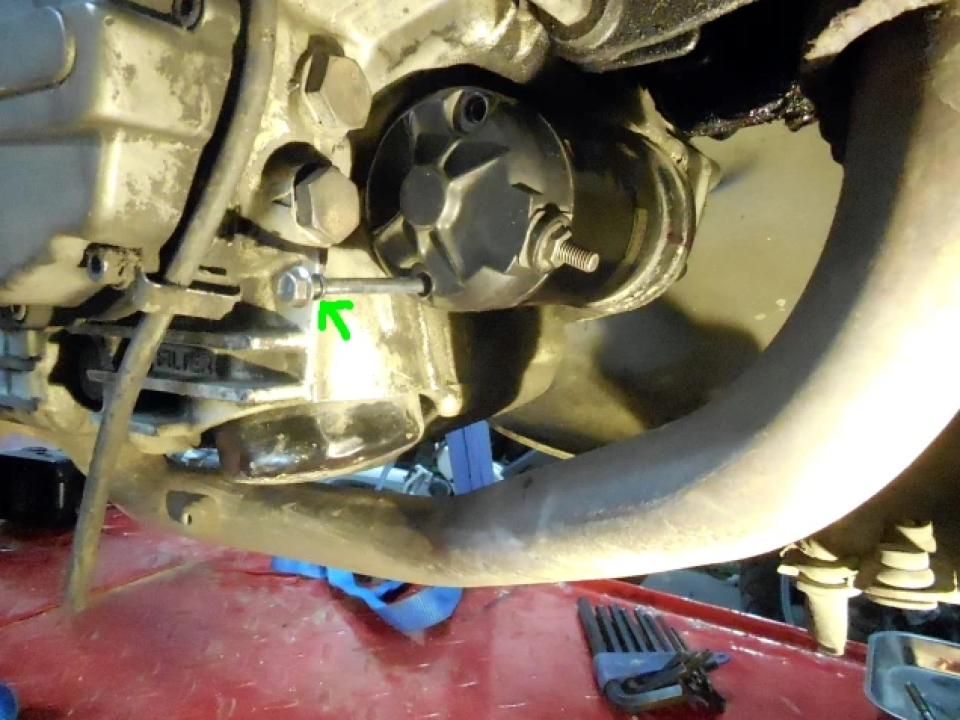
And remove the second screw. Note that both of the long bolts have a small o-ring on them.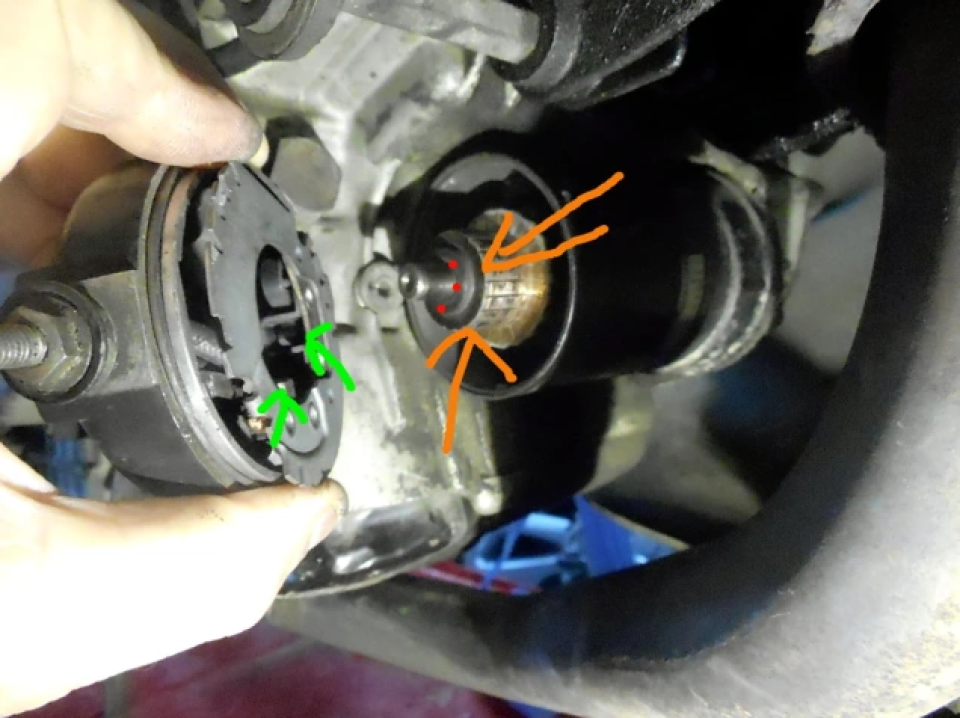
This will allow the whole motor to move forward enough to remove the end cap complete with the brush plate and the brushes, marked with green arrows. Note the shims marked with red dots, that can be removed for fitment later. Put the end cap to one side for now and concentrate on the commutator, marked with orange arrows, which is made from copper. This one has a bit of black on it from the wearing of the carbon brushes. I used 600 grade wet and dry paper to remove the black and then went over the copper with much finer paper (8000 grade) to give it a smooth polished finish with as little resistance to the brushes as possible. If you don’t get this smooth the the brushes will wear again. I cleaned out the grooves between the copper parts with the corner of a ruler and then blew out any dust with the air gun.
Changing the brushes for new ones involves nothing more than fitting a new plate into the end cap after removing the terminal for the starter cable.
Refitting is the reverse of the above procedure, but remember to refit the shims (with the red dots in the picture above), and lining up the red lines on the components. The brush plate has a small tab that only fits in one position as does the end cap.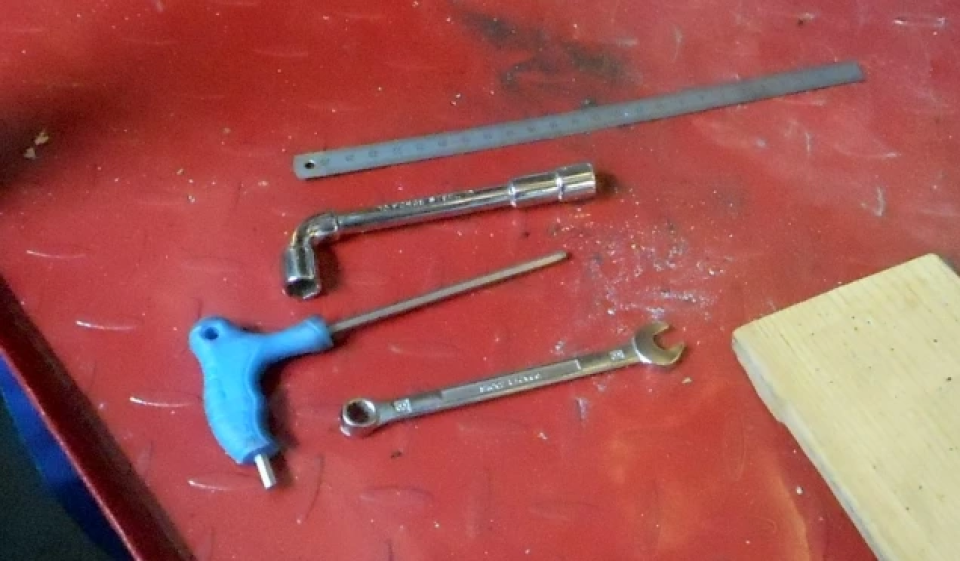
Tools: 8mm ring spanner, 10 mm box spanner, ruler and allen keys to remove the lower fairing panel. If you are working under the bike then I can highly recommend a 10watt LED floodlight, as sold on ebay, as it pushes out loads of light with plenty of spread and is cool to touch so it will not burn you or set light to the rags and tissues that any mechanic has laying all over the place when he is working.
Total time for this job was less than one hour. If the starter button is pressed now the bike almost starts itself before your finger get to that button! ?
The starter brush plate is a universal item and is fitted to many Jap bikes and I would suspect that just about all Ducatis are the same.
 Follow
1.8K
Follow
1.8K