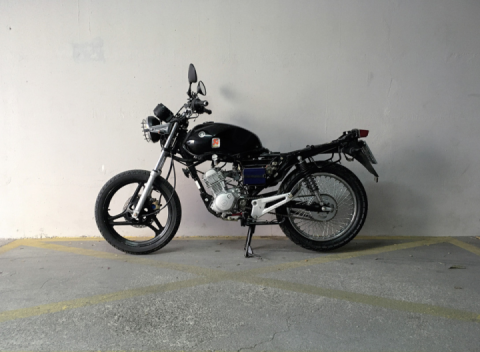
Part 3: adapting the Suzuki fork and installing the front spoke wheel!
And we keep going on and on...
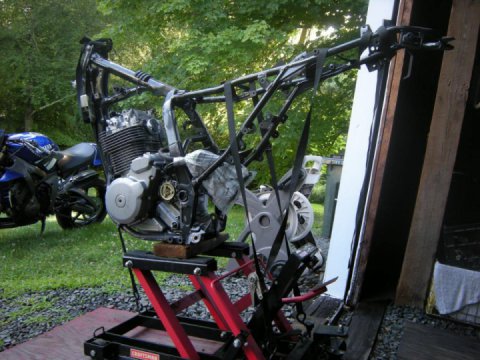
As you remember, it was decided to introduce a more powerful fork - from Suzuki GN 125, and also at the same time to install roller bearings in the steering column. But first we need to disassemble the front part of the motorcycle, to understand how to adapt the ignition switch with preserving the locking pin, and in general - where to connect what:
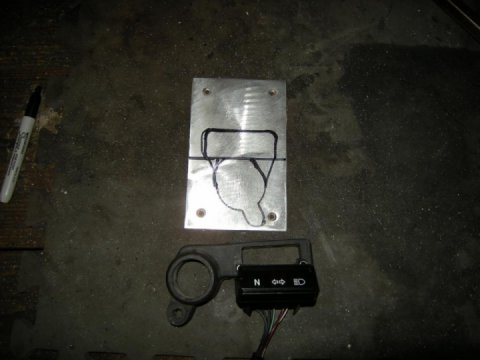
After disassembly it turned out that for the ignition switch it will be necessary to saw out a special spacer, but I will come back to this. In the meantime, let's get on with implementing the new fork. Feathers, used crossmembers, roller bearings, Suzuki brake and corrugations were all ordered individually on ebay. And the front brake disk, axle, speedometer drive and fasteners did not have to be bought - it was already available together with the wheels in our Chinese kit (see previous post).
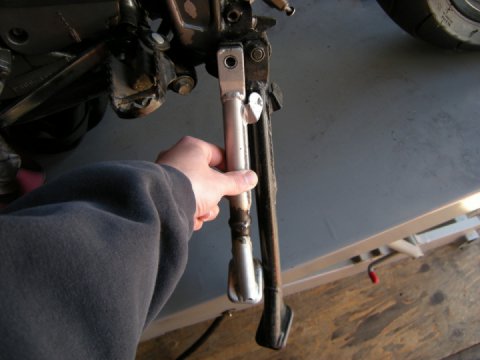
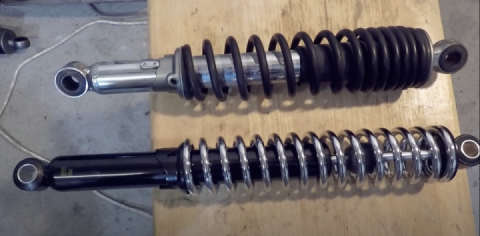
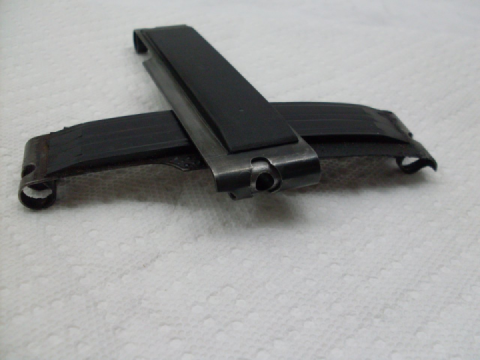
Well, if you put both forks side by side, the difference is obvious:
Both the length and thickness of Suzuki's feathers are longer: 32mm versus Yamaha's 28mm - all in favor of the bike's new purpose. The Suzuki's traverses are also wider, allowing for a thicker wheel! There were doubts that the height of the steering column might not fit, but to my surprise everything worked out, except for the size of the bearings. I really wanted to install and test the new fork, so I decided to upgrade only the lower bearing, and temporarily left the upper one as a ball bearing :).

I knocked out the old cage and started to assemble the "sandwich" - it should be noted that the design of crosshead mounting, tightening torques and assembly order here are a bit different from Yamaha's - but everything was solved quite quickly. To finally fit the lower bearing cage and the bearing itself in their places, I had to use spacers - a piece of old pipe and additionally old bearing cups from YBR, tightening all this with the native steering column bolt:
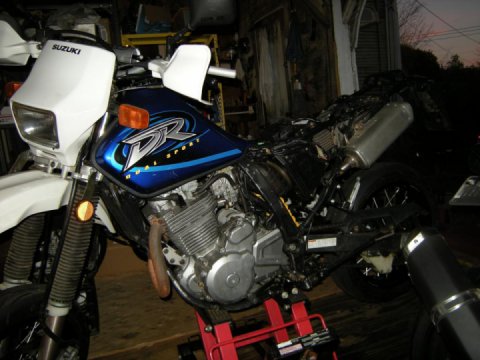
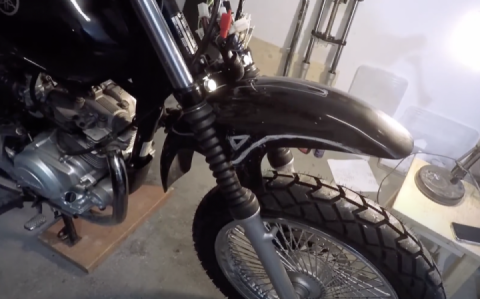
Once the bearing was seated and lubricated - the fork was effortlessly assembled, tightened and implemented into its rightful place:
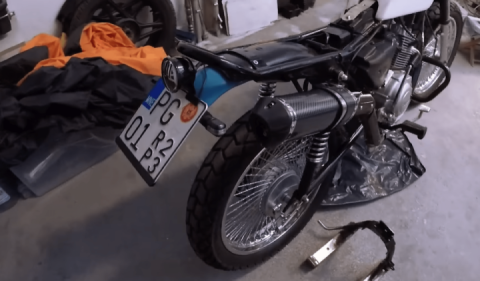
I screwed on the front wheel, put on the brake caliper and speedometer actuator to make sure all the parts were compatible. At this stage you can see that the front end is a bit too high, so again I temporarily lowered the feathers in the crossmembers.

 Follow
2.4K
Follow
2.4K