Part 7 - Yamaha YBR 125: Homemade Tail and Seat
It's time to rework the rear of Sandy! Namely: redo the tail, make a new wing, integrate LED lights, and paint some elements. Make yourself comfortable, make some tea/coffee and let's go!
As you remember, in the last issue was finished work on a custom fiberglass tank, and now the rear of the bike is absolutely not in line with the front - neither structurally nor visually. It's time to fix that.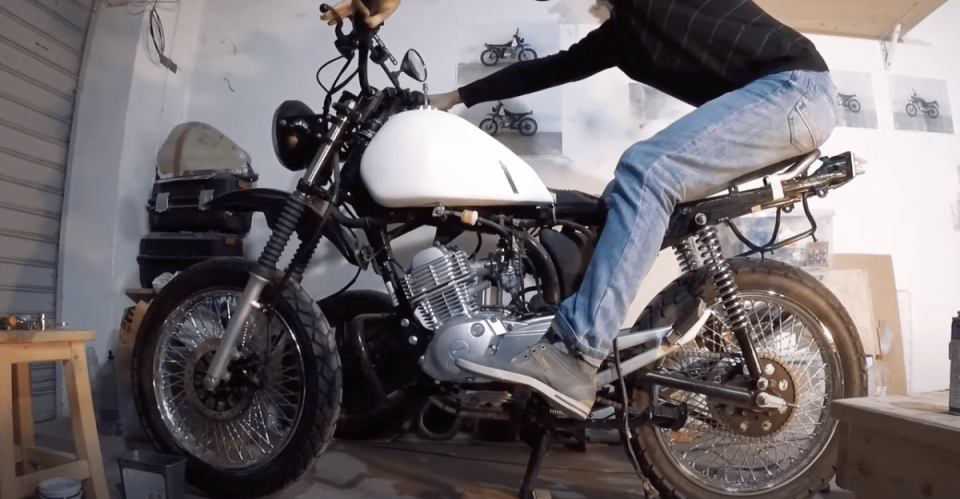
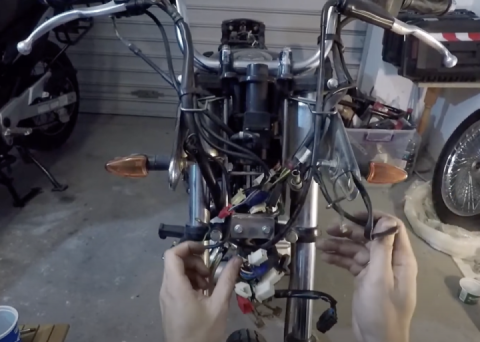
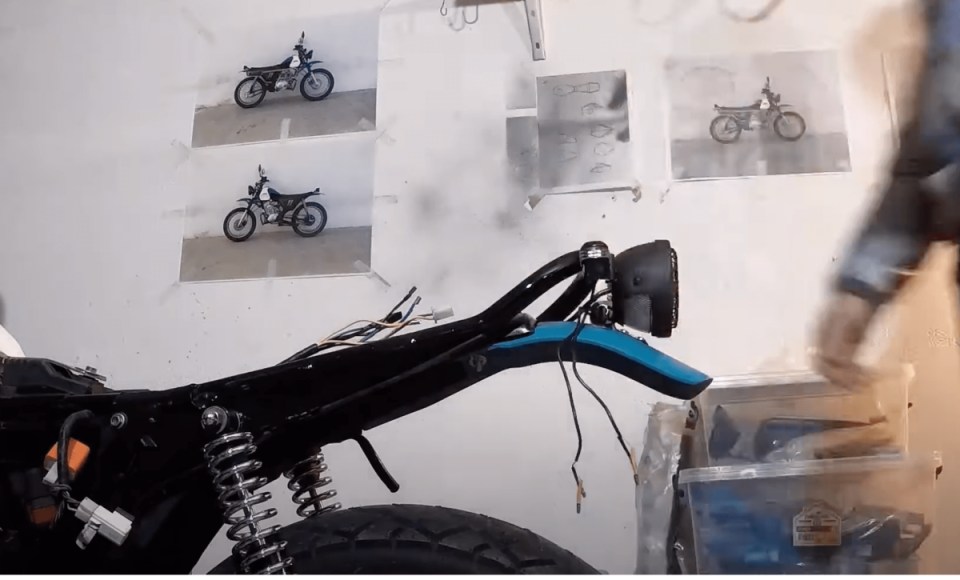
To begin with, I disconnected all the connectors of the rear wiring, removed the battery and the rear fender. Estimated the length of the future seat, trying different positions of the body (including full pull back).
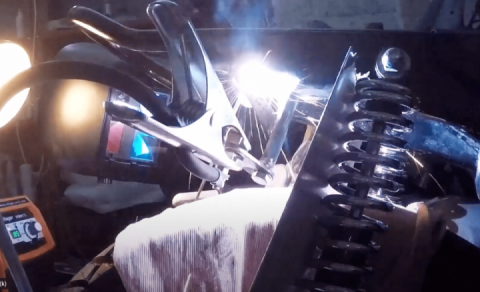
The tail bar was bought by me on Aliexpress, of course - it was about the right width, I just had to bend it a bit. As soon as it arrived - without delay and regret cut off the old fat ass YBR with a bolt cutter! Then I inserted into the fresh holes 2 scraps of studs on 18 - for strength, stretched the Chinese arc on them, tacked and welded with rutile: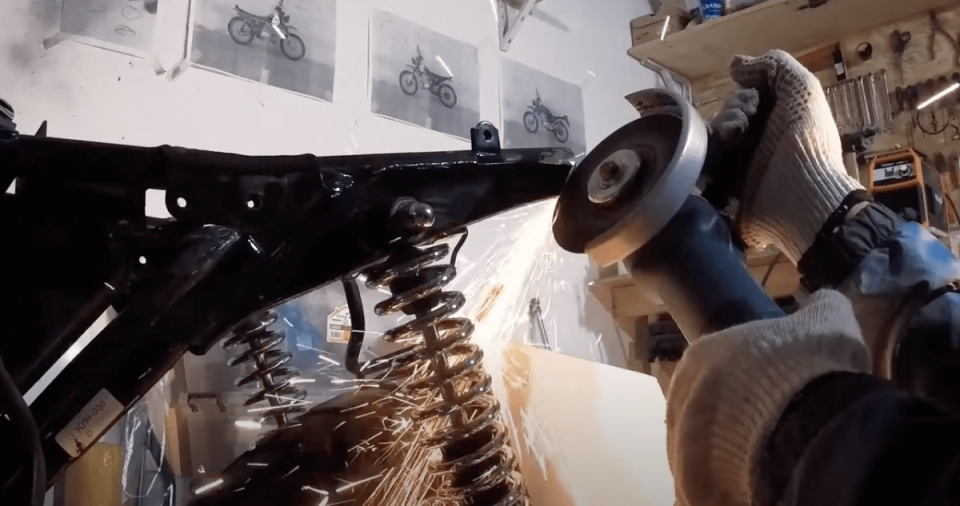
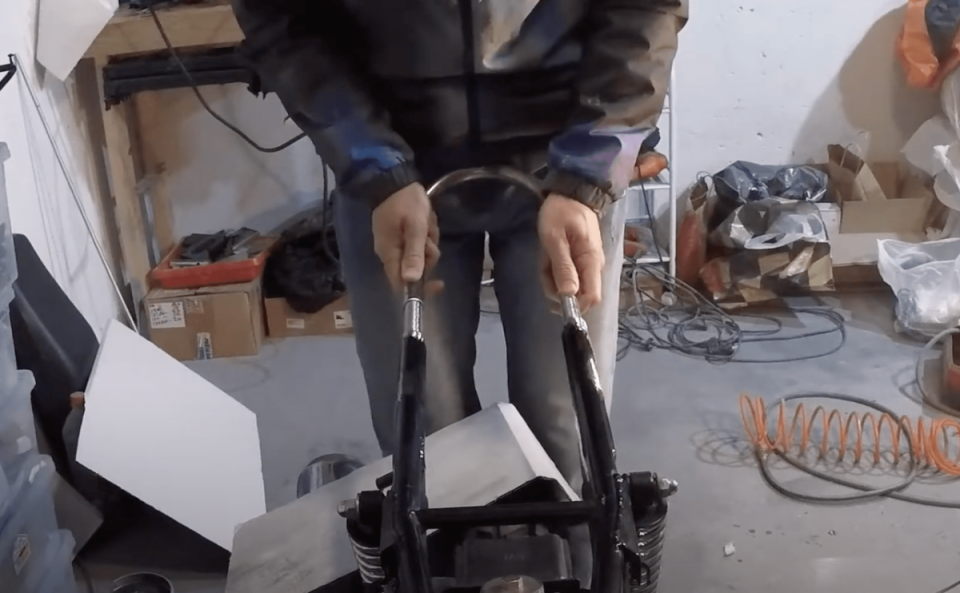
Then I added a jumper, again from old scrap metal supplies: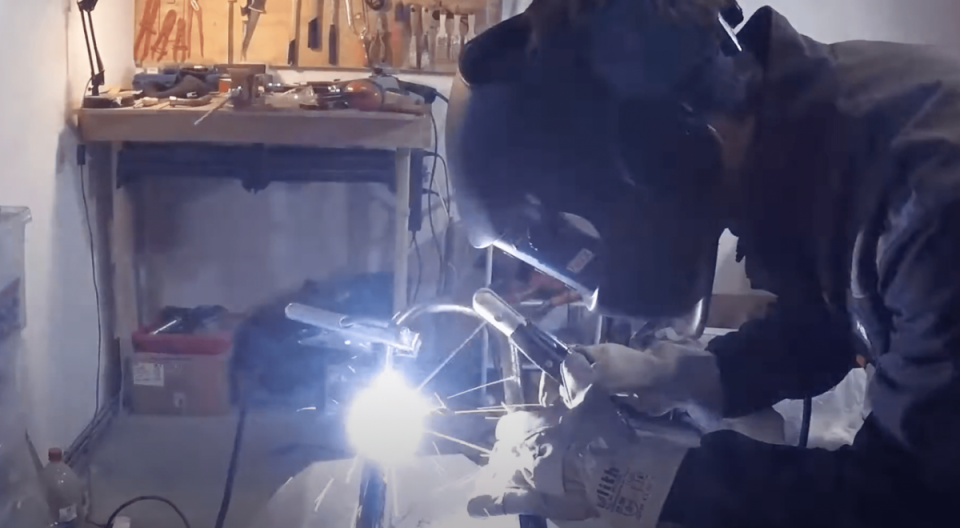
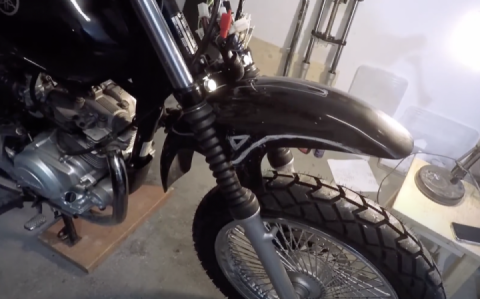
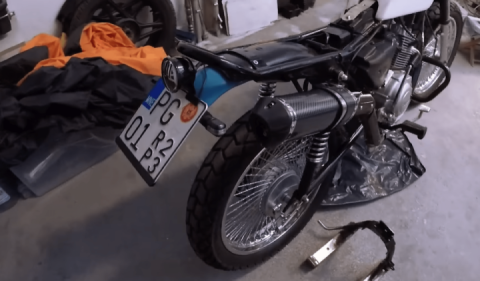
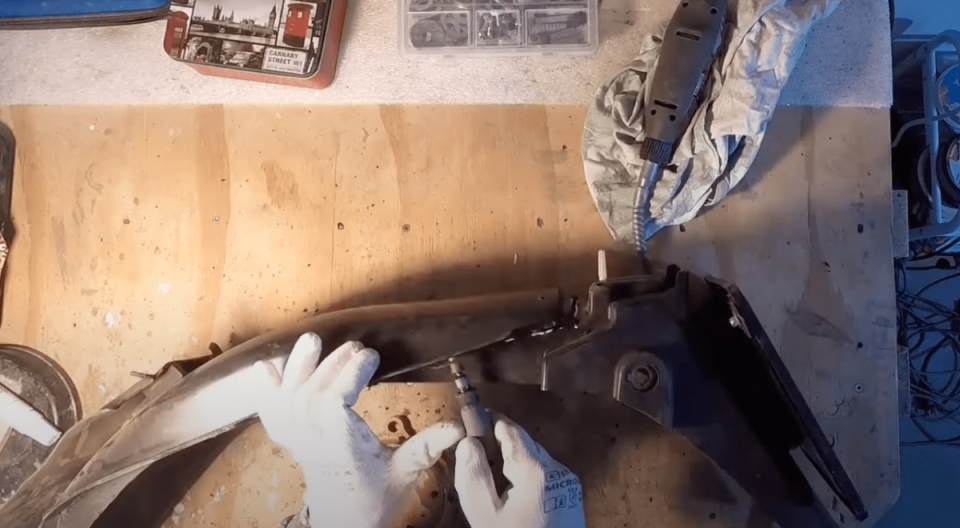
The rear end is now much shorter and more fun! It remains to clean up the seams a bit and shorten the standard polypropylene yubra fender with a dremel.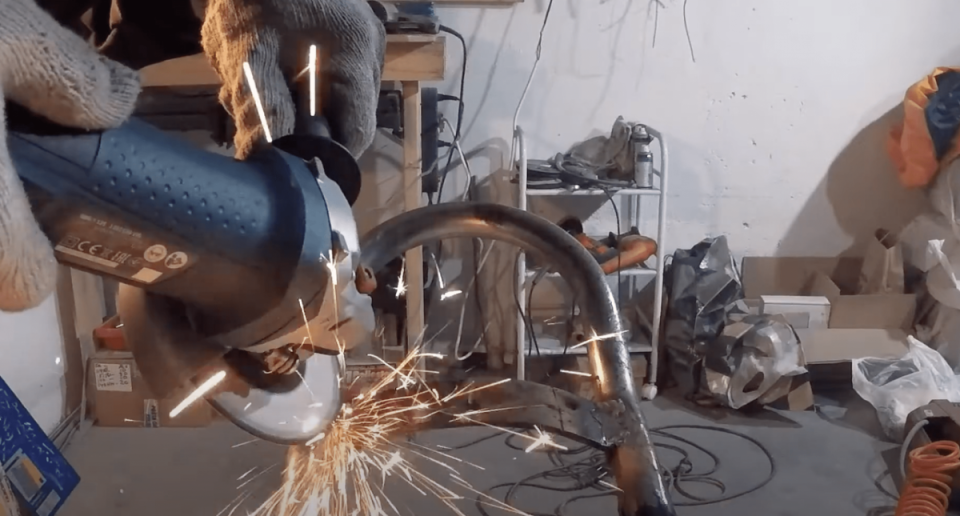
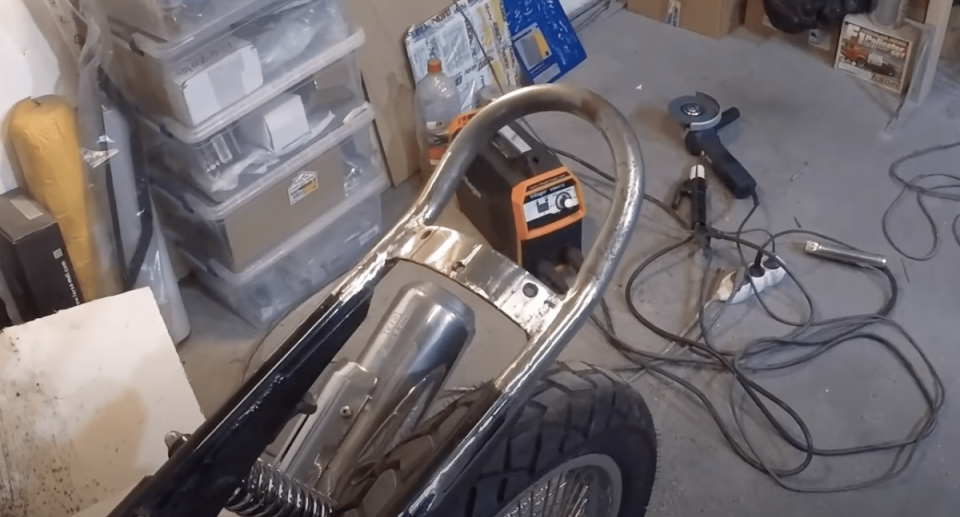
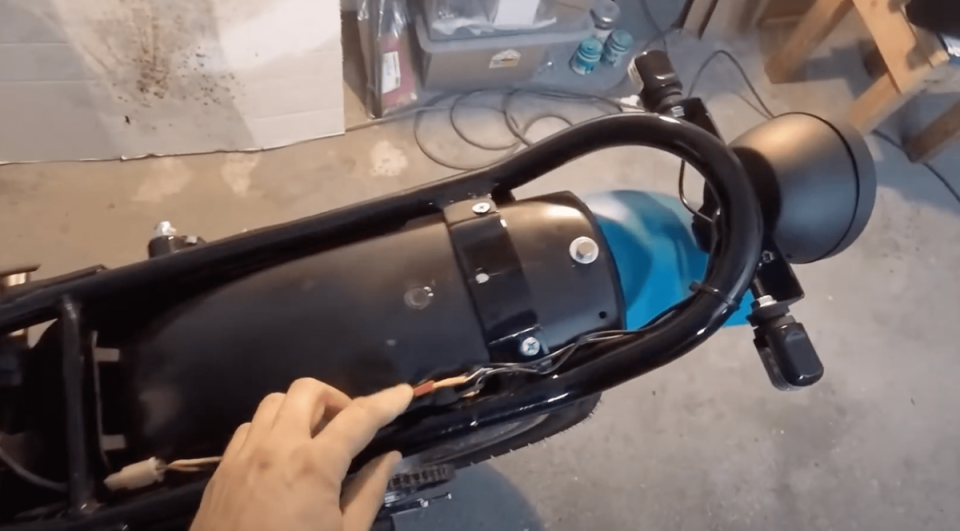
That's it - the frame structure is ready! It's time to do the seat.
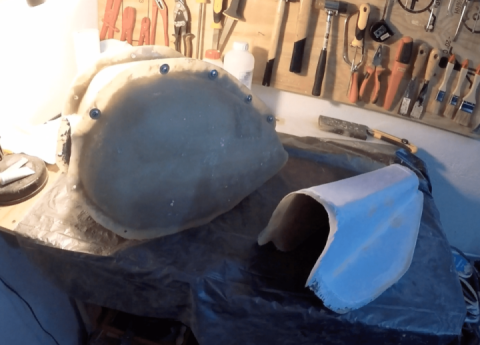
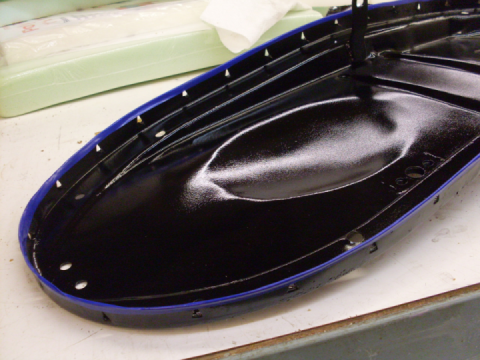
To begin with, we wrap the whole butt with food film, then just put glass mat and polyester layer by layer - in my case it turned out to be about 4 layers. Somewhere in the middle of the process you should not forget to glue the bolt of the seat fastening - at the level of the lintel welded by us. By the way, given the peculiarity of the frame, namely the lump formed in the middle, I had to equalize this part by gluing between the layers of hard foam, puttying it with epoxy putty. The edges of the blank were carefully cut with a dremel: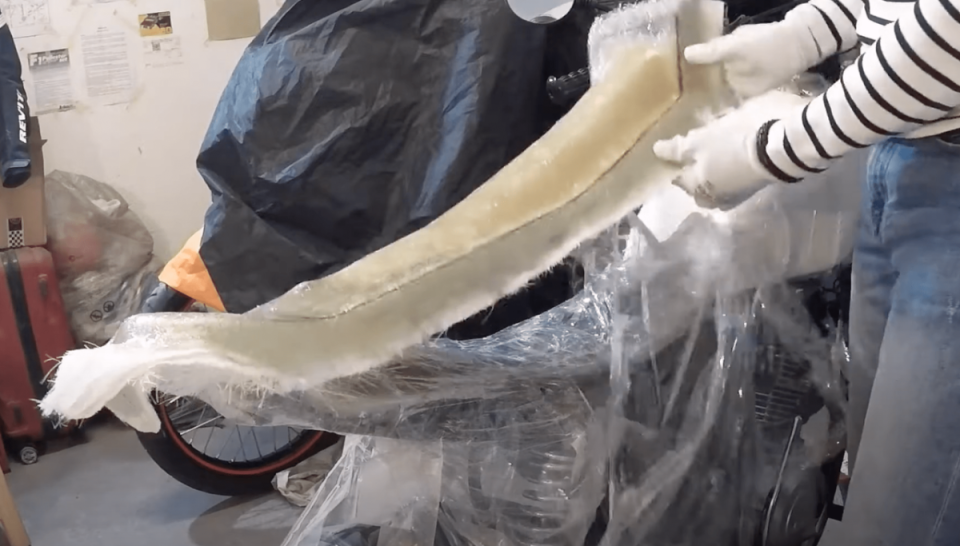
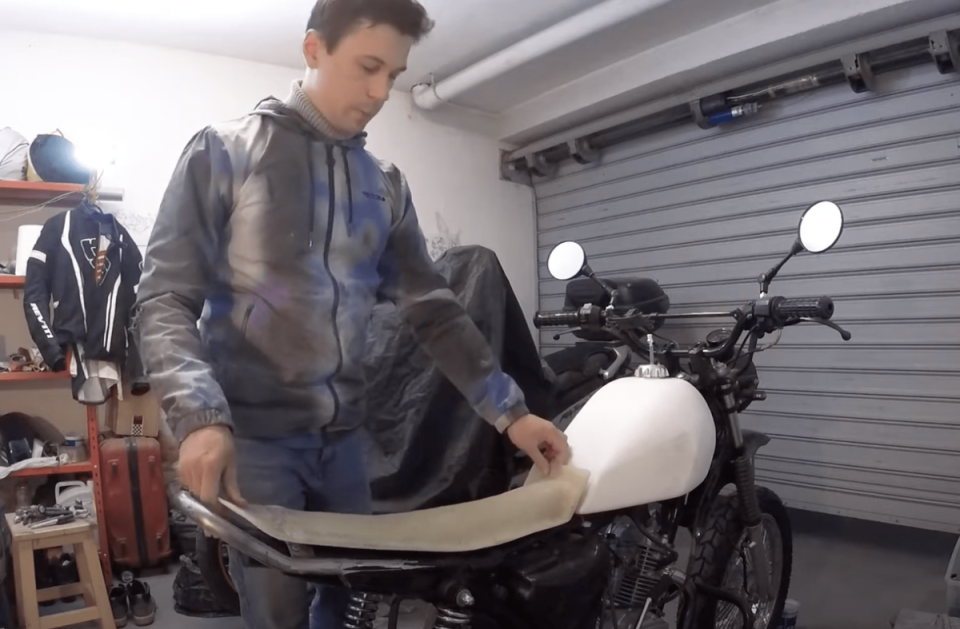
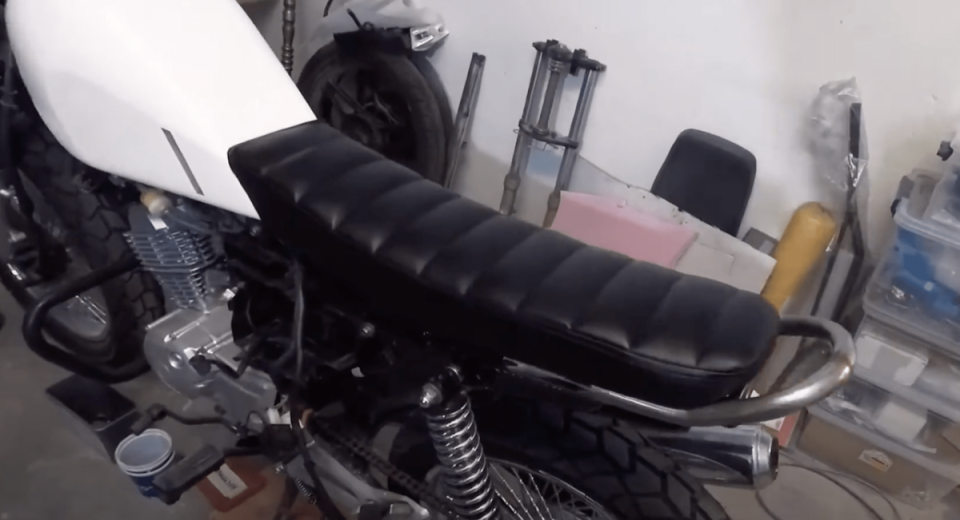
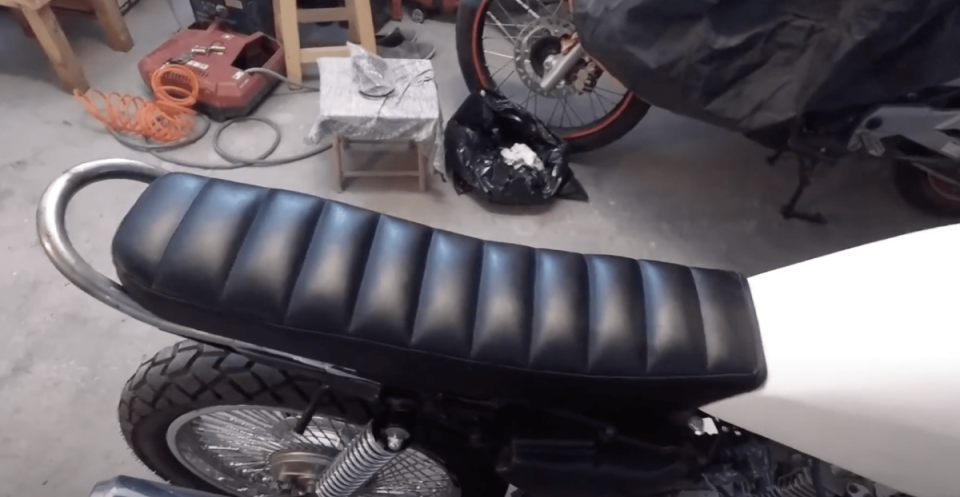
I didn't want to mess with a sewing machine and learn sewing skills, so after gluing the foam with shoe glue and working on it with a bolt cutter with a lobe wheel, I turned to Bojan, a retreader who lives on the outskirts of Podgorica. He specializes in car seats, but he agreed to help me with my motorcycle seat. The upholstery was done professionally, made of eco-leather with lining and stitching, everything was done according to feng shui - thank you, maestro Bojan!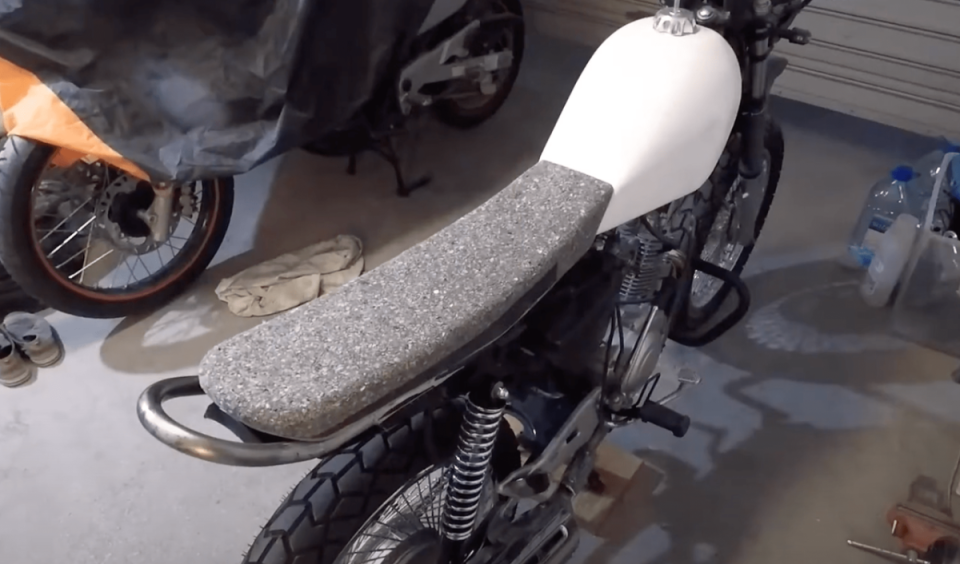
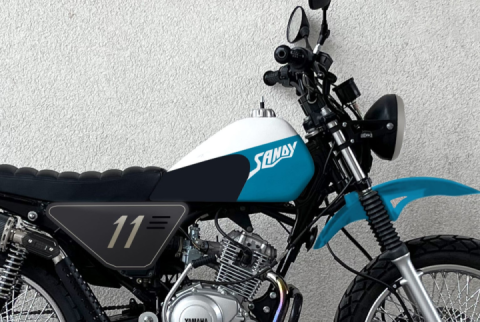
Then it was absolutely logical to make a fender and place an LED light with turn signals on it. Not thinking long and after consulting with an expert (my wife), I decided to saw the fender from a sewer angle pipe, attaching a homemade bracket made of thick aluminum. After fitting - the fender and the bracket were painted in the right colors and installed, and the tail itself was painted: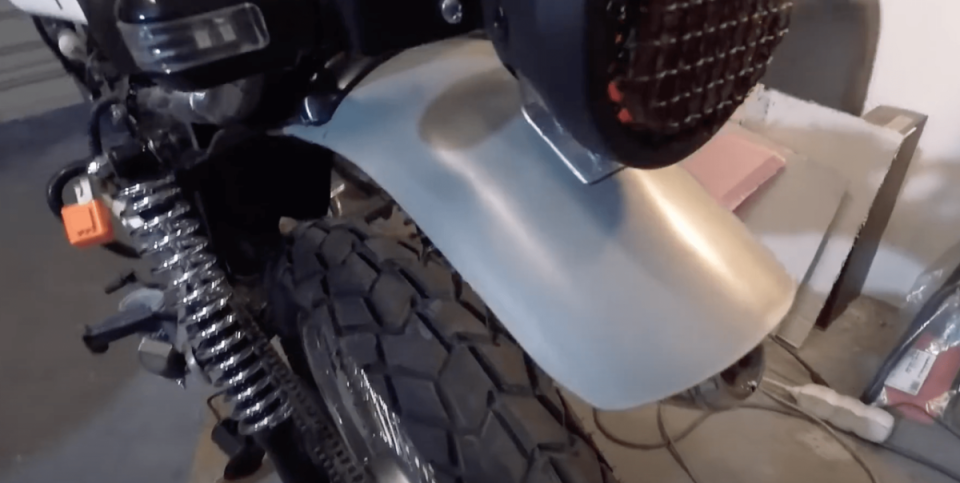
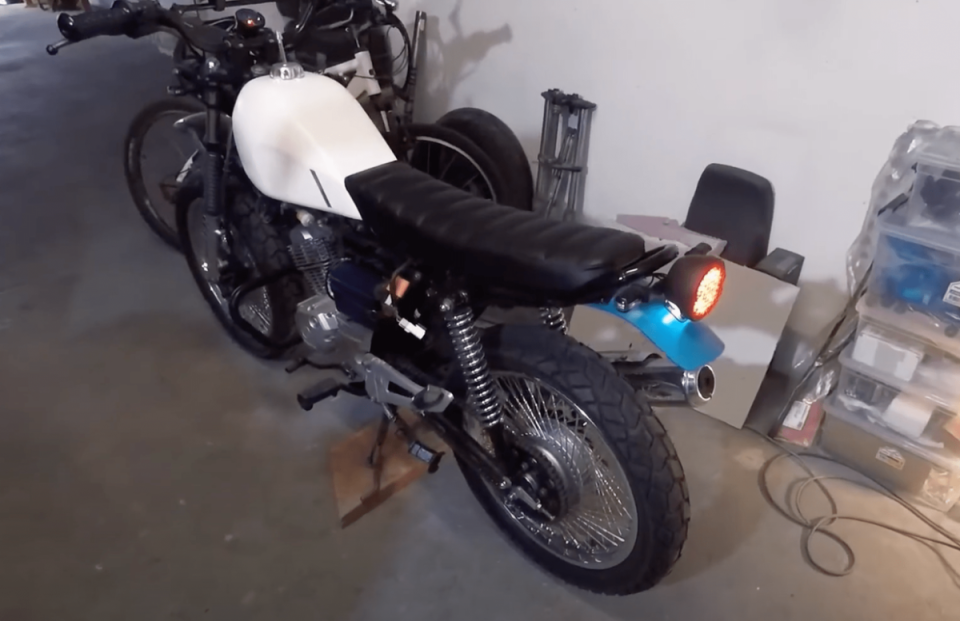
I used different types of paint - black glossy/matte for metal, and sea wave color for plastic (elastic, applied without primer).
The turn signals and tail light are LED. Therefore, the relay was also replaced with an LED relay, with adjustable flashing frequency.

 Follow
3.1K
Follow
3.1K