Part 9 - Yamaha YBR 125: Make a carbon fiber battery compartment and side plastic.
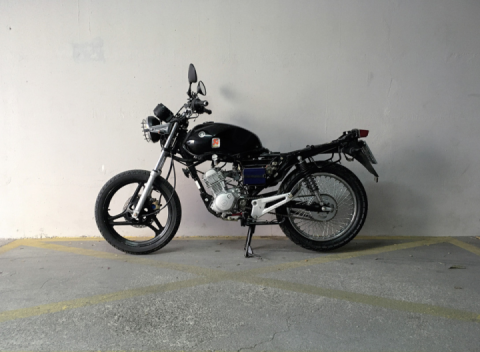
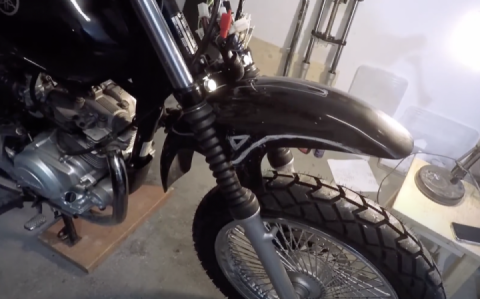
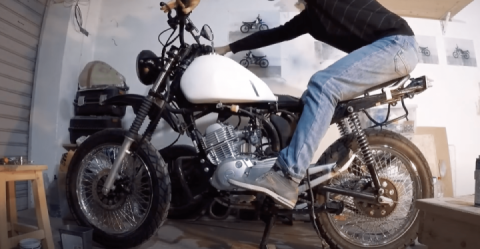
And today we're going to talk about modifying the battery compartment (or rather, completely abandoning its configuration), as well as making side covers and related modifications. Make yourselves comfortable, we're going to continue. But first, check out the lightened butt (the process of lightening is left behind):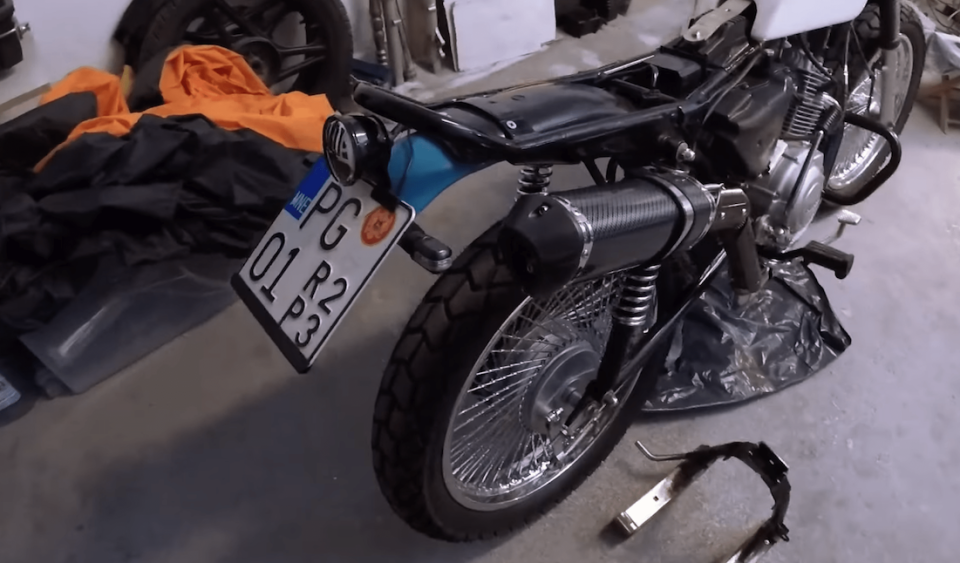
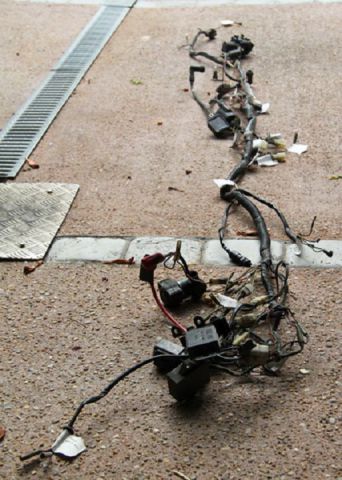
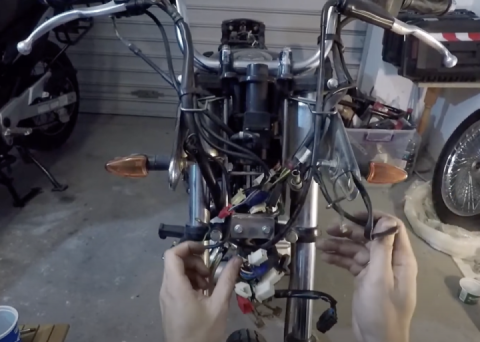
So the first thing that was done as part of the design improvement was to remove all the factory giblets from under the seat, after which it already looked much better: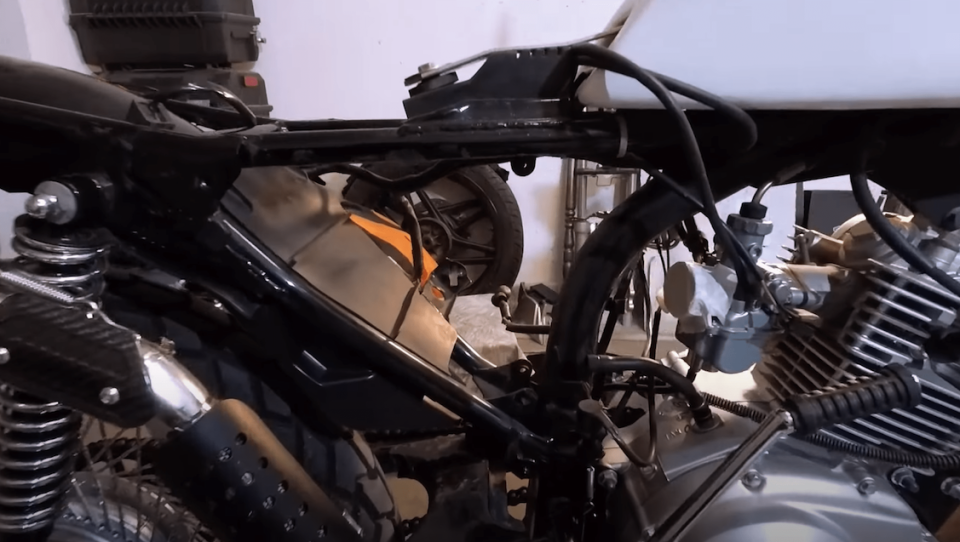
Now we take fiberboard, hot melt glue, aluminum tape and mold the frame of the supporting part of the compartment - taking into account the geometry of the frame. Next we need to glue the resulting matrix with at least two layers of carbon fiber. Here I used neither epoxy nor vacuuming, but simply glued the carbon with ordinary polyester, rolled it with a roller and blew out the bubbles with a construction hair dryer - the result was this blank: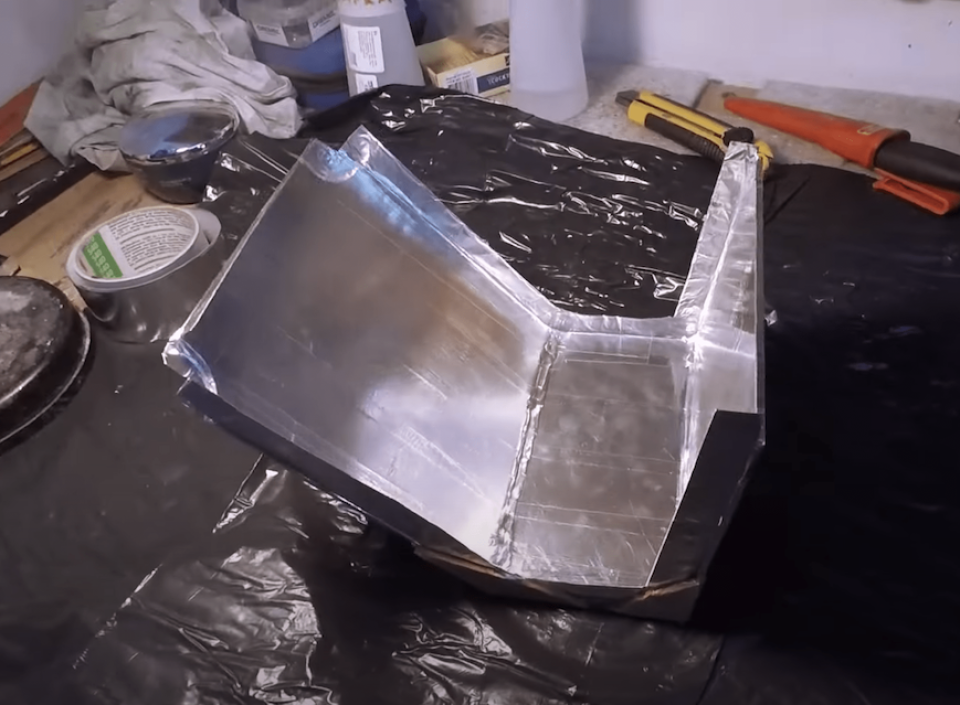
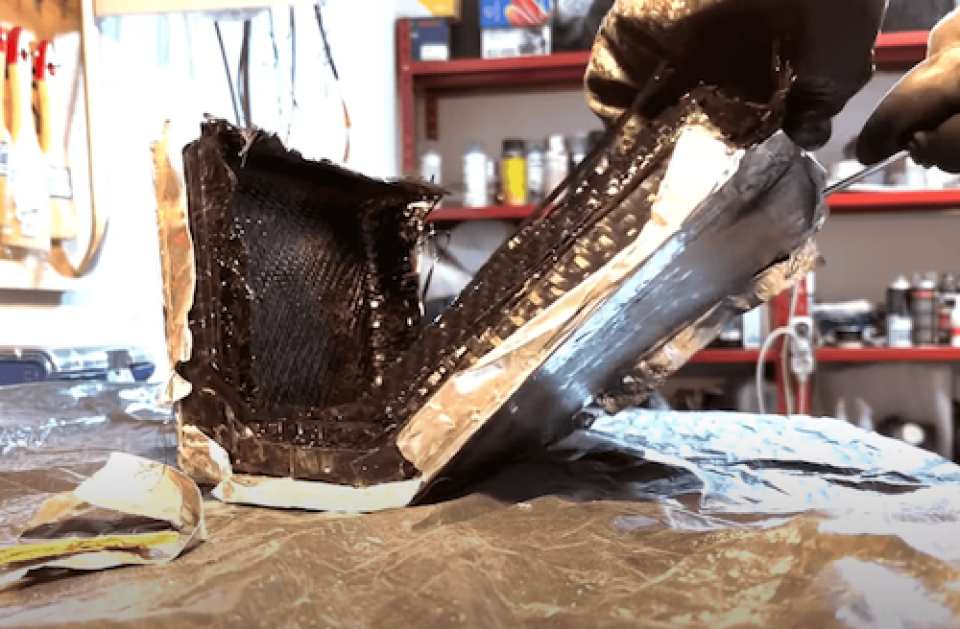
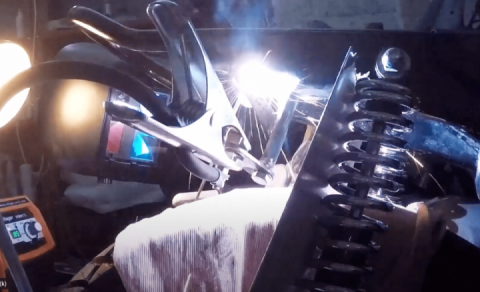
This part will not experience space overloads, and therefore I consider this method to be quite acceptable :) And where without processing with a dremel. Further for the introduction of this blasphemy in the frame it was enough to make and conveniently place brackets from steel 3 mm + 2 clamps from aluminum for support from behind. By the way, the old rubber strap of the accumulator mounting came in handy: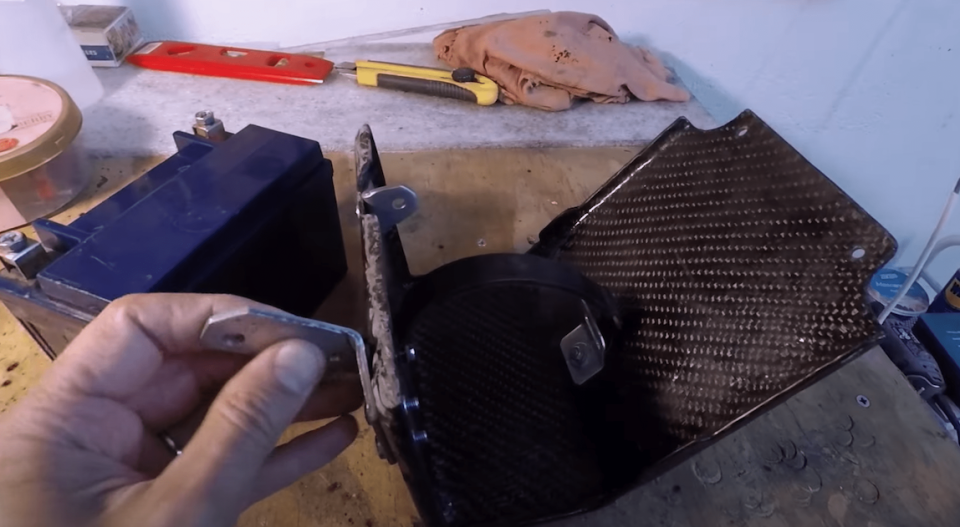
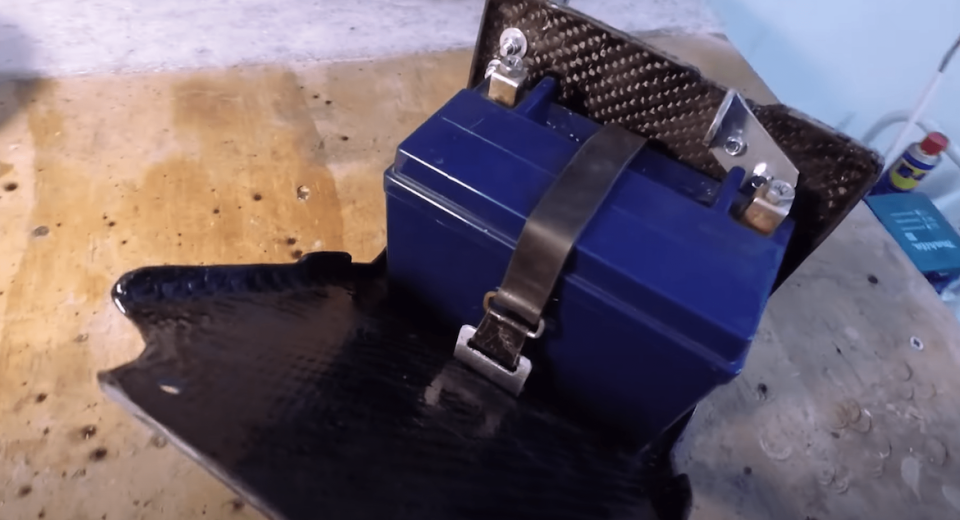
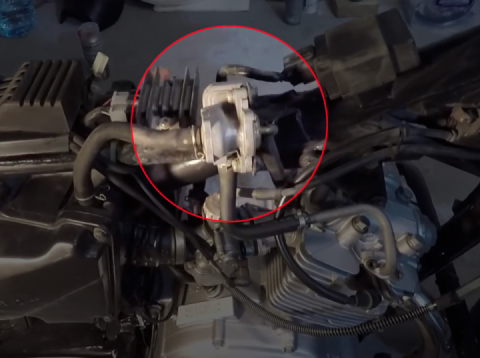
A little recomposition of wires and everything fell into place - perhaps even better than it was - relays, diode and battery breathing tubes are perfectly located in the niche behind the battery.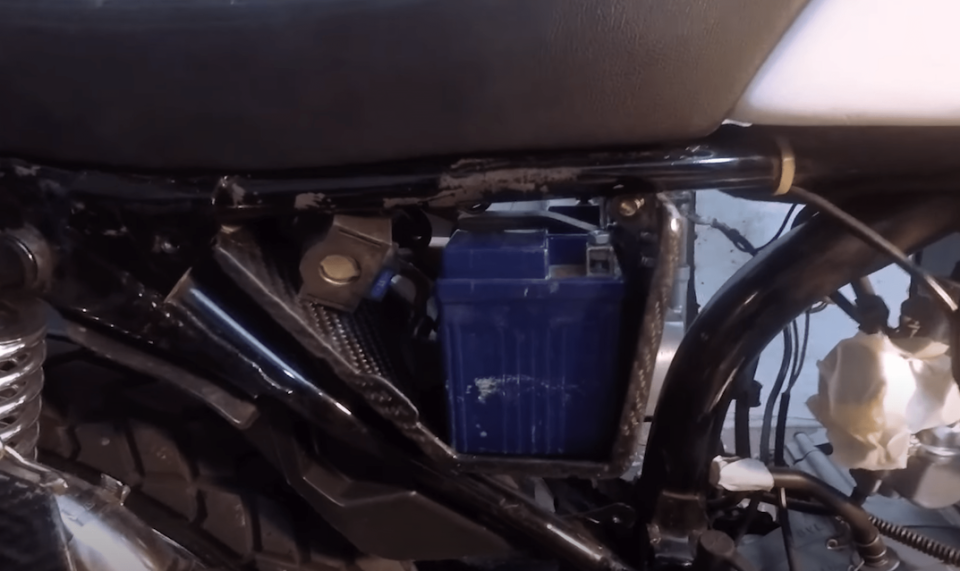
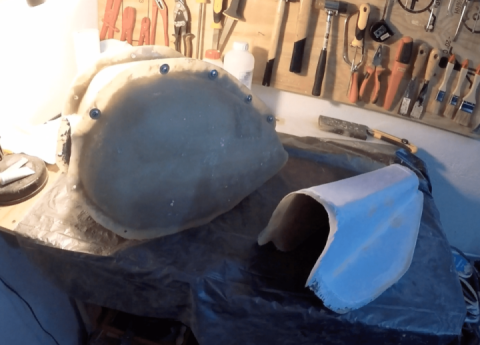
Now you can start making the side covers, as they partially rest on this compartment. I prepared a foam mold: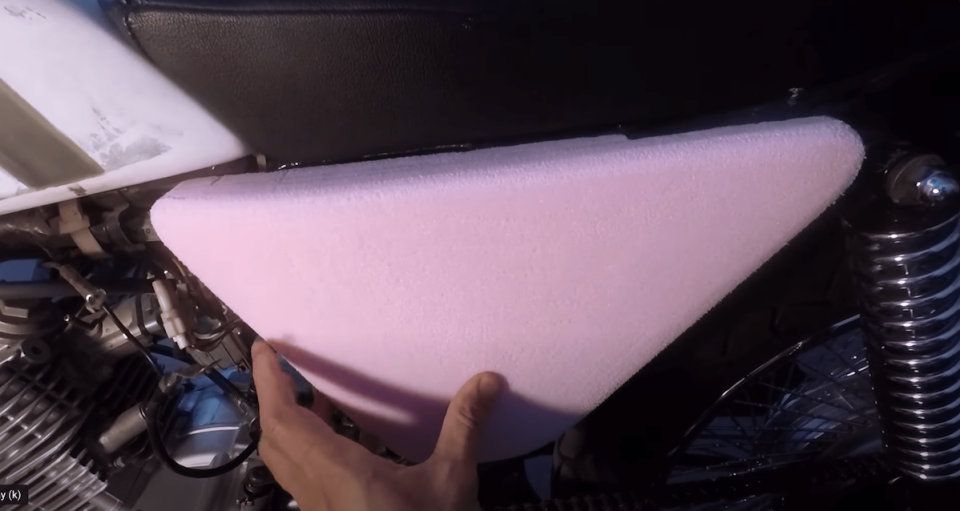
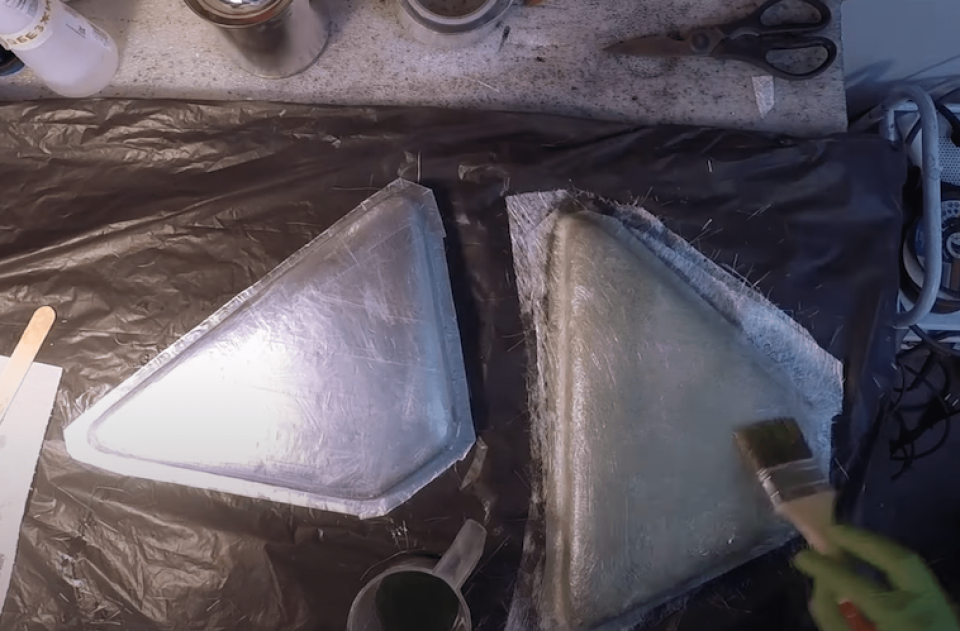
I covered the resulting matrices with aluminum tape and waxed them, followed by a couple of layers of traditional fiberglass: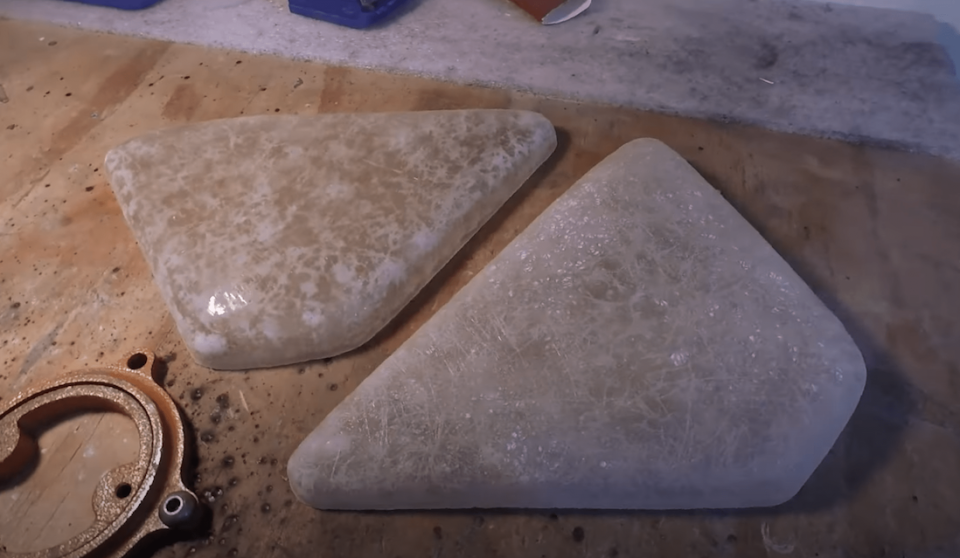
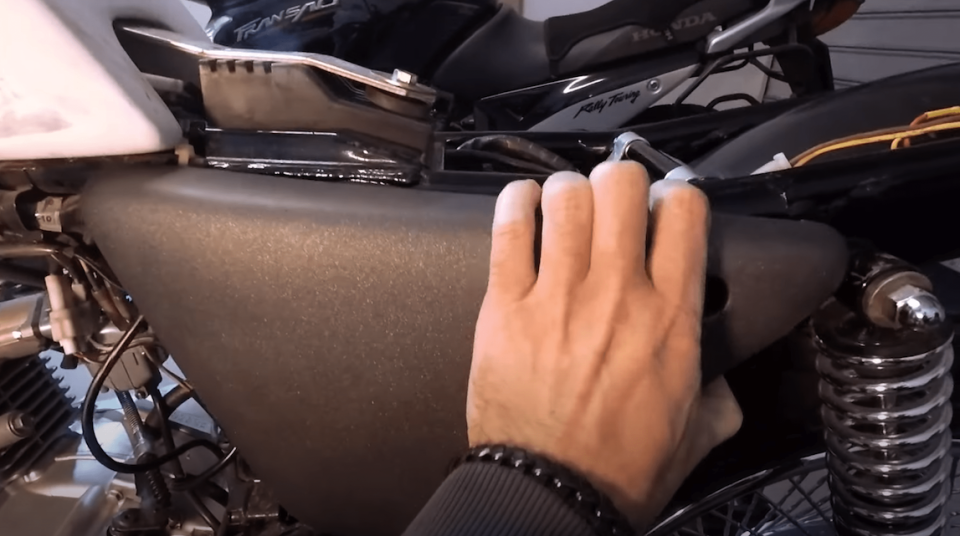
From the very beginning I wanted the fasteners to be minimally visible, so I came up with a very simple and reliable scheme for attaching the covers - on a single bolt, for which a mating "sleeve" was provided: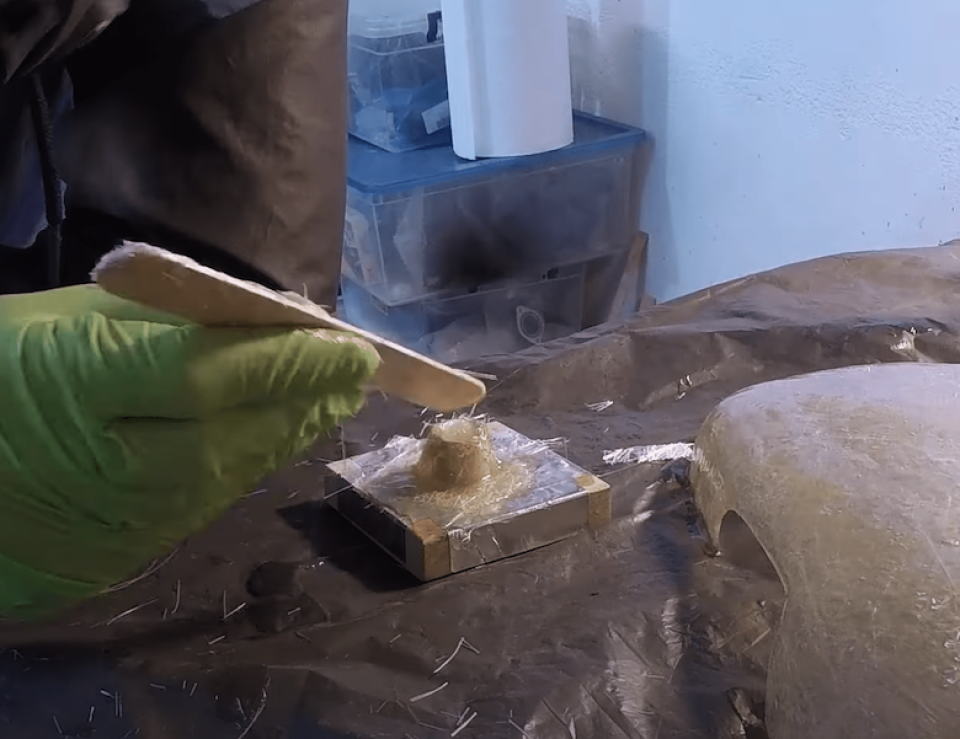
On the reverse side, a pin connection was made: the pins on the cover (dad) fit into the holes in the carbon fiber cover (mom). This way, the cover will be secured by a single bolt, once unscrewed, it can be easily removed by simply sliding it forward: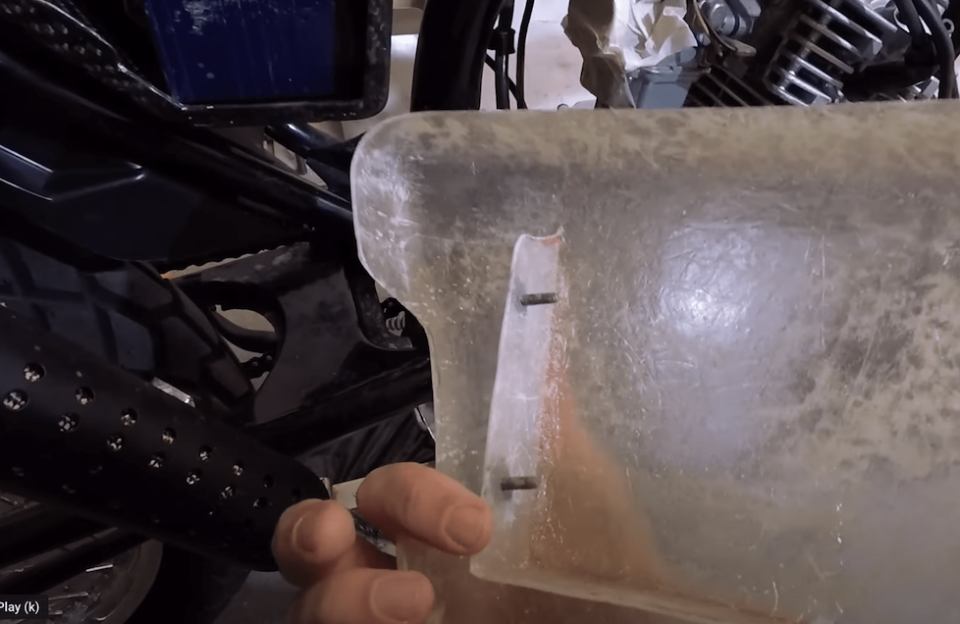
Moving from mechanics to cosmetics:
1) Fiber putty
2) Bumper putty
3) Finish putty.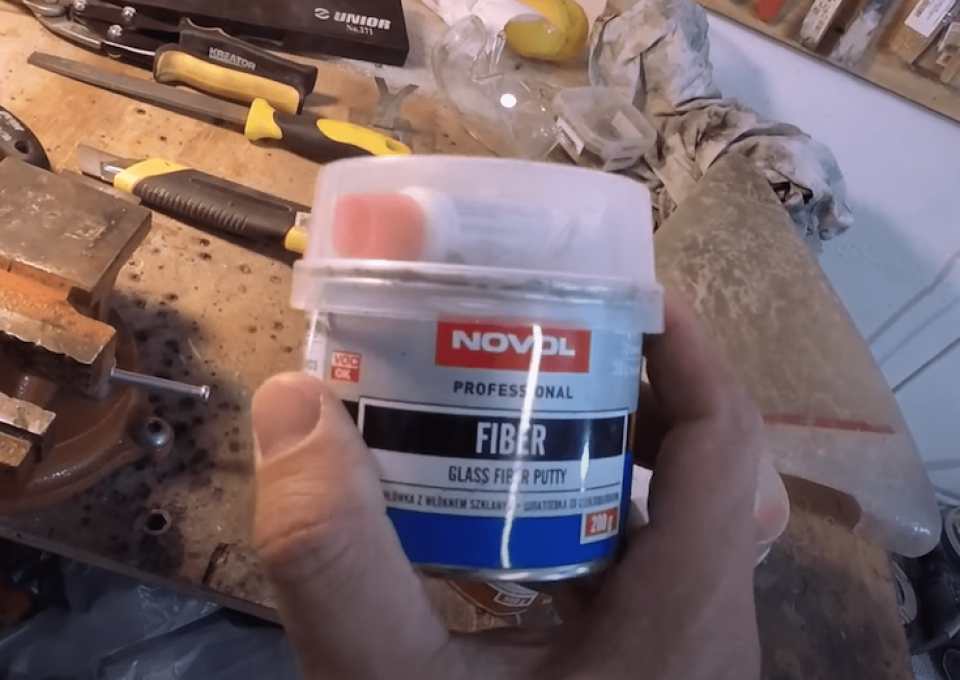
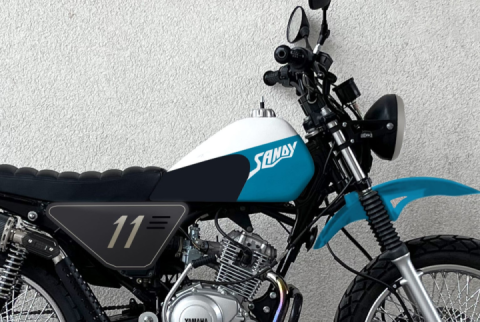
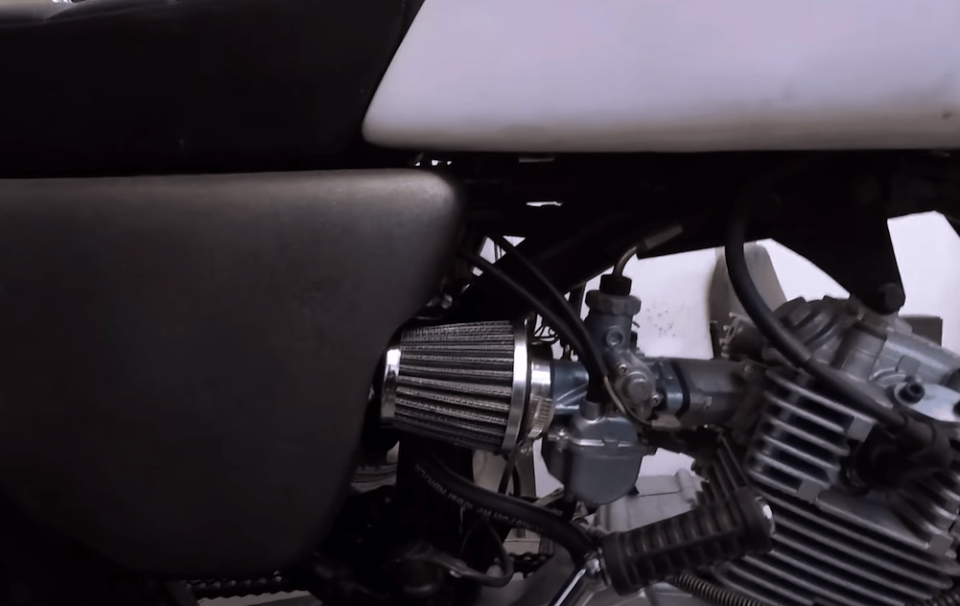
- with intermediate drying and treatment, of course. I am in no way going to teach anyone here - just sharing my personal experience. And we paint the lids in fence graphite color, as it was intended at the design stage.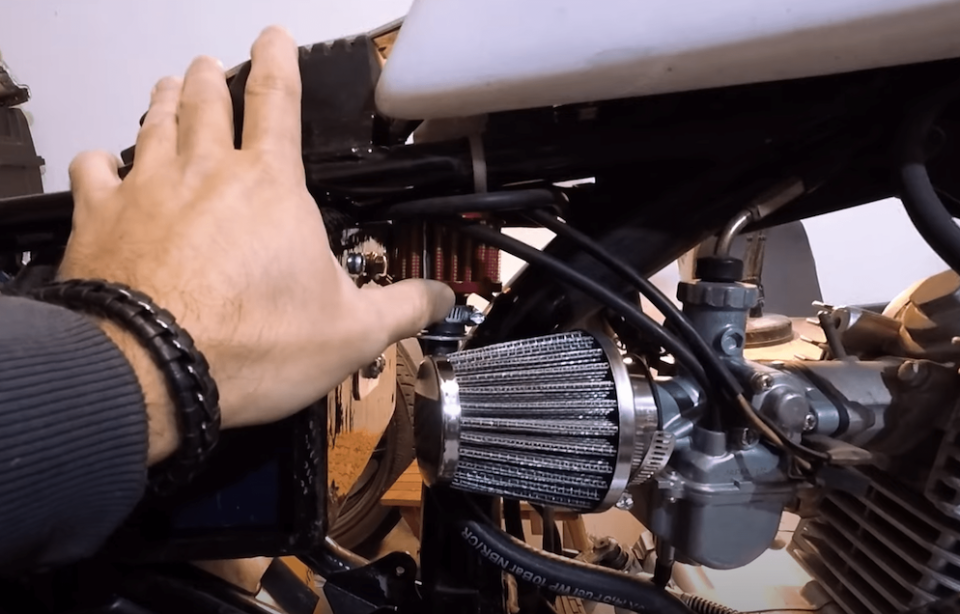

 Follow
2.7K
Follow
2.7K