Part 9 - Rear suspension & swingarm
I've sandblasted most of the frame components, and am starting to put them back together. First up was the swingarm and rear suspension. The swingarm, like the rest of the frame, looks like it was built by tack welding the fittings onto tubing, and then brazing. I guess this keeps heat distortion down. Most of the bracketry is welded.
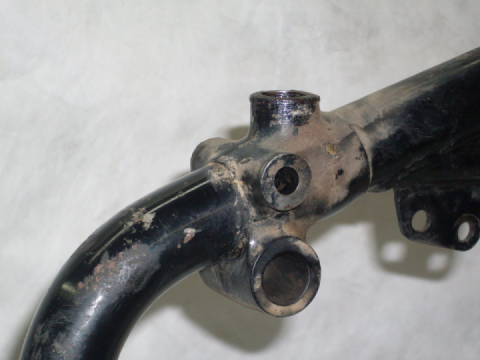
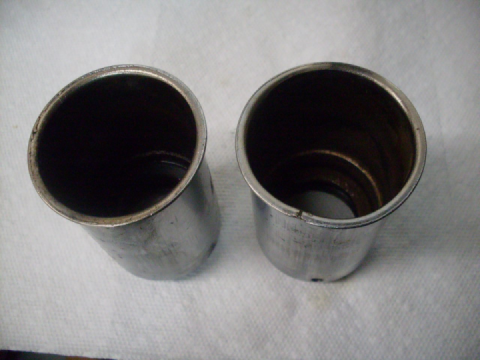
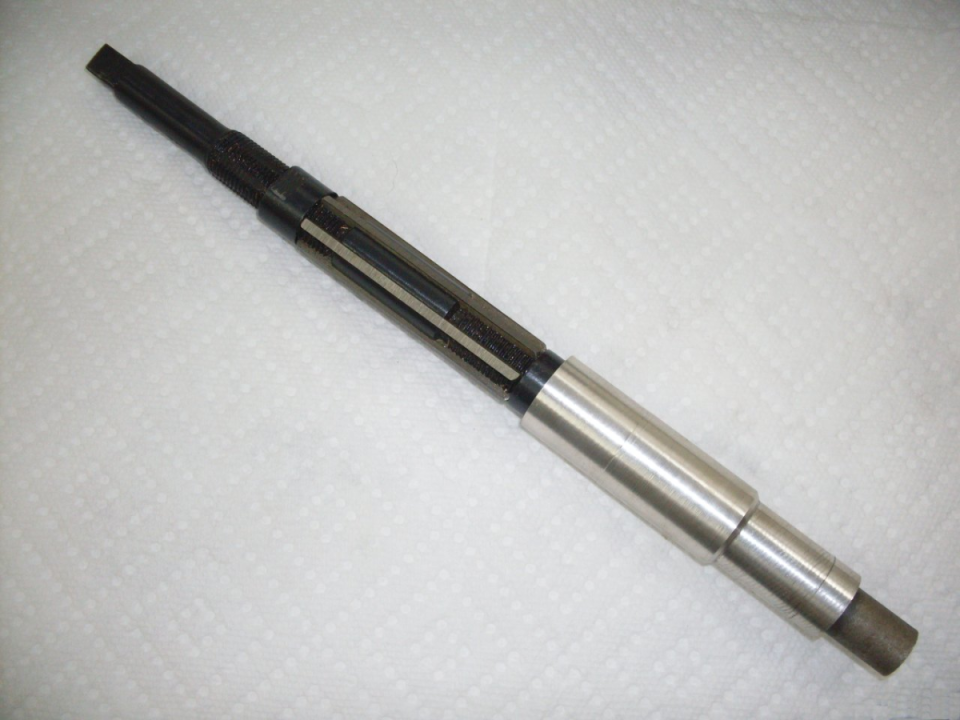
In keeping with my goal of replacing all bearings and bushes, I pressed out the swingarm bushes, and pressed in new ones. The shop manual said that the swingarm bushes would have to be reamed, but it said that about other bushes on the bike that really didn't need it. In this case, though, the manual was right--the bore of the bushes was just about 0.010" too small for the swingarm spindle. Taking off that much meat with a brake hone would take forever, and besides, these bushes really need to be line-reamed to make sure they are co-axial. Otherwise, the spindle might fit in each of them just fine, but just not at the same time. There is reportedly a factory tooI for this, but I could never find a source for it (and probably couldn't have afforded it anyway). I got some suggestions on this on a couple of forums, and finally decided to use an adjustable reamer with a shop-built pilot to keep the bores aligned. A "G" range reamer is the right one for this job, and they aren't too expensive. Tese pictures show the reamer and the shop-made pilot. I was getting a little chattering form the setup, so I reamed most of the way to a fit, and used a brake hone to finish it up.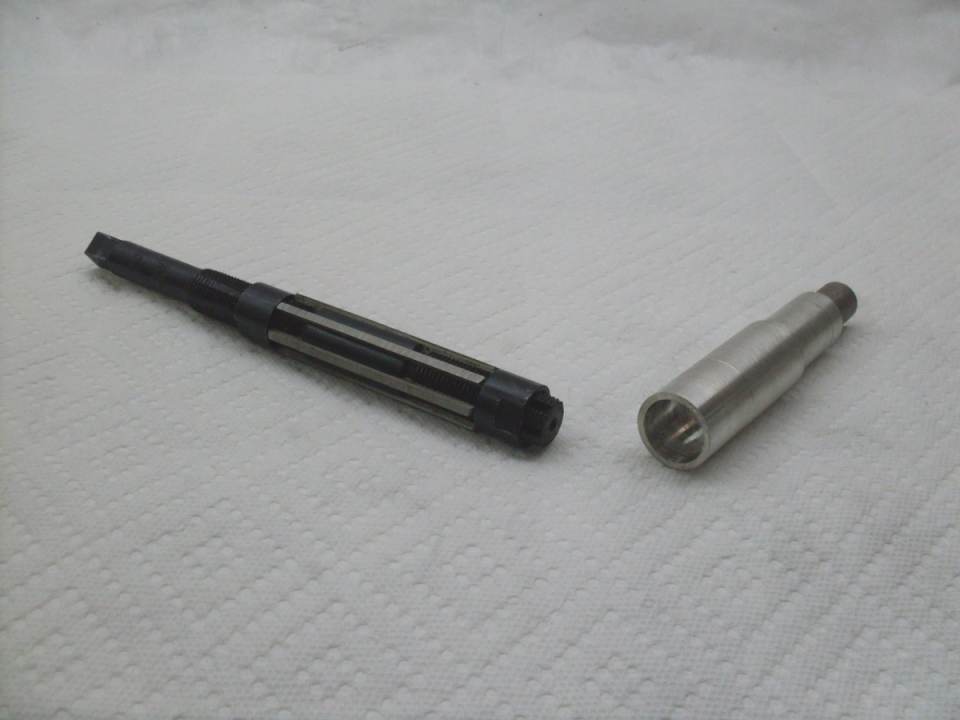

The spindle had wear marks on it, but measured within spec most places, so I reused it. It's a nice firm fit now.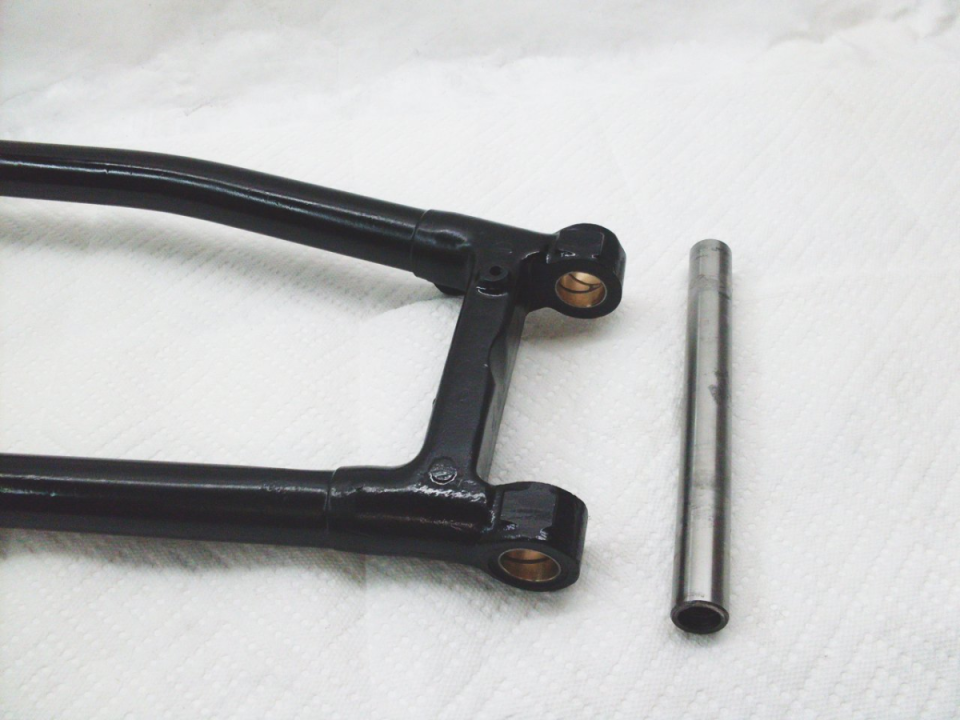

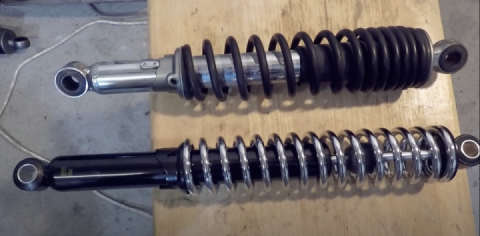
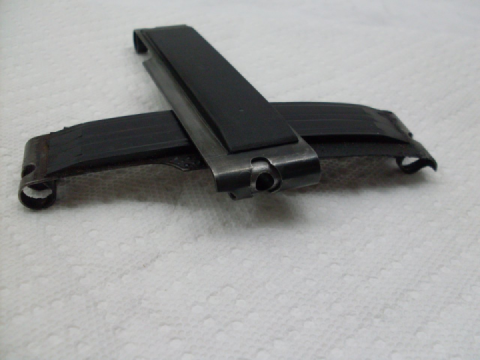
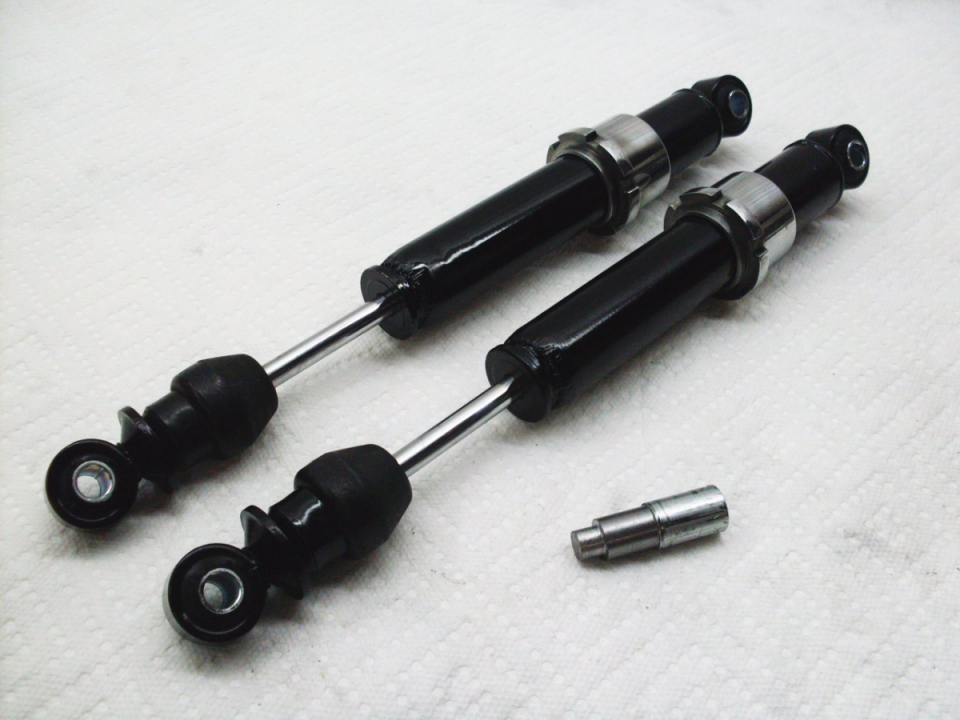
I had assumed from the beginning of this project that I'd be buying new rear shocks. When I cleaned them up, though, I was surprised to find that they showed no signs of leaking, and that they still had smooth and appropriate damping action in both directions (considerably more damping on extension than compression). It's possible that I replaced these somewhere along the line, but I don't remember it. I decided to reinstall them and assess them on the bike. The adjuster rings were originally painted black, but they were pretty smooth aluminum, so I decided to polish them instead. One thing that was worn out were the bonded rubber bushes at either end of the shocks, so they got replaced. Worn bush is on the right, new one on the left: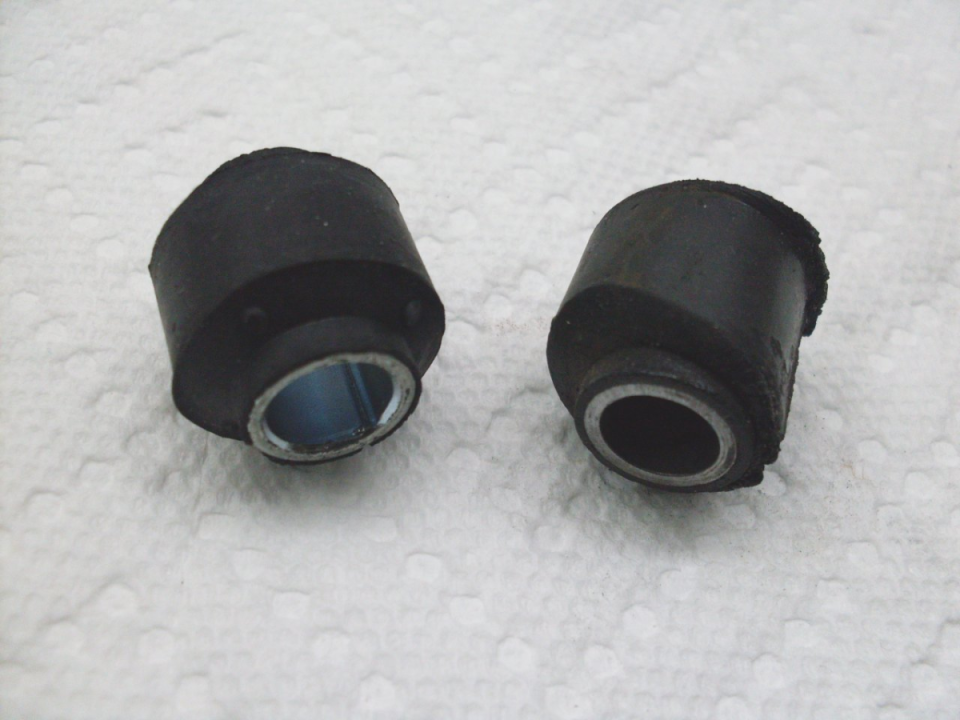
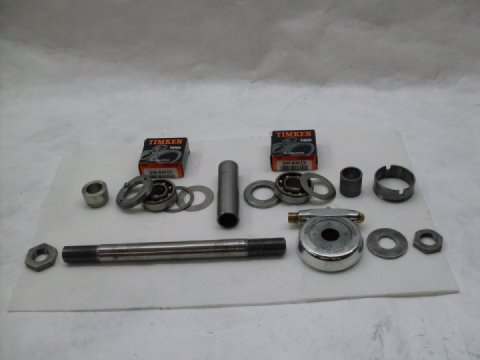
Here are the cleaned up shocks and new bushes, and the tool to help them go in straight. (A little dish soap on rubber helps them squeeze into place.)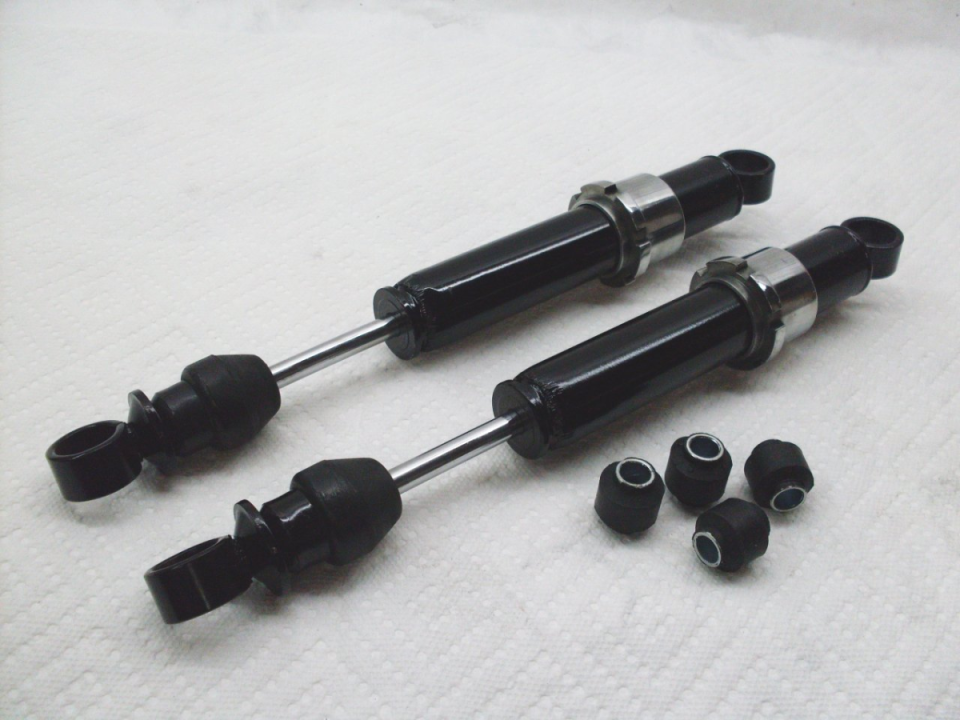
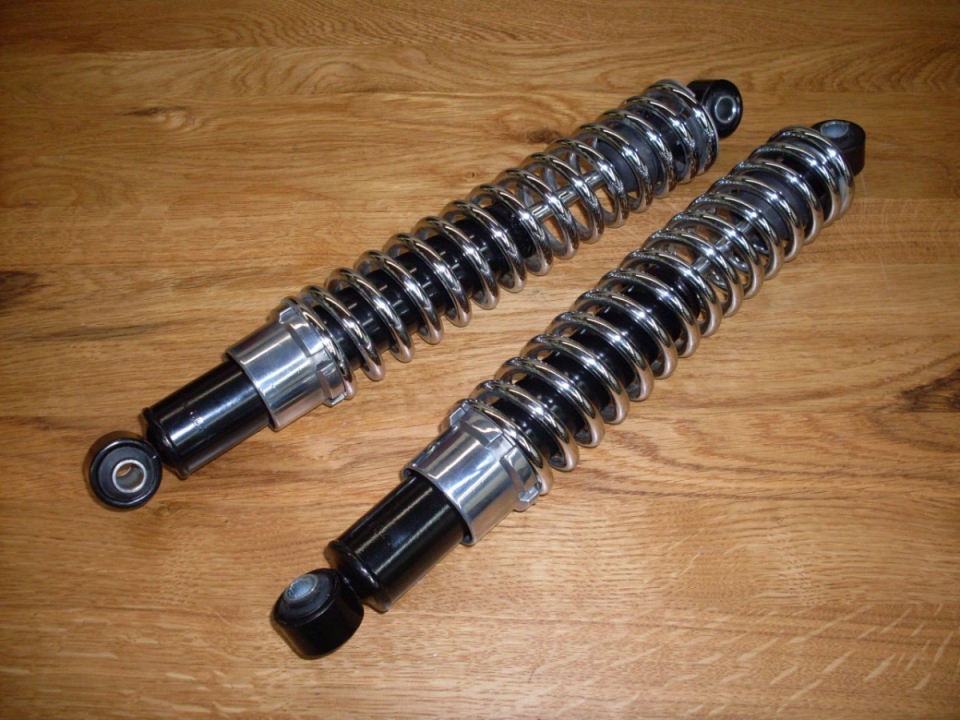
The chrome on the springs had a few small cracks, but they are hard to see.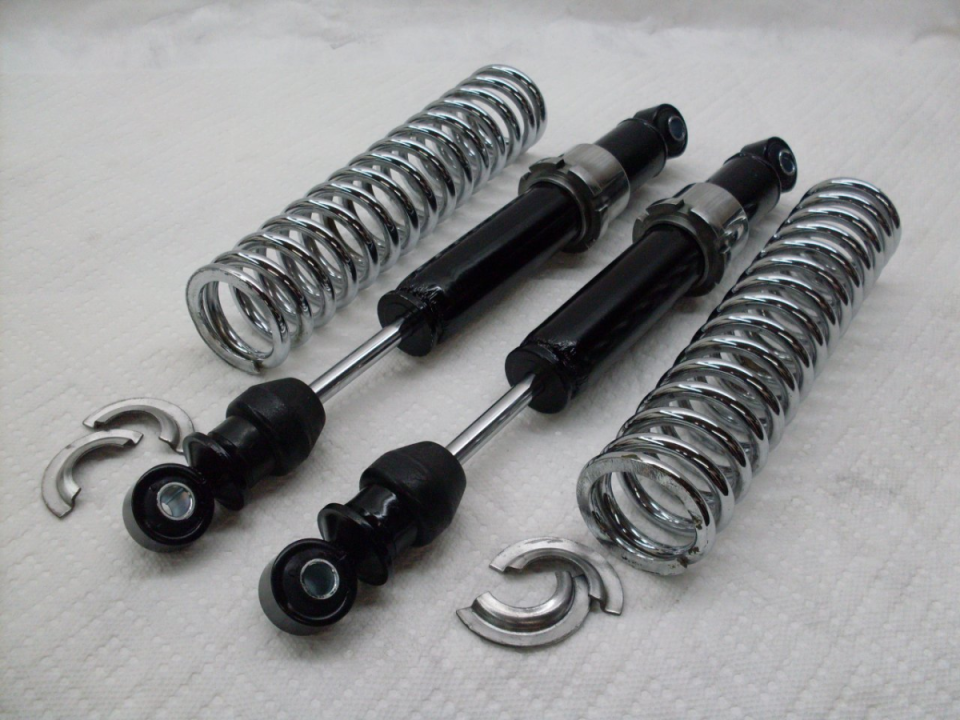

 Follow
1.8K
Follow
1.8K