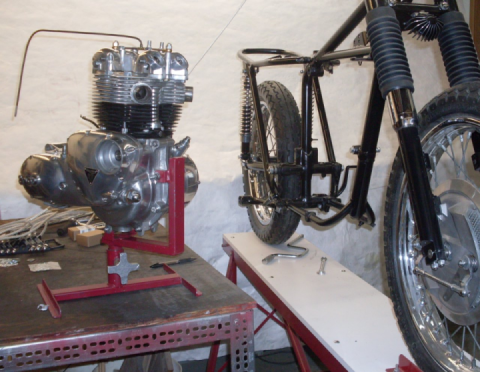
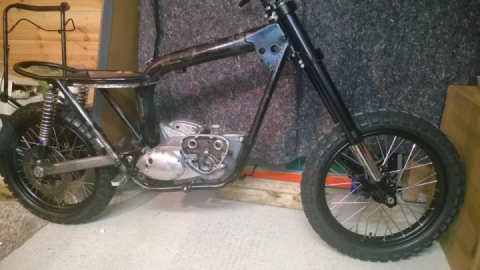
More Engine Assembly
I've been dabbling on the Daytona for the last few weeks. I still work full time, and have had to travel quite a bit recently, so quality shop time is limited.
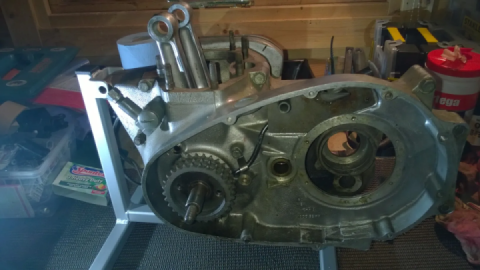
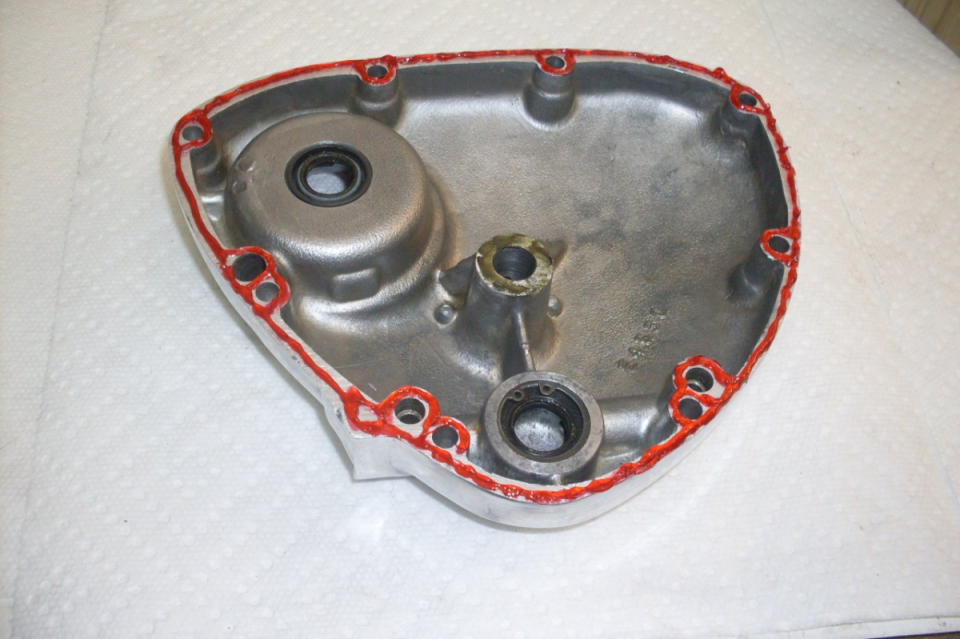
I got the timing cover cleaned up and got new seals in it. I mounted it on the engine with Locktite 518: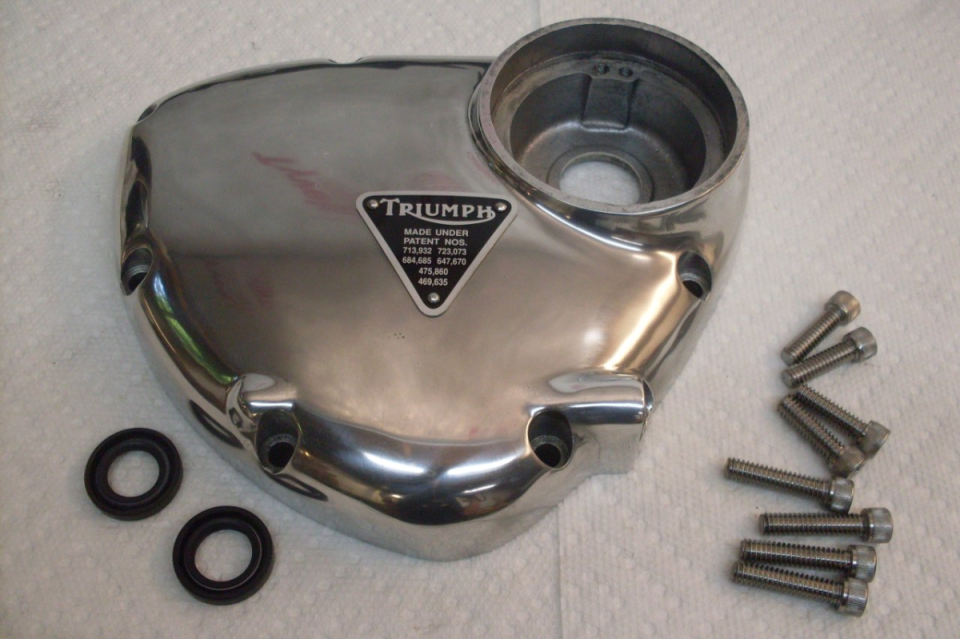
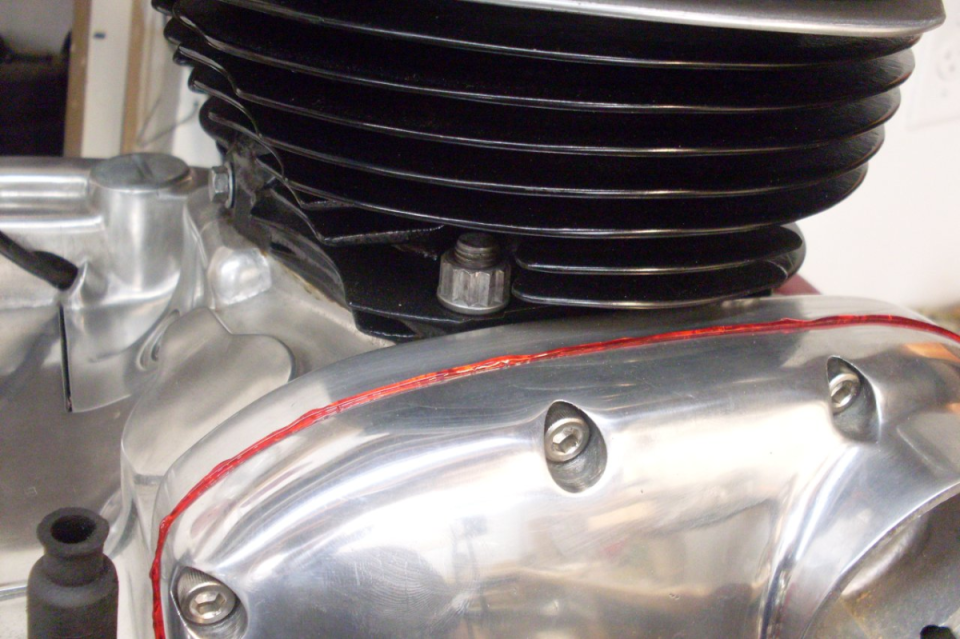
The head was also ready to mount. I zinc plated the head bolts and washers for appearance and for corrosion resistance. 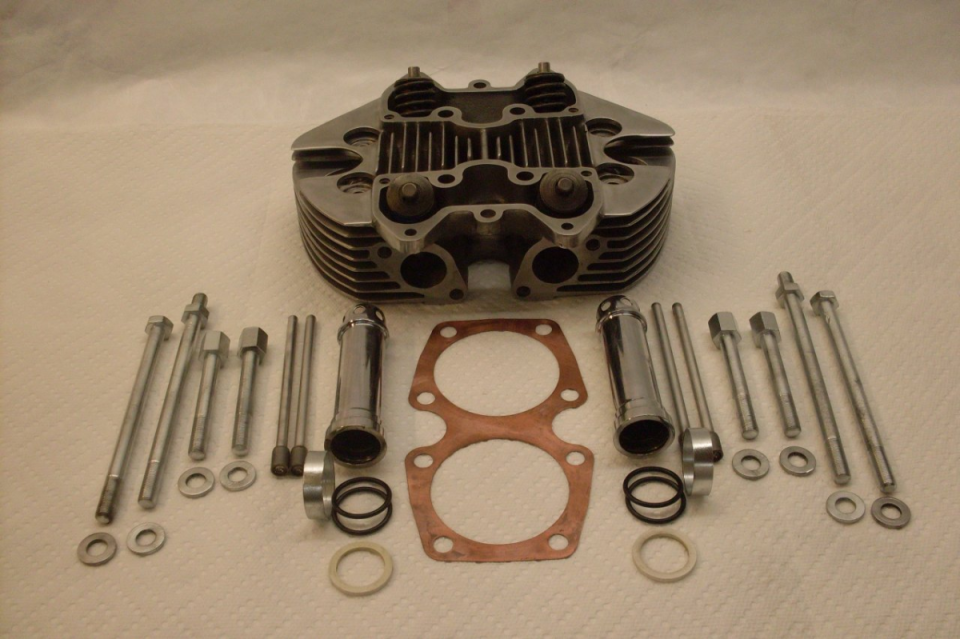
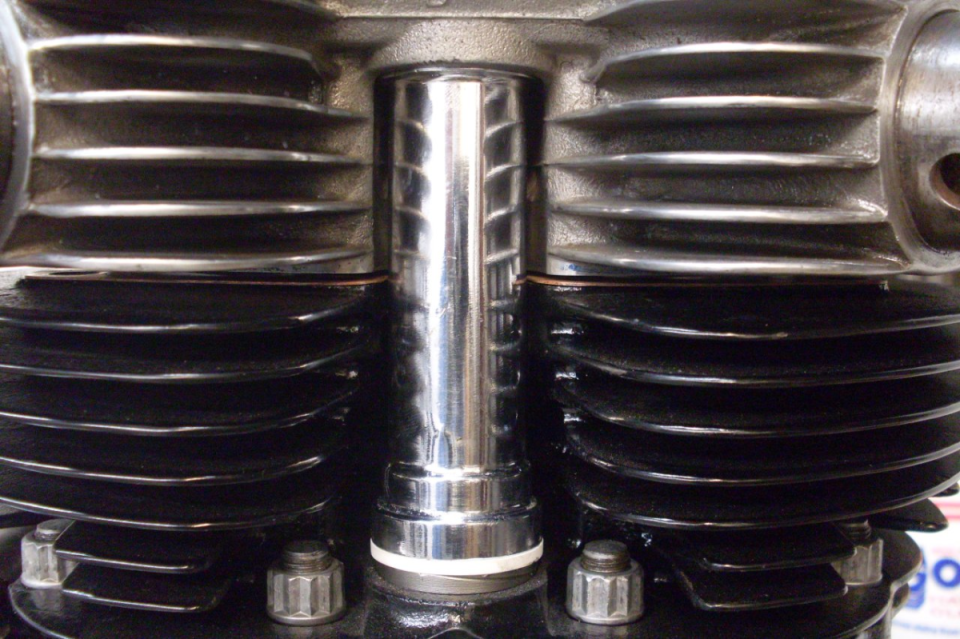
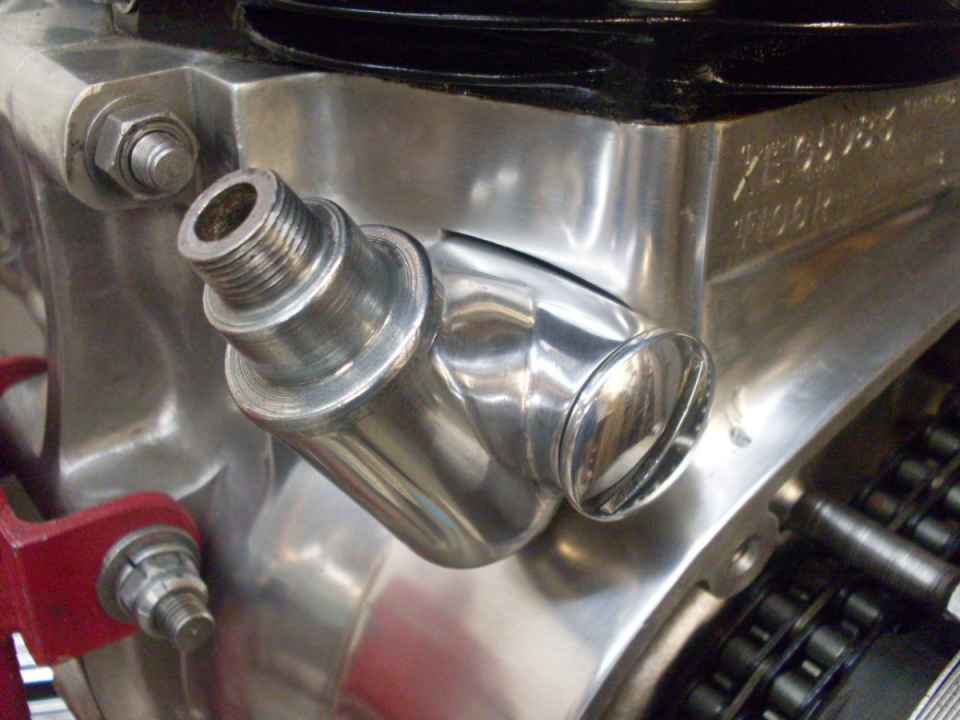
Another area for potential oil leaks on these bikes is the pushrod tube lower seals. The seals compress as the head is torqued down. Too little compression, and the seals will leak. Too much, the seals may be damaged (or the head may warp according to some). The amout of seal compression is called the "crush". The crush is measured by allowing the head to rest on the pushrod tubes and seals by gravity alone. Then measure the distance between the bottom face of the head and the top surface of the head gasket. There is a factory service bulletin on this that says the crush should be 0.030-0.040 inch. There are two thicknesses of the bottom silicone rubber washer seal available to adjust this. Even with the thinner silicone seal, my crush was about 0.060. After voicing my concerns on a couple of boards, I was assured by some pretty knowledgeable people that 0.060 is fine, and maybe preferrable to the factory range for stopping leaks.
The picture on the left is with the thicker washer. Note the gap between head and cylinders.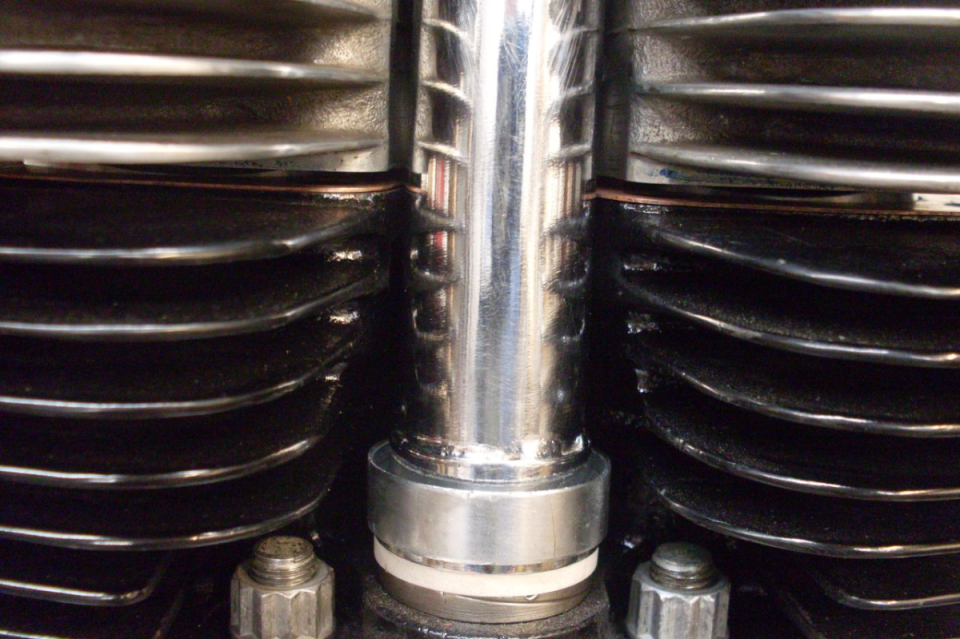
Before installing the head, be sure to properly anneal all copper gaskets and washers, even if they are new. Annealing changes copper to a very soft state so it can conform to surfaces and seal better. Copper "work hardens" with distortion. Annealing is done by heating the part to red heat for a few seconds and then letting it cool. Some teach that you have to quench in water or oil, but this isn't necessary, and it also can leave a loose oxide scale that has to be removed.
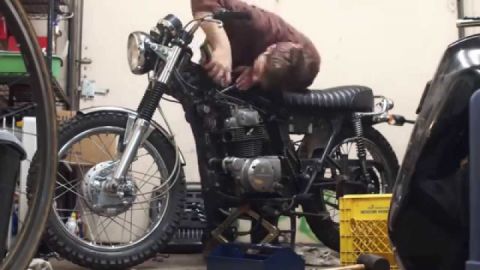
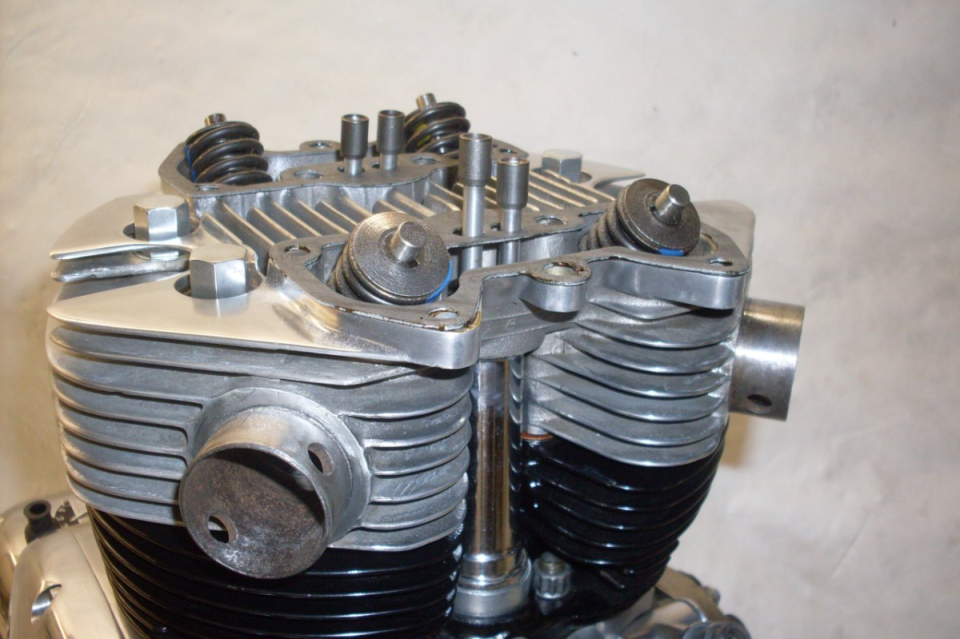
First picture: Head in place, headbolts finger tight to hold it steady. Second picture: Rocker box gaskets in place and pushrods located. Locating the pushrods can be a little tricky. You have to seat the lower ends in the tappet sockets by feel. A little grease helps to tell when they are seated. If the rods go up and down predictably when the engine is rotated, they are probably right. Picture 3: Exhaust rocker box in place. It can also be tricky to make sure the rocker ball pins are really engaged with the pushrods. My gaskets had holes to hold the rods in approximate alighnemt. I'm not sure if this is always the case.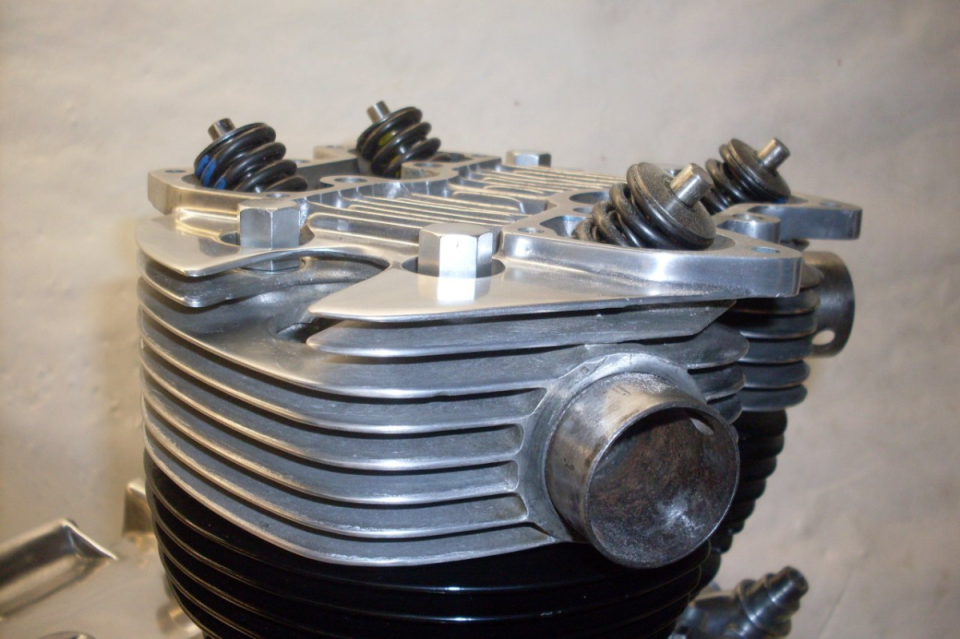

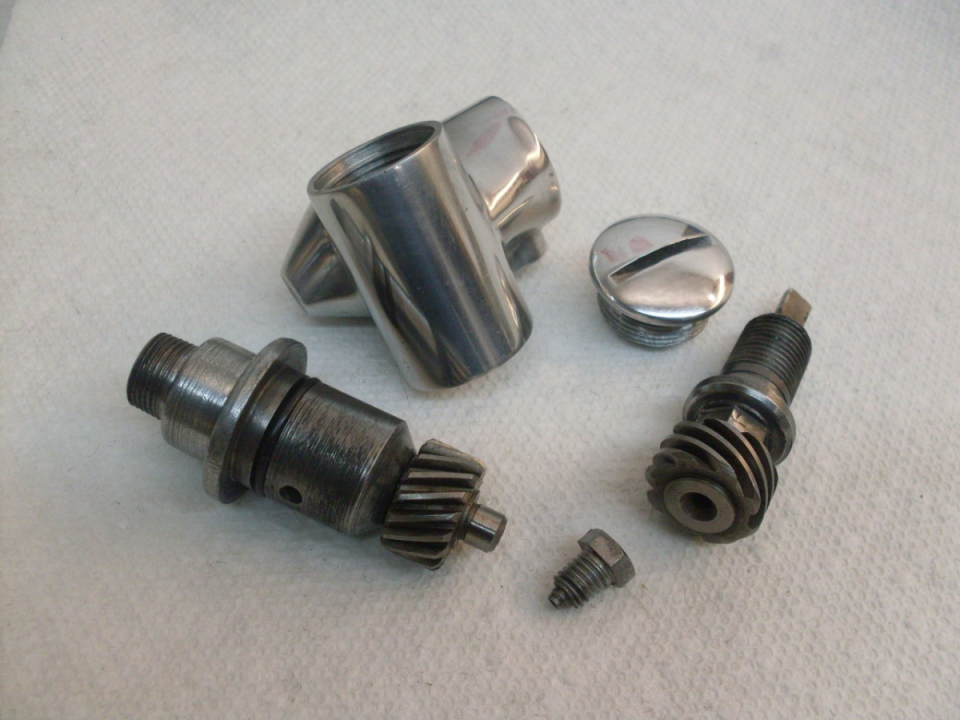
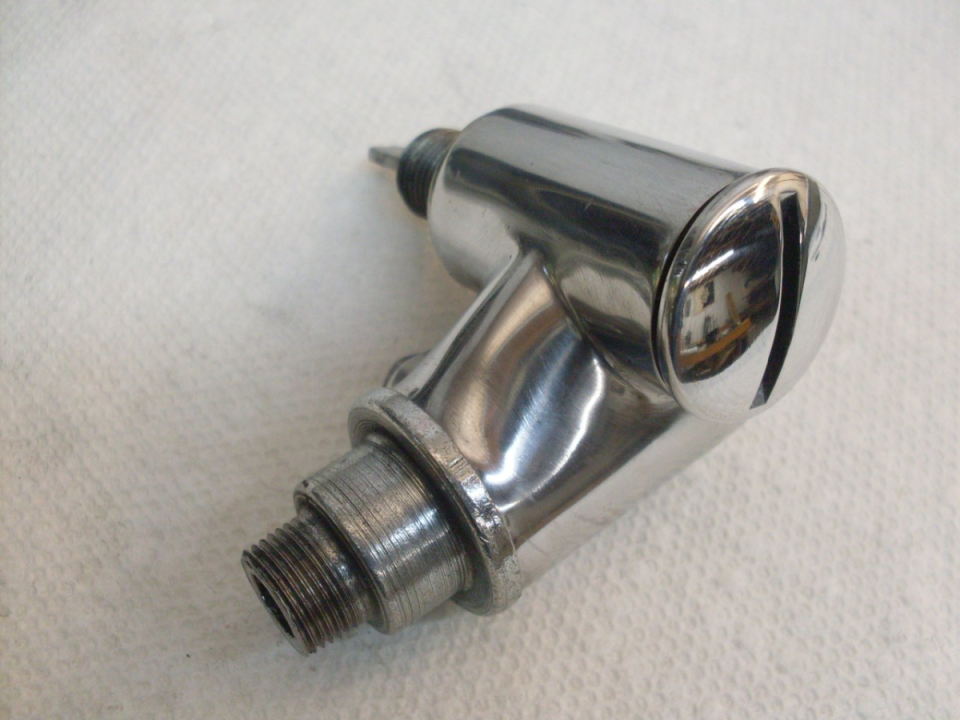
After the head was on, I took some time to do the tachometer gear box. The bronze bushes are apparently not available separately today, but they were in pretty good shape, so I didn't obsess about it too much. I replaced all of the seals, though.
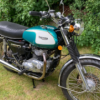
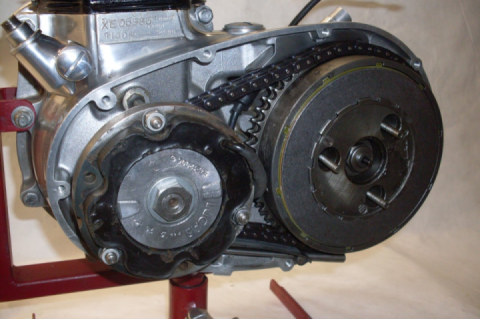
Just a clutch and the primary cover, and this dude is about ready to go home.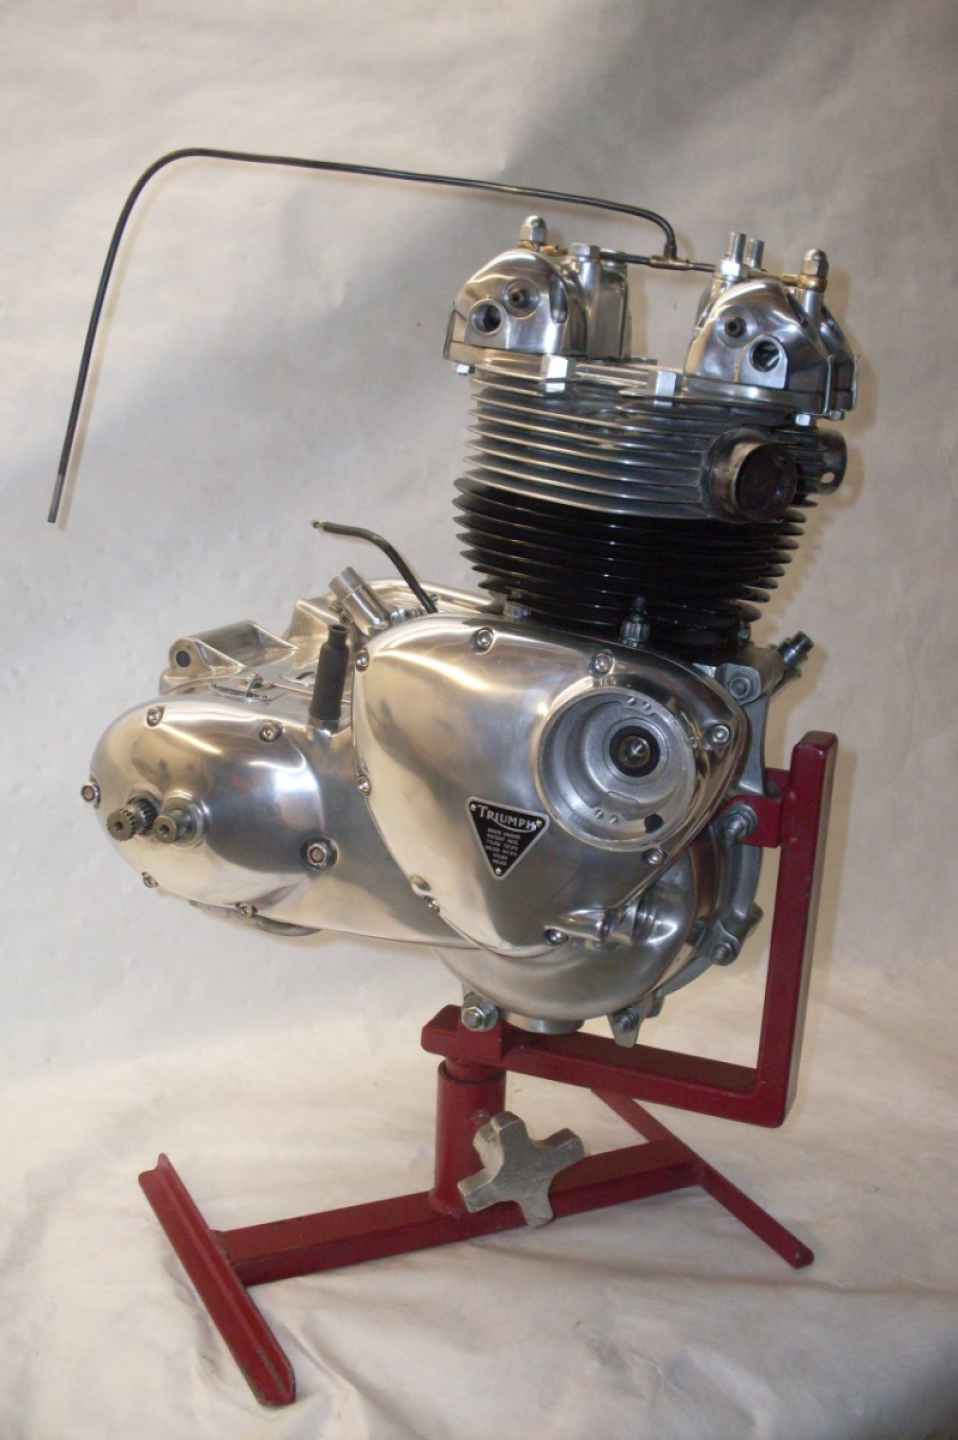

 Follow
1.3K
Follow
1.3K