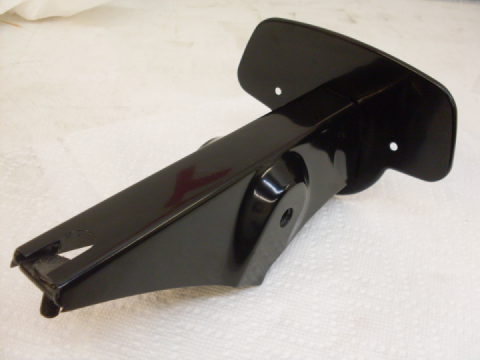
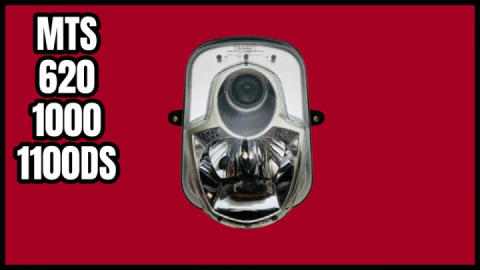
Headlight Shell Assembly
Worked on the headlight bucket and internal wiring this week.
Beyond the fact that I had a cracked headlight lens from some past embarassment, the chrome on the headlight bucket and rim looked pretty ratty, and I initially assumed I'd be replacing the whole thing.
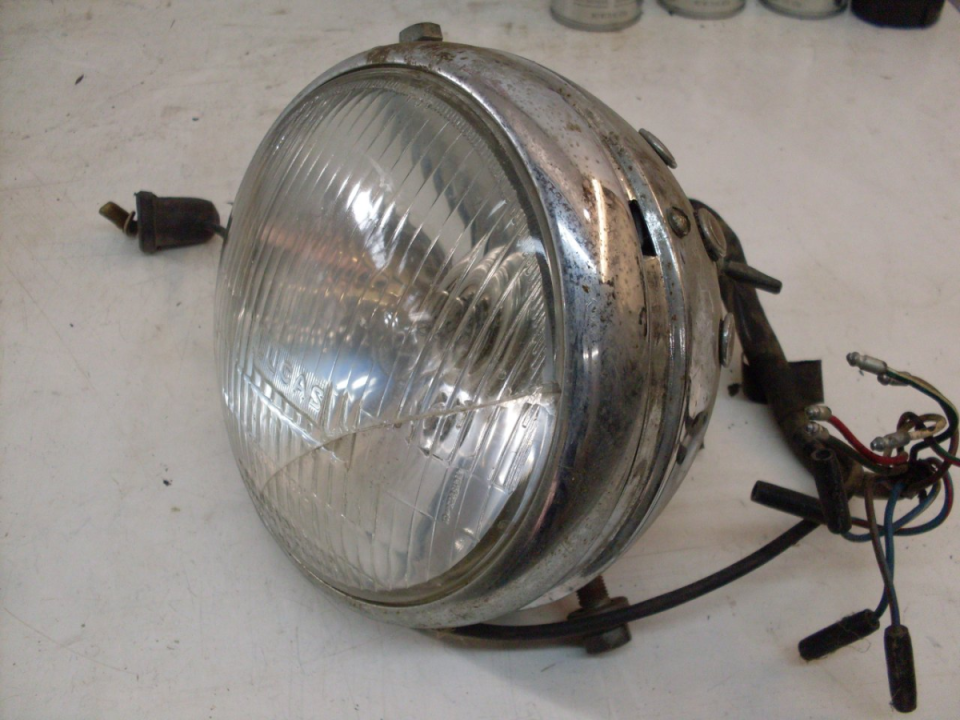

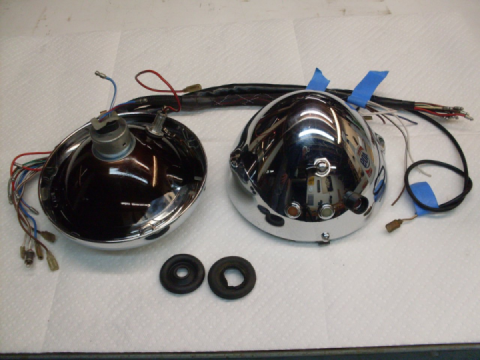
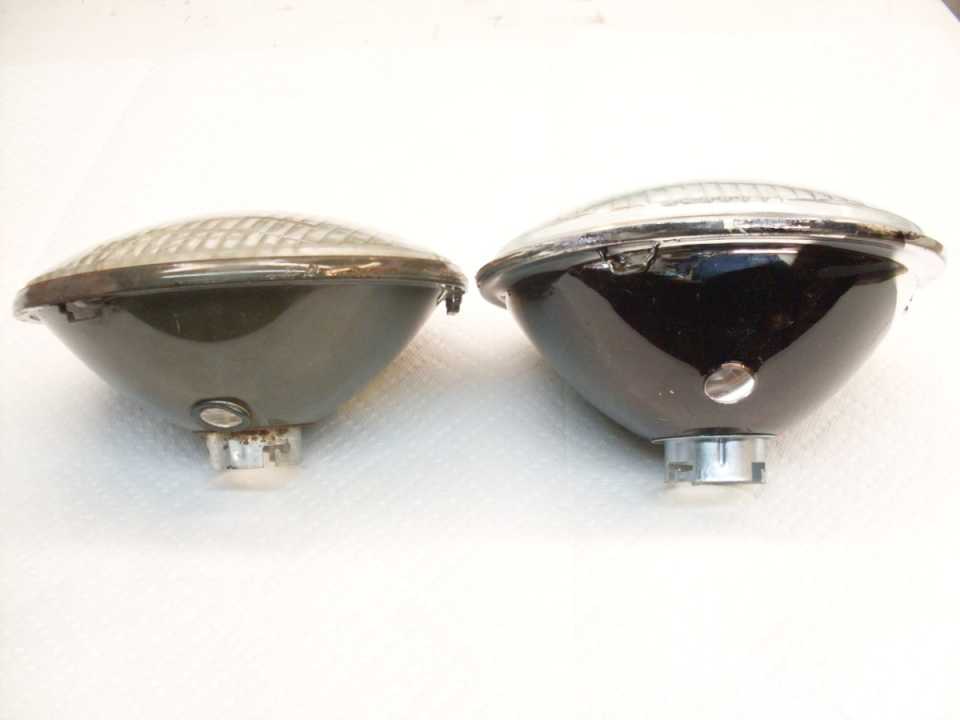
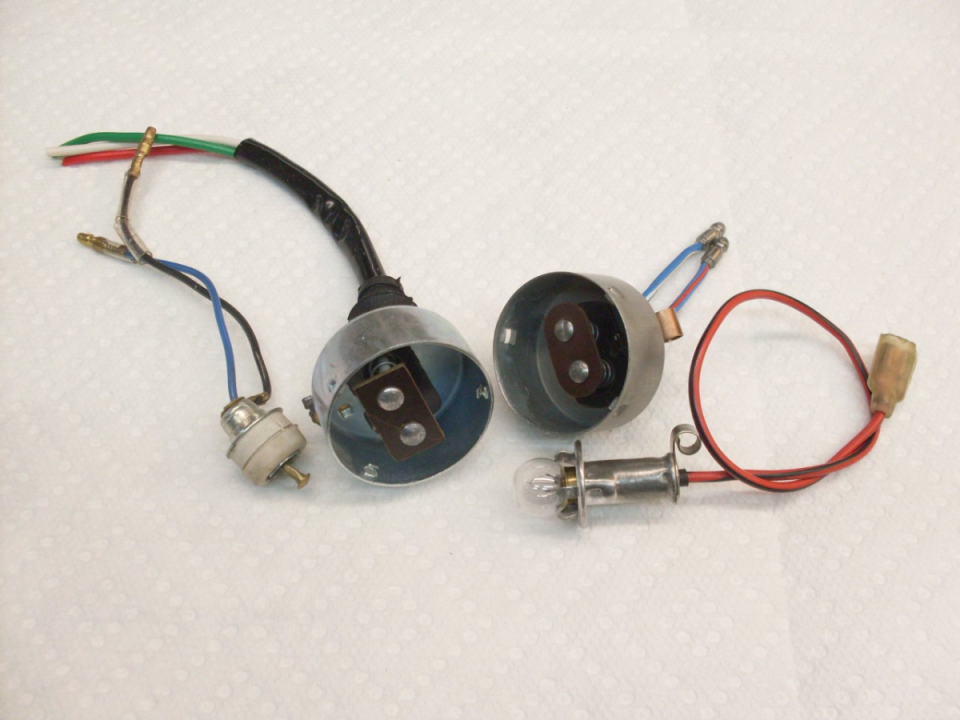
There was no getting around the headlight reflector/lens. The replacement is a Lucas brand, but I believe they are made in India or Eastern Europe now. I was a little disappointed with the apparent quality of the replacement. The main and pilot sockets that came with the reflector looked to be of much lower quality, so I re-used the original ones. The bayonet slots on the new reflector had to be filed to acept the main lamp socket (even the socket that came with it didn't fit).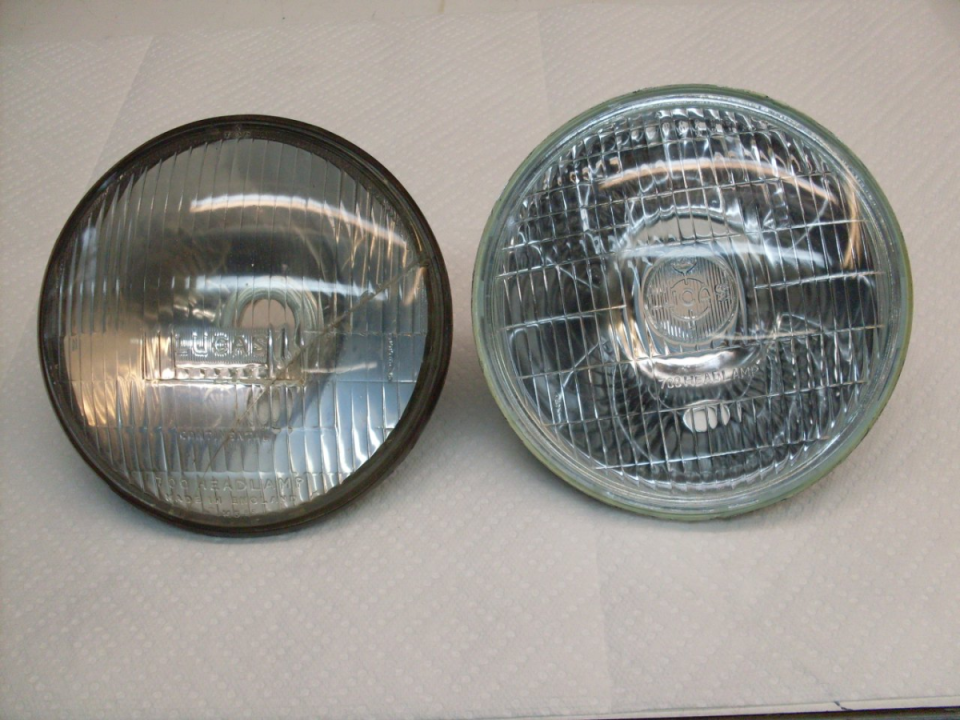
After looking closer at the shell and rim, I found that most of the bad looks were due to surface crud. It was a close call, but preferring a pretty darn good original to a perfect reproduction, I opted to re-use the bucket and rim.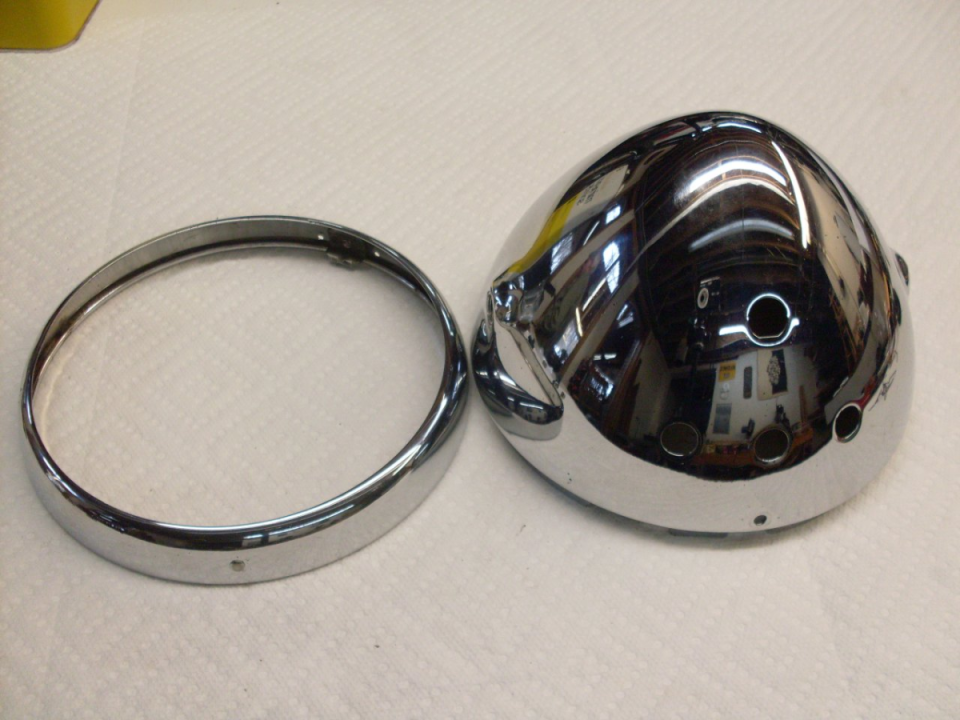
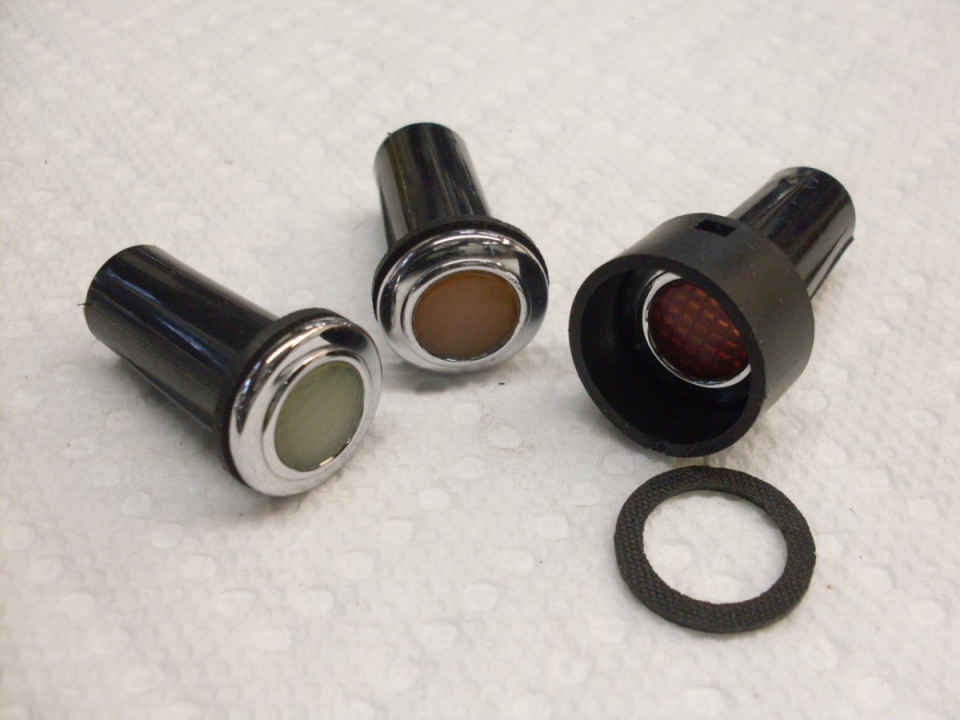
I was able to save all of the indicator lights, replacing the long gone rubber sealing washers and shield. The lenses were hazy due to surface degradation . Much of this cleaned up with some polishing and an acrylic coating.
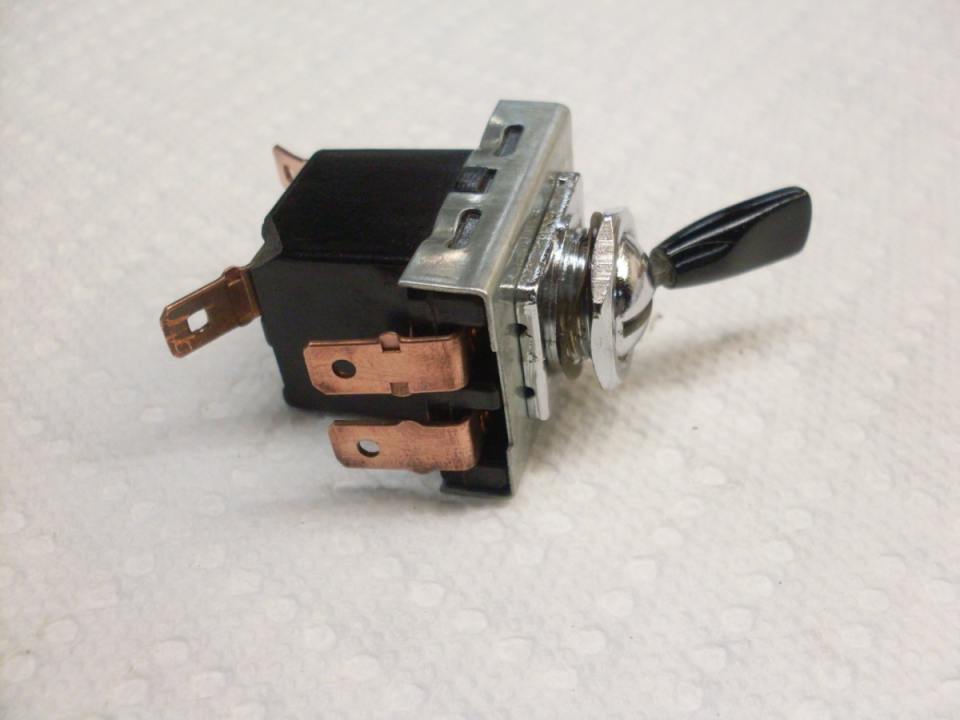
The light switch looked OK and worked mechanically, but on checking with an ohmmeter, it wasn't being a good switch electrically. When I saw the price of a new switch, I was motivated to try a little harder on the old one. It doesn't take much crud to degrade the tiny contact areas on switches. I was prepared to take the switch apart if I had to to save it. This switch isn't sealed, so I was fortunately able to get some contact cleaner inside it and that did the trick.
Plastics like the handle develop a surface layer degraded by weather and UV light. The layer can be carefully abraded away, and the part polished. For what I saved, it was worth the effort.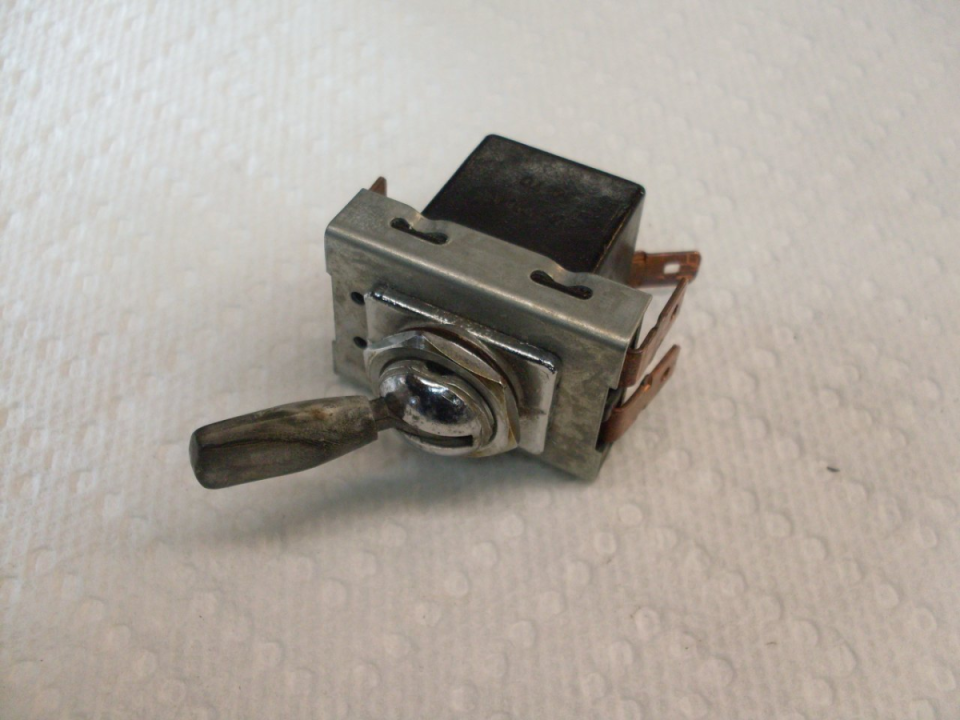
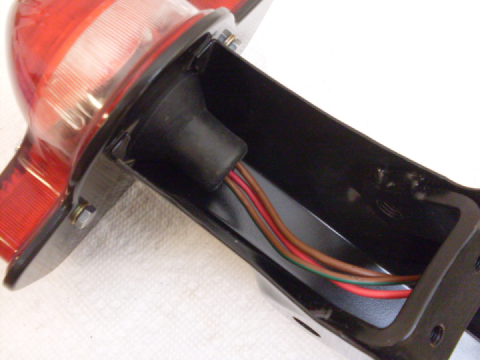
A rats nest of wire can look scary, but the wiring on this and similar bikes is really pretty simple. Some people, especially if they have a reudimentary knowledge of electricity, get confused by the positive ground. Triumph used some predictable wiring conventions on bikes in this era. Unlike some earlier bikes, Triumph by 1971 was using "return wires" for most devices. This means that instead of relying on the frame of the bike for the electrical return path to the battery, they provided a more reliable wire to do it. Since the positive side of the battery is "ground", and red is the conventional color for positive battery, all of the return wires are red. There are only a few devices that still didn't have an explicit return wire: turn signals, points, oil pressure switch, and spark plugs. Triumph had conventions for other wire coloring, too.
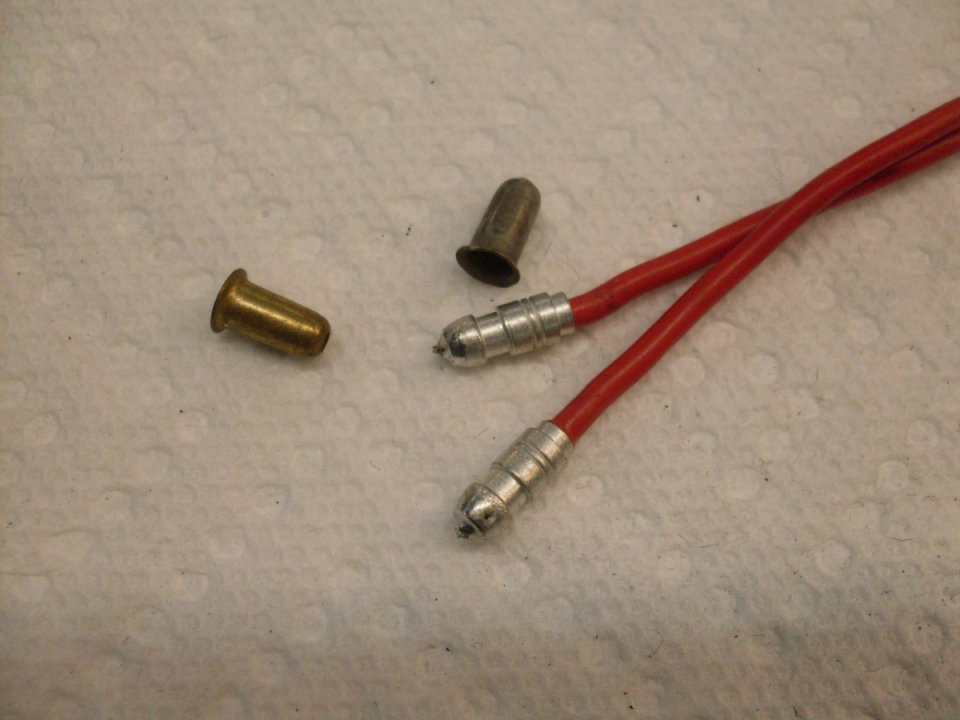
The ubiquitous bullet wire terminations are pretty reliable. Here are a couple of pigtails in the bucket with quasi-bullet connectors. I thought a true bullet wold be a good idea. These bullets can be crimped or soldered. I soldered them.
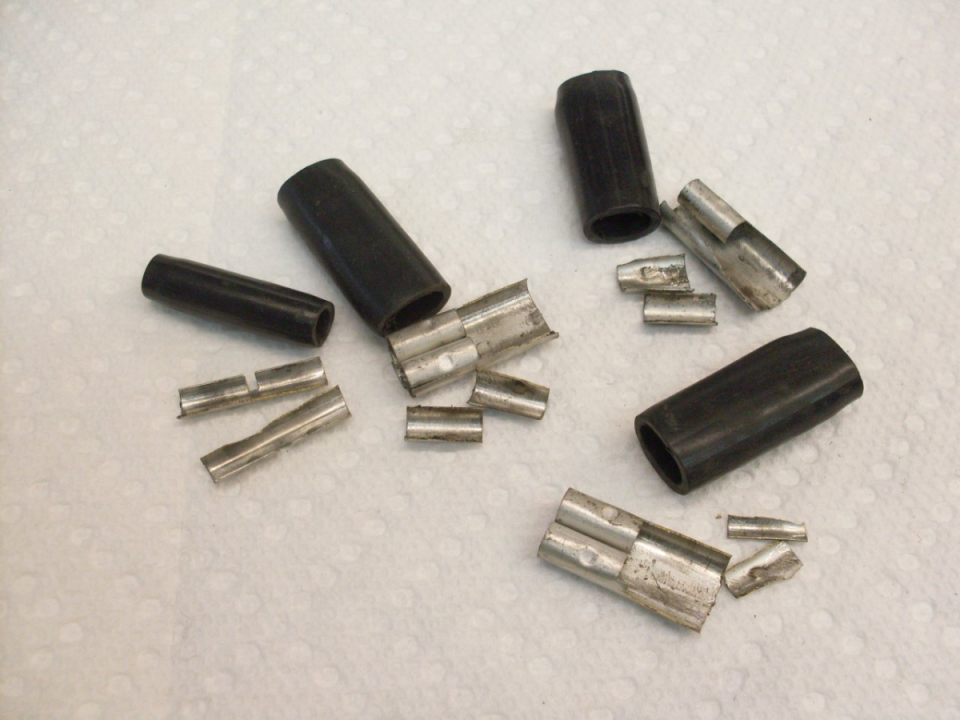
The actual bullet connectors are less reliable. I found quite a few of them broken inside. They might still make contact in this condition, but there won't be much contact force, so the connections would be more susceptable to degradation from corrosion, or even to coming apart..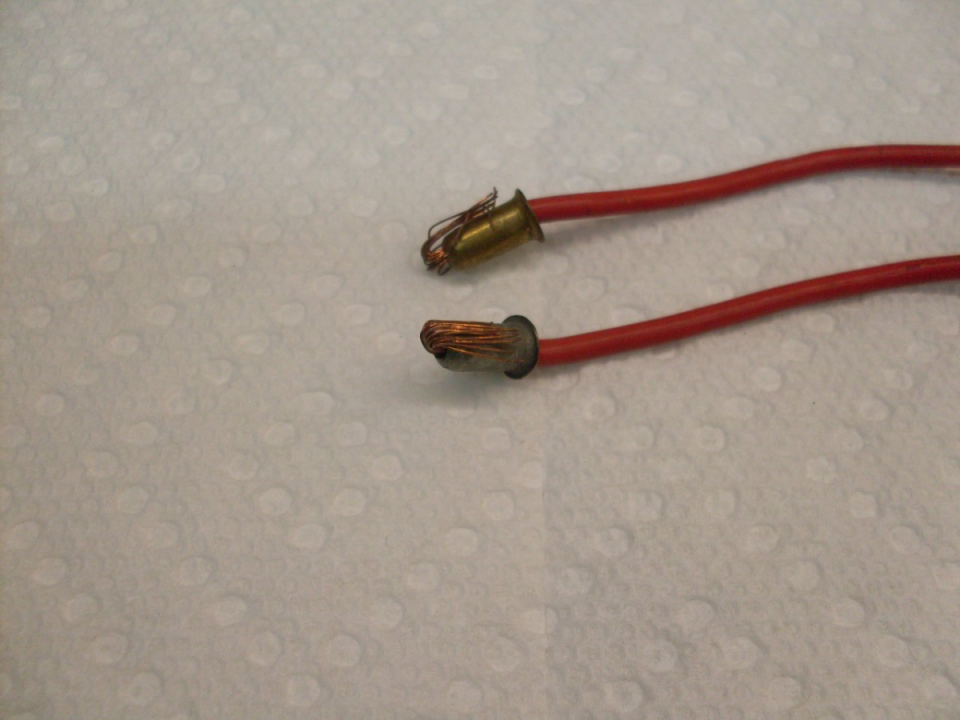

 Follow
1.4K
Follow
1.4K