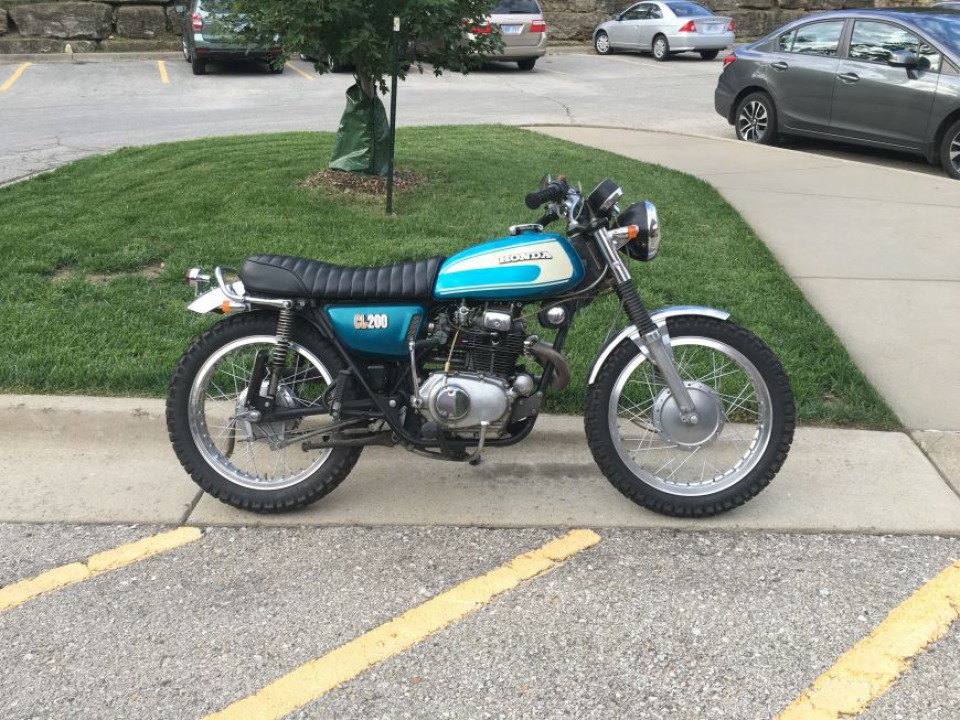
Motorcycle Wheel Restoration
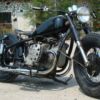
The old rims on my 1974 Honda CL200 had seen better days. They were dented, out of true, scratched, a little rusty, and no longer safe. I tried pounding out the dents with a mallet and then with a block of wood and sledge hammer, but it didn't work. They were pretty bad, bad enough to feel the bumps in the rim when riding, and the faster I went the more obvious it was. In the picture below, you can clearly make out a big dent at about the 5 o'clock position. The rear wheel was even worse.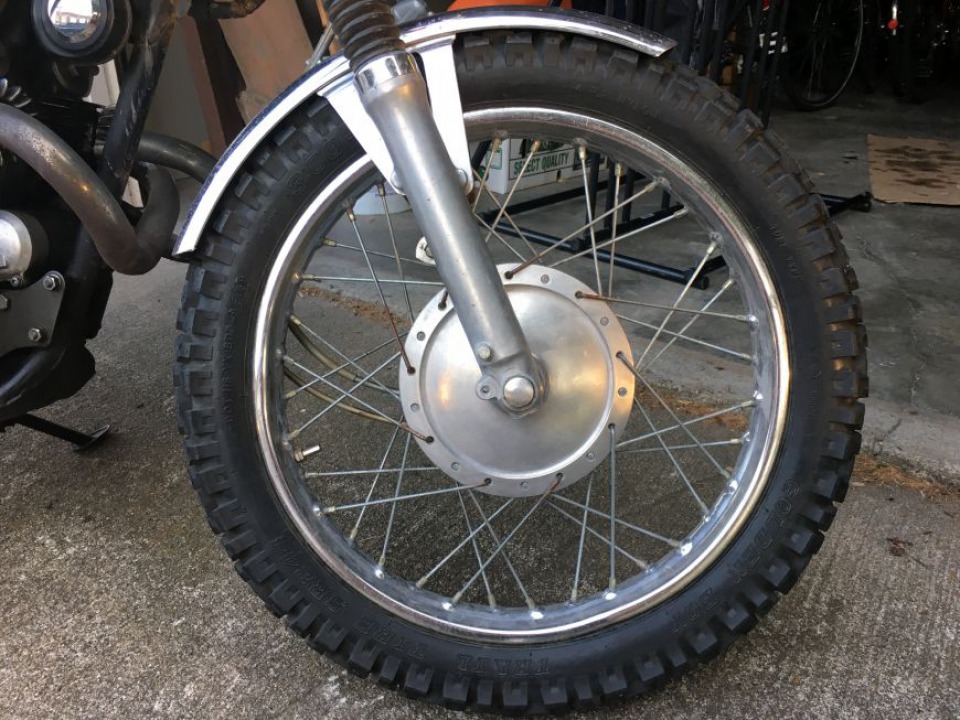
I ordered replacement rims - shouldered aluminum ones - from http://www.mikesxs.net/. It's a quality product at a good price. They have many rims to choose from with different diameters, widths, colors and number of spoke holes - and they'll work for just about any universal Japanese motorcycle.
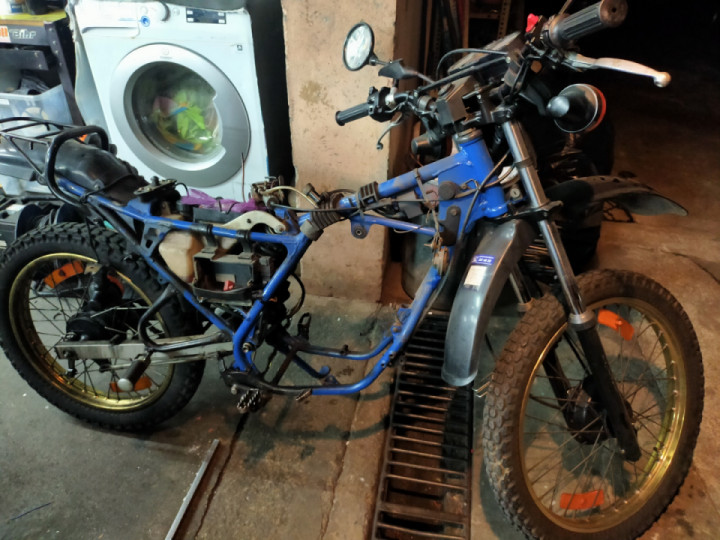
The first thing I needed to do was disassemble the old wheels of course.
I decided to reuse the old spokes. I was having a hard time find replacement spokes in exactly the right size. I could find ones for the rear wheel (same as CB200) but not the font. The bike is not very common, I should have been able to find replacement spokes for a more common model like a CB350.
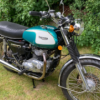
Before: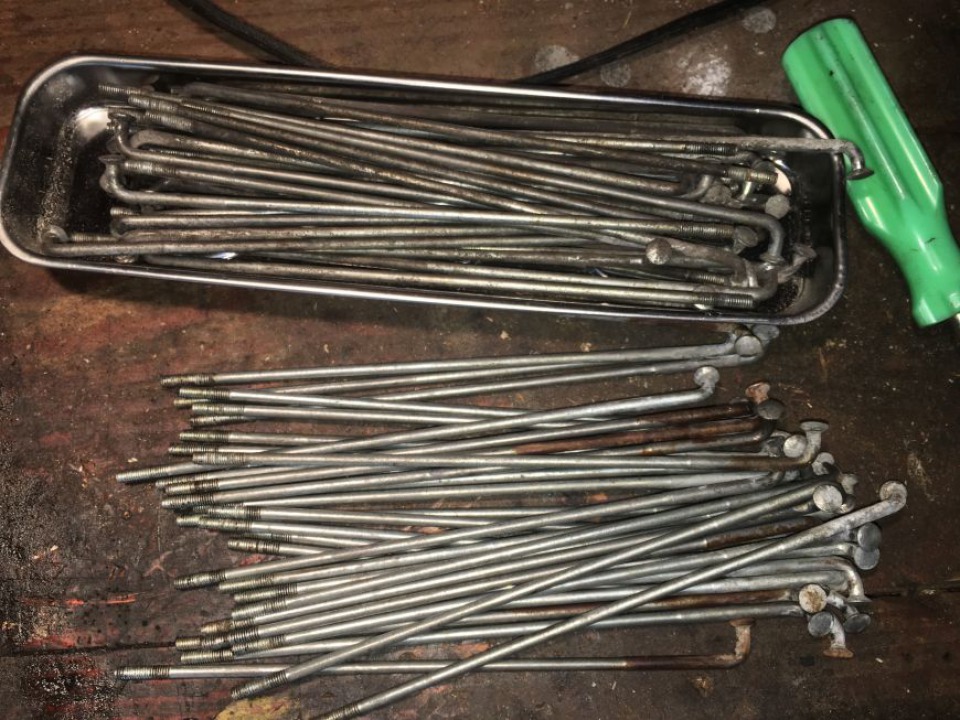
After: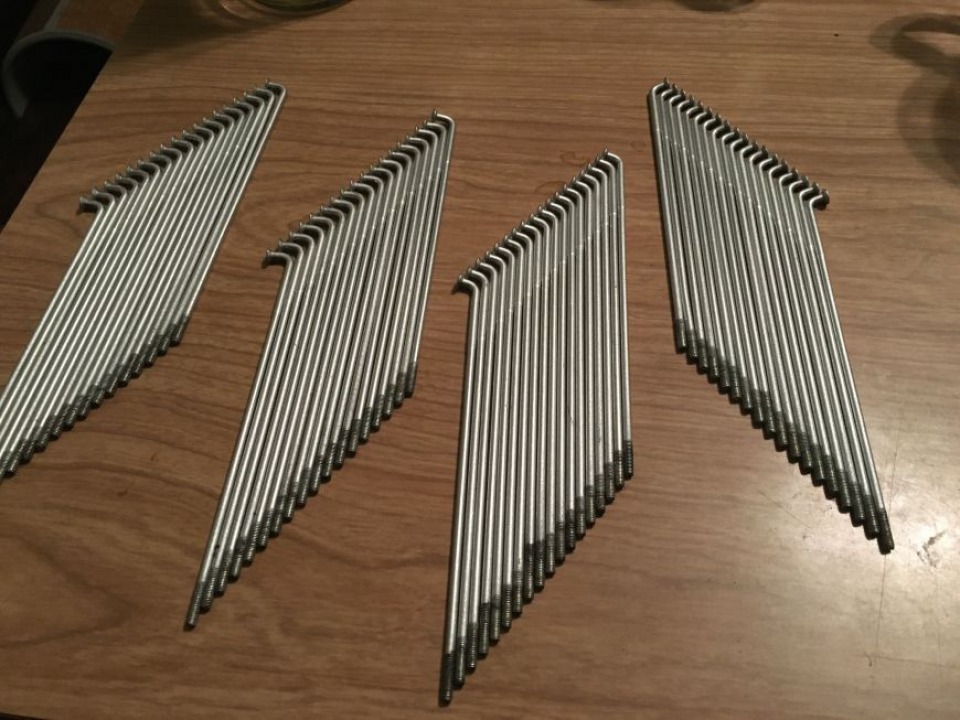
Now the fun part. Putting the wheels back together with the new rims. I had never before laced rims - motorcycle or bicycle. And, I don't know why but.. I didn't look up any directions. I just decided to try and figure it out on my own. Here's what I discovered:
What I found was that I needed to place all the "inner" spokes into the hub first. The first time I attempted to lace the wheels, I didn't do this, and when I got to the last set of 9 spokes, it was simply impossible to lace them in there because the other spokes where in the way.
Then I carefully placed the rim over the hub and started lacing the spokes to their appropriate hole in the rim, which wasn't hard to figure out as there could only be one logical choice because of the angles along the forward and back axes and the in and out axes. (i.e. the correct hole for the spoke was the one "pointing" at it.)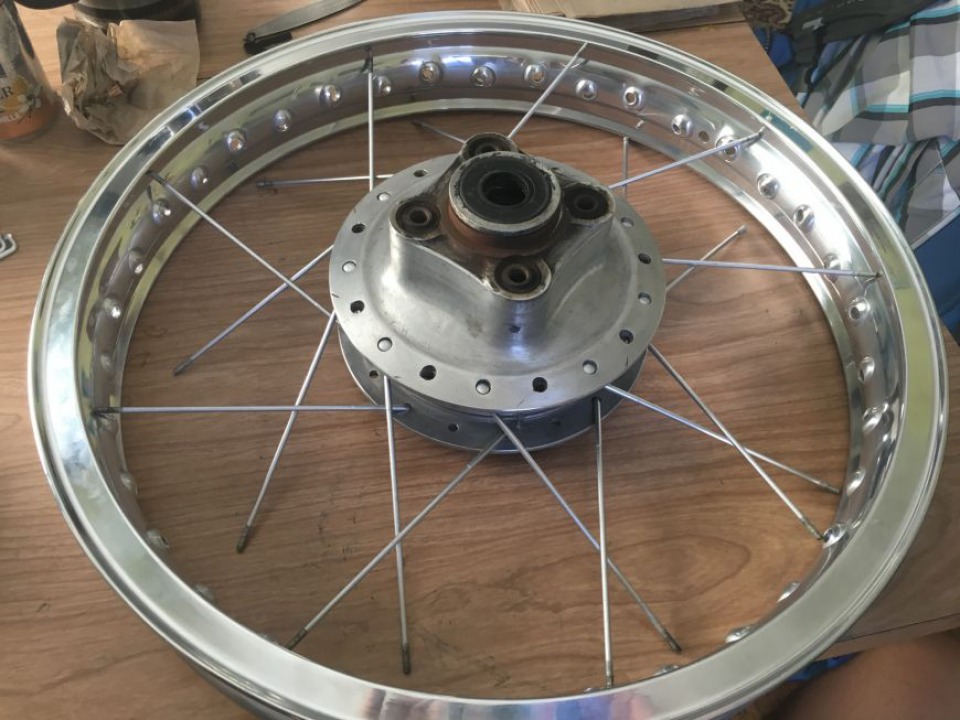
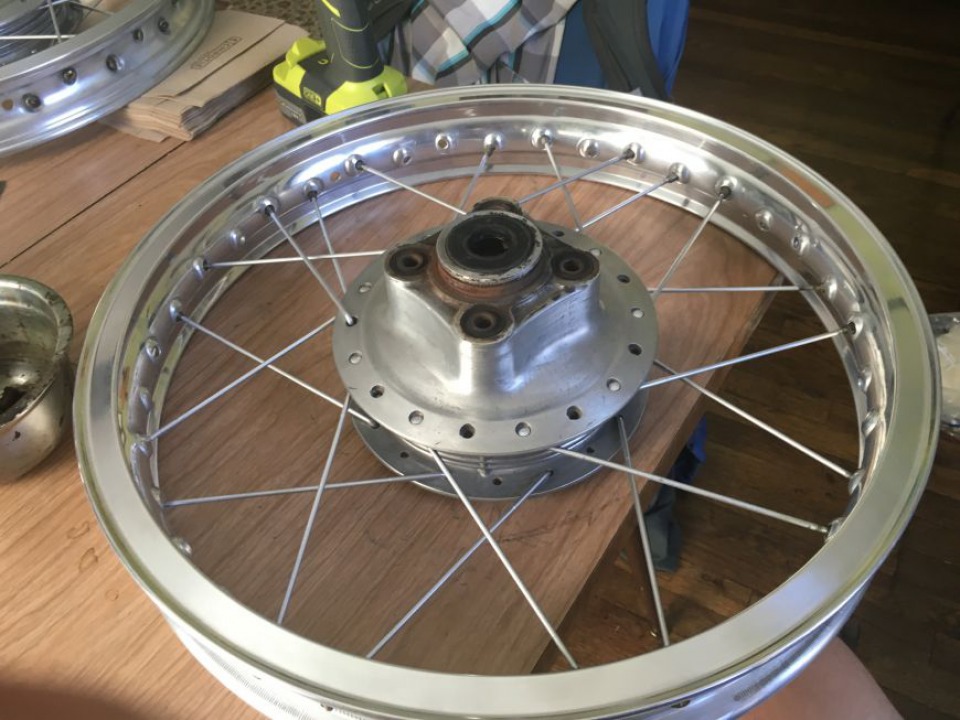
Then the "outer" spokes could easily be laced in.
Before I began the task of truing and dishing the rims, I turned the spoke nipples the same(ish) number of turns for each spoke until they all began getting snug. I figured this would give me a good start.
I cobbled together a truing stand out of old scrap wood. I'm pretty sure it's the ugliest thing I've ever built.
My friend Johnny, who has build many motorcycle and bicycle wheels, was kind enough to teach me how to true the rims.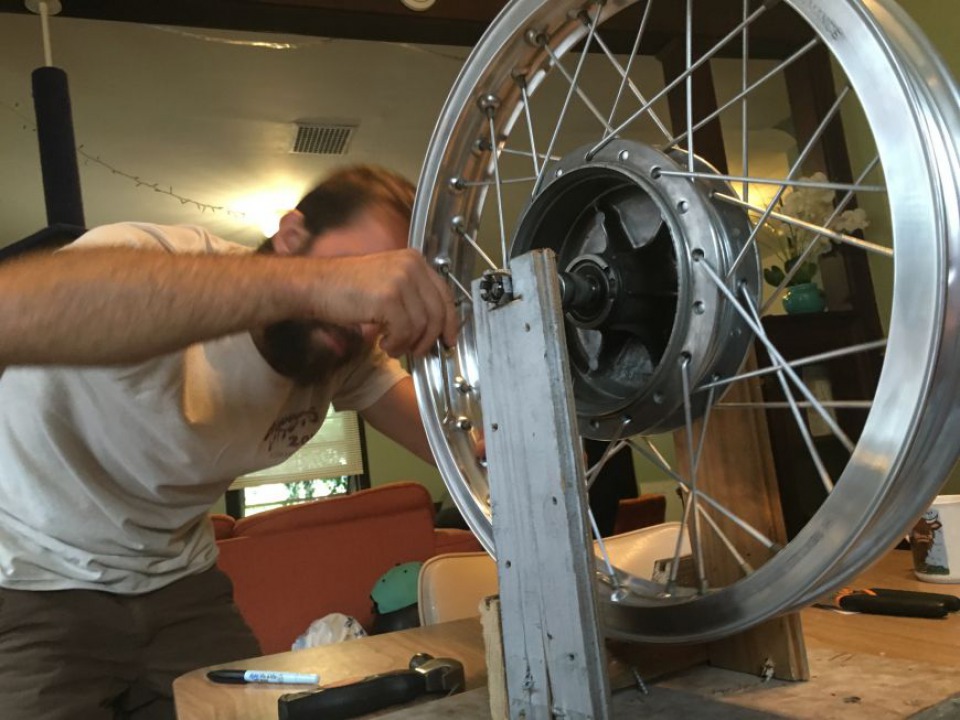
He hammered a little nail into the homemade, DIY wooden truing stand to use as a guide. This way we could see where the wobble in the rim was and to pin point which spokes needed to be tightened.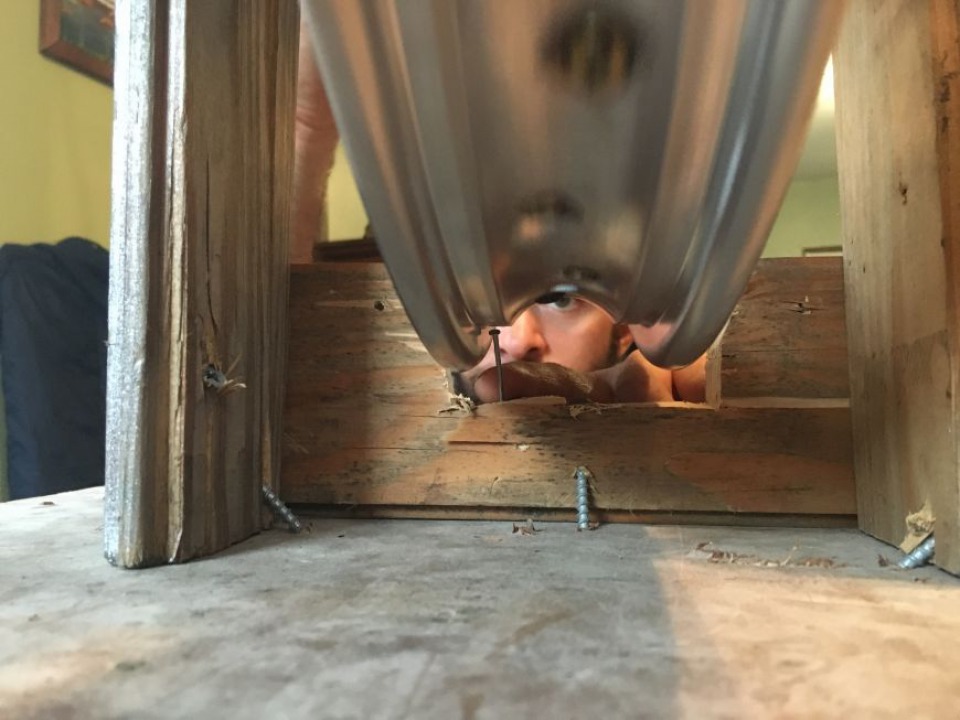
After they were trued, they needed to be dished. Dishing the rims is the process of moving the rim along the same axis as the axle to get the rim perfectly in the center of the bike.
Per Johnny's instructions and with all the spacers and drum brakes on the axle, I used a straight edge and a ruler to get a crude measurement from the outer edge of the rim to the outer edge of the brake/spacer (where it would touch the forks or swingarm dropouts).
Here's a crude representation of what I'm trying to describe: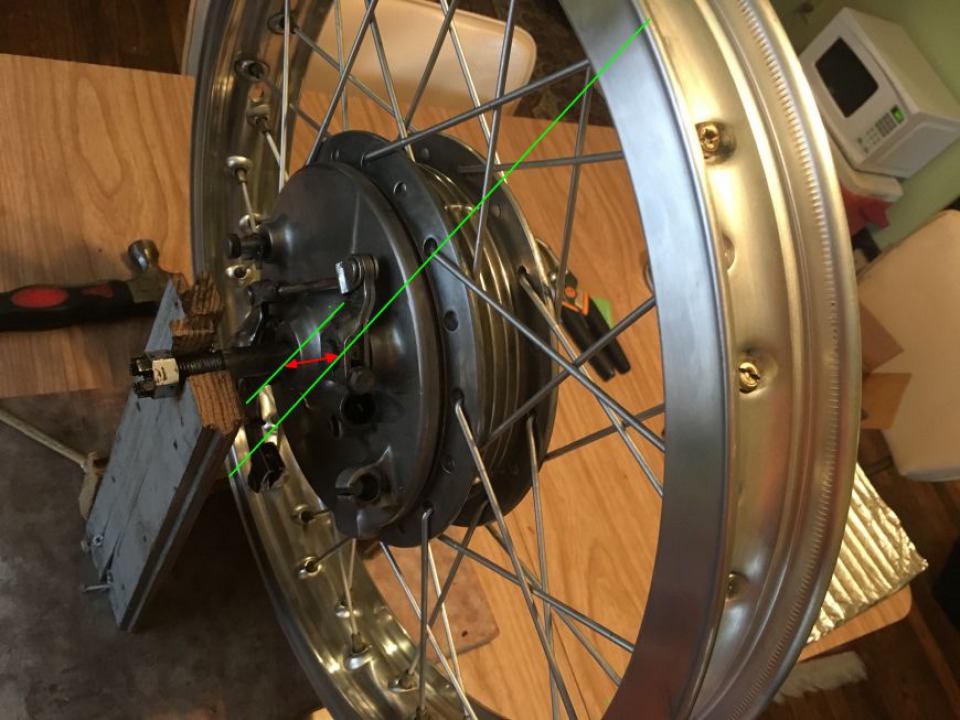
If the measurements on both sides are not exactly the same, then the rim needs to be dished to one side. This is accomplished by tightening up all the spokes on the side where the rims needs to be shifted towards, or, if the spokes are already too tight, loosening up all the spokes on the other side. For me, the front rim was already perfectly aligned but the rear rim needed to be dished about 4mm to one side.
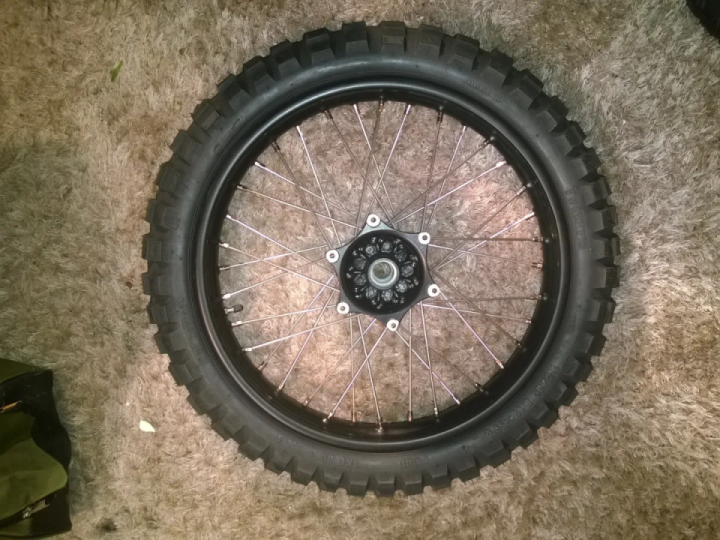
Now I could finally put the tires on the rims and put the wheel on the bike!
I haven't mentioned this yet, but the new rims are a size one step up for each front and back. 1.60" became 1.85" for the front, 1.85" became 2.15" for the rear. Both are 18" in diameter. I did this because I was already using tires that are a size one step up (3.00" front and 3.50" rear) and they would better fit these new rim sizes. I'm not going to get into the whole discussion about tire geometry, but it will not only hold the tire better but the whole motorcycle will handle much better because of the radius of the tire.
However, I didn't expect the clearance issues I found...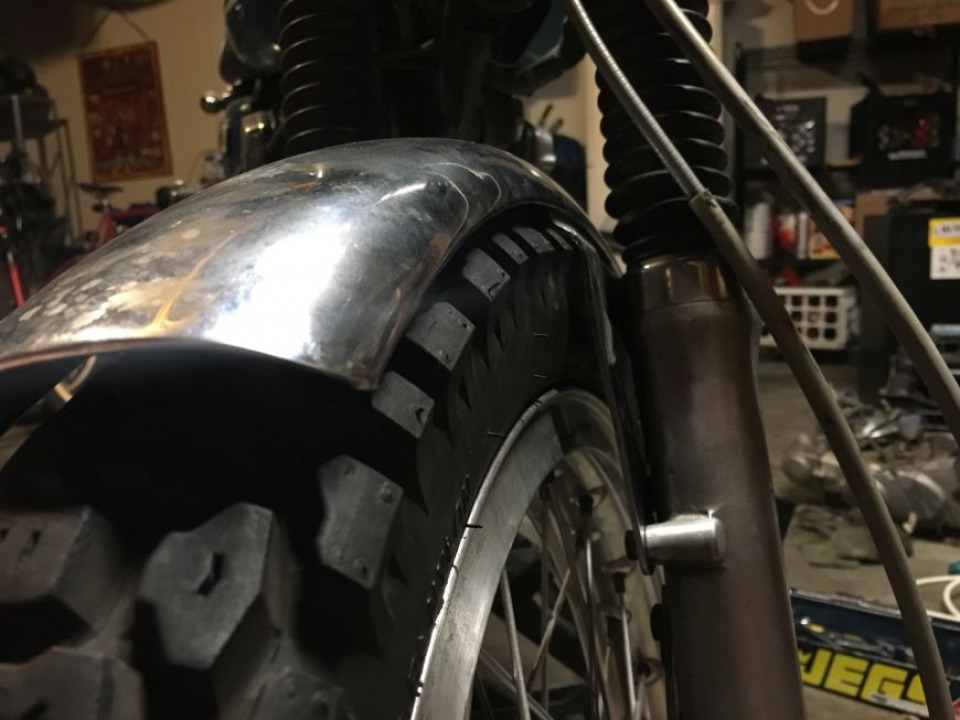
Thankfully I was able to raise the front fender just enough by hogging out the holes where it bolts to the forks. I used a dremel with an expensive metal cutting bit.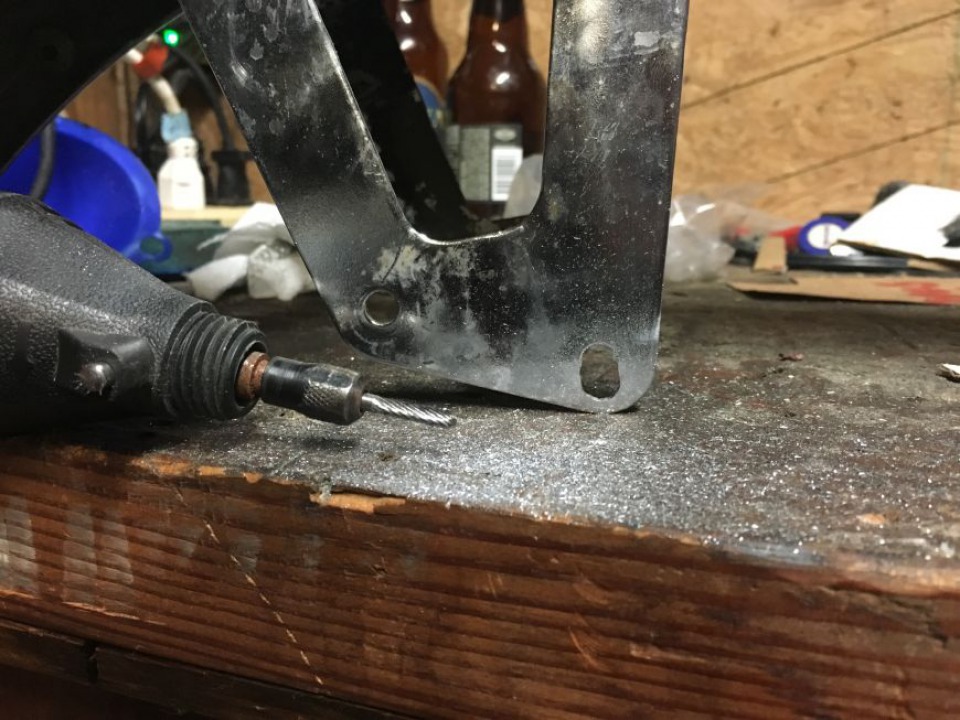
ALL DONE!!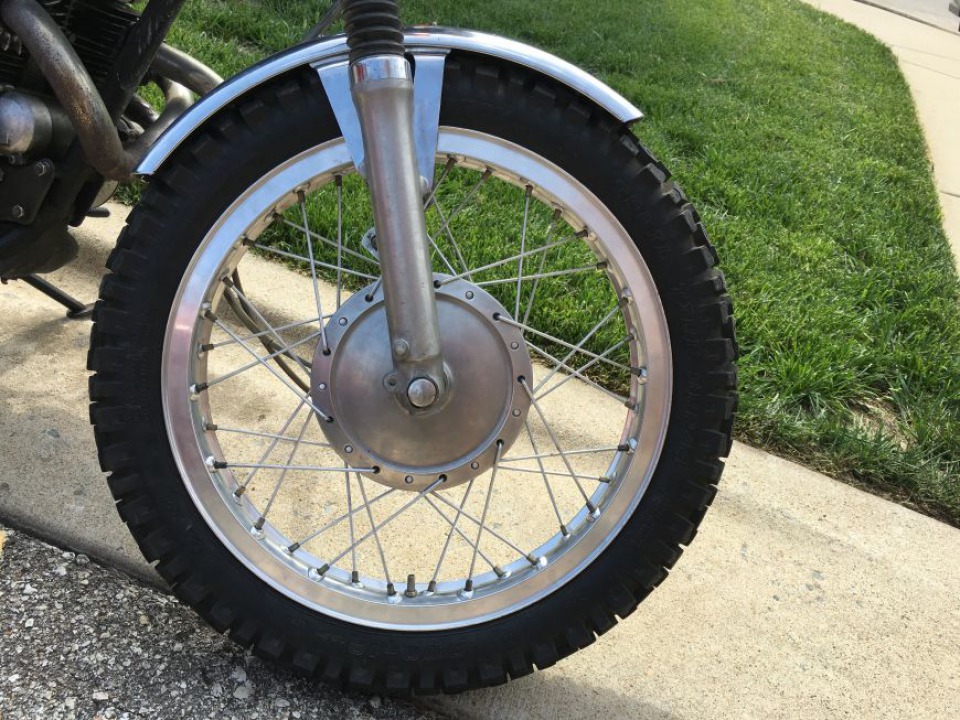

 Follow
4.1K
Follow
4.1K