Husqvarna SM610 - Part 2 - Wheels (painting, reworking in tubeless)
In this post I will continue the story about the rebuilding of the Husqvarna SM610 06 'motard, bought in the fall of 2013.
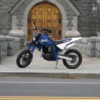
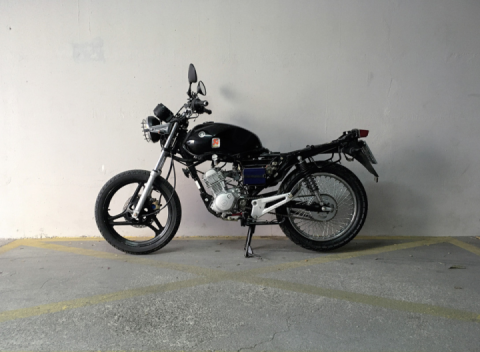
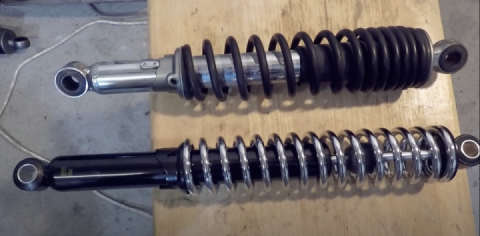
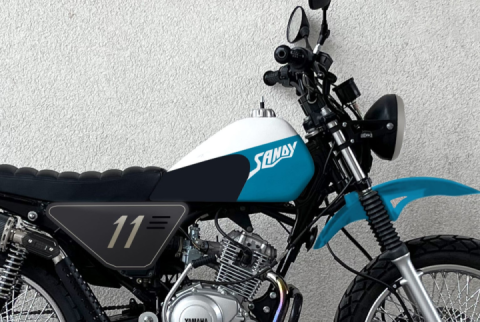
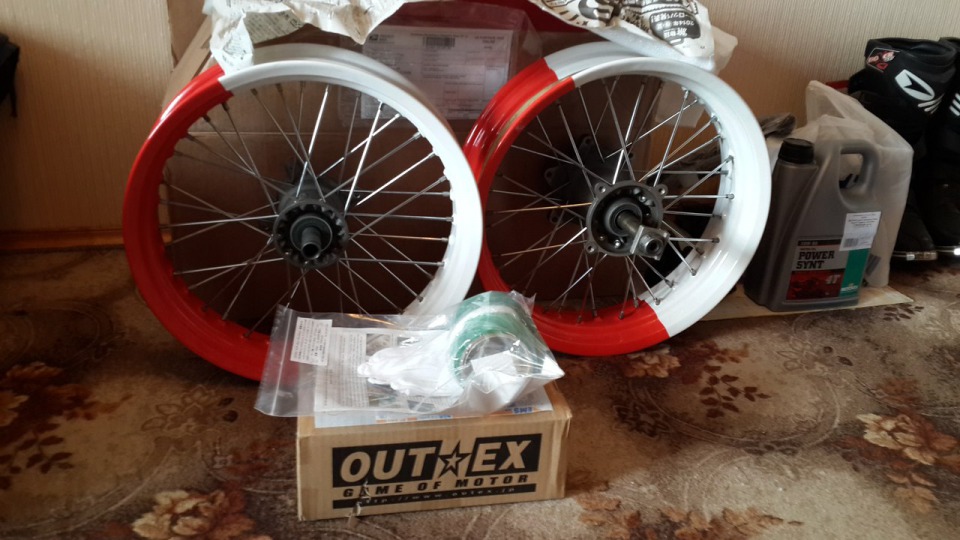
To be more precise, I'll try to tell you how, from the standard dull wheels, I got these tubeless little cuties: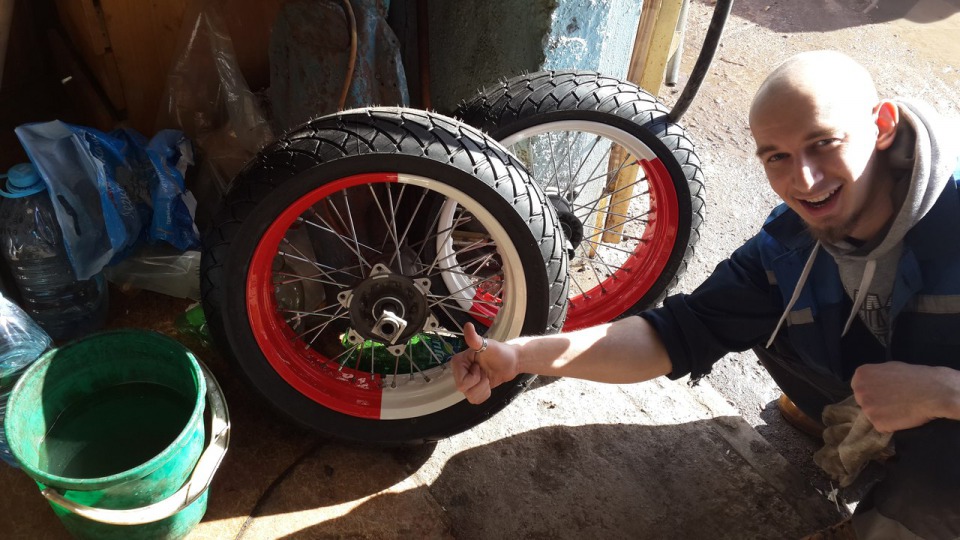
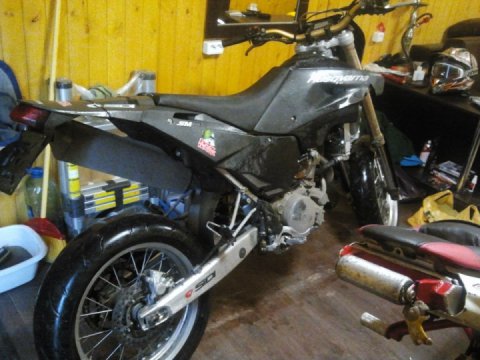
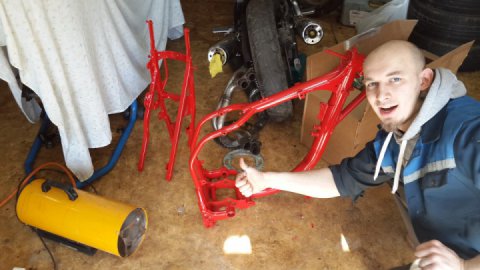
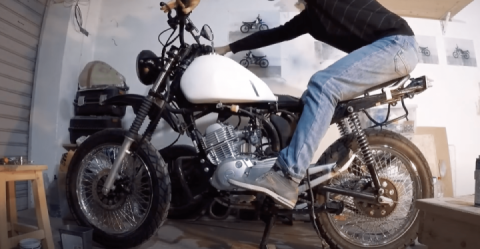
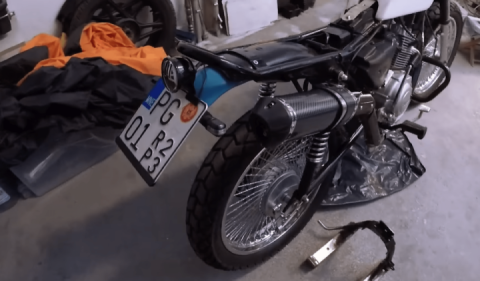
So, what do we have at this stage: completely dismantled and scattered at different corners of the garage motorcycle. More or less ready only engine can be considered - to install it in the frame it only remains to paint the covers and screw them into place.
Frame, stretcher and other small items are also waiting for painting ... Without a frame, it's pointless to start any assembly. In general, it's time to do the wheels))
Here they are: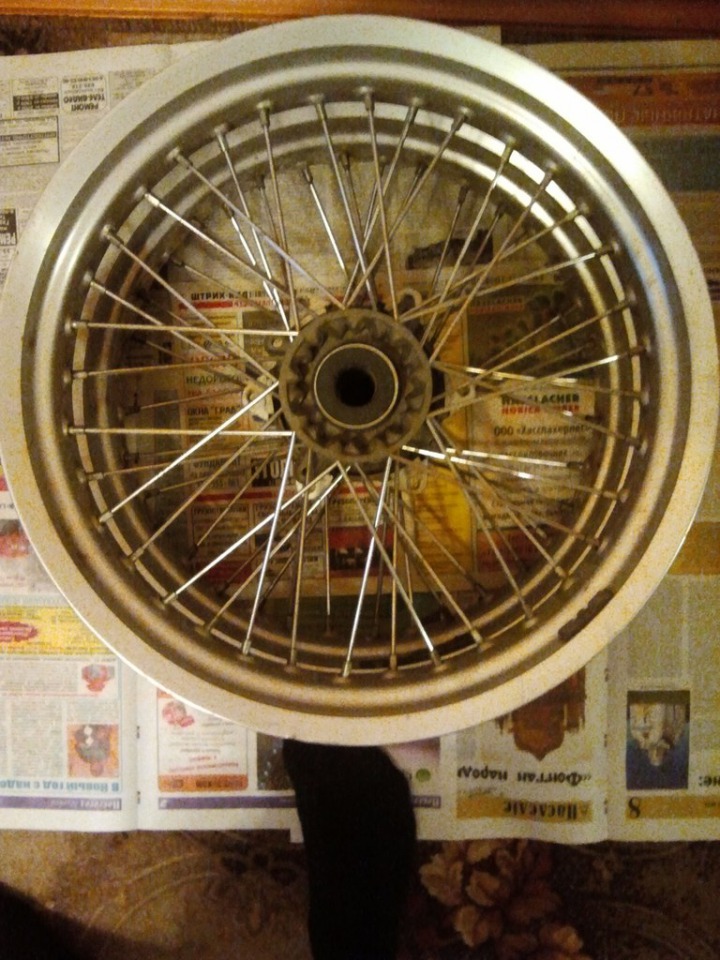
I always wanted to paint the wheels in two colors, but there was no time to assemble / disassemble - it was necessary to ride) Now there was a whole winter ahead ... At the same time, after reading forums, I wanted to get rid of the cameras. This reworking has a lot of advantages:
1. Less weight of the wheel, and as a result, better handling.
2. Easy repair of the punctured wheel. (A very big advantage for me.) I used to spoil the rear wheel 4 times and twice the front wheel for a season and every time it led to a tedious trip on the deflated wheel to the garage, removing the wheel, delivering it to the tire service and so on ... very problematic).
3. Easy replacement of rubber.
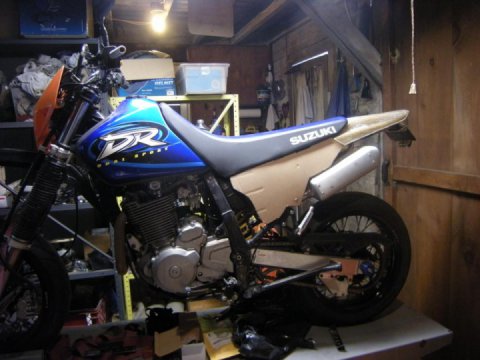
Having some experience of the bulkheads of the previous wheels of my previous Suzuki DRZ400SM, I immediately grabbed the tool and tried to unscrew the nuts of the spokes with an ordinary screwdriver (as I did on the DRZ). But it didn't work at all. The nuts of the spokes on the DRZ were made of aluminum alloy and there was no corrosion at the junction points. Here everything is mаde of steel. We managed to turn out less than half right now ... The spokes were spinning in the hub. In general, I filled everything with rost off and went to sleep.
The next day, after work, already with a shock screwdriver and small clamps to fix the spokes from the twist, I made a second try)) This time, though not without effort, but I managed to unscrew all the nuts. Here's what happened: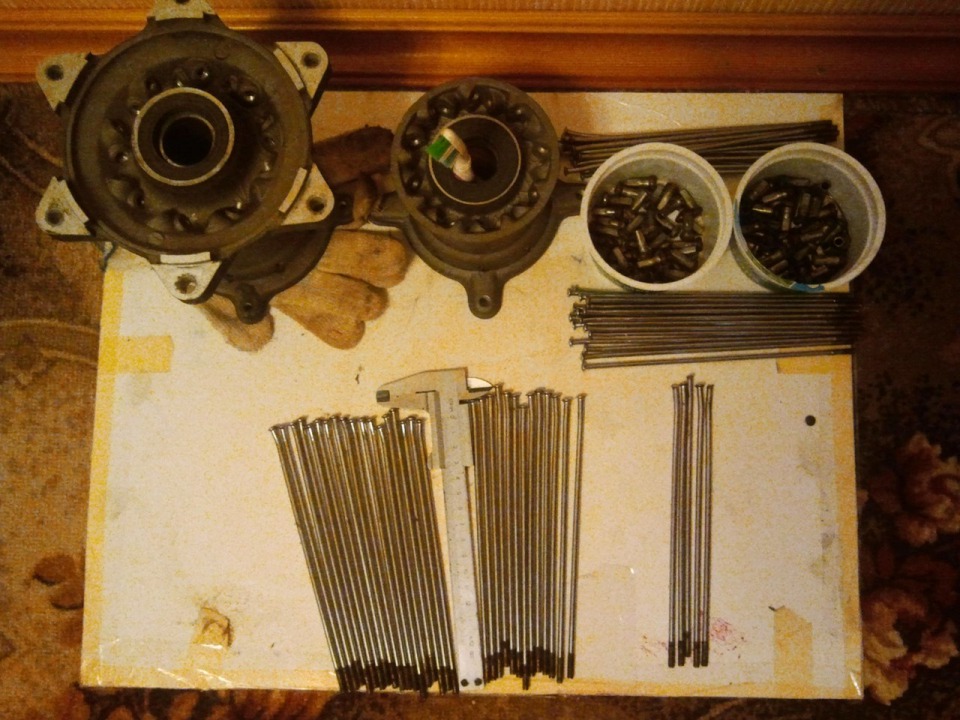

Rims went to powder painting and at the same time a set was ordered for the conversion of the spiked wheels into tubeless ones.
Rims after painting: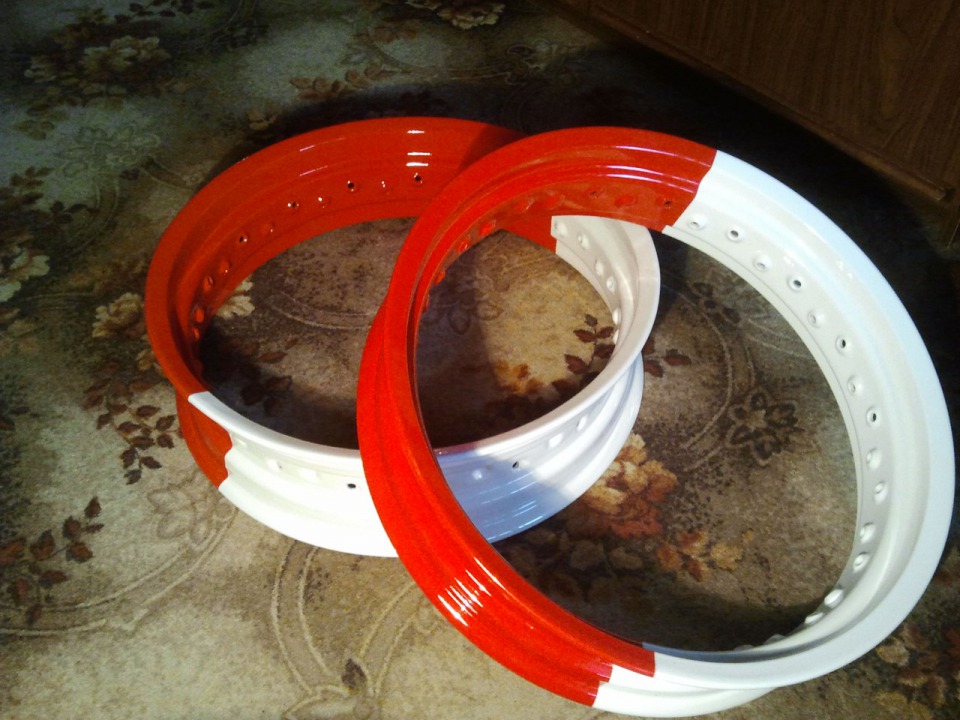
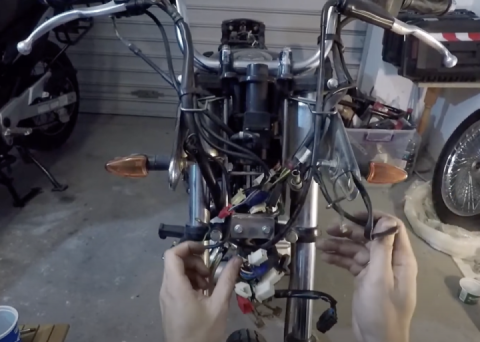
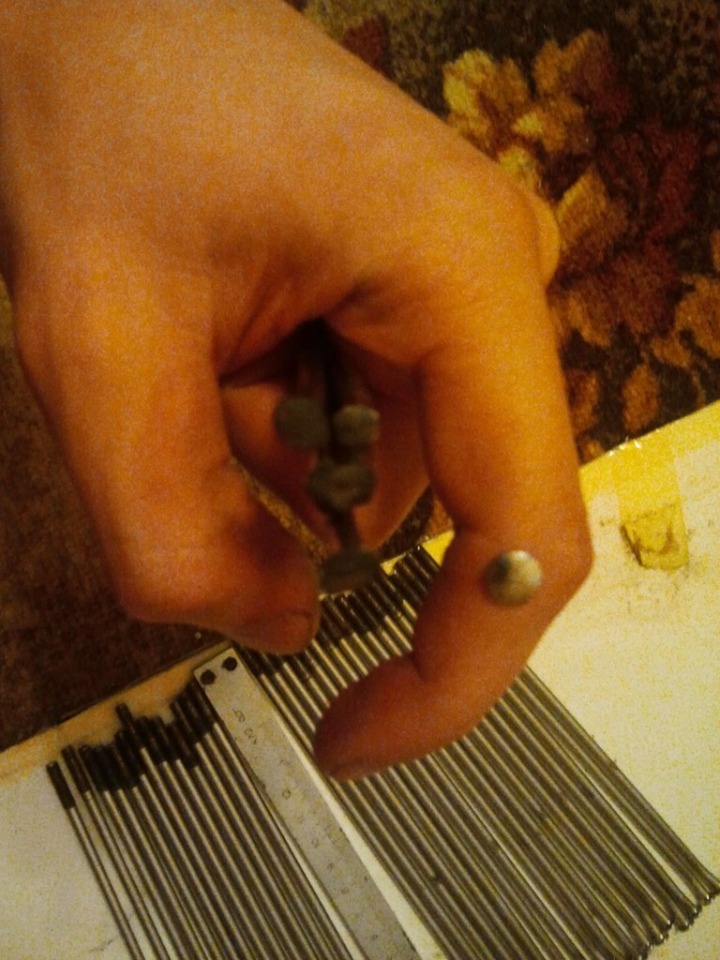
After arriving of the spokes I made an attempt to collect everything back. Then a new problem appeared: the rusty nuts did not want to be screwed onto new spokes (and the old ones, too). I thought: "Okay, now I'll drive the thread, all the business." But it was not so simple))) I did not have any problems with the front wheel- the M4x0.7 tap was found within 5 minutes. And the rear one ... the rear was 4.5х0.7 ... I could not find such things in my garage. In stores, they didn't have it too. That's where the broken needles came in handy (in the photo the tap M4x0.7 in the metric-holder and the hand-made holder M4.5x0.7 from the wreck of the old needle):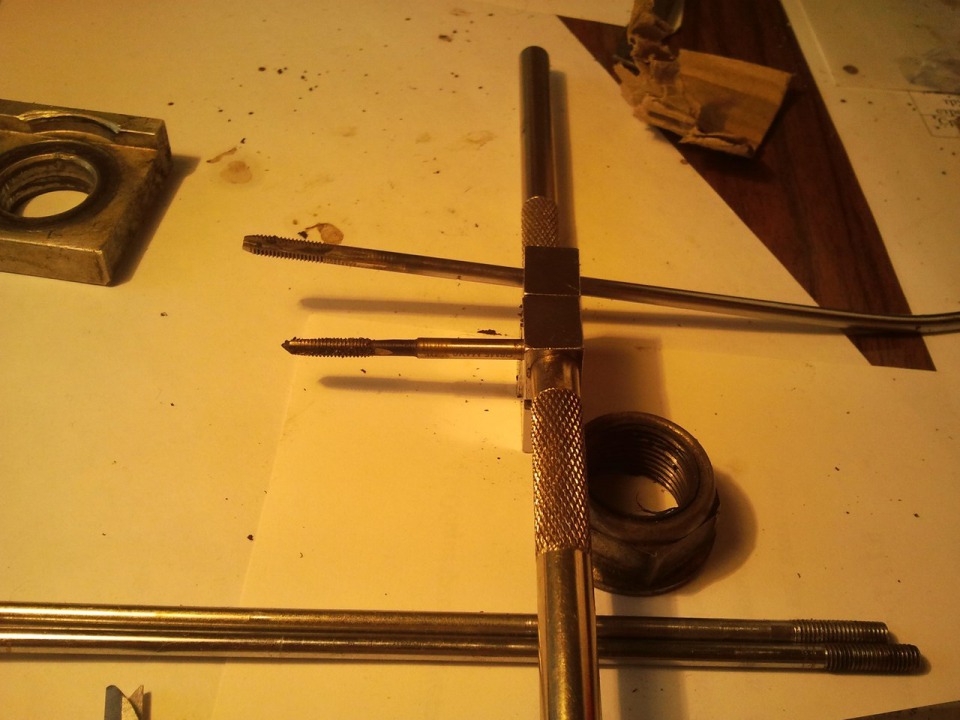
With the help of these devices, he tried all the nuts and, having previously wound them with a file (removed burrs from inaccurate use of a screwdriver and made them flatter), assembled the wheels (I will not describe the assembly process ... there are enough articles on the Internet about this):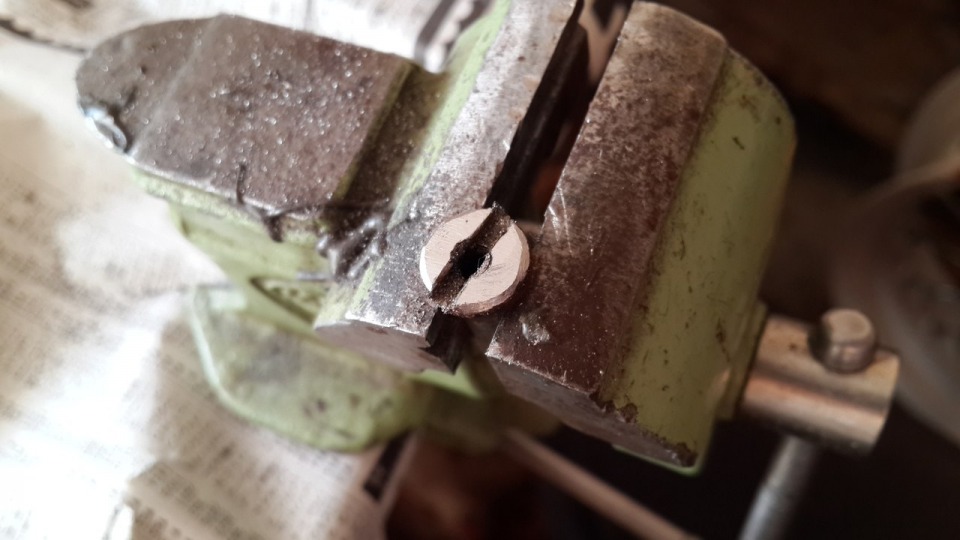
On the second photo you see the same set for the conversion of wheels into tubeless. It's the same, but more detailed: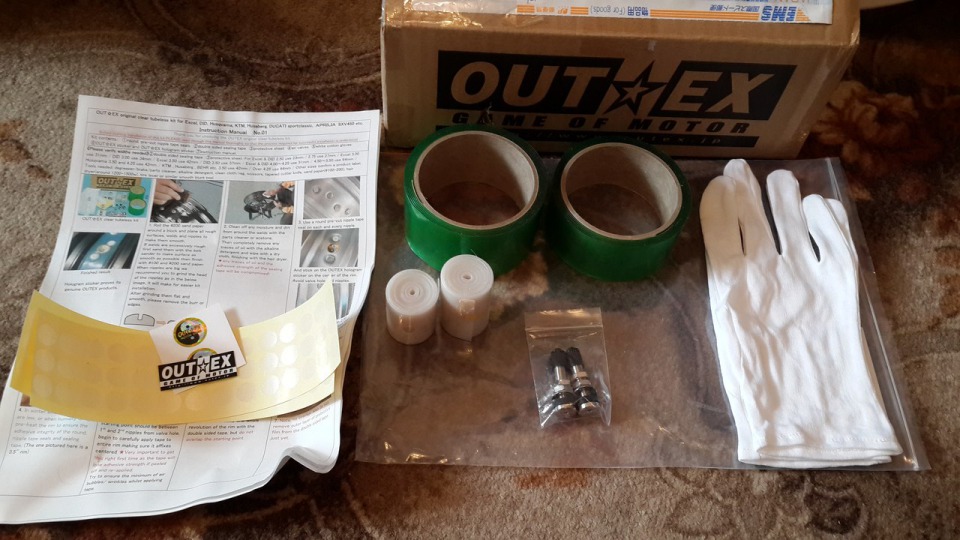
The kit includes everything necessary for the conversion of both wheels. Let's start:
First of all, using a sandpaper prepare the surface and degrease it. Next a circle of dense tape is attached on each nut (all the circles are already cut, you just need to paste). Also we glue the branded hologram))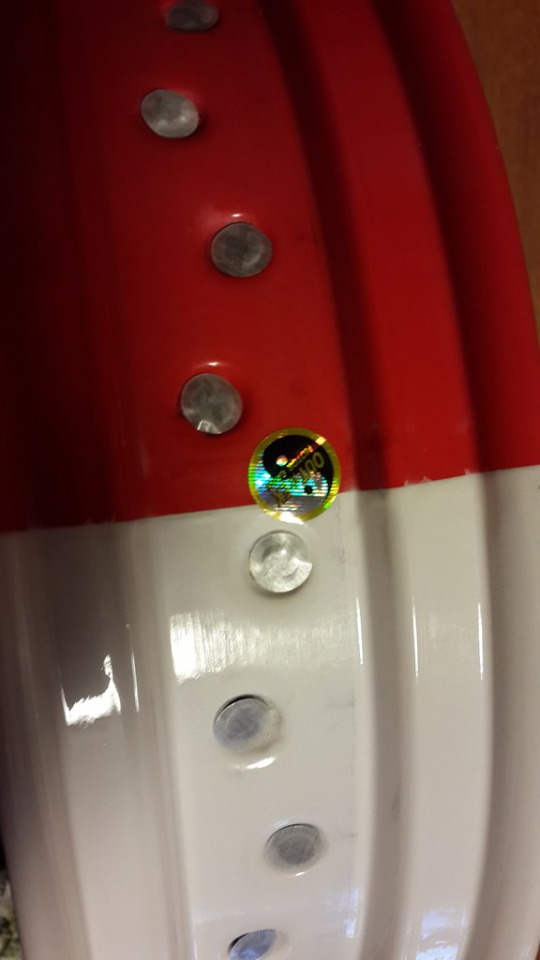
The next step is to stick a double-sided tape. According to the instructions, you should begin between the first and second spokes after the opening for the valve. We glue calmly, slowly, smoothly smoothing and removing all the air bubbles. We make one turn and finish in the same place where we started, without overlap.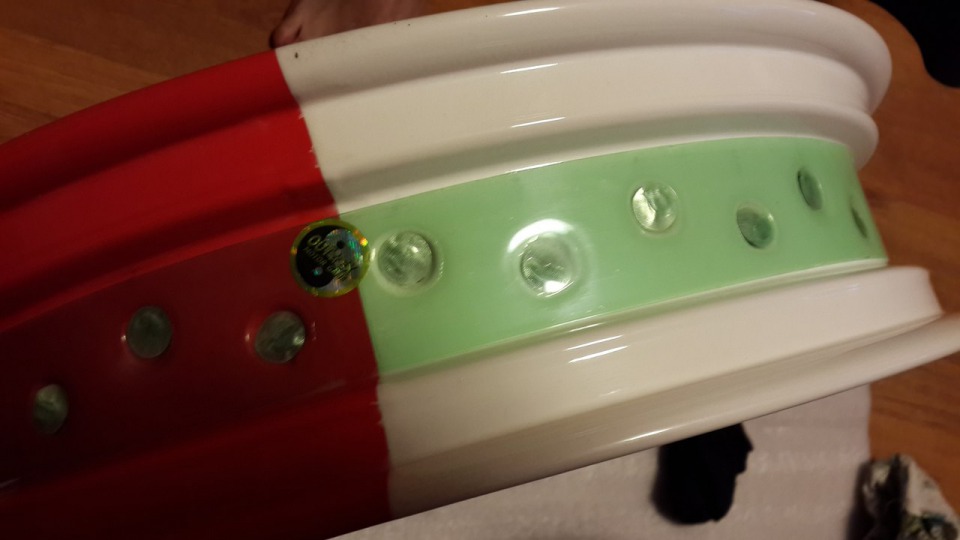
Next, in the wound tape, we make a hole for the valve. The valve itself is inserted into the transparent protective tape, then into the hole made and slightly tightened with a nut. After this, gradually removing the protective layer from the double-sided tape, glue protective tape on it from above. We finish the circle without overlap. Next, place a double-sided tape with a length of 40-50 mm and a protective one on top of the оjunction. Tighten the nut. We dress the rubber. Pump it. Check the tightness.
Everything is very detailed and illustrated in the instructions to the set. Pleasure to use it.
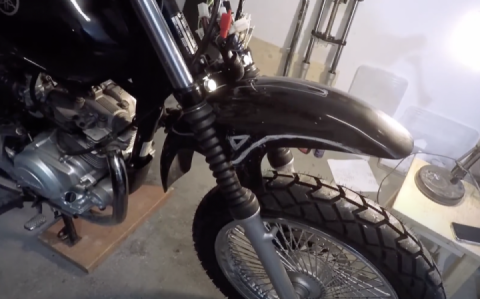
Here's what happened: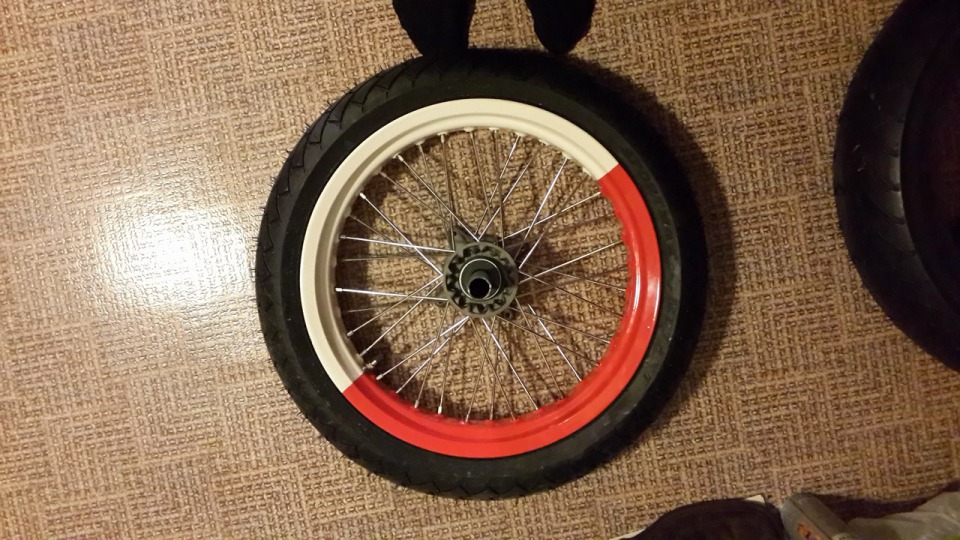

 Follow
5.8K
Follow
5.8K