Part 5 (Final) - Guide for replacing your regulator / rectifier
Wiring the Battery
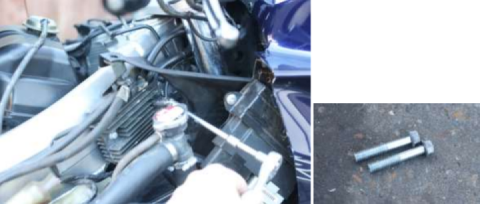
Over to the power side now, pop the two clips out that hold the plastic cover in place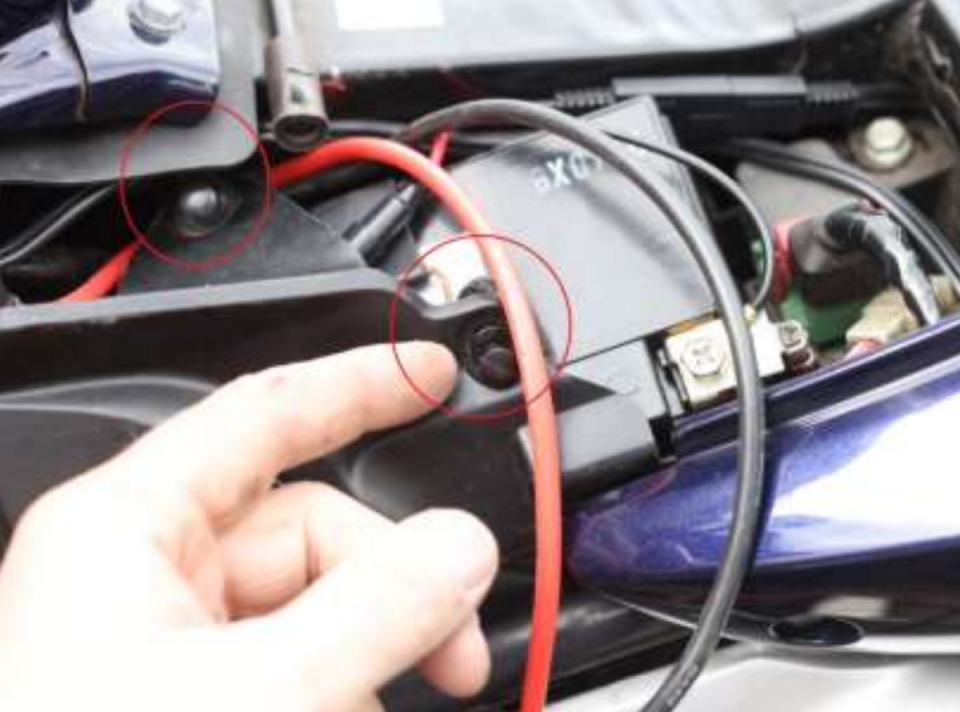
Cut the red and black wires to length, you want minimal excess but enough slack to work with, aim for within about 1-2cm of the actual size if you can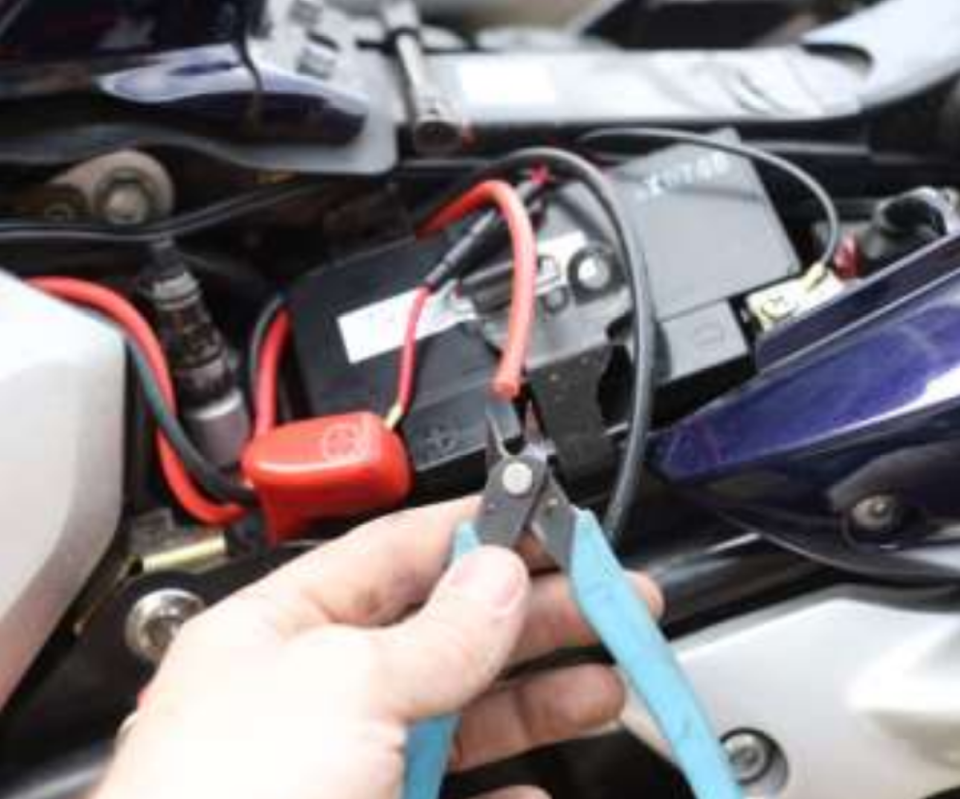
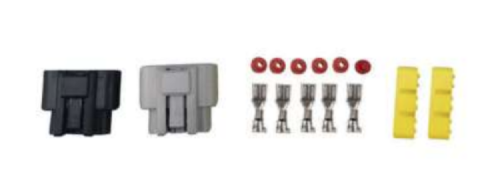
Grab yourself a few M5 ring terminals suitable for 10/12 AWG and a crimp tool (much easier and better than just using pliers)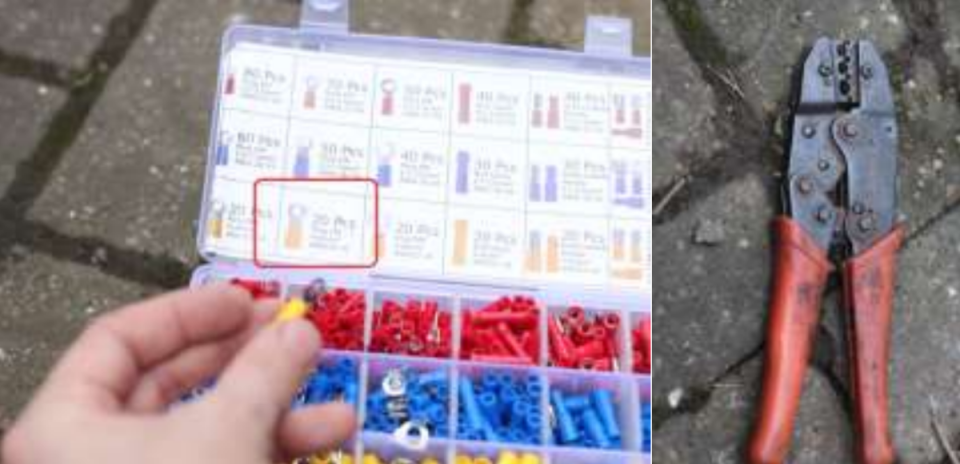
Strip back about 7mm of insulation and pop the terminal on
Now we’ll move to the circuit breaker, note the markings, battery is the bronze tab and the aux device (RR) is the silver one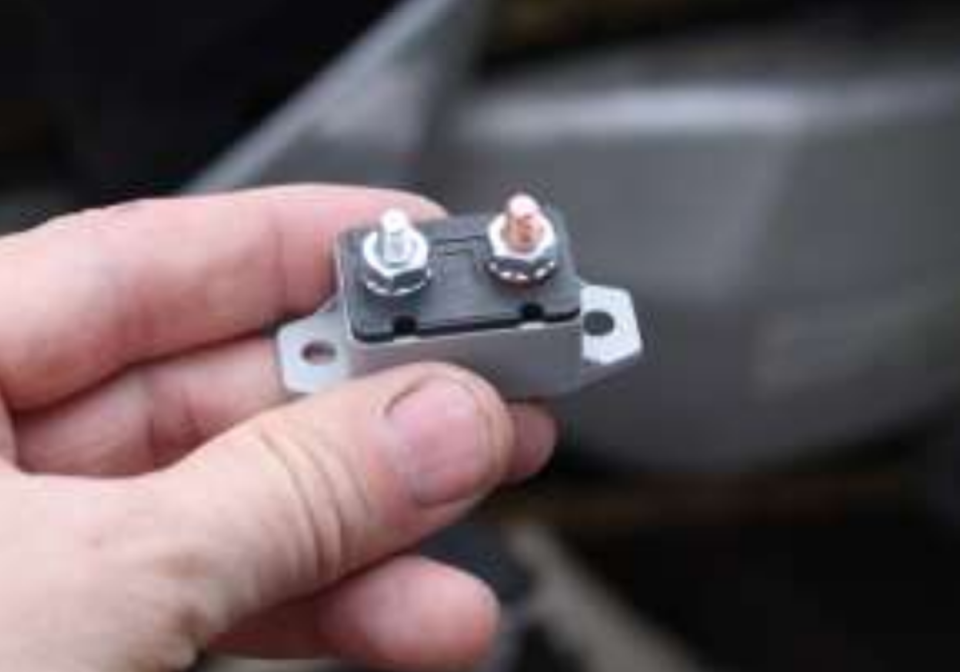
Pop the silicone boot over and fully seat it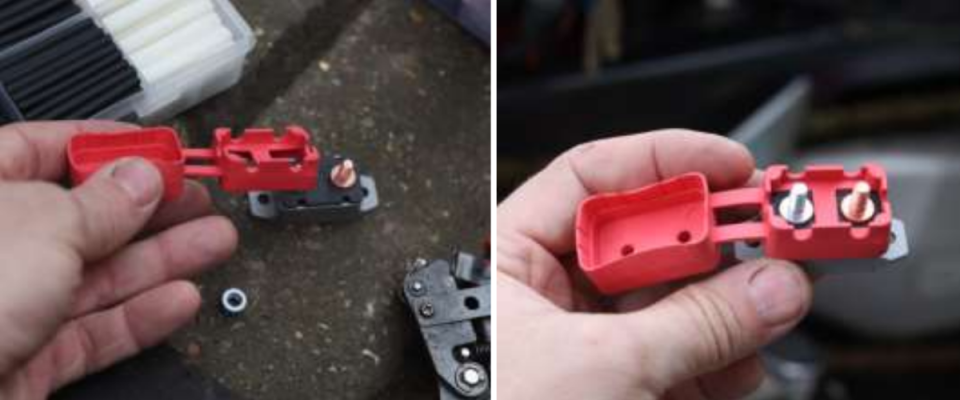
I nipped the silicone reliefs with some side cutters on each end where I was routing the cables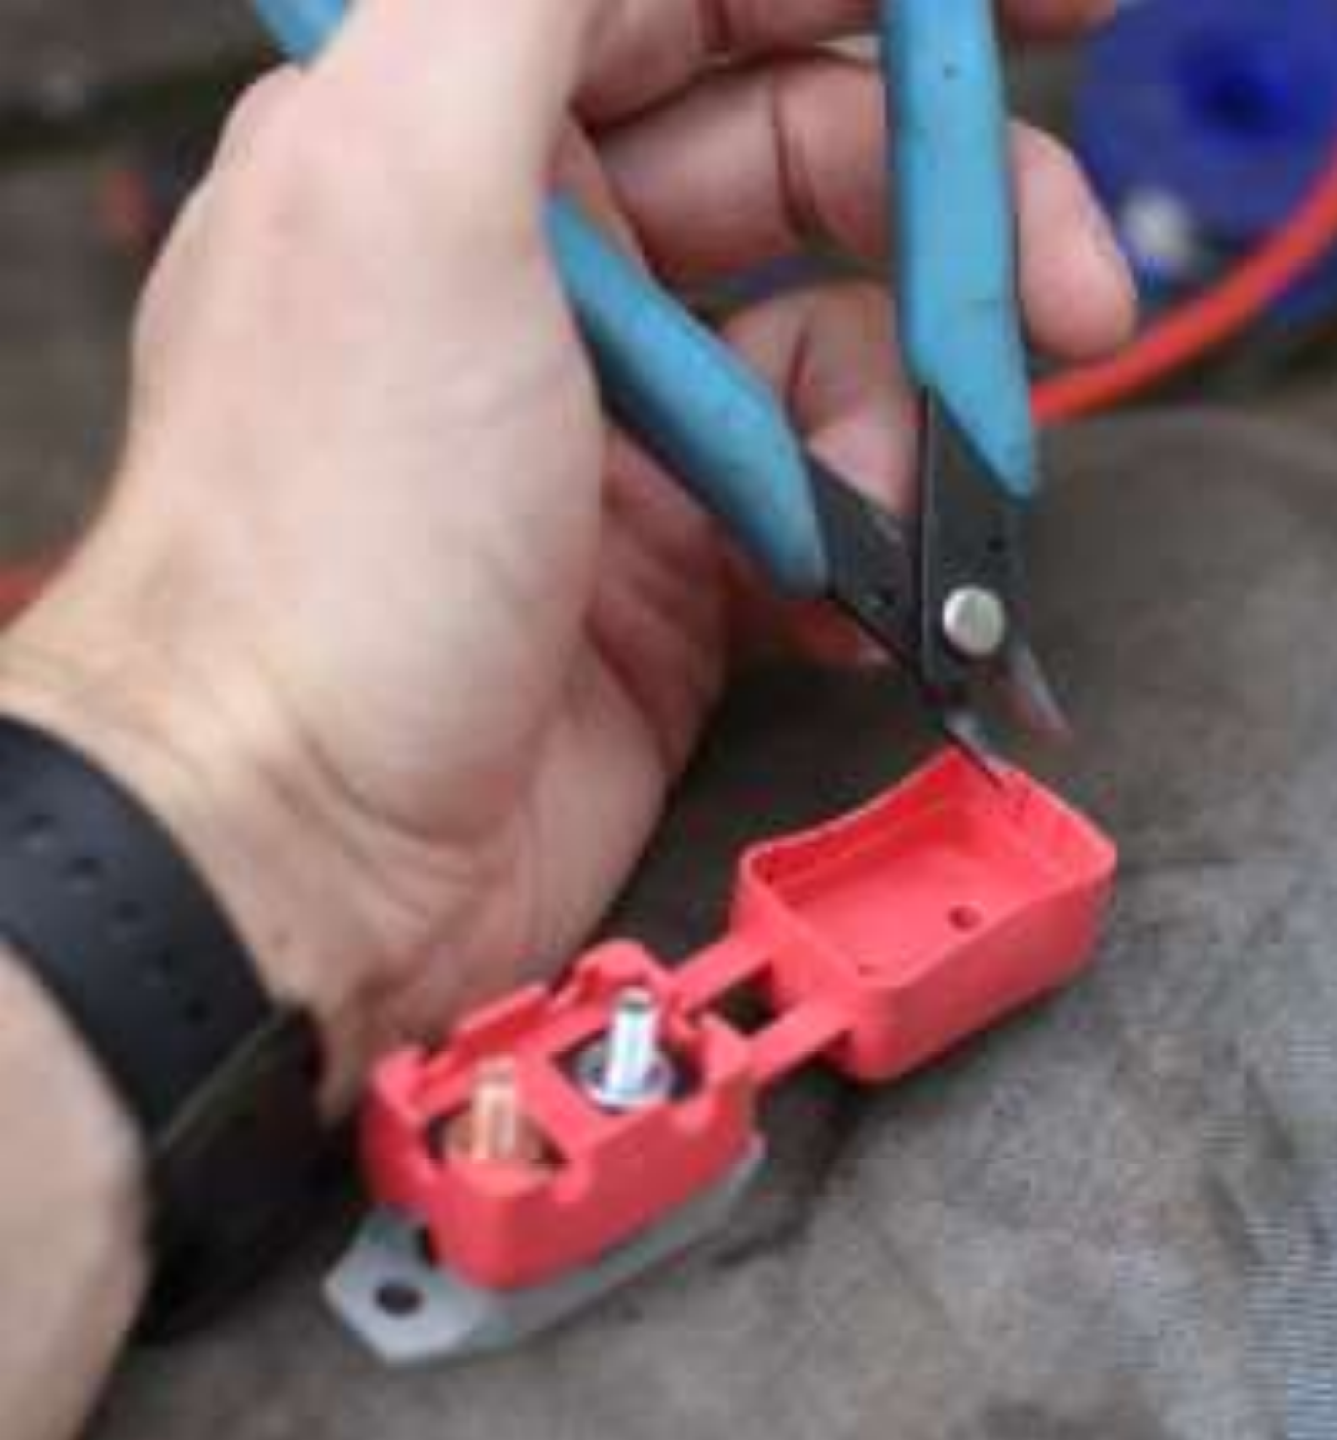
The breaker sits nicely just above the stock 30 Amp fuse next to the battery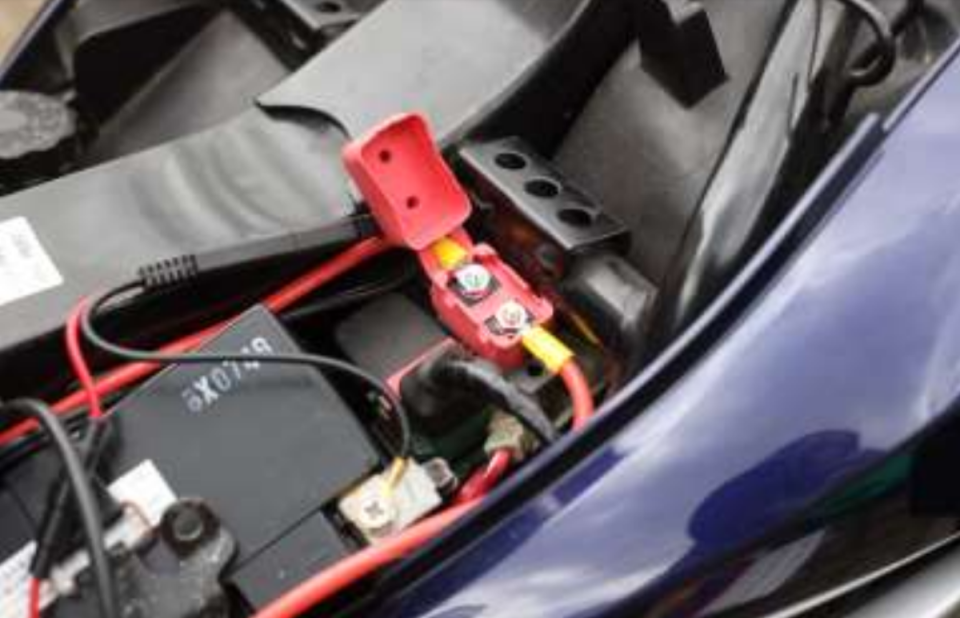
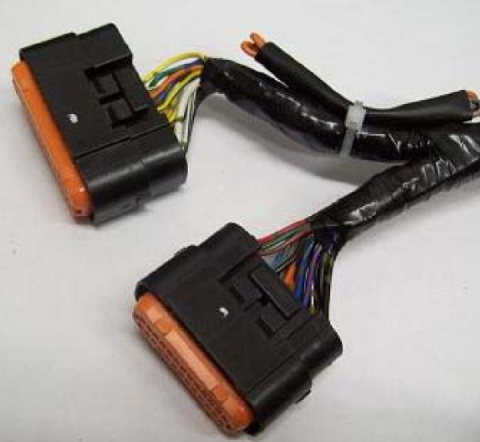
You can see the termination at the top from the loom and the bottom which will go to the battery
Give the cover a good squidge down so the noggins on the top squish onto the terminals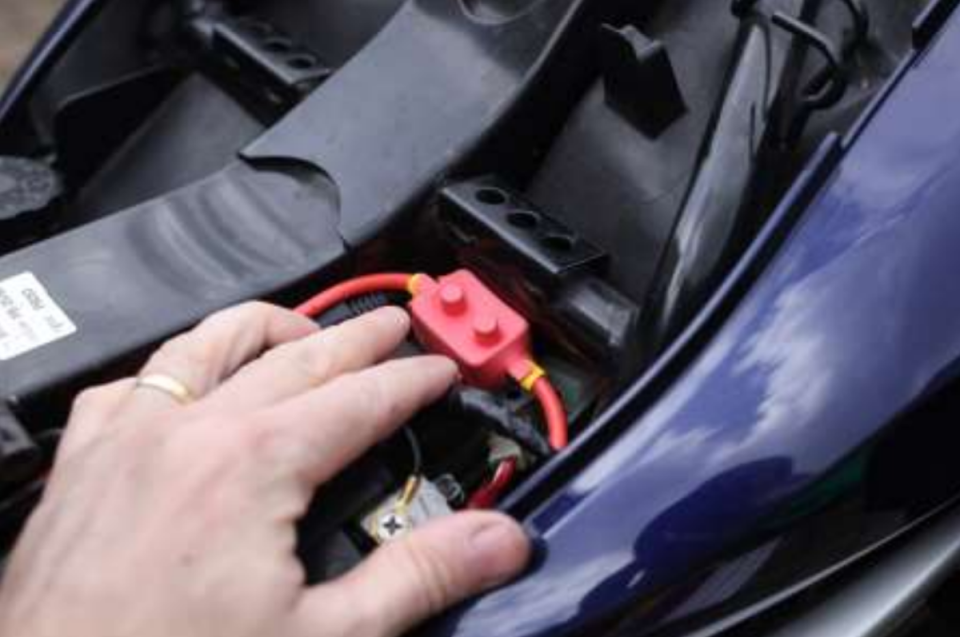
Then trim and crimp the wires to go onto the battery (the output from the breaker to the live terminal and the black wire is the feed we brought over from the RR which goes to the negative terminal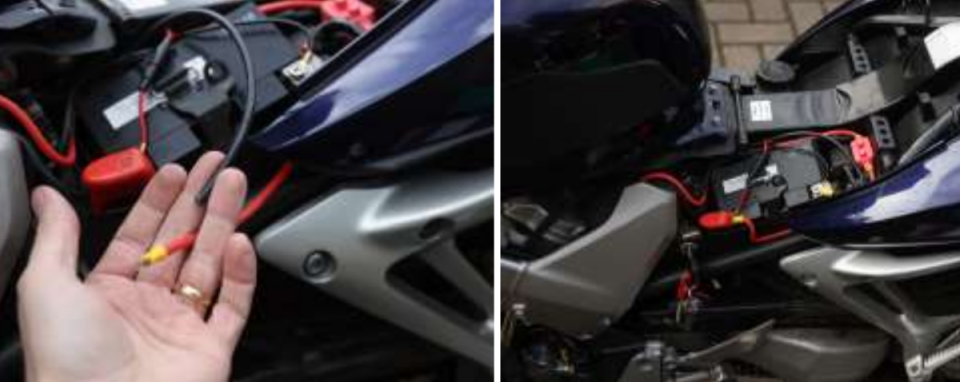
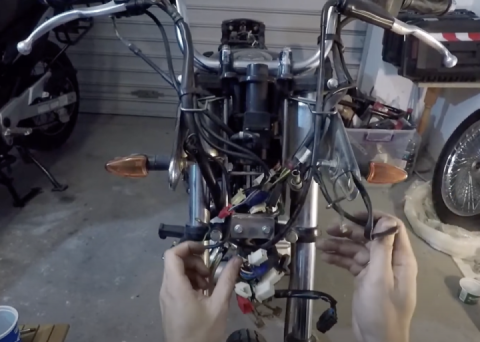
And that’s it, all that is left to do is fire it up and see a nice 14 Volts appear to the battery. My bike was immediately fixed from 15.2-15.7 Volts regularly to a steady 14.8 Volt absolute max. If you haven’t got a voltmeter fitted to your bike (why not, it lets you watch for failing RR!), then just put a voltmeter across the battery and make sure it’s charging when running.
I hope that helps

 Follow
2.5K
Follow
2.5K