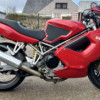
ST4S Fork rebuild
A leaking oil seal and wanting to uprate fork springs were my reasons for attempting this, the basic oil change is covered well in other docs.
OK, prep work first....
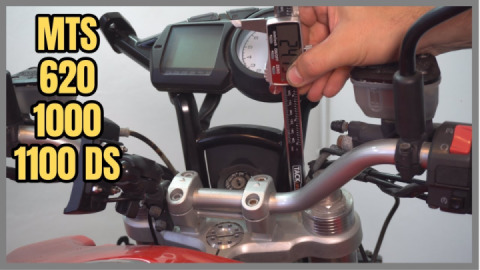
Record all your fork setup data, if not done before. 3 on the fork and then the fork height in the clamps - Ducati measure this as the distance from the top of the bottom clamp to the top of the fork. (std = 195.5mm +- 1mm)
Needed: Head stock stand and possibly rear paddock stand (if front gets lifted too far - like with my HUGE old stand) and / or straps and a solid roof beam!
Good socket set and/or spanners going up to 32mm, good Allen keys or Allen sockets.
Workshop manual / list of torque settings
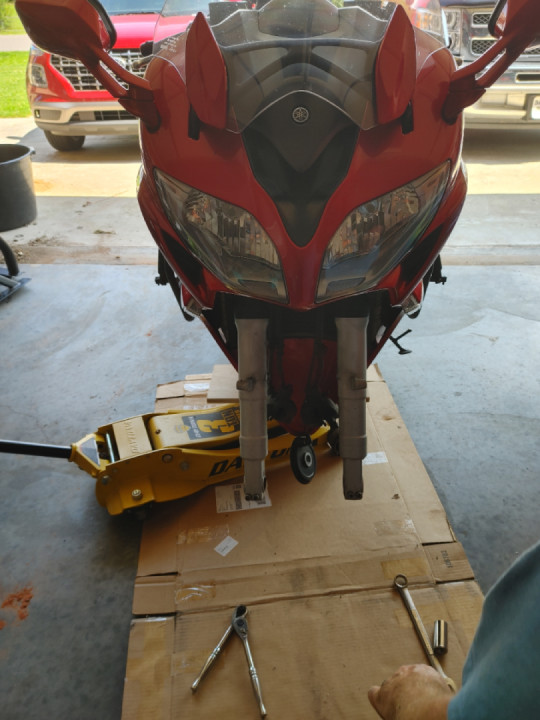
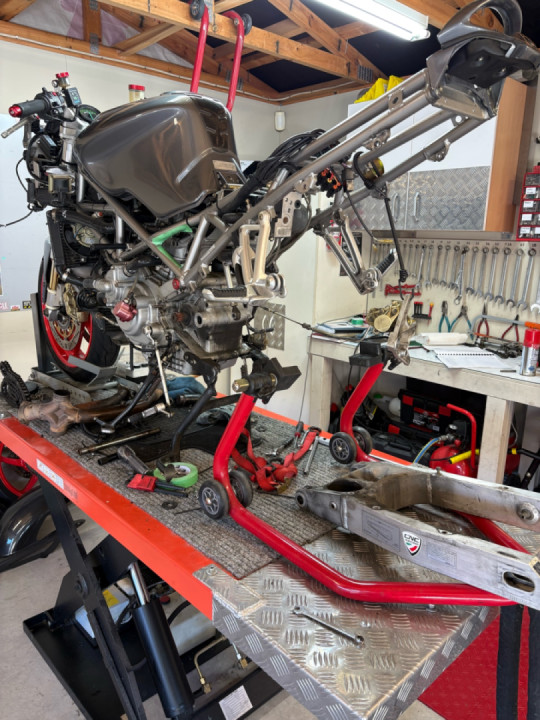
Remove upper front fairing and upper side panels. Drop off both Calipers & remove front wheel and mudguard.
(I had to cut off the plastic mudguard mounting rings as the bolts were seized onto the integral brass nuts!)
Slacken off the upper clamp retaining bolt - to allow the 32mm fork top nut to be undone.
Carefully, slacken off the 2 lower clamp socket bolts and the fork will now be free to slide down. *LHS fork needs the coolant reservoir unbolting so it can be swung far enough up to access the lower clamp bolts.
Well done, you now have two loose manky forks to play with - clean off any dirt if necessary.
Make a clean area to work in, if possible - dont worry too much, it wont be clean for long! Working on only one fork at a time - Slacken off the preload adjuster with a 22mm spanner by unwinding the adjuster.
Now undo completely the 32mm fork top nut, dont worry there isnt any force in the spring/fork - hang upside down to drain for a few hours/overnight.
A fork compressor and/or special tools are needed for the next bit - or both! makes life nice and easy, here's my homemade rig: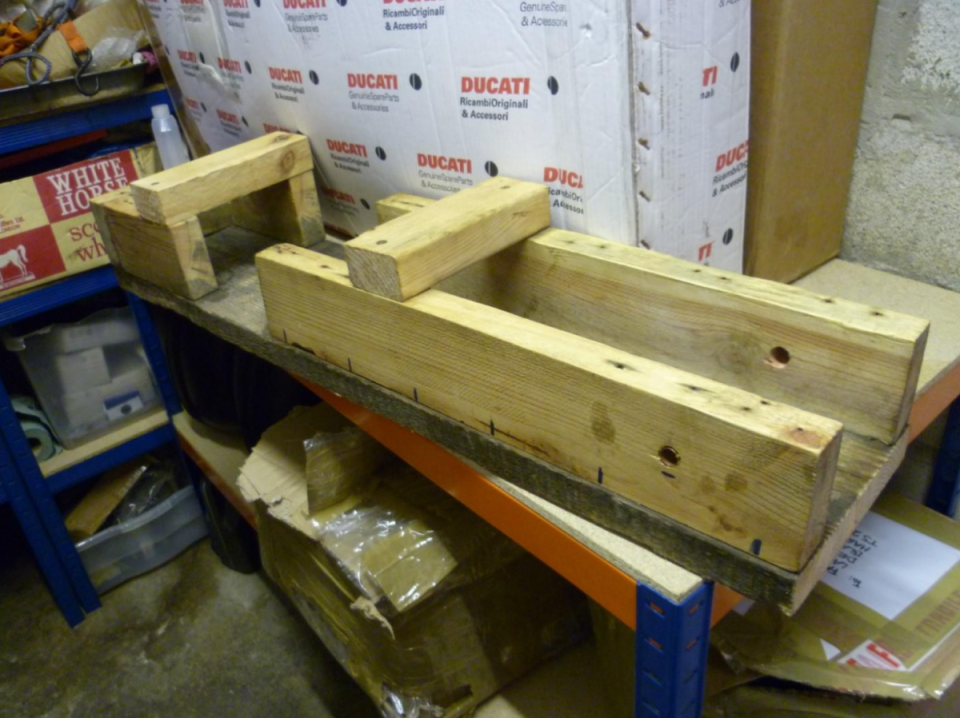
It holds the internal spacer tube by the drilled holes and allows access to undo the damper rod from the fork cap, once its all compressed.
17mm and 15mm spanners are all that is needed to undo the cap from the damper rod. The spacer tube and spring can now be removed from the fork.
Ease out the dust seal and remove the spring clip from its recess in the main tube.
The simplest way to separate the fork lower from the stanchion tube is to hold each in either hand and bump them apart gently, like a slide hammer.
Once the fork seal starts to move the resistance will get easier as only a brass bushing is now holding the plot together.
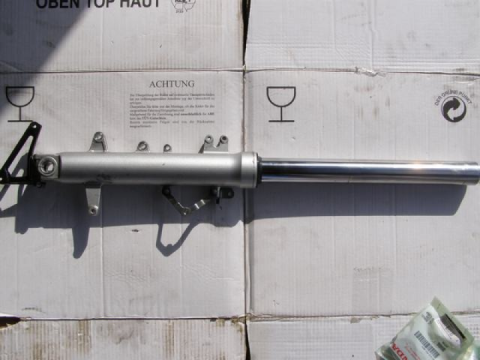
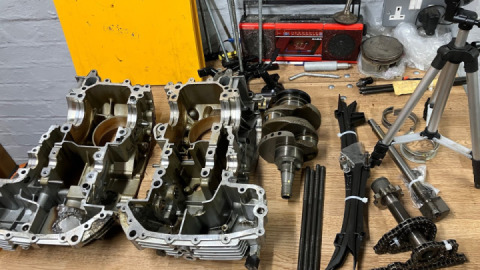
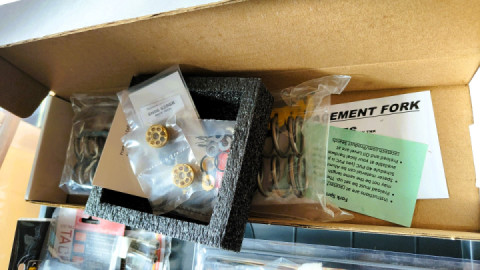
I've never seen the components laid out for the Showa GD051 fork before, so here they are: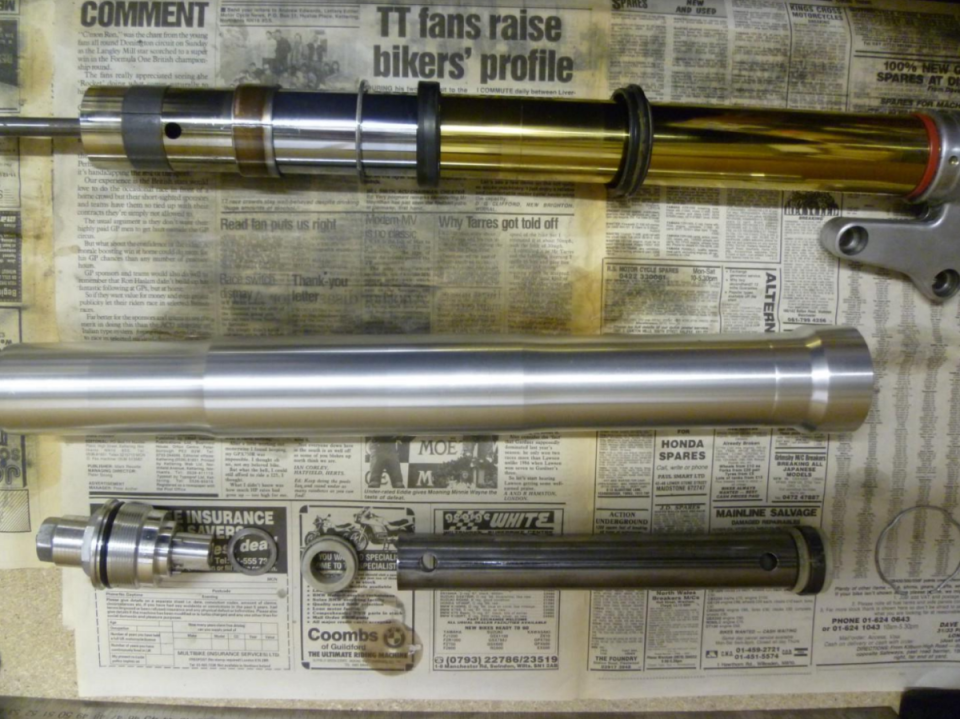
The only component out of sequence is the spring clip which actually goes between the dust and oil seals.
Only a little more disassembly to go now, all on the fork lower...
The grey bushing on the end of the tube needs to be gently prised apart and removed from its wide seating groove.
This allows the thicker bushing to be removed (mine needs to be replaced as the copper is starting to show).
The metal support ring is then removed followed by the oil seal and dust seal - the red ring is just my own cable-tie I use for suspension adjustments.
Close up:
Clean everything up again, as best as possible
BOTH my dust seals seemed in pretty bad order but I made the mistake of thinking I could only order them from Ducati, I knew Pyramid parts made the oils seals but didnt realise they do a complete oil and dust seal kit for most bikes but, I do now know of one professional who wont touch their seals.
Put tape or a small plastic bag over the end of the open lower tube recess where the grey bush sits (this prevents damage when fitting the NEW seals) Lightly grease the dust seal and fit with the spring towards the wheel clamp end, grease the oil seal and fit the closed end facing the dust seal. Replace the other parts with a little oil on the bushes to ease things along.
The thicker bush can be a tight fit in the upper tube so care can be needed, either squeezing the bush onto the lower tube or gently angling the lower tube into the upper tube can help.
Next is seating the oil seal into the upper tube. Dedicated split ring driver tools can be bought to do this job but I saw a great idea from Derek on Ducati-UpNorth that helped me, no end. Buy some thick wall plastic tubing from a domestic supplier that is the same outer diameter as the outer part of the oil seal. Then, wrap some thin rubber around the gold fork lower tube BEFORE wrapping the domestic plastic tube around the rubber. Hold the two additions onto the lower tube with two hose clips. The idea of using the rubber first is to protect the delicate inner ring of the oil seal from damage, while still driving the oil seal onto place.
The fork tubes can then again be used as a slide hammer to drive the oil seal into place in the opposite way to removal.
(I do hate it when manuals say that !!!)
You'll know the oil seal is far enough IN when the recessed groove is visible for the big spring clip.
The oil is MEANT to be put in the fork WITHOUT the spring installed, which is great if you can compress the whole fork when in the vertical position for final assembly - mine isnt so I opted for fitting the fork cap to the damper rod first, then measuring out the recommended quantity of oil (492cc) which oddly enough with the spring fitted and the upper tube pushed all the way down, ended up with the oil level just to say below overflowing out of the fork. I've gone for 7.5Wt oil as I've installed HyperoPro springs.
Refitting the forks is straightforward just be careful on final install to use the correct torque on all the clamp bolts.
Ducati Fork Info: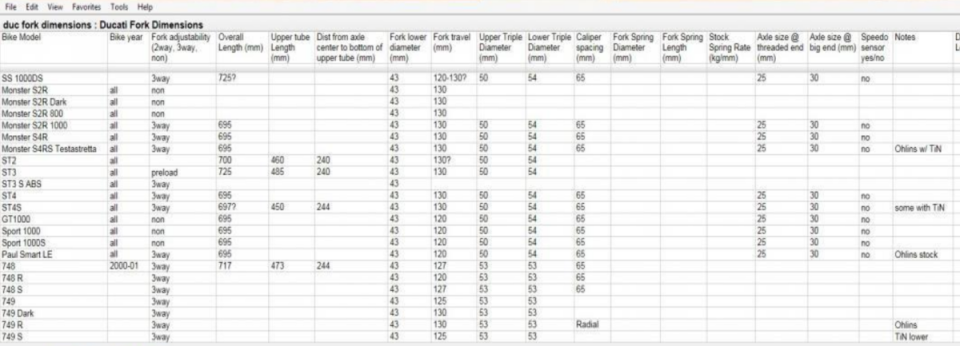
 Follow
2K
Follow
2K