Ducati ST Exhaust mods
I came across this on the internet a few months back. I am in the middle of chopping a spare set of cans for my ST4. I have used this as the basis of my mod. I will try to add an extra section to this at the end describing how I deviated from this. (The essence of my deviation was not to cut to the minimum 250mm right by the mount plate. As although I want a better tone and some noise. I do not want it to be excessive.
Stock ST Exhaust Mod
It seems like a lot of people on this forum don’t blink at dropping $1k+ for an aftermarket exhaust system, but that’s a little past reasonable for my budget. Anyway, I’d be walking with a limp if my wife found out I spent that much. Gotta be others out there in the same situation, right?
So when I decided I’d like a little more sound out of my ST4s, I did a little research on what it would take to open up the stock mufflers a little. I found some information on line and I also talked with one of the mechanics at the local Ducati dealer and came up with a solution that I’m extremely happy with. Here are step by step instructions and a few pictures.
Required tools:
- Drill with 3/16” bit
- Rubber mallet
- 2” masking tape
- Cut-off wheel
- Sawzall with metal blade
- Pop rivet tool with 3/16”x 1/4” aluminum rivets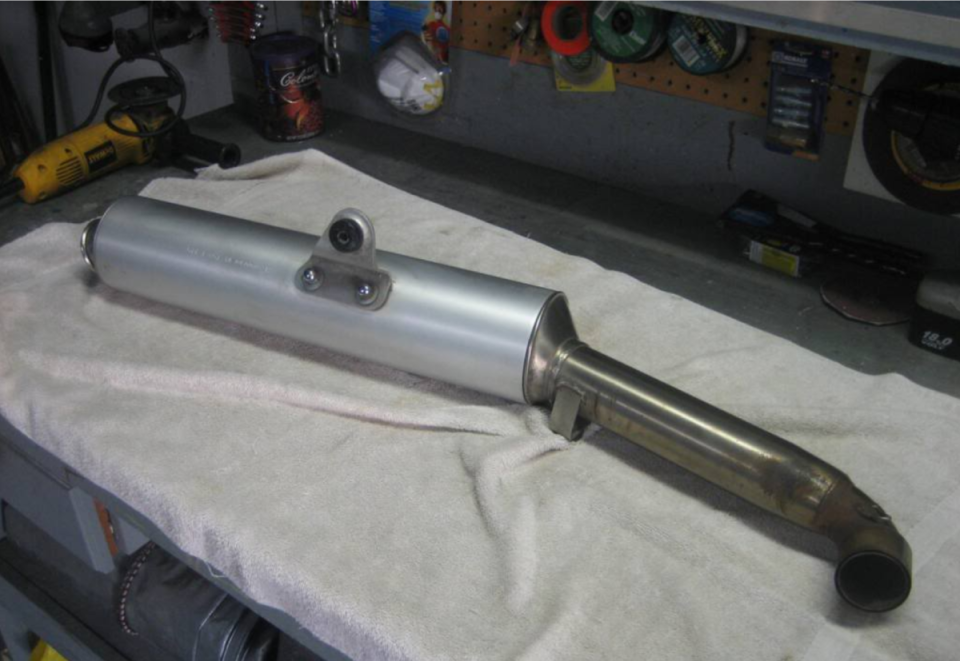
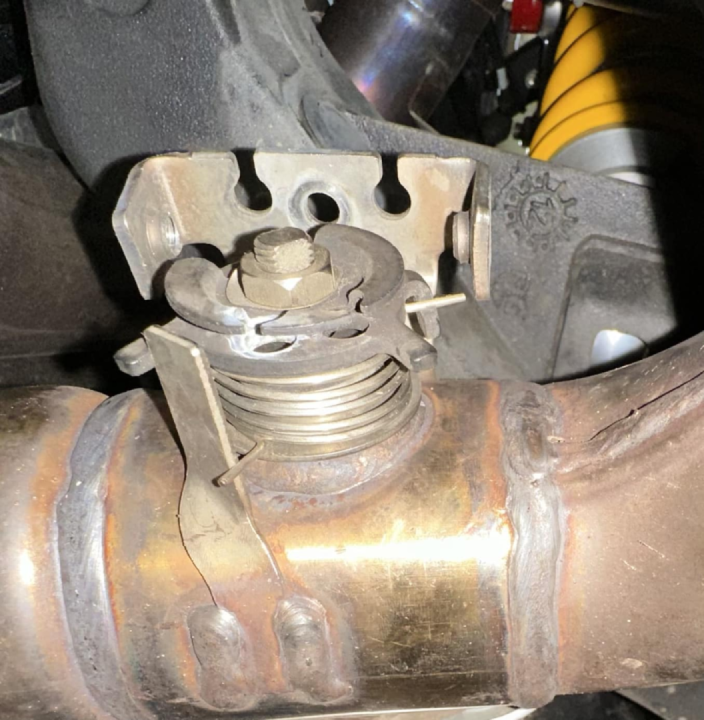
The obvious first step is to remove the mufflers from the bike. You can figure that part out on your own. If you can’t, stop now! It’s also a good idea to cover your work surface with towels or something soft to reduce the chances of scratching something you want to keep.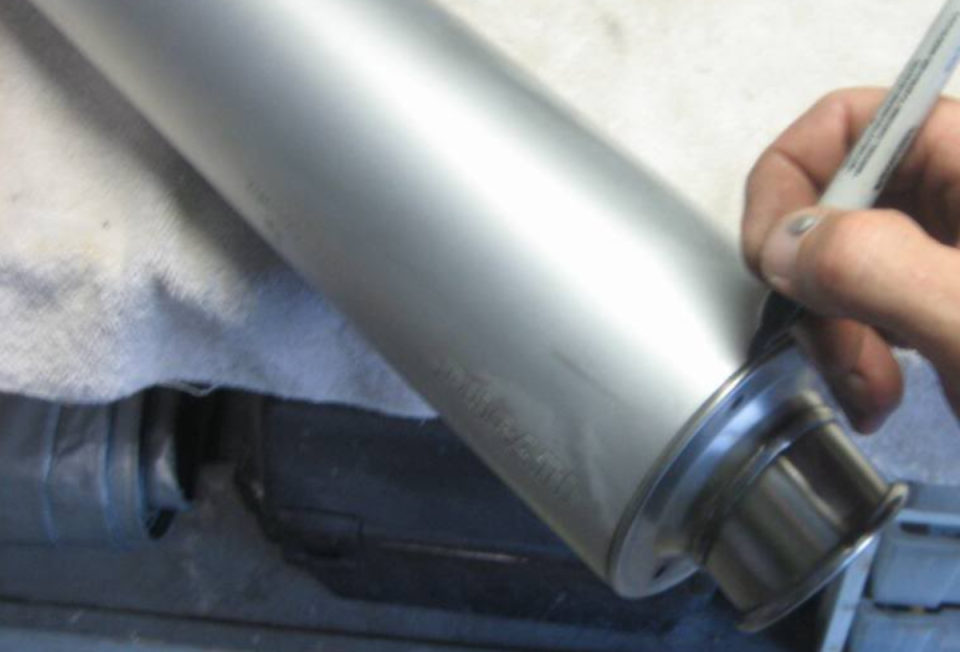
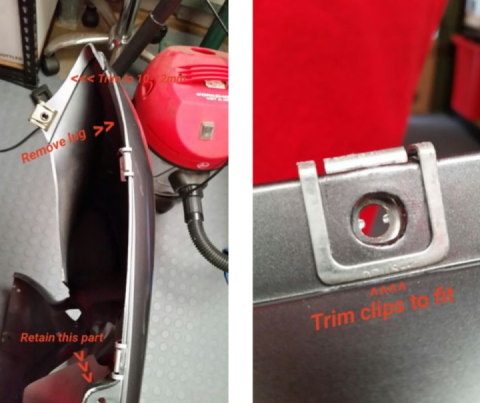
Once you’ve got ‘em off, make a mark on the aluminum sleeve next to each rivet location on the rear cap
This is important. Otherwise you’ll have a hard time getting the cap oriented correctly when you reassemble (don’t ask how I know).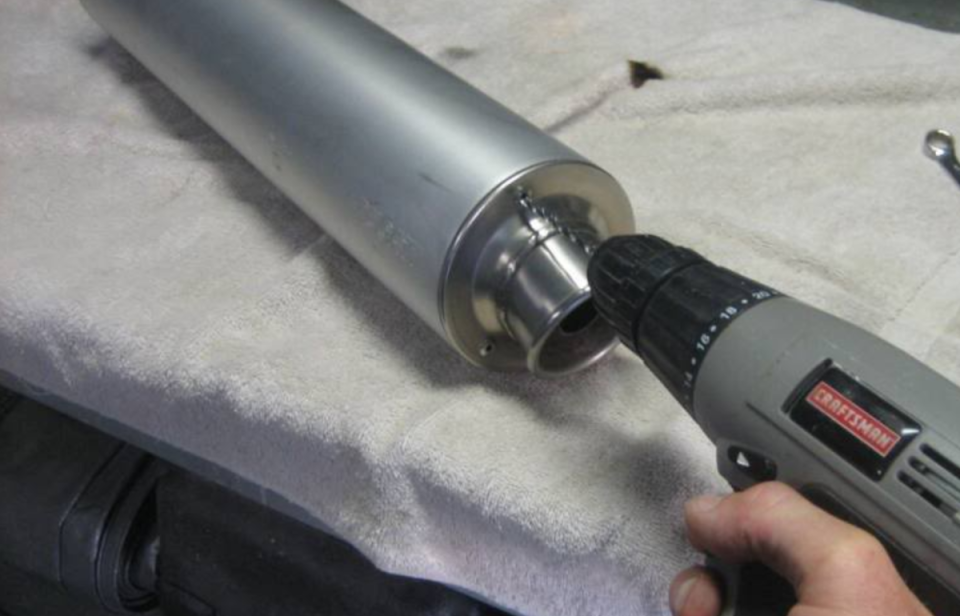
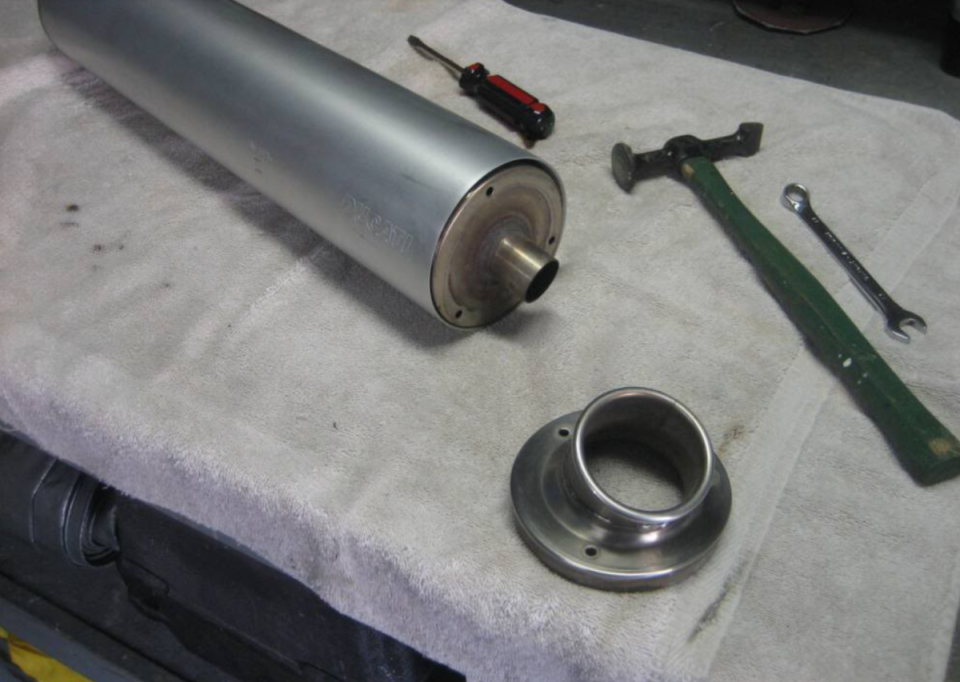
Remove the two bolts holding on the mounting bracket. Next, you’ll need to drill out the three 3/16” pop rivets that hold the rear cap on. With these out, the rear cap should pull out easily. If it doesn’t, a light tap with a rubber mallet should move it.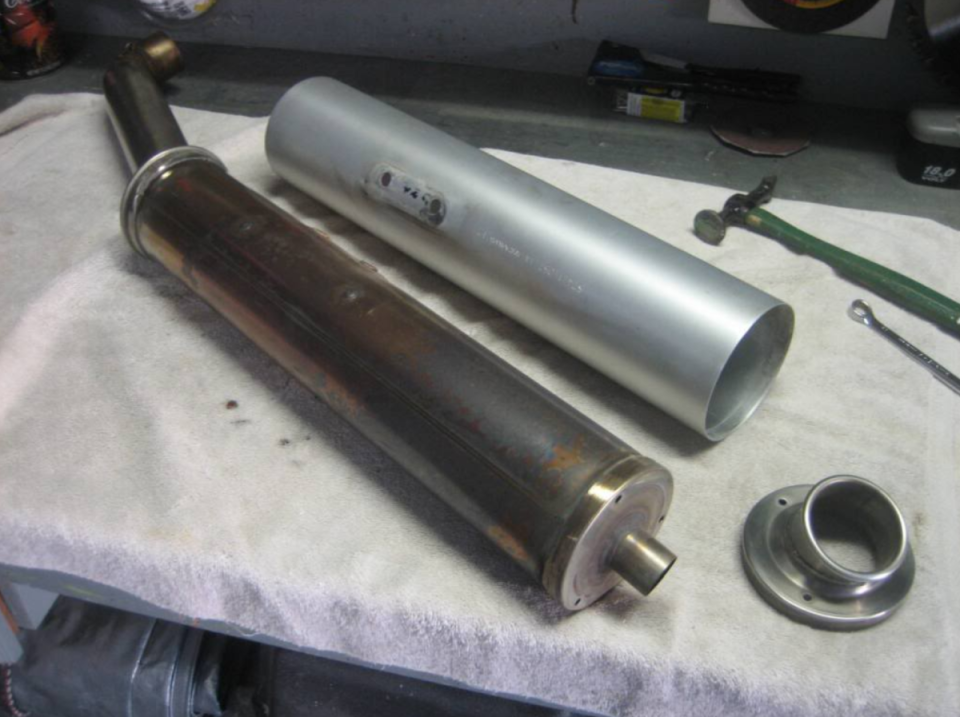
Now, the aluminum sleeve should slide off. This might be tight. One of mine came right off, but the other needed a little coaxing. I held the sleeve with one hand and beat the muffler out with a hammer. Don’t worry about bending the outlet. You won’t be keeping it. But be careful not to ding the sleeve.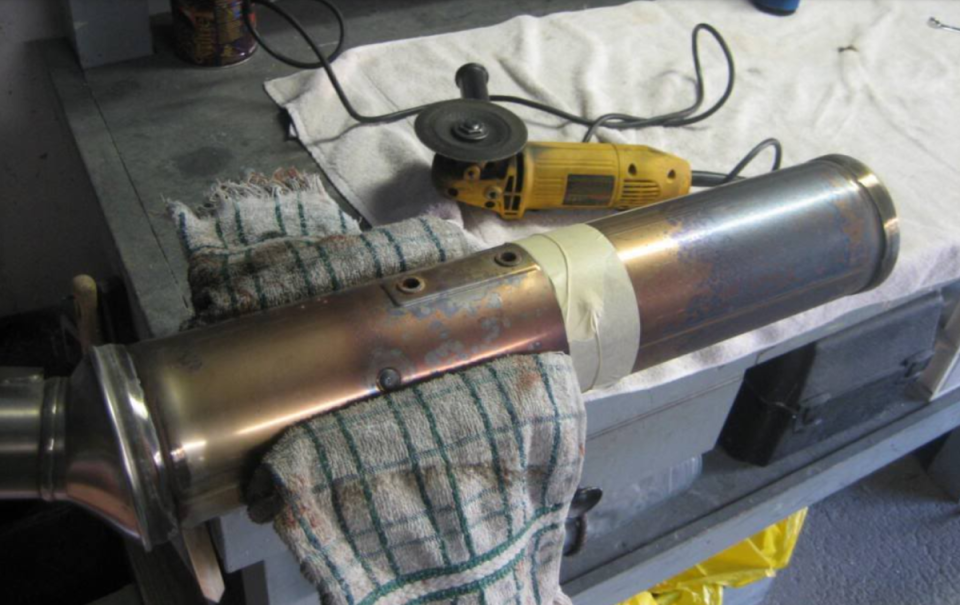
Once the sleeve is off, wrap 2” masking tape around the muffler right behind the mounting bracket holes.
This will be your cutting guide.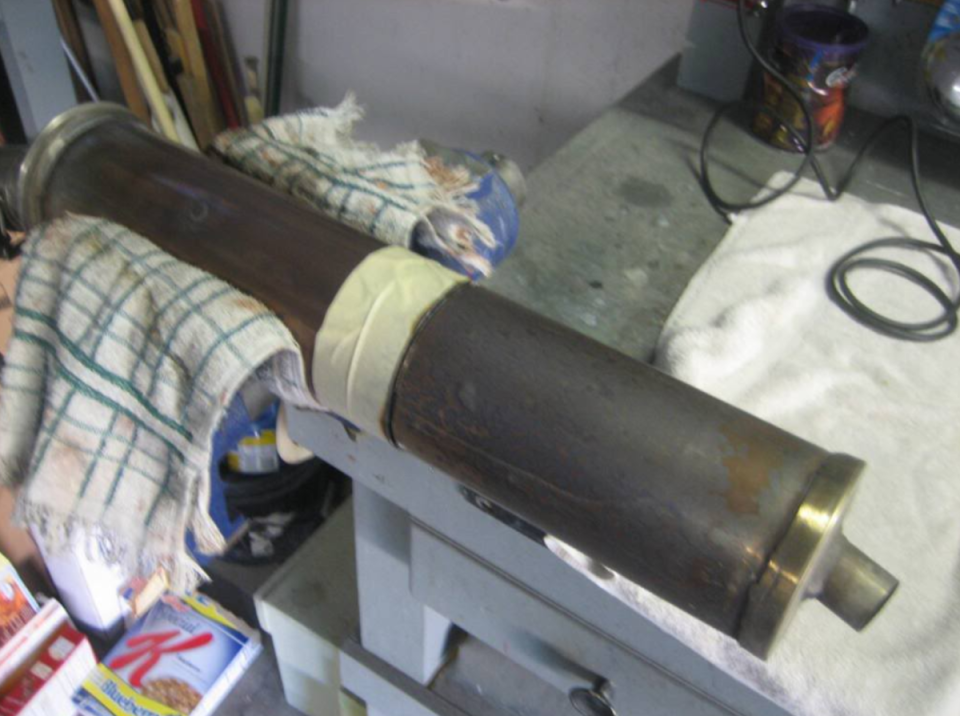
Now take a cut off wheel and cut as deep as you can all the way around the perimeter. I couldn’t get all the way through with the cut off wheel, so I had to finish the job with a sawzall.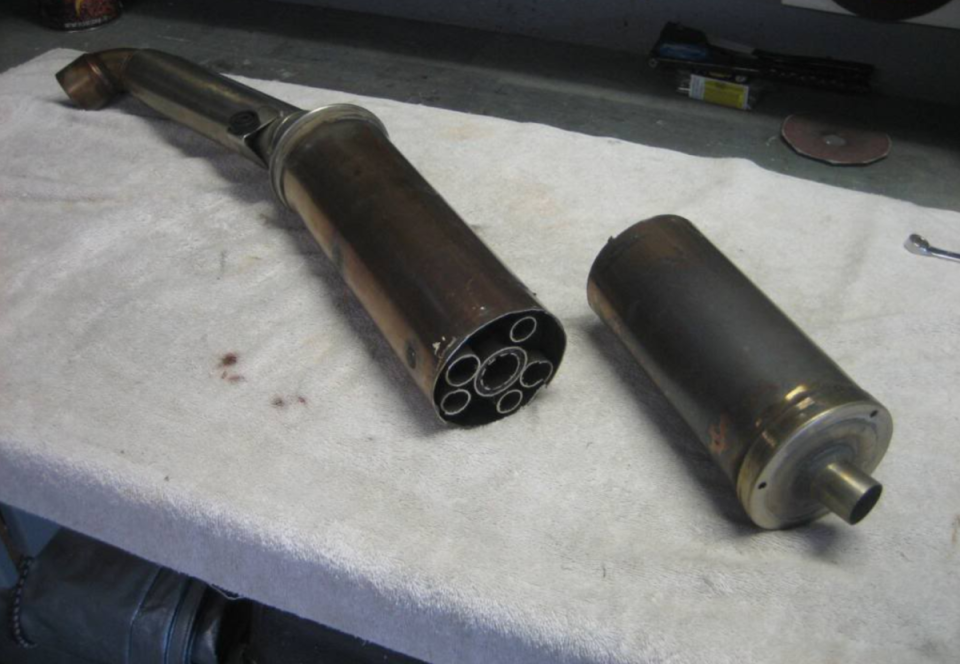
Surgery is done. It looks like you’ve removed a lot, but each of the pieces of muffler you’ve cut off only weigh about 1.7 lbs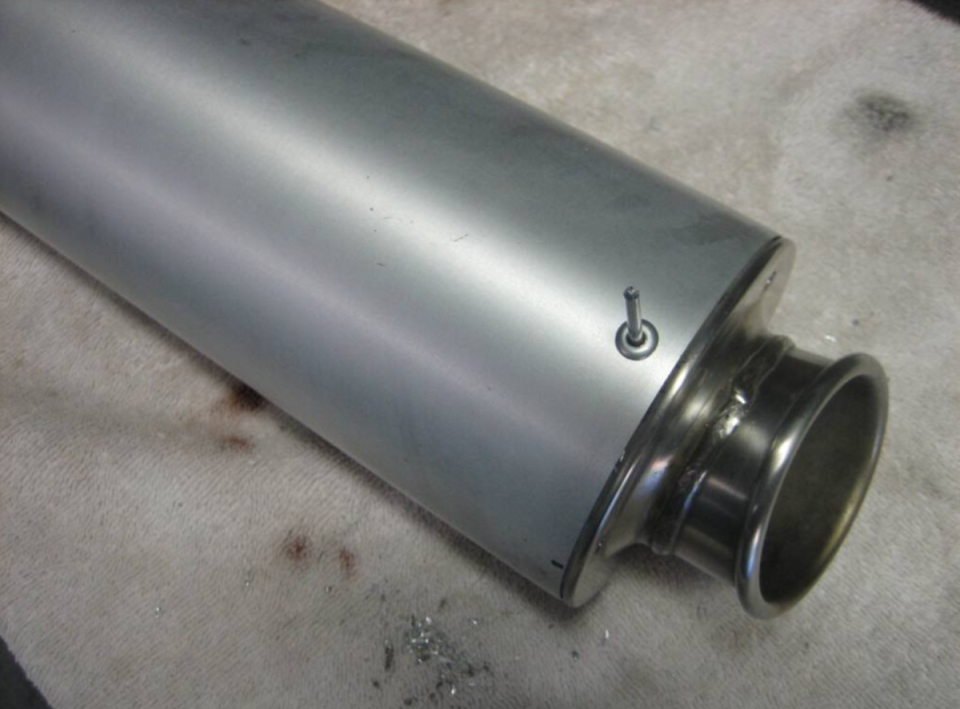
Time to close her up. Reinsert the rear cap back into the sleeve, lining up the rivet hole with the marks you made on the sleeve. Measure, mark, center punch and drill three holes around the perimeter of the sleeve, through the sleeve and cap, at about 1/4” from the back of the sleeve. I centered the new holes between the existing cap holes, but you can put them where ever suits you. Pop rivet the cap to the sleeve, and then put rivets in the existing cap holes.
Now slide the sleeve and cap back on the remaining portion of the muffler and bolt the mounting bracket back on. Ready to install and enjoy. The whole process doesn’t take much more than half an hour per side.
I’ve modified several exhaust systems on various bikes in the past, but have never had as good of results as this. The new sound is deep booming tone and moderately loud (too damn loud if you ask my wife), with no funny flatulent noises, like I’ve run into with past experiments.
I understand that with exhaust mods like this, you usually gain a little top end horsepower at the expense of low end torque, but my seat of the pants dyno can’t detect a difference. It would be a good idea to have the ECU adjusted, but I haven’t gotten around to that yet. I’m due for belts and valve adjustment in the near future, so I’ll take care of it all at once.

 Follow
2.1K
Follow
2.1K