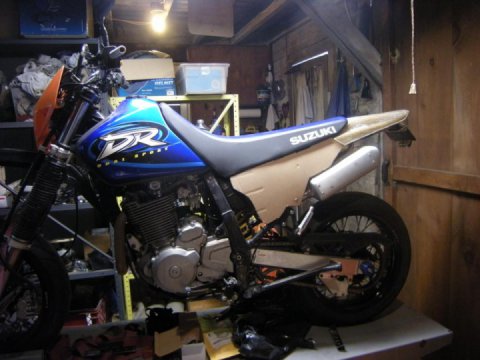
Suzuki GS500 engine repair. Part 2.
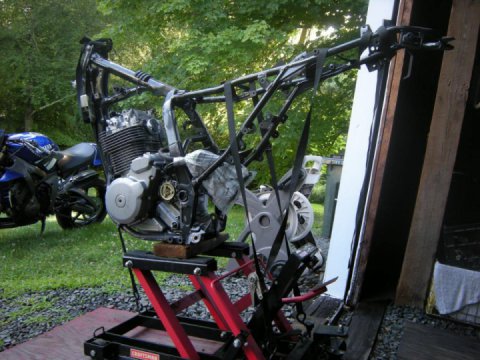
So, let's get on with it. The components have been found, so we can get to work on the motor.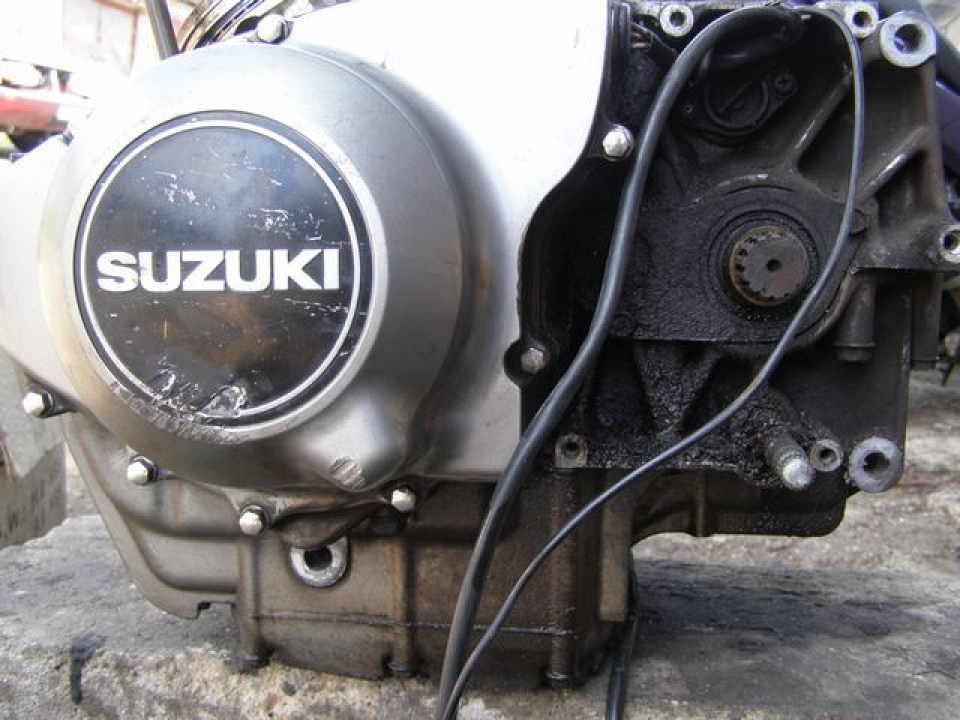
Wash and clean:
Then we loosen the screws securing the pallet and remove it. There's the first surprise.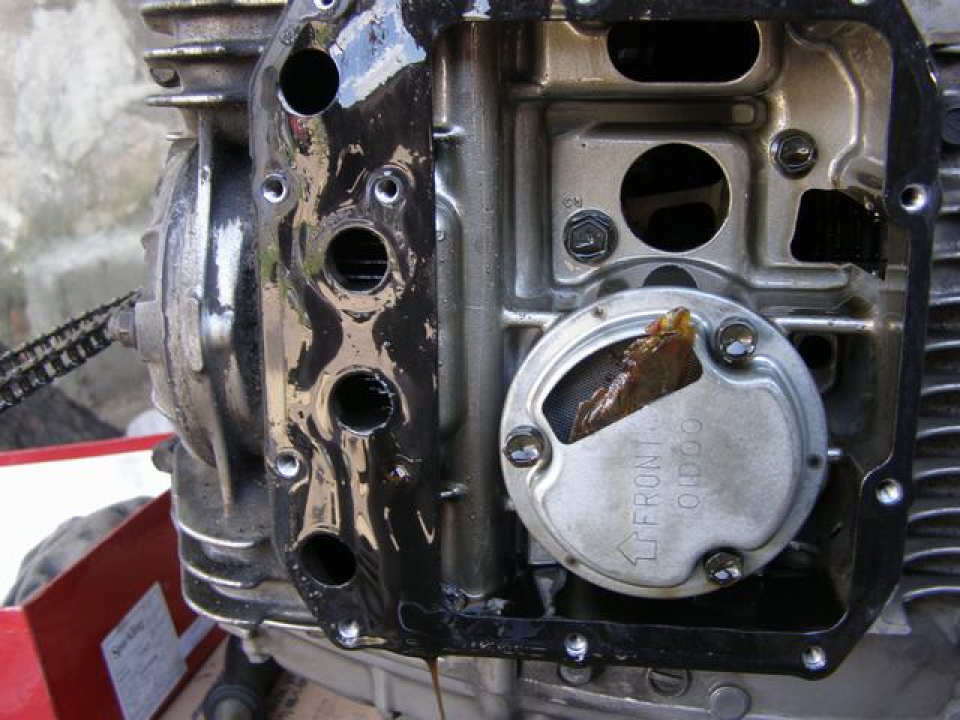
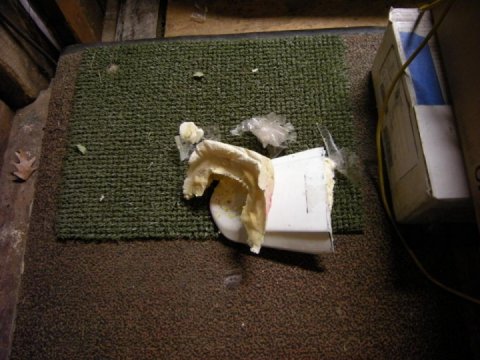
There's some crap in the oil intake.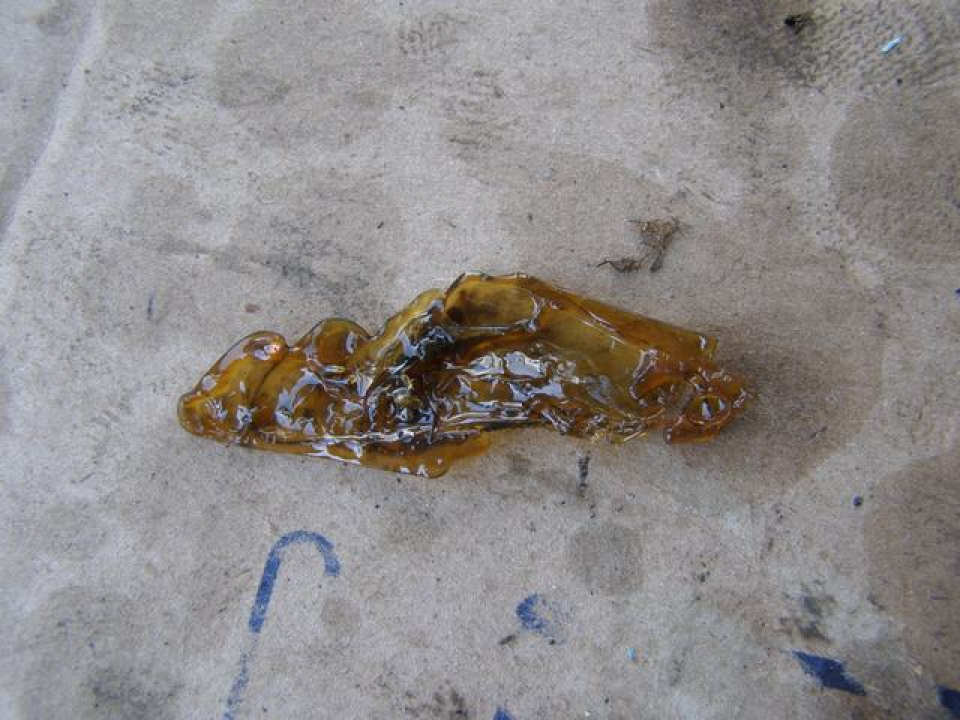
Something that looked like solidified plastic. There were a couple more pieces in the pallet.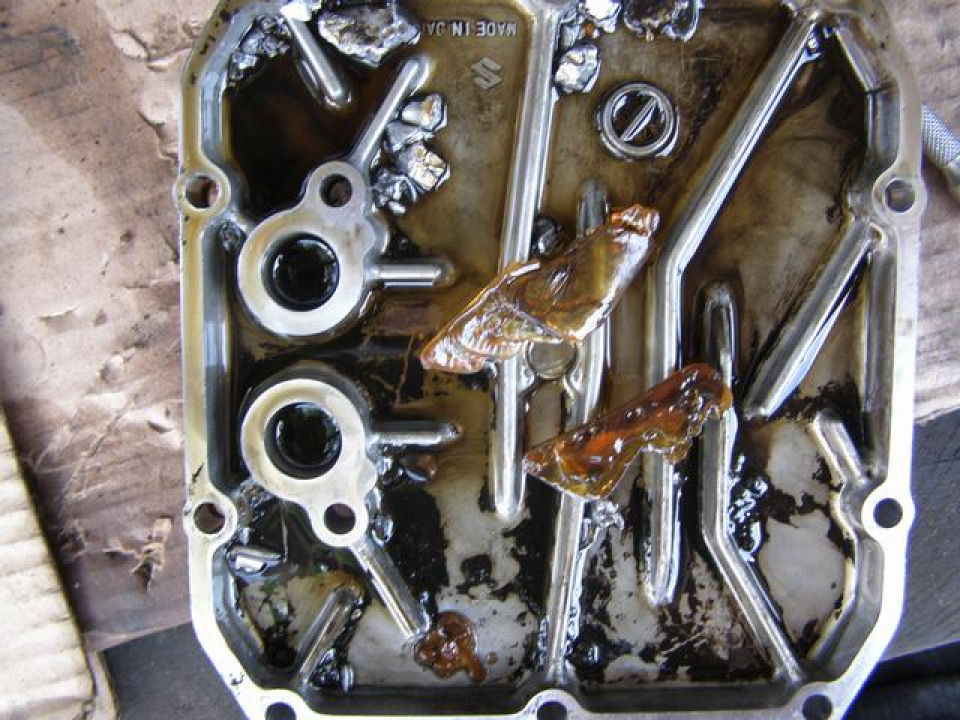
After unclamping around the perimeter of all the bolts fixing the lower part of the engine, and remove it.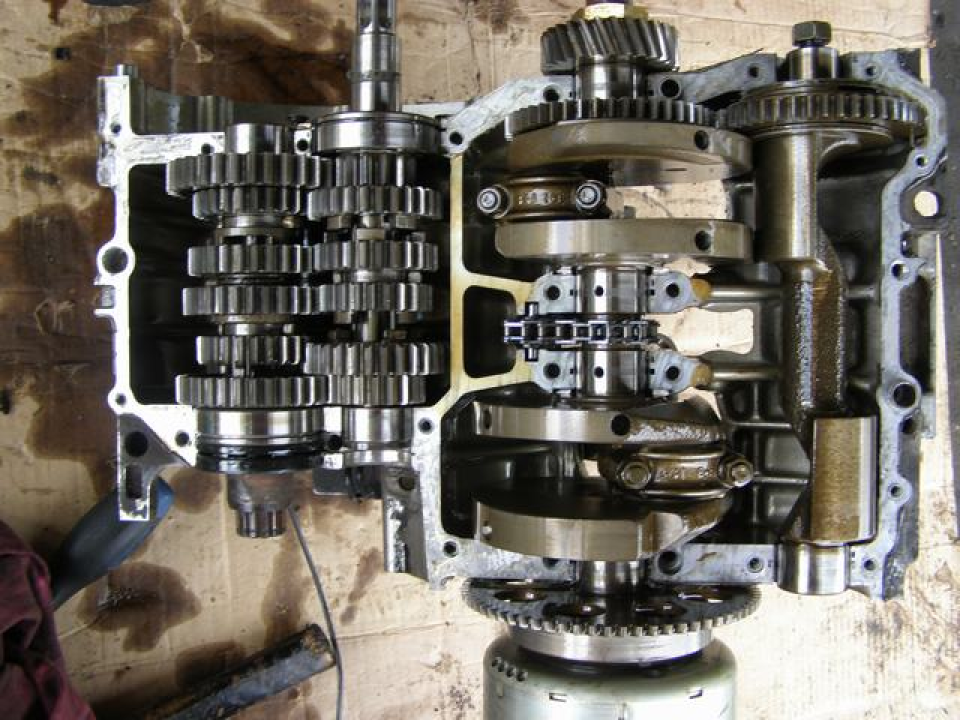
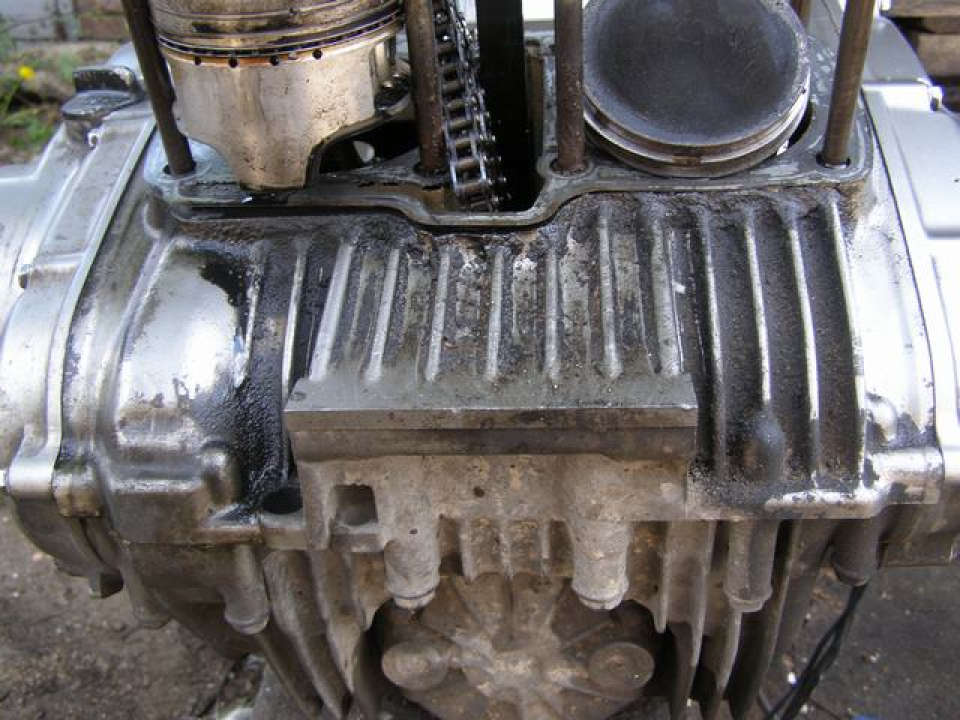
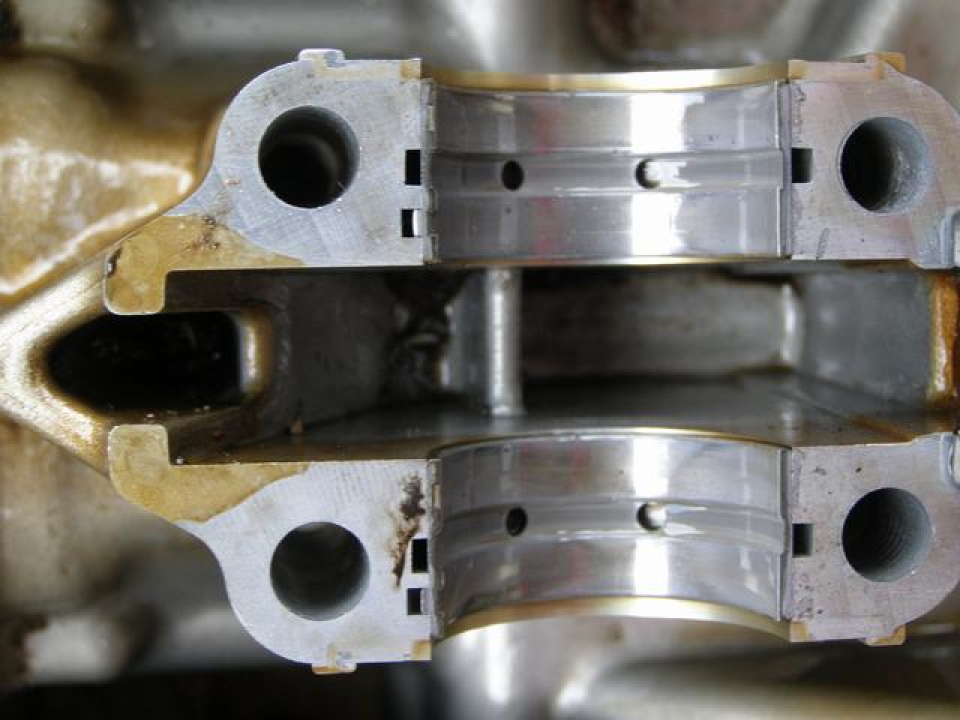
Control shafts, crankshaft, balance shaft. Everything is as simple as slippers.
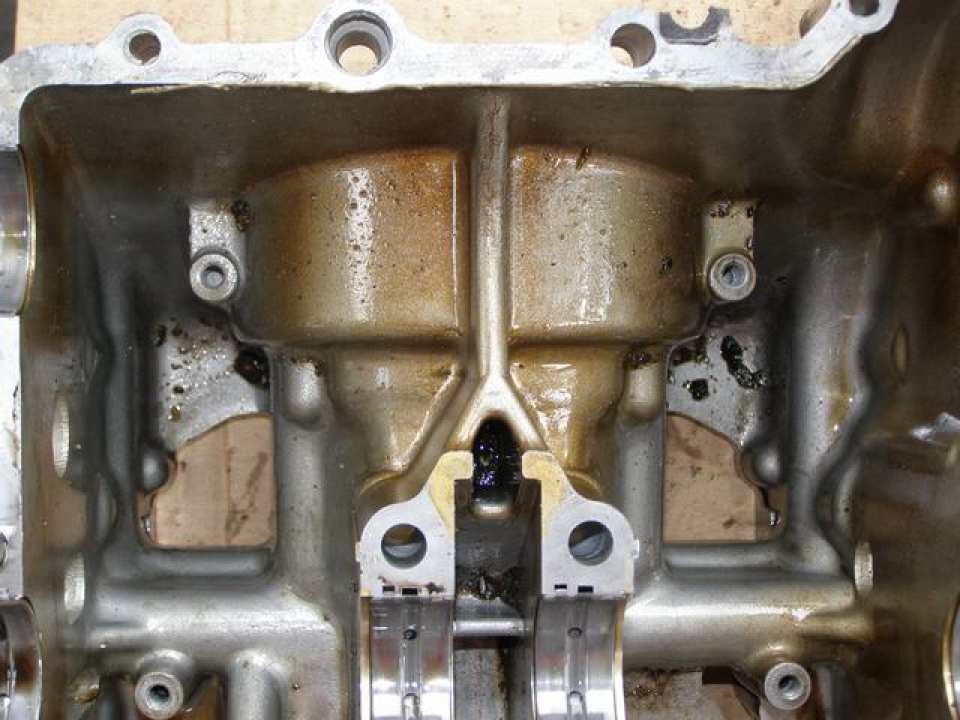
The bottom of the engine (which I removed) is full of all sorts of dirt and crap in nooks and crannies ? .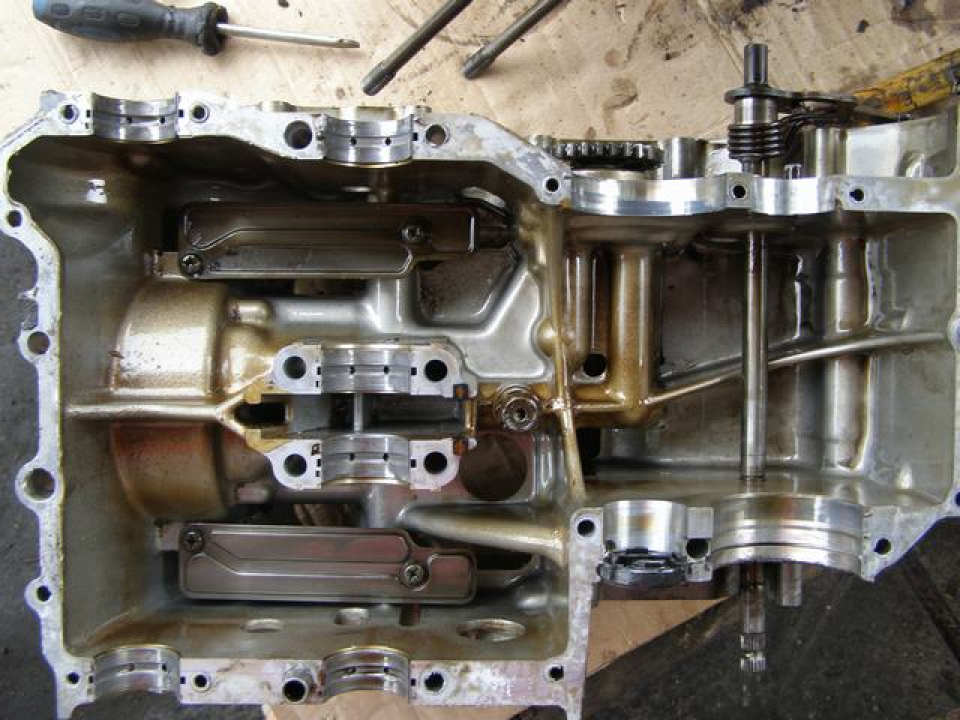
All of this is thoroughly washed out, and actually assembled in reverse order. The aim was to find and remove pieces of piston and valves.
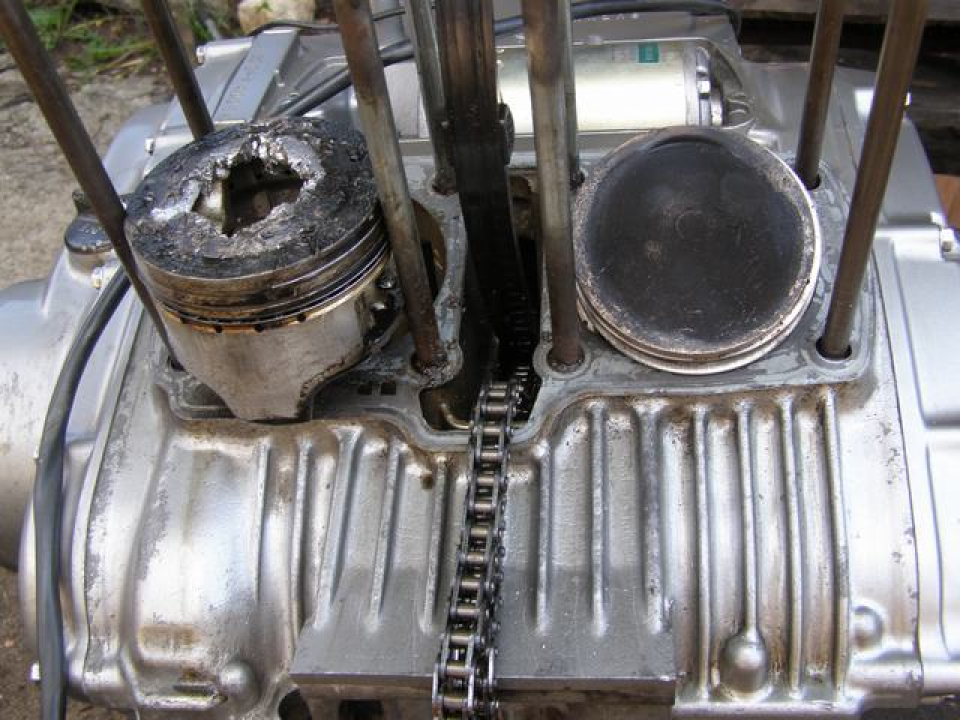
After the engine wedge, the condition of the mirror of one of the cylinders was sad, which is not surprising.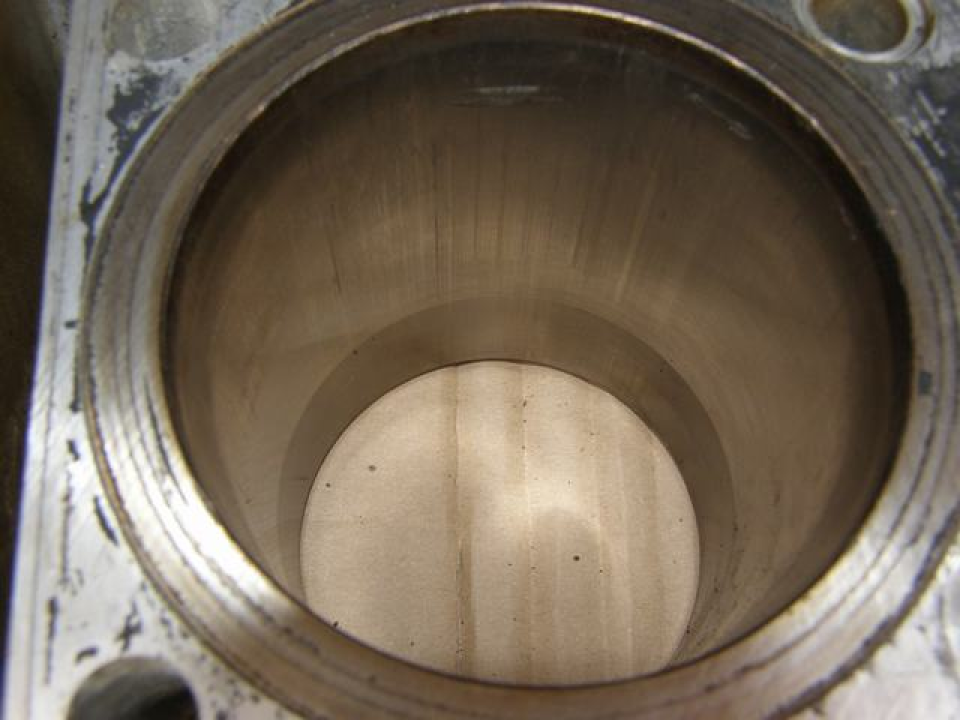
Clearly visible scratches, scuffs and nicks.
It is impossible to install such a cylinder block, so it was decided to use the size of pistons +0.50, and bore and honing the block.
It looks like this: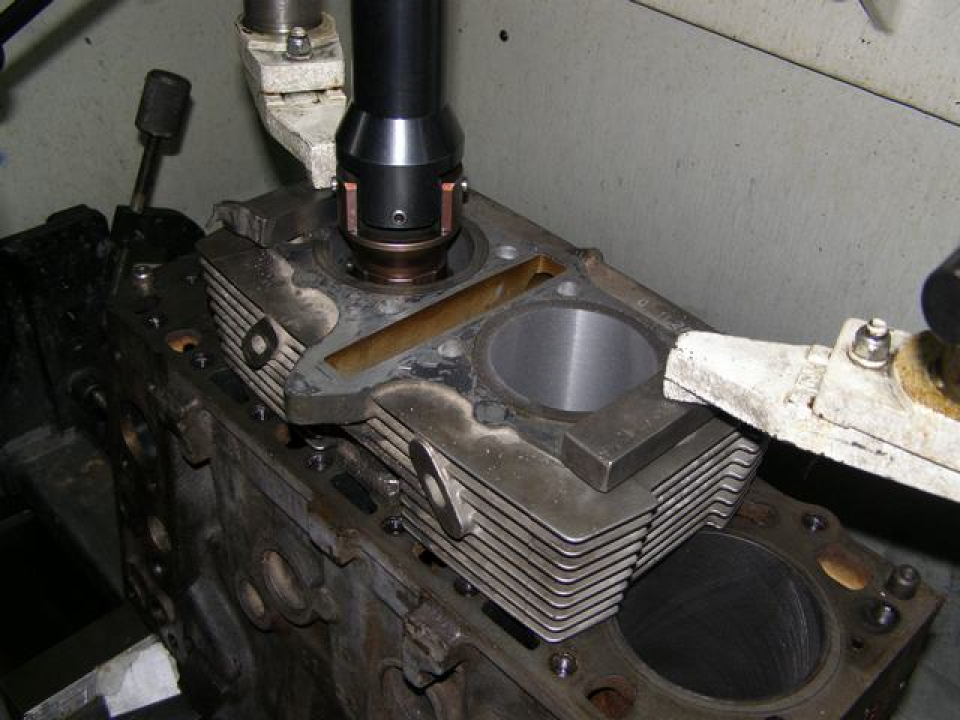
Perfect surface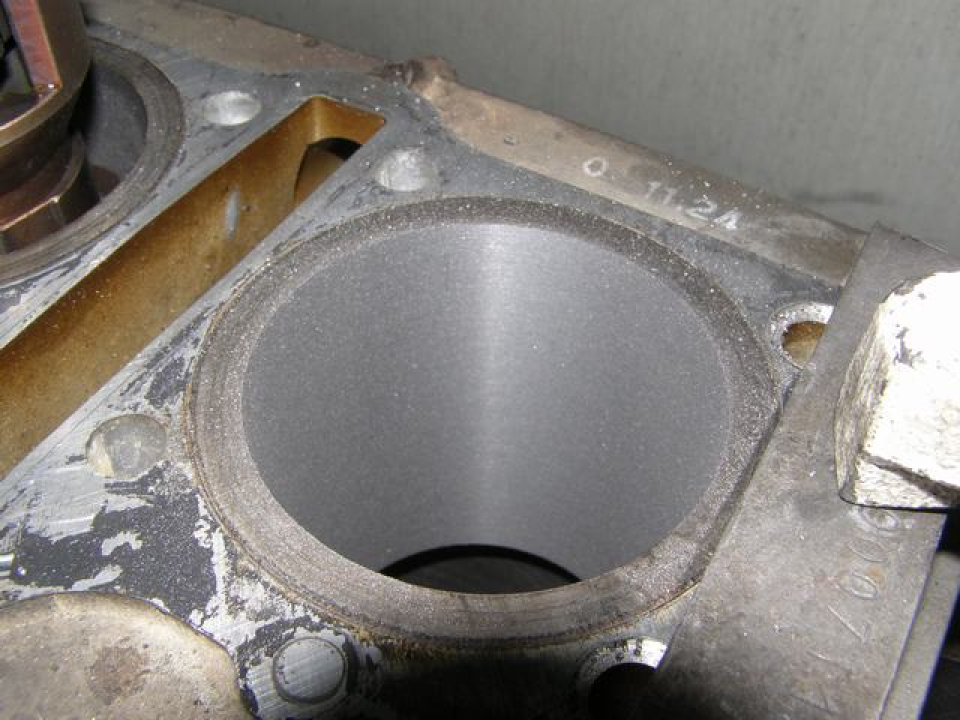
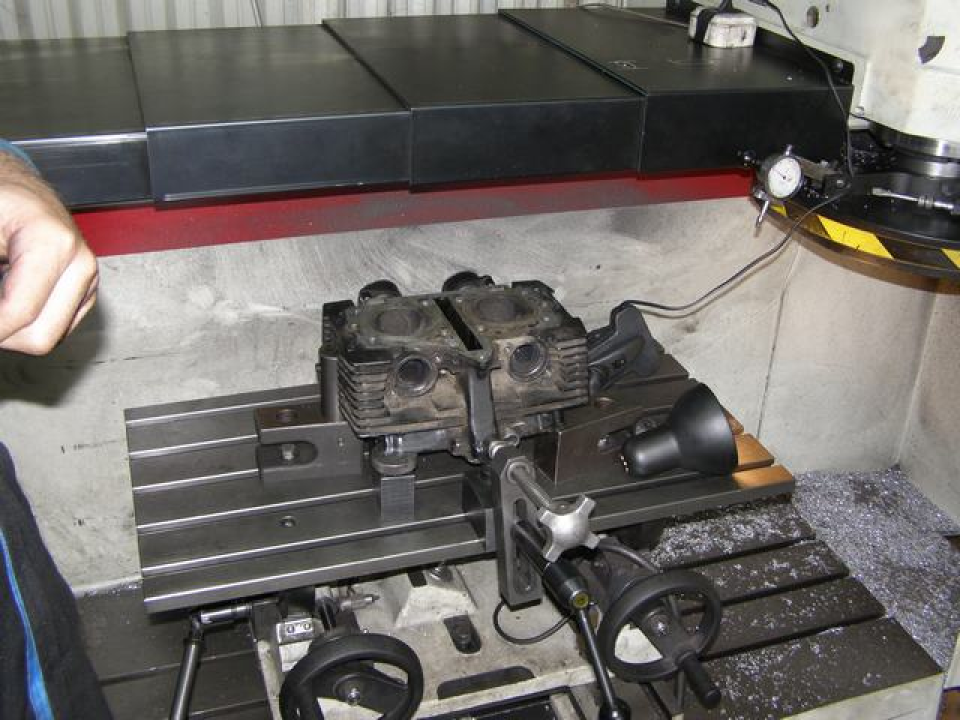
Next is grinding the cylinder head.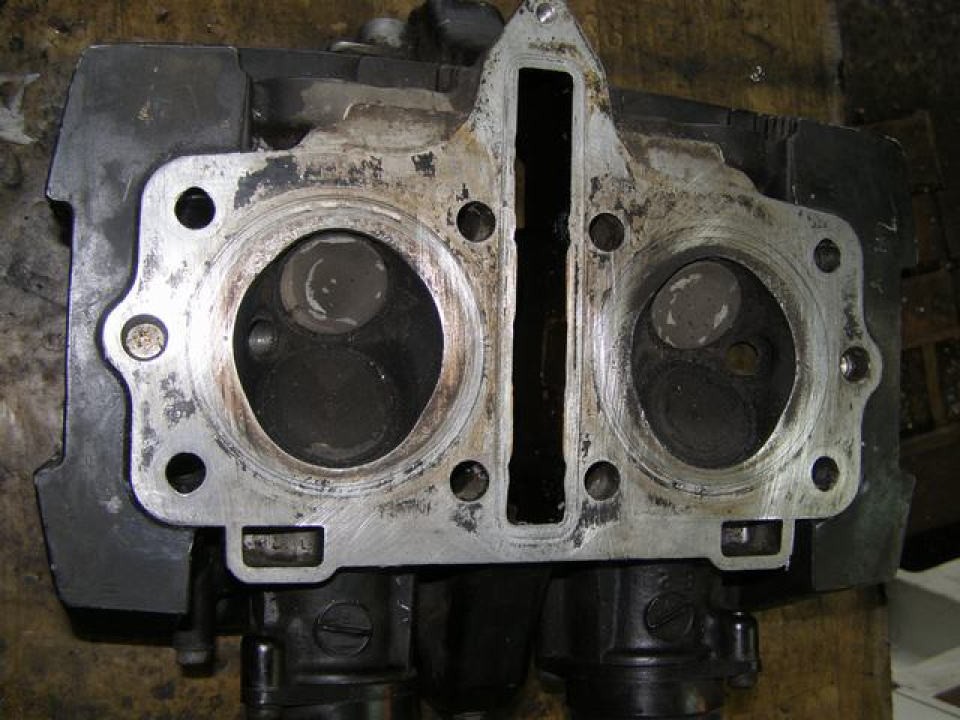

The cylinder-piston group can be assembled.
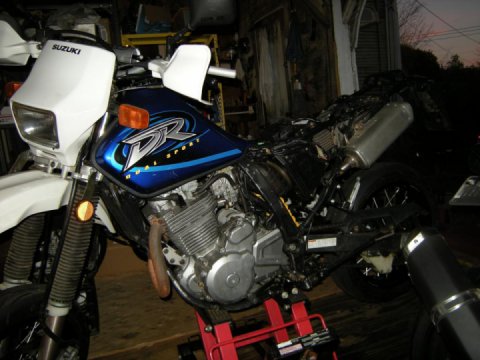
Install the block head and tighten to the correct torque. Assemble the motor in reverse order and you can attach it to the motorcycle frame. Next - synchronization of carburetors and actually test drive.
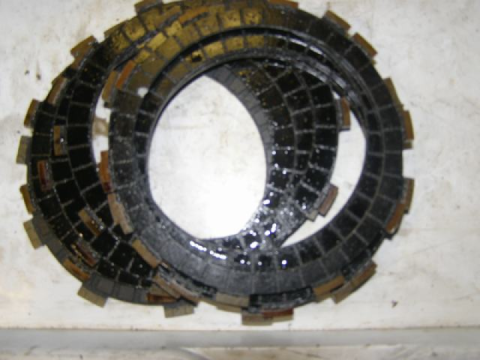
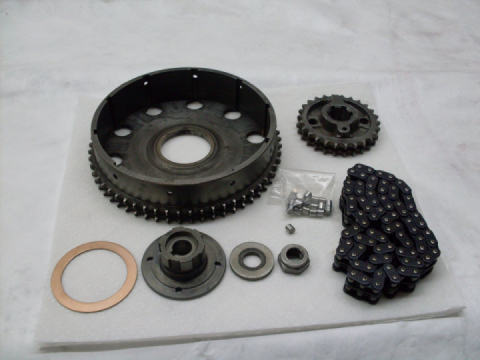
By the way, the drive sprocket was worn out, so it was replaced together with the chain.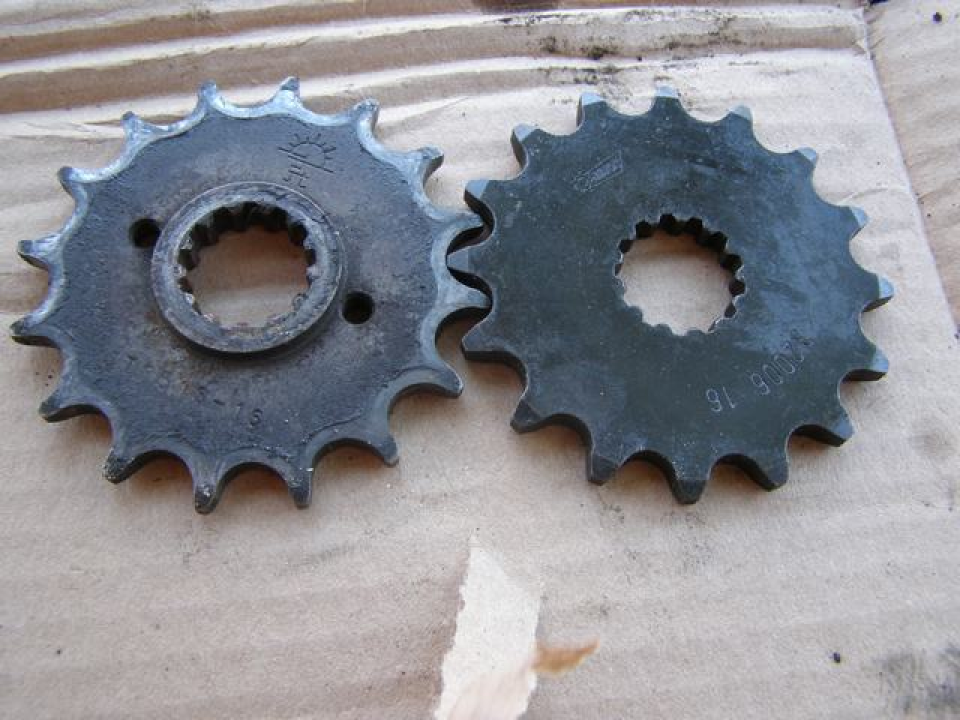
After running about 2000km, the motor feels good.

 Follow
2.3K
Follow
2.3K