Zinc Plating
On previous restoration projects (cars and other things--this is my first bike), I've always struggled with what to do about the hardware. In most cases, the hardware was zinc or cad plated originally, but years of road grime, weather, and the occasional assault with Vice Grips have taken their toll. Many times, the nuts and bolts are still serviceable, but the plating was gone. New hardware can be an option, and is many times the best choice. However, there are situations when new hardware store fasteners won't work. For example, on British cars and bikes of a certain vintage, the markings on some of the hardware are distinctive, and some people think it's important to use the correct parts. More of an issue, though, is when the part isn't a hardware store item. In these cases, the choices are to clean up the part and reinstall it, only to have it begin rusting immediately, or to order a new one, and throw away the old one. This is a shame, since often the old part was still good, but unsightly.
The third option is to have the specialty parts replated. I've gone this route before, and I find it expensive, inconvenient, and time consuming. Also, I always forget to take one or two parts, and end up waiting and paying even more.
I've been thinking a long time about trying my hand at a small home zinc plating setup, and for this bike project, I finally did it. I had done some copper plating for the faucets on a copper sink project, so I wasn't totally unfamilliar with plating. I had fooled around with some Caswell kits, and though they seemed to work well, I thought I could do it more economically myself. I have power supplies, and I can piece together the other parts and chemicals from cheaper sources.
Web research yielded a few good formulas for plating baths, and there are other sources of information out there for the price of a little digging.
I'm using an "acid chloride" bath consisting of zinc chloride and ammonium chloride. The setup is pretty simple.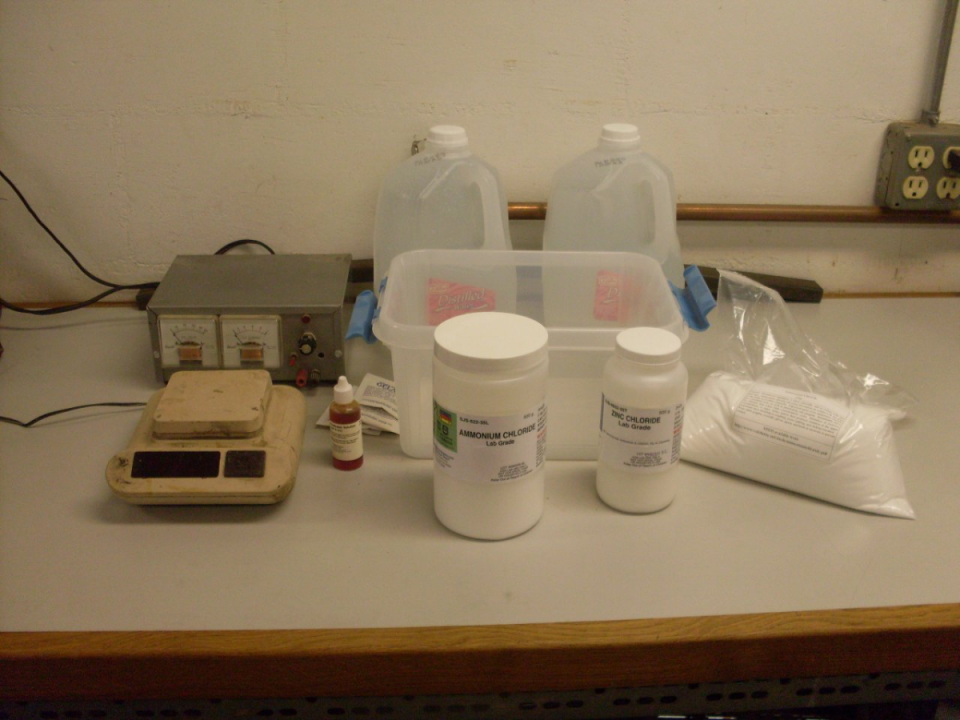
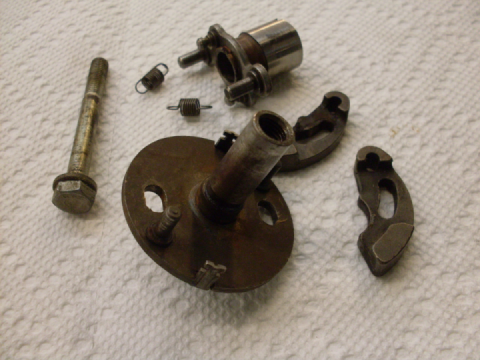
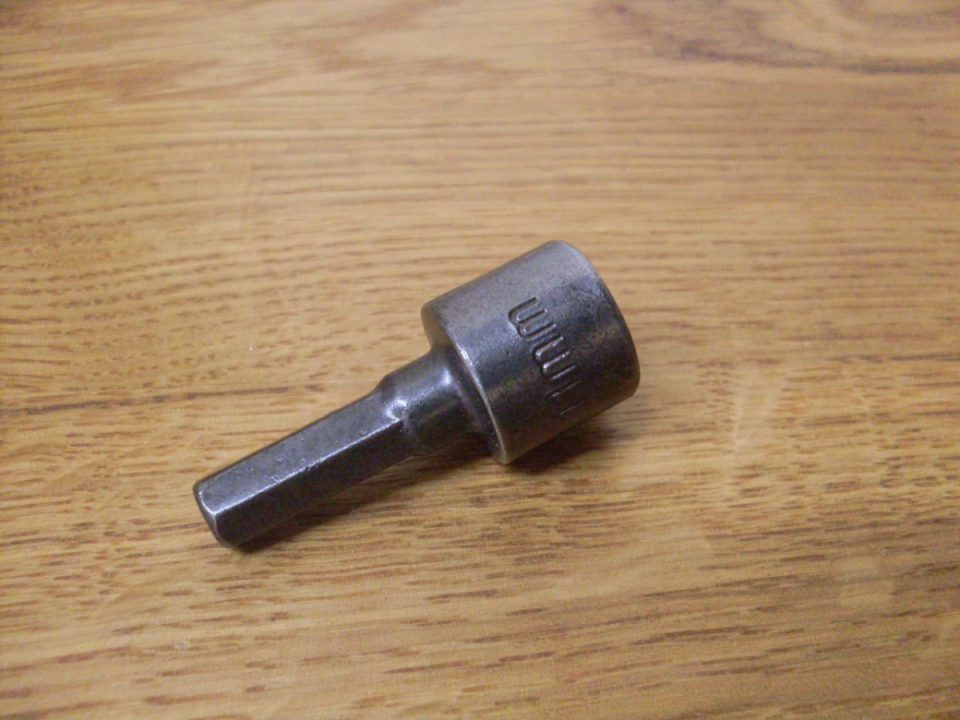
My first trial piece was this socket driver I found in the street while Bonnie and I were walking the dogs recently. First, I wire brushed the rust off. If this piece were ever plated, it wasn't now.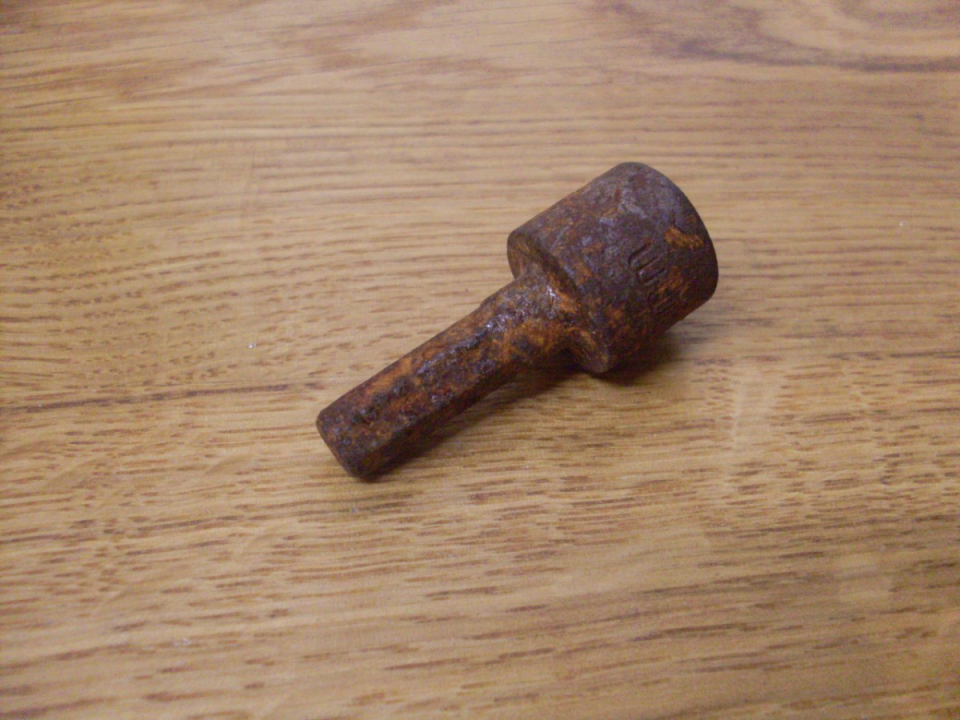
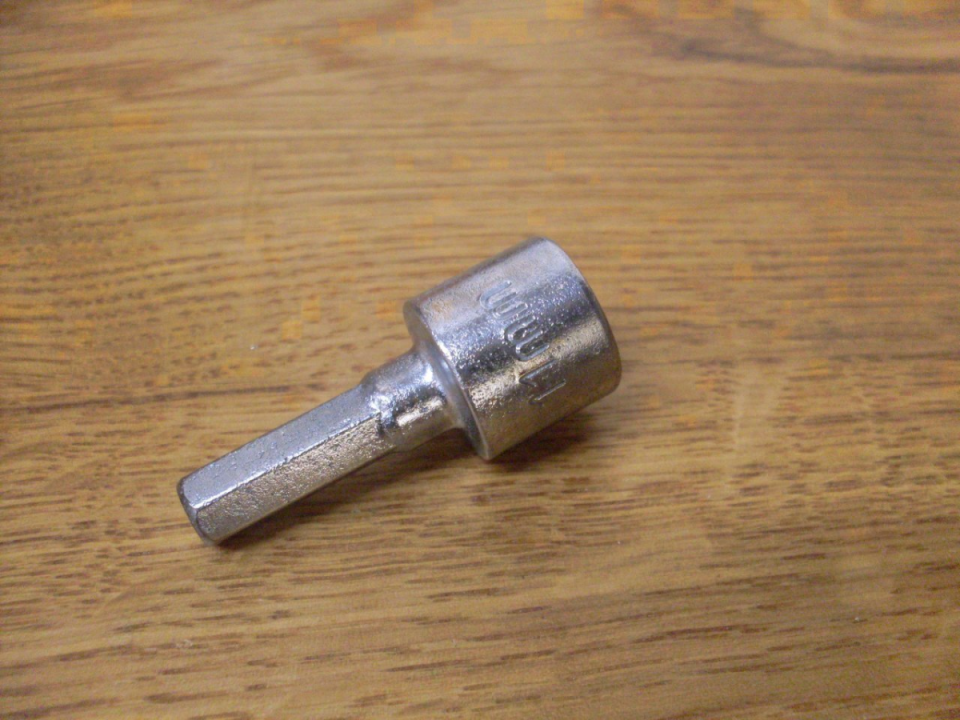
Then into the plating tank. I left it for ten minutes or so, and it came out looking like this. The zinc coating from this bath is fine grained, but it is a matte finish. Commercial platers use proprietary chemnicals in their baths to get a bright, shiny plate right out of the bath. I did quite a bit of research on brighteners, but the chemicals required are often fairly exotic. When I did find one in a catalog, the company wouldn't sell to individuals. One other option is to buy a trade-name brightener from Caswell or similar outfit. I may try this, but for now, I get the btight finish with a very light touch on a fine wire wheel.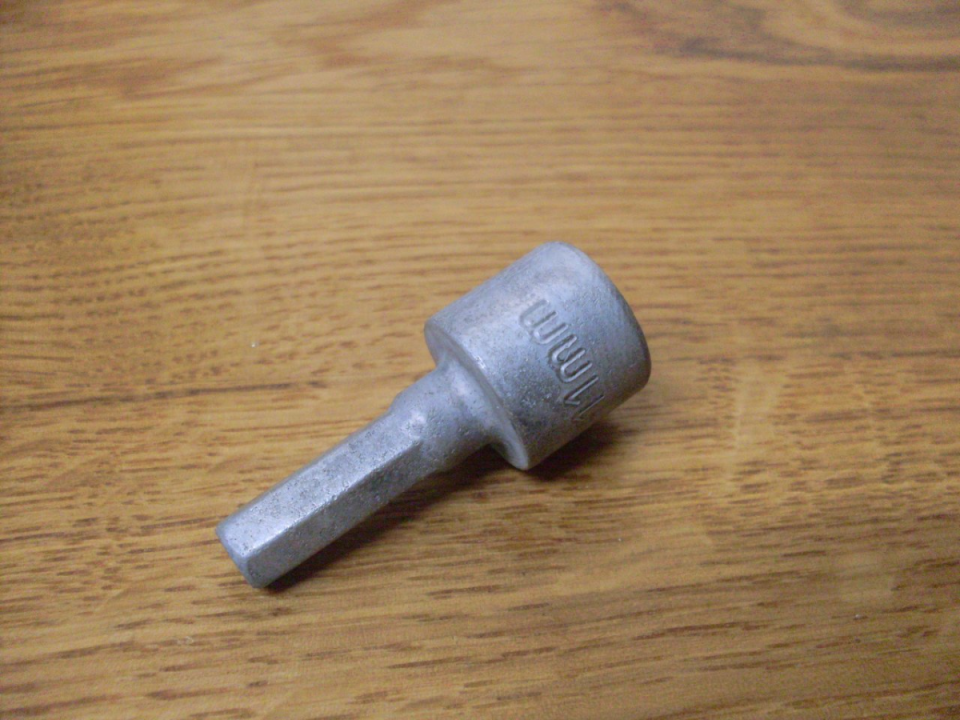
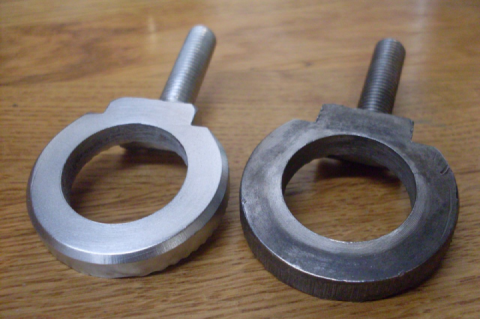
This is a rear axle nut on the Triumph. The picture is a little blurred, but I was trying to show the ugly marks left vice-grips or channel locks sometime in the past. On the right, I've cleaned up the fadces on a disc sander.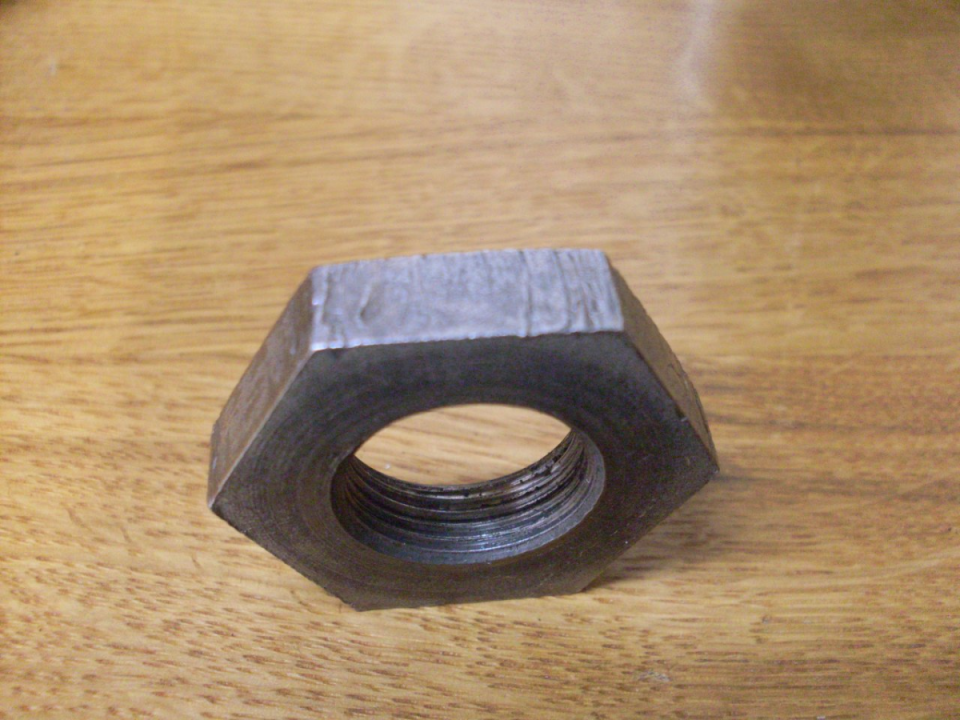

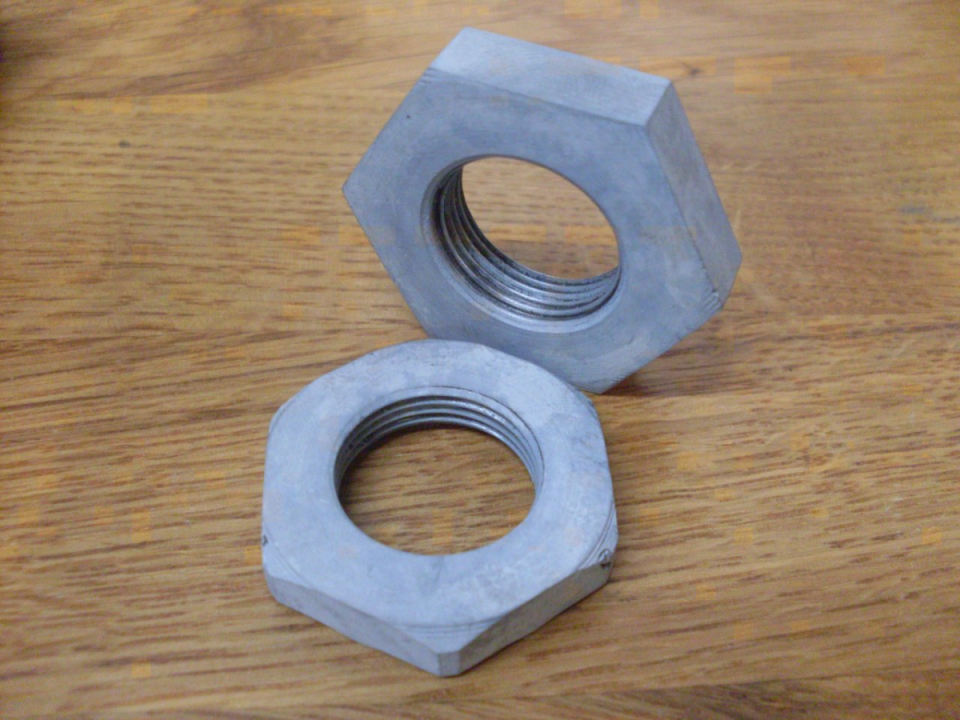
Here are both rear axle nuts on the left after an acid "pickling" bath. On the right, after plating, rinsing, and drying. 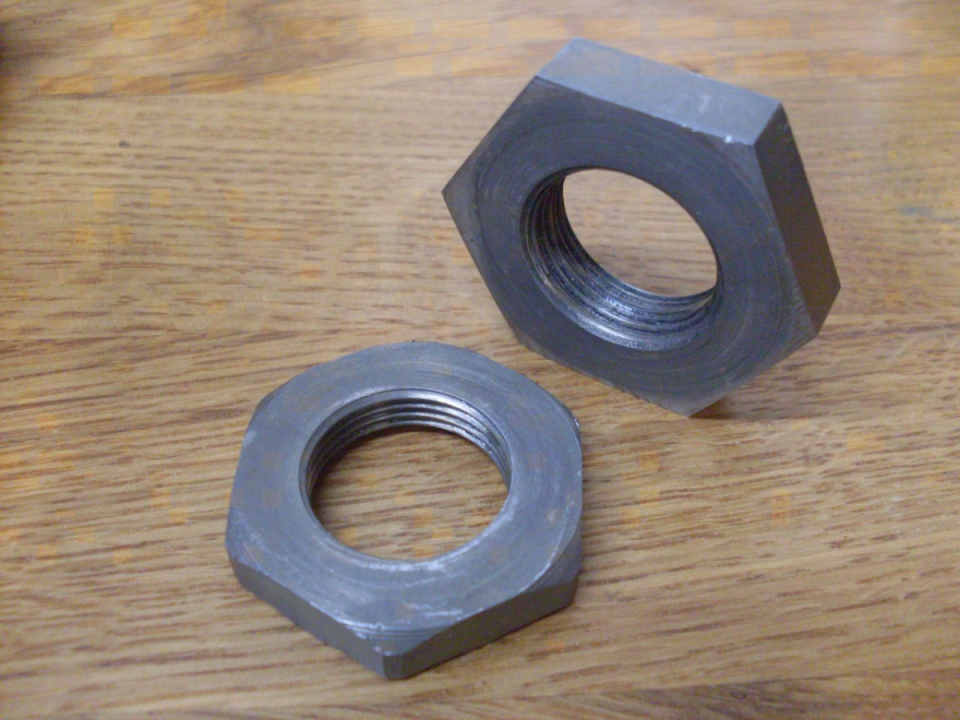
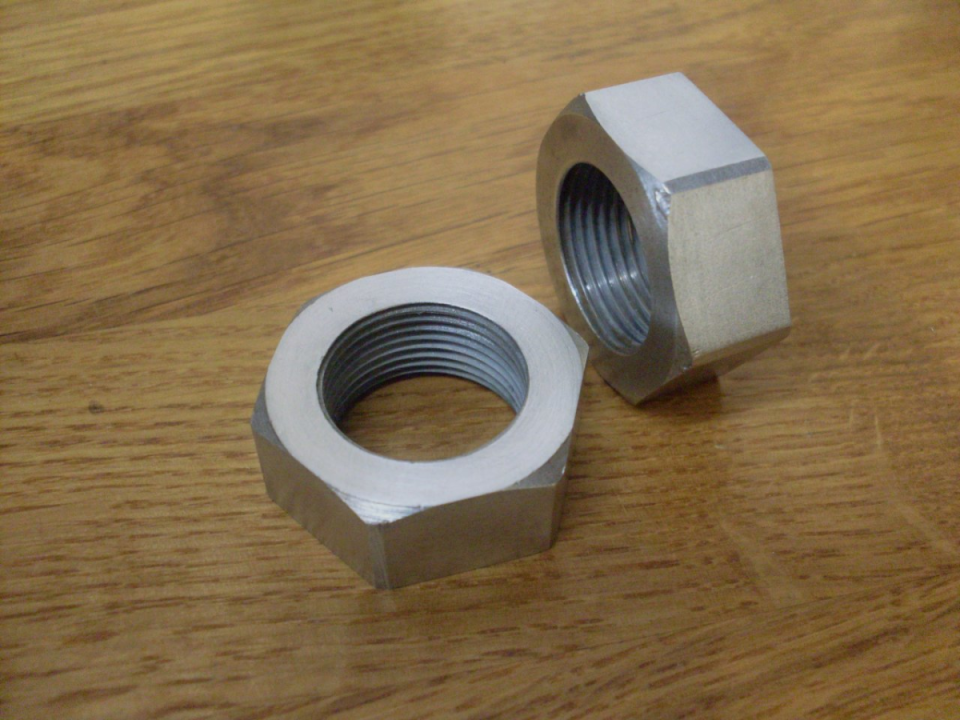
Here are the nuts on the left after a light buffing up. They measure maybe 0.010 less flat-to-flat than original because of the clenup, but this doesn't bother me. On the right are the outside rear axle nuts after the same process.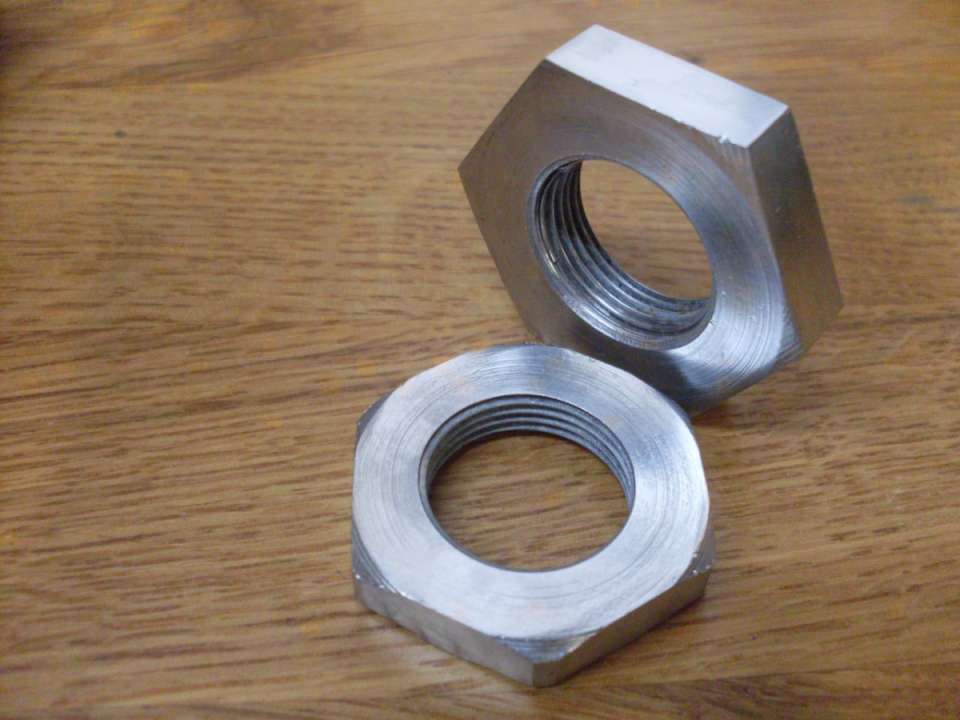

 Follow
1.2K
Follow
1.2K