Fuel Tank Part 5
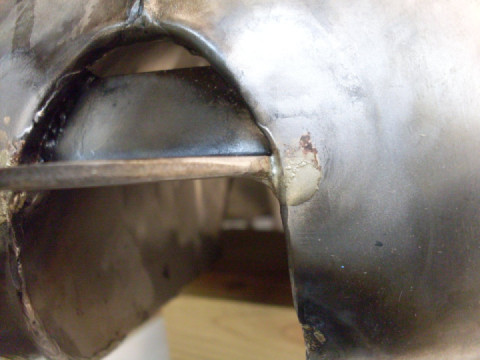
After I posted the above, I got a couple of messages that I had overlooked one potential source of leaks. The way I plugged the filler neck with an expanding stopper put the filler neck joint outside the pressurized area, so a leak at the neck would not have been detected. Of course, this is correct. Here is the construction of the filler neck joint: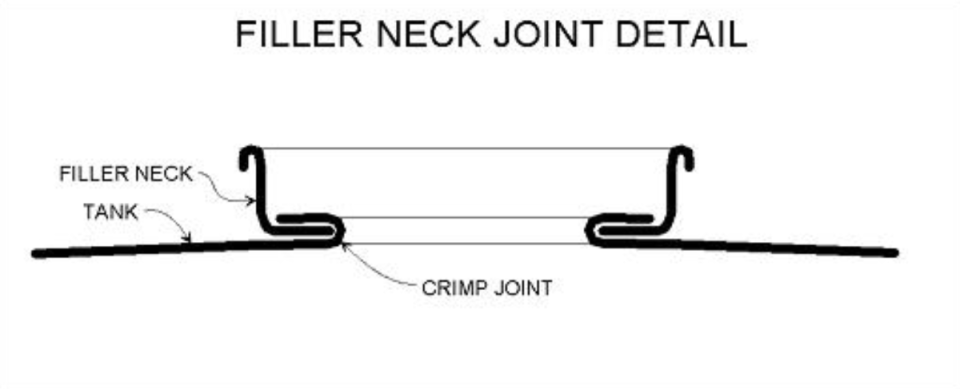
In thinking of ways to repeat the pressure test, I decided that sealing this joint would be a good idea whether it was leaking right now or not. First, I cleaned up the accessible parts of the joint.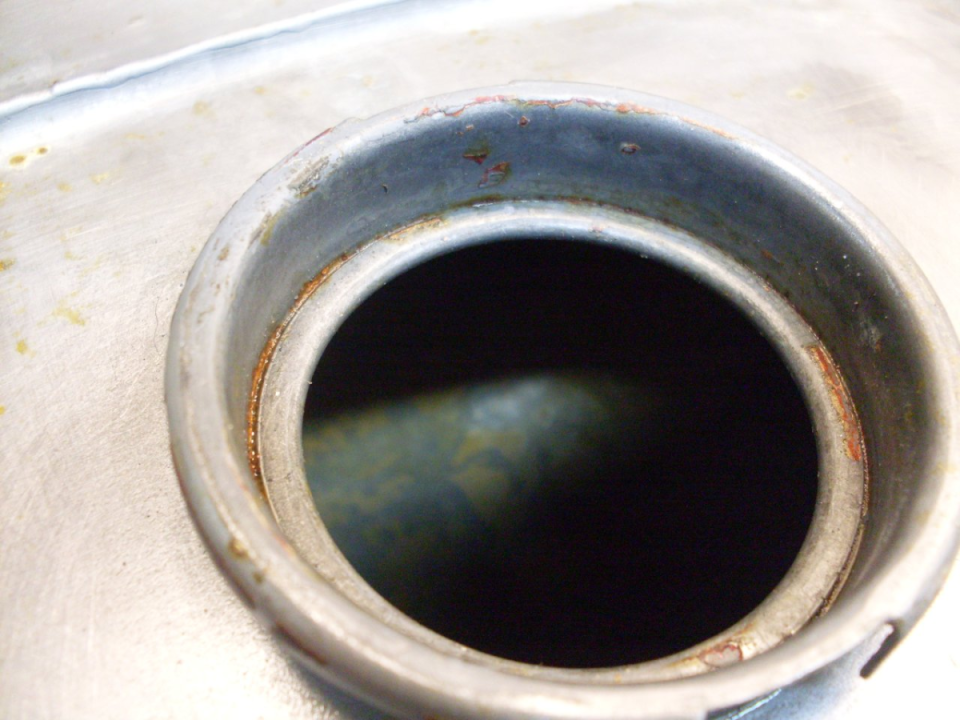
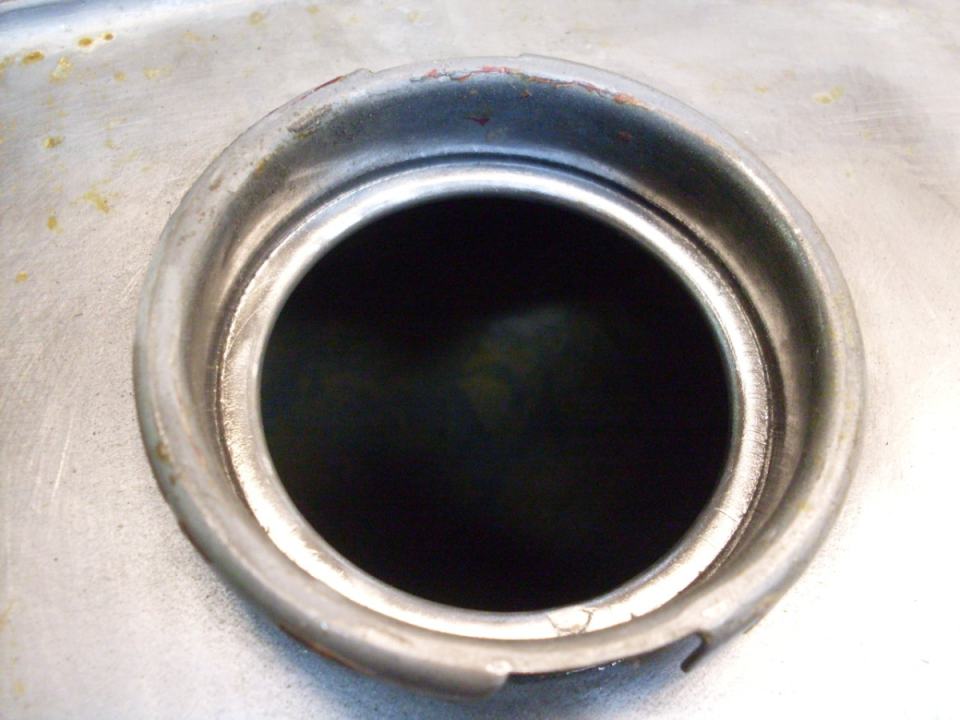
Then soldered it: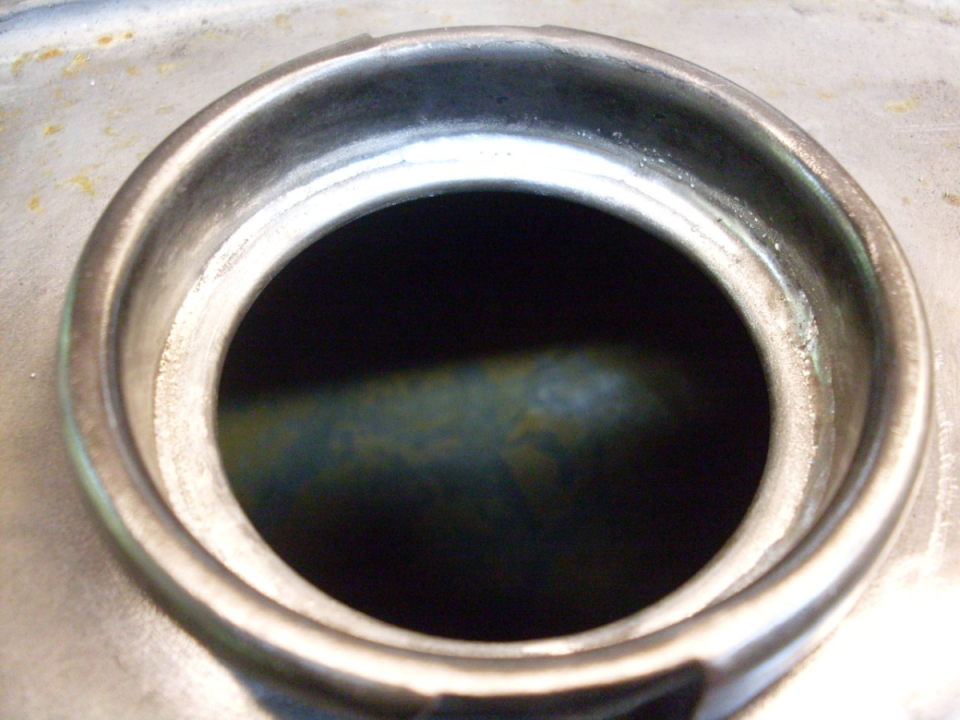
I had all the stuff out, so I soldered around the base of the neck, too: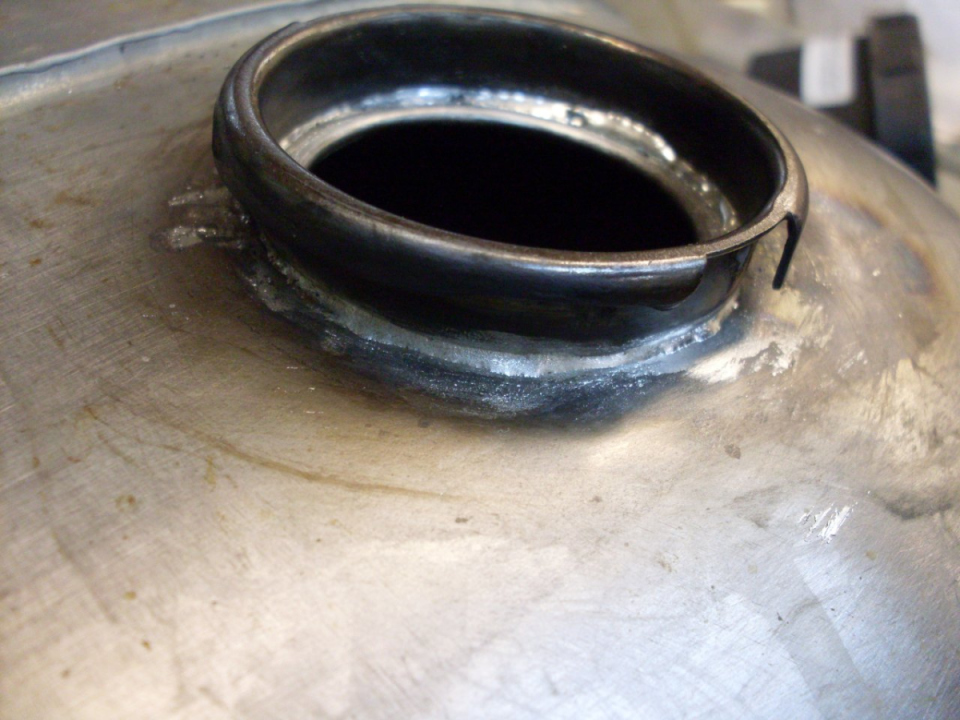
To pressure test, I saw problems in just using a gas cap on the neck. Even plugging the cap vent, the spring loaded cork washer didn't seem positive enough, and besides, it would be hard to check for a small leak around a gas cap. I ended up bonding a metal disk over the top of the filler neck with RTV. The five-pound lead weight balances the internal pressure to reduce the stress on the RTV joint.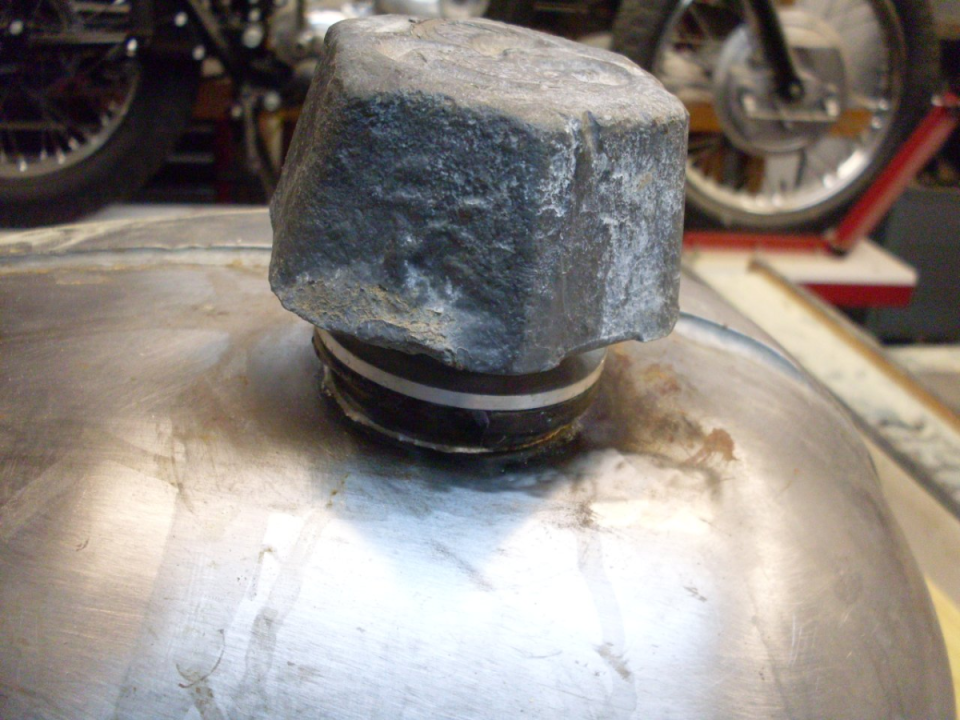
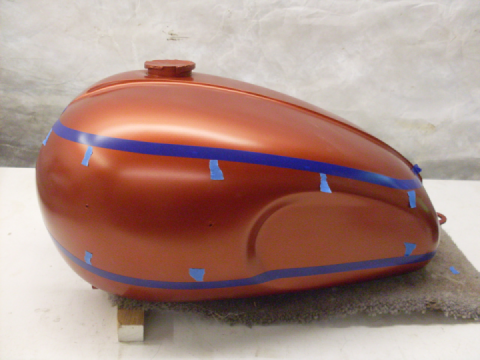
The tank went over night with no detectable loss of pressure. Now I think I'm ready for prep and paint,

 Follow
1.4K


