Instruments Pt. 3
With all the parts being brass, soldering is the obvious way to fix the nested tubes into the hole: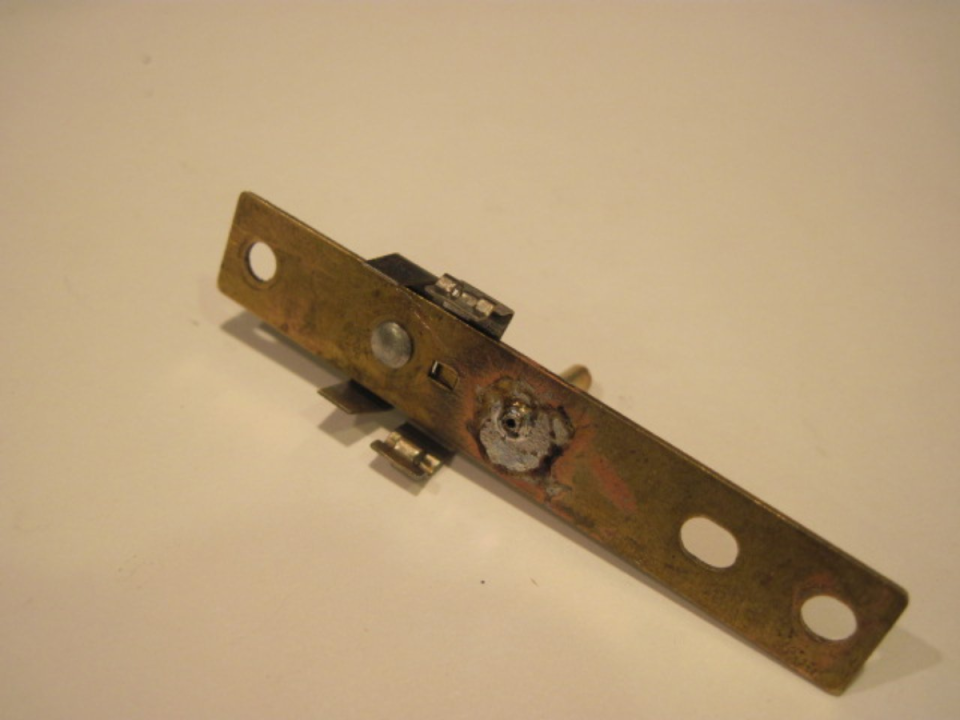
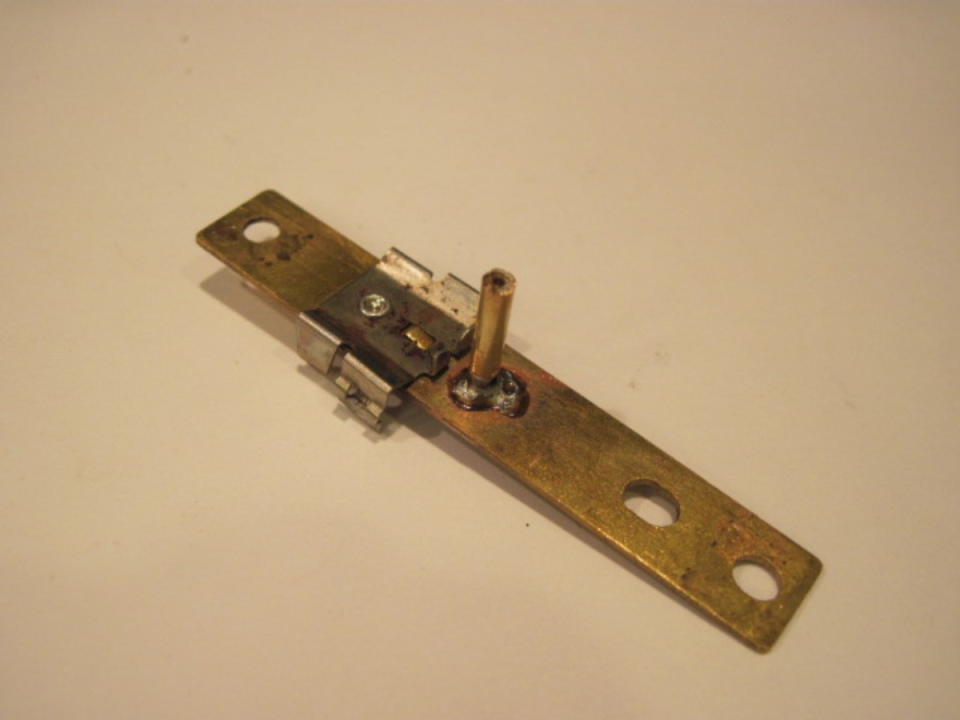
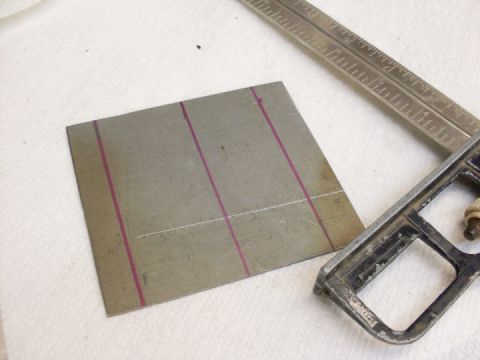
I cut away the excess tube and leveled the surface. I'm not sure what the ID of the smaller tube is, but it's less than 1 mm, so I drilled to 1 mm.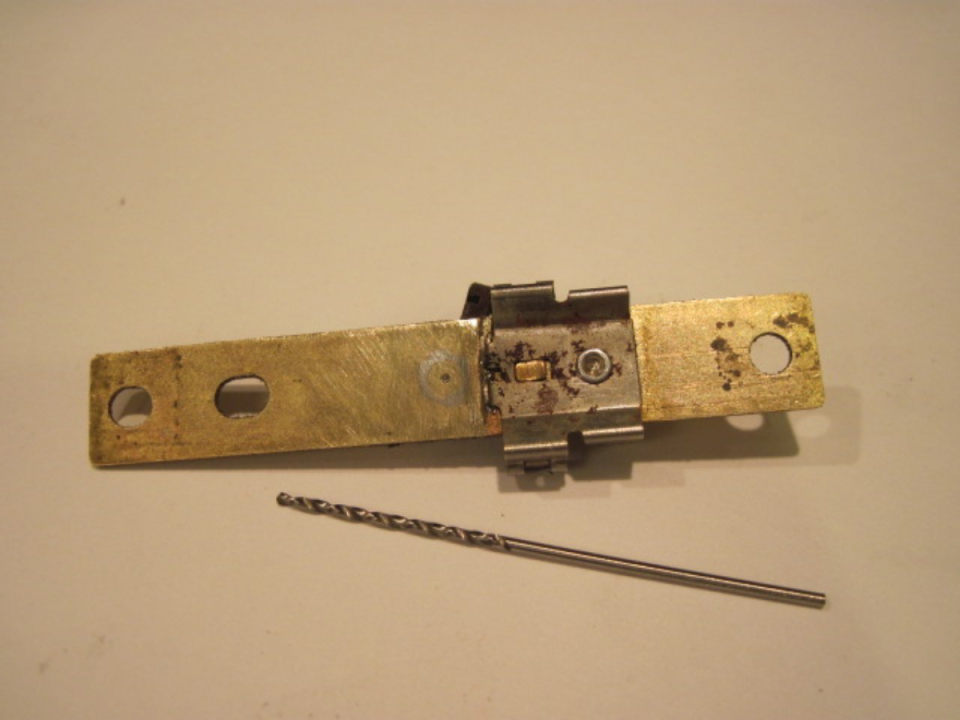
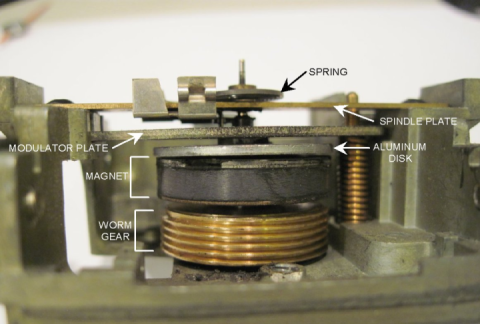
There is one additional part in the disc assembly. There is a tiny plastic sleeve that goes on the disc spindle just under the spindle plate. It is a sliding fit on the disc spindle, and it has an arm that sticks out into a slot on the spindle plate. The arm keeps the sleeve from turning with the spindle, so it provides a little friction to the turning of the spindle, This serves to damp rapid fluctuations in the spindle (and thus the needle). Well, some regrettable haste led to breaking the tiny arm off one of the sleeves. 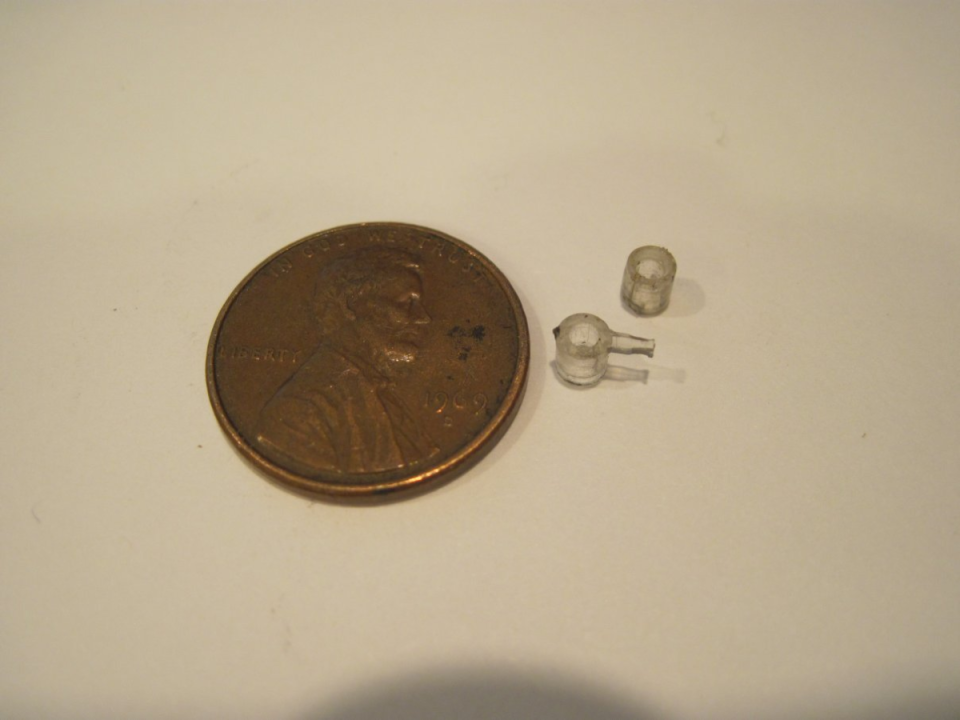
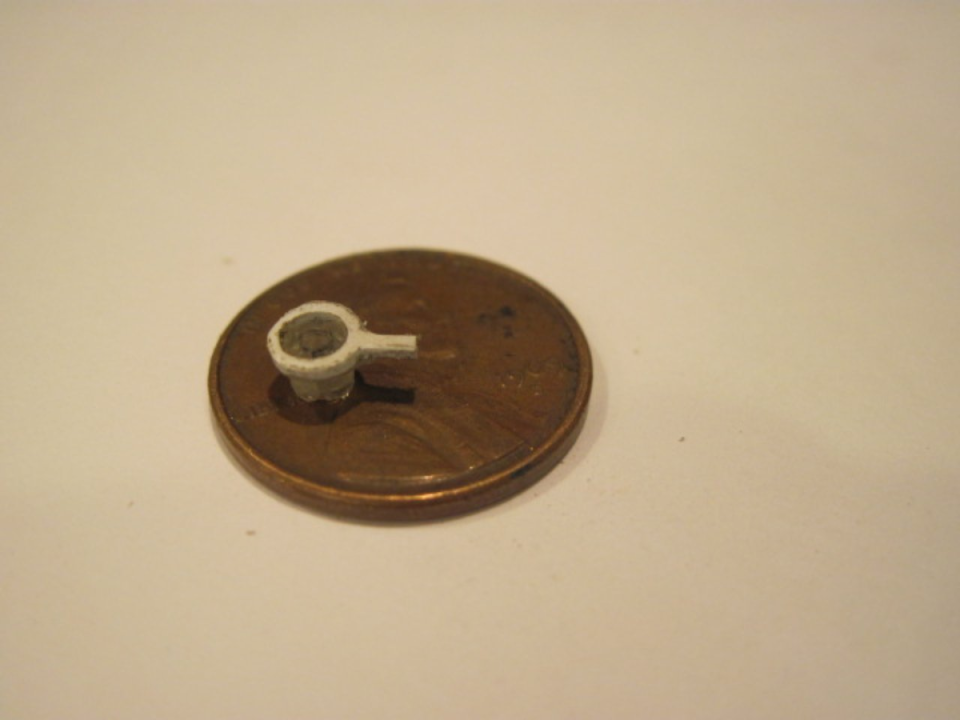
One thing that occurred to me was to get a junk instrument and take the sleeve from it (maybe an indicator needle, too). I found after calling around, though, that since even junk units are valuable as cores for rebuild, no one had junk speedos or tachs around. If I had looked harder or if there had been any swap meets handy, I might have found one, but I took another path and had a fixed sleeve an hour later. The OD of the sleeve is about 0.062", so a 1/16 drill through an old credit card, some Exacto work, some cyanoacrylate glue formulated for plastic, and I had a functional sleeve again.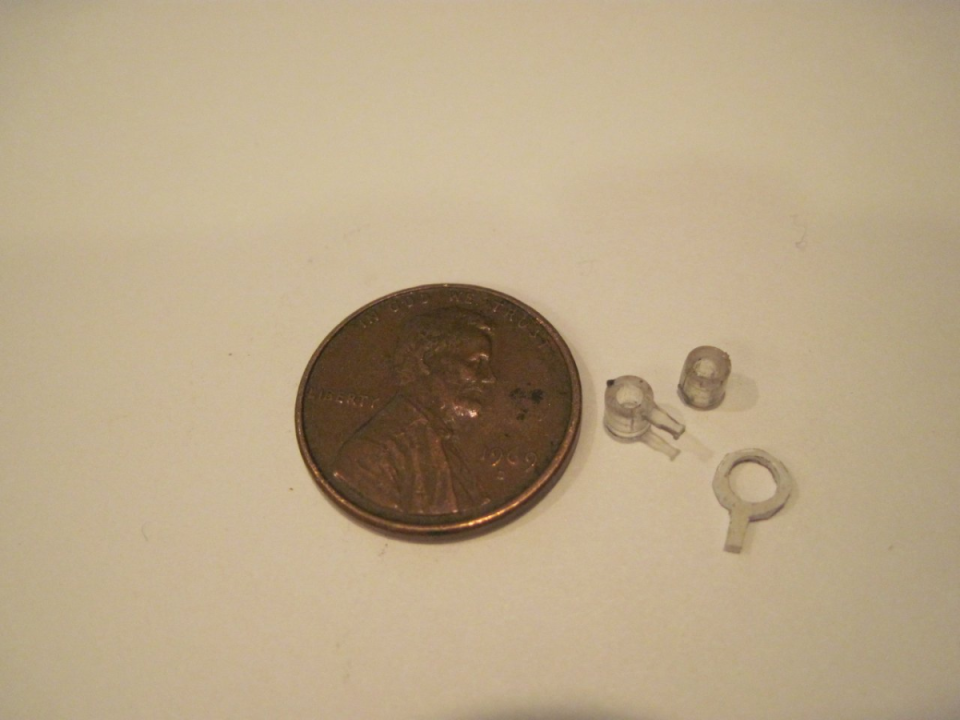
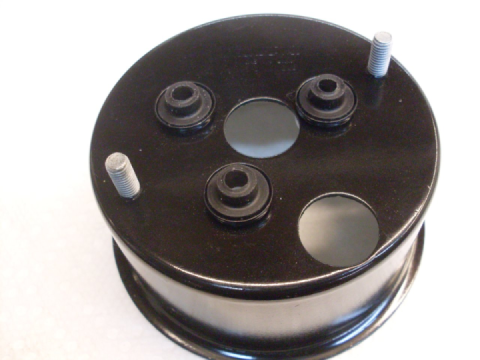
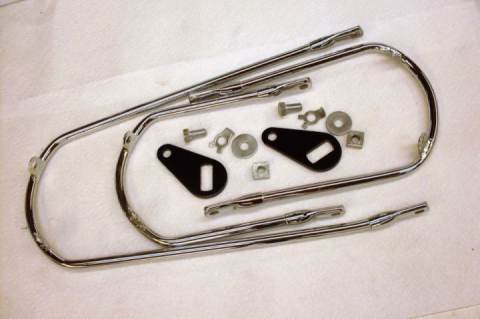
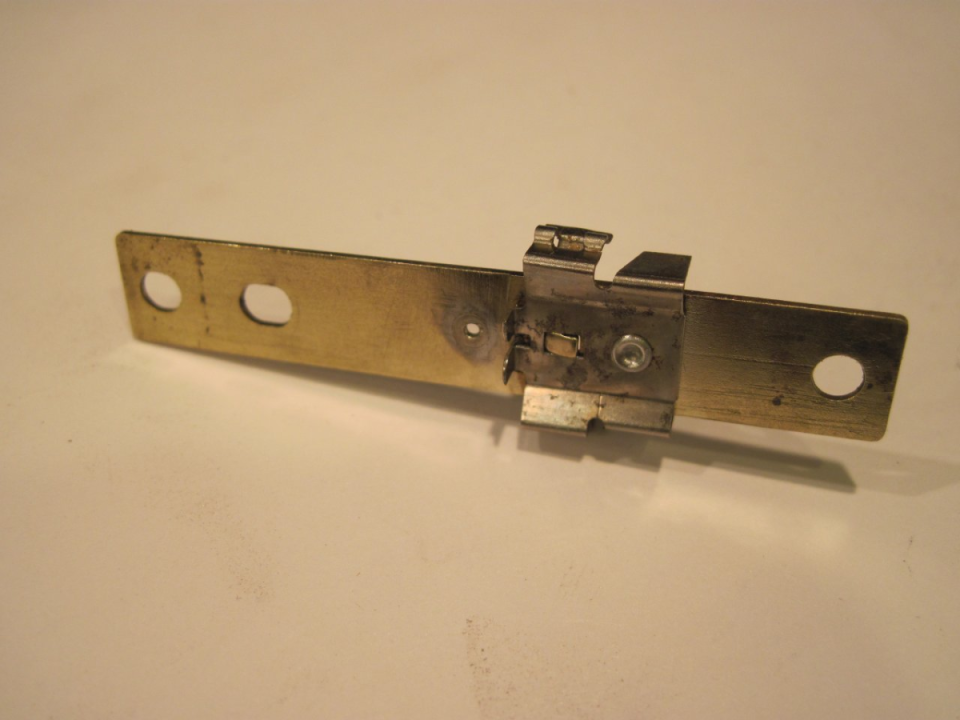
Replated the steel modulator plates and other steel parts: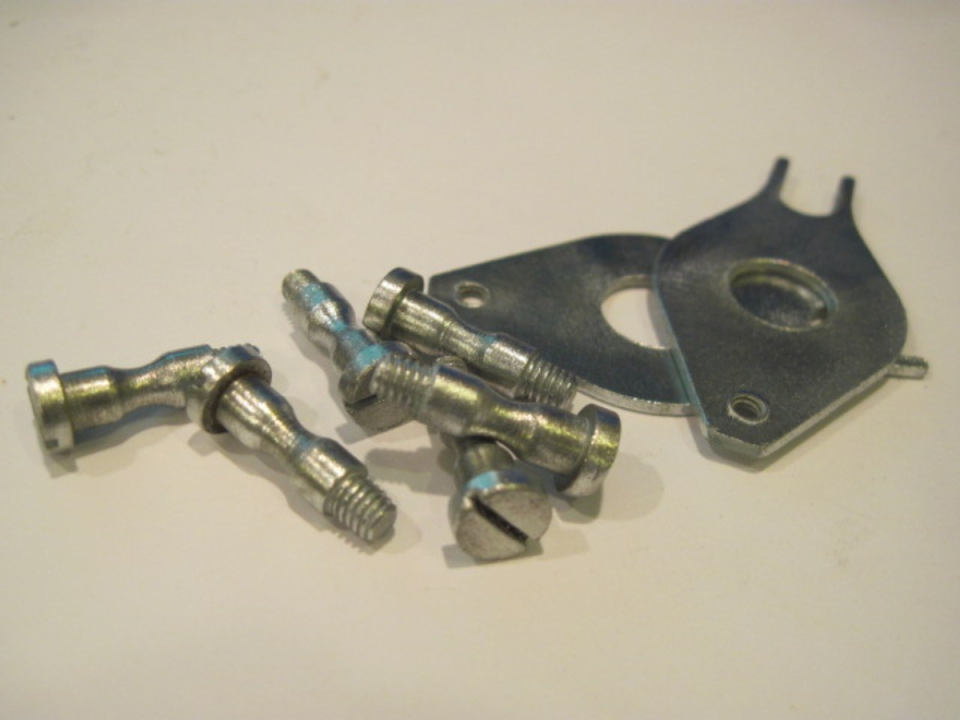
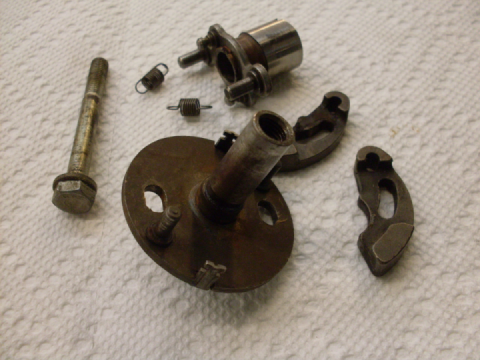
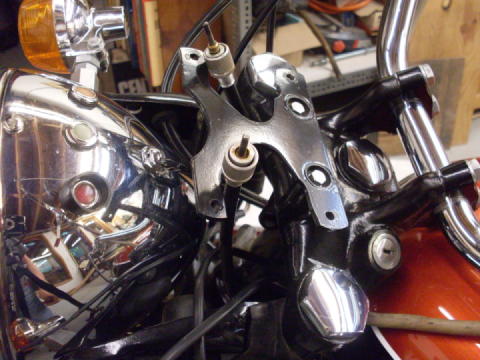
Now I could put the disc assemblies back together. The modified C clamp tool helped press the spring collar back onto the spindle in a very controlled way. The collar should go on far enough so that there is no more than a few thousandths of vertical play in the spindle.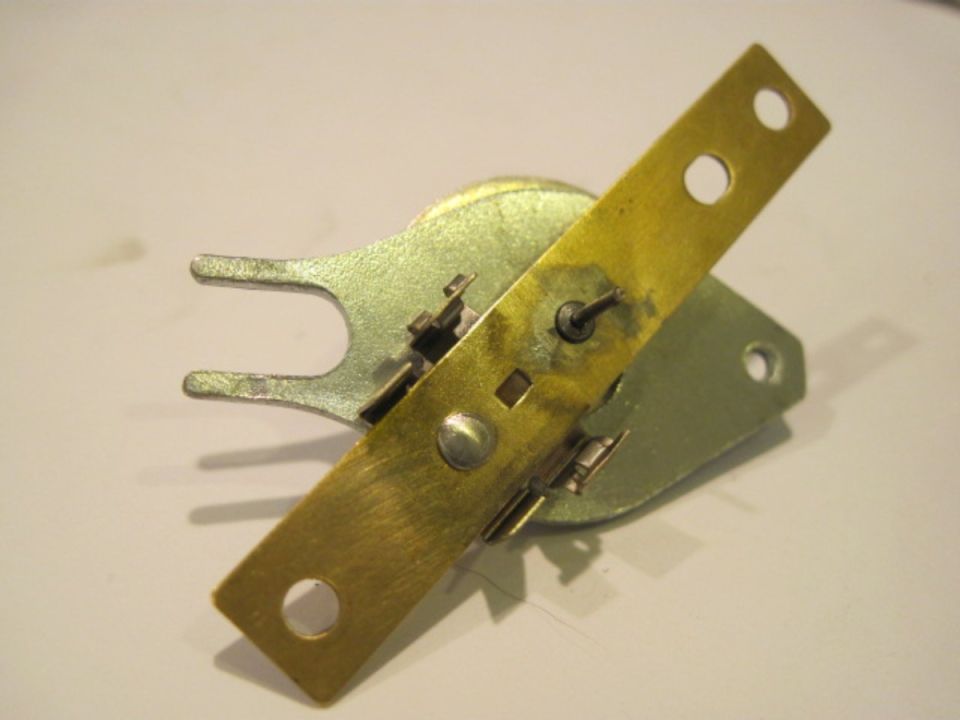
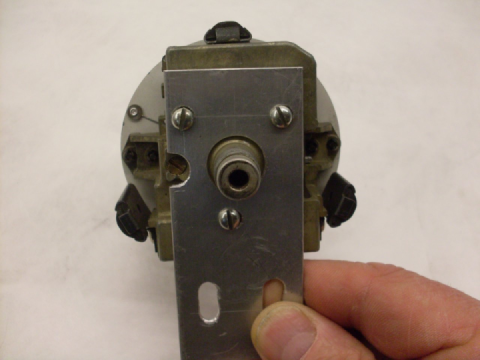
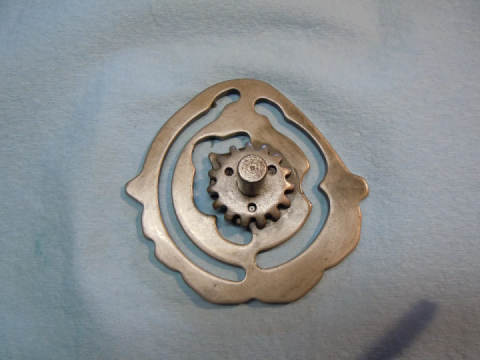
The disc assembly ready to go back on the main casting:
There was one more bit of unpleasantness in the speedometer to take care of. The main odometer assembly had come loose from its moorings, but this was really just because there wasn't enough of a deformation of the metal over where the axle of the assembly fit into the main casting. I replaced the odometer and put a little RTV over the recesses to hold it in. The trip odometer was a different story. First, this didn't look right:
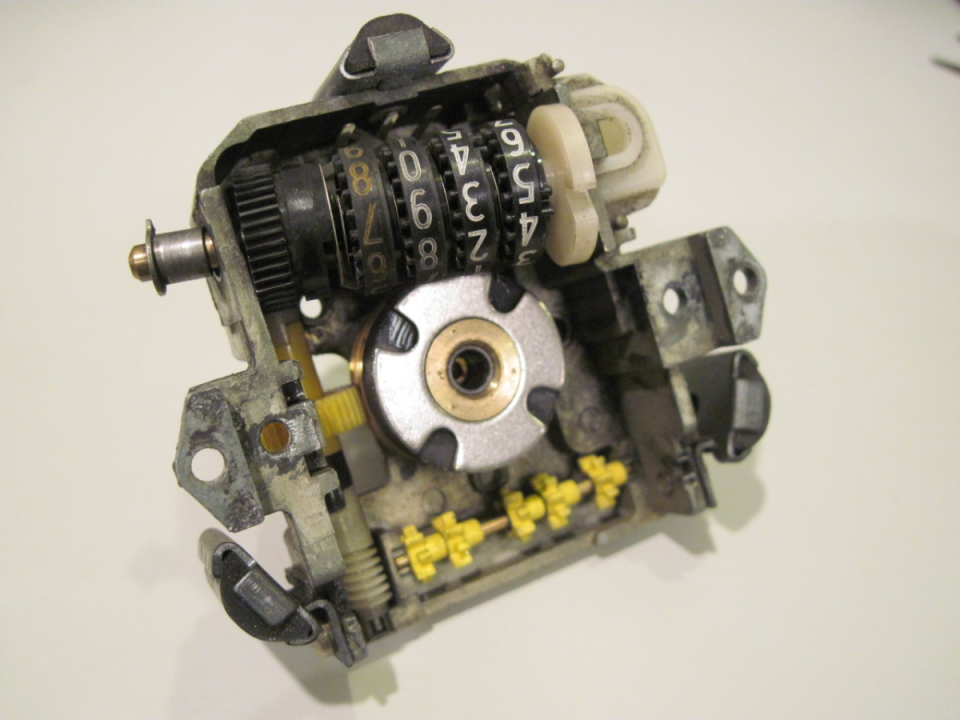
Took the trip odometer assembly out, then took it apart to see how it worked. There was a while there where I was sorry I did that.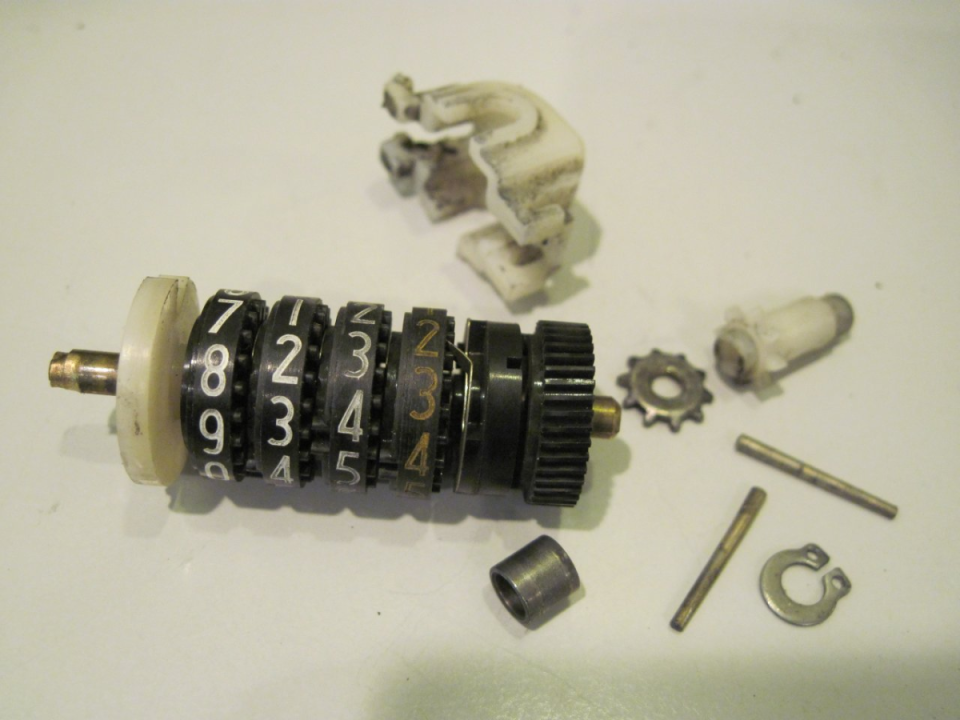
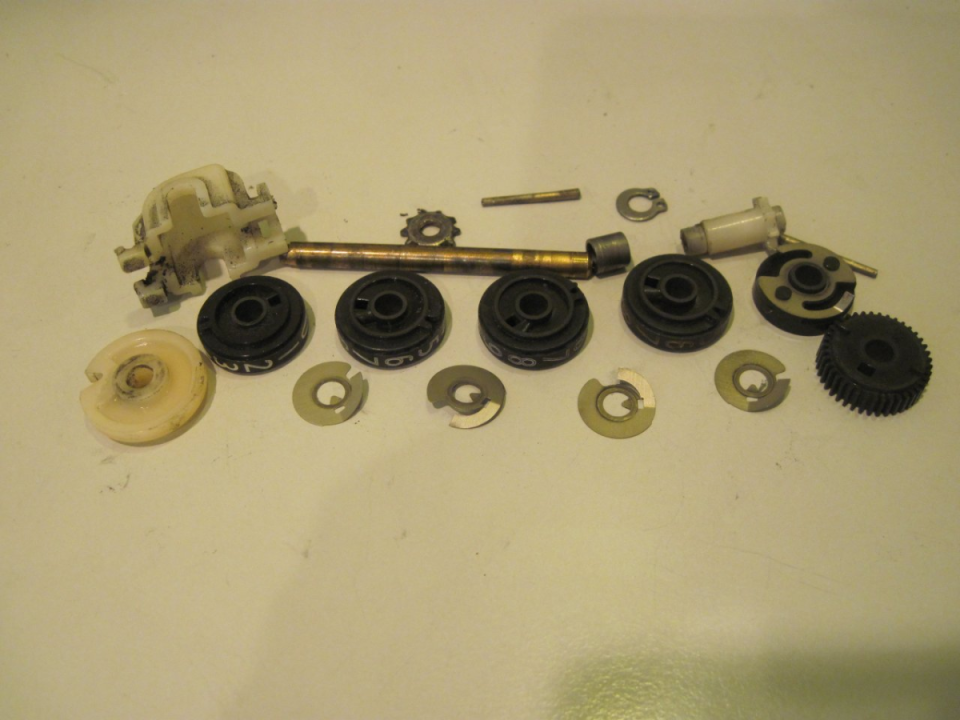
The problem turned out to be that this shaft is supposed to have that toothed wheel peened onto the end of it, and the wheel had fallen off. Luckily, it wasn't lost, and I was able to fix it back on. The wheel is part of the reset mechanism.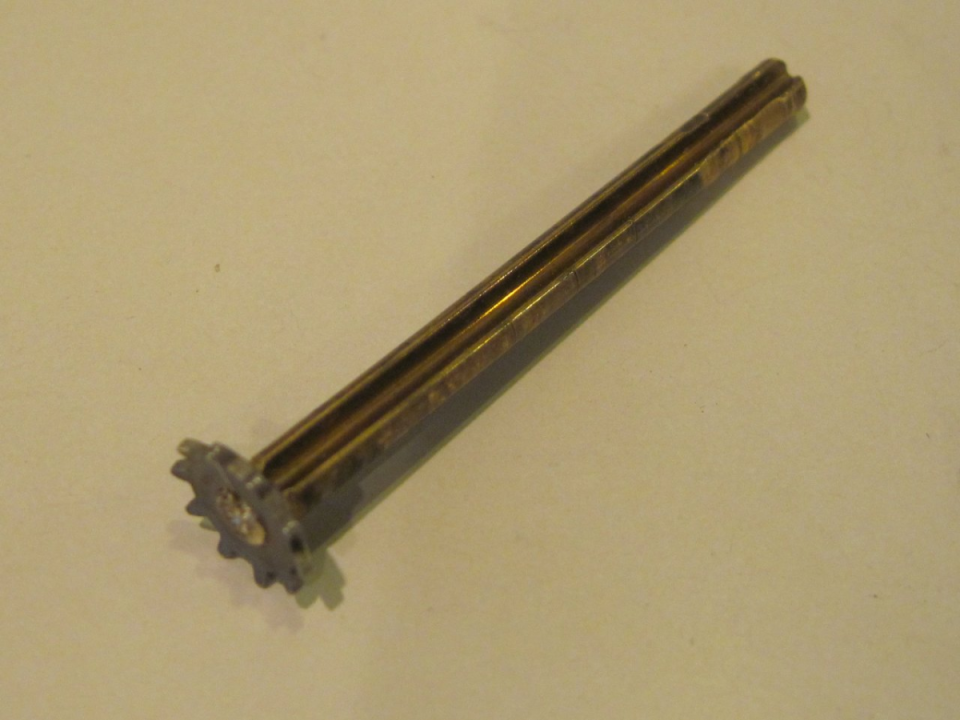
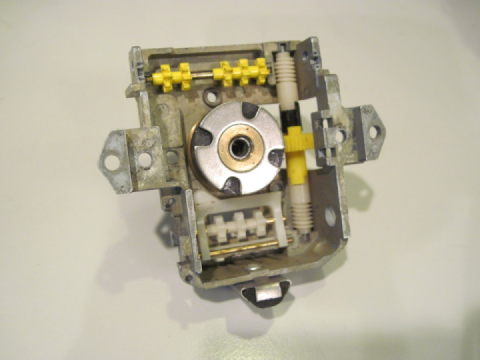
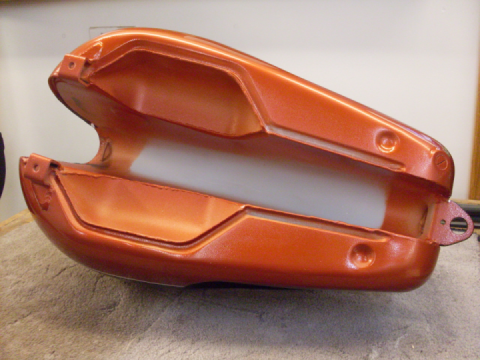
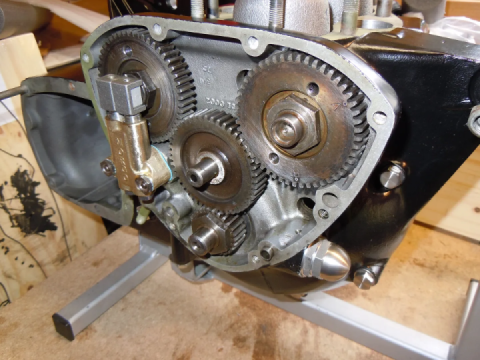
Now for reassembly. Here's the cleaned up casting. All the plastic gears and such were in good shape, so I didn't remove them. 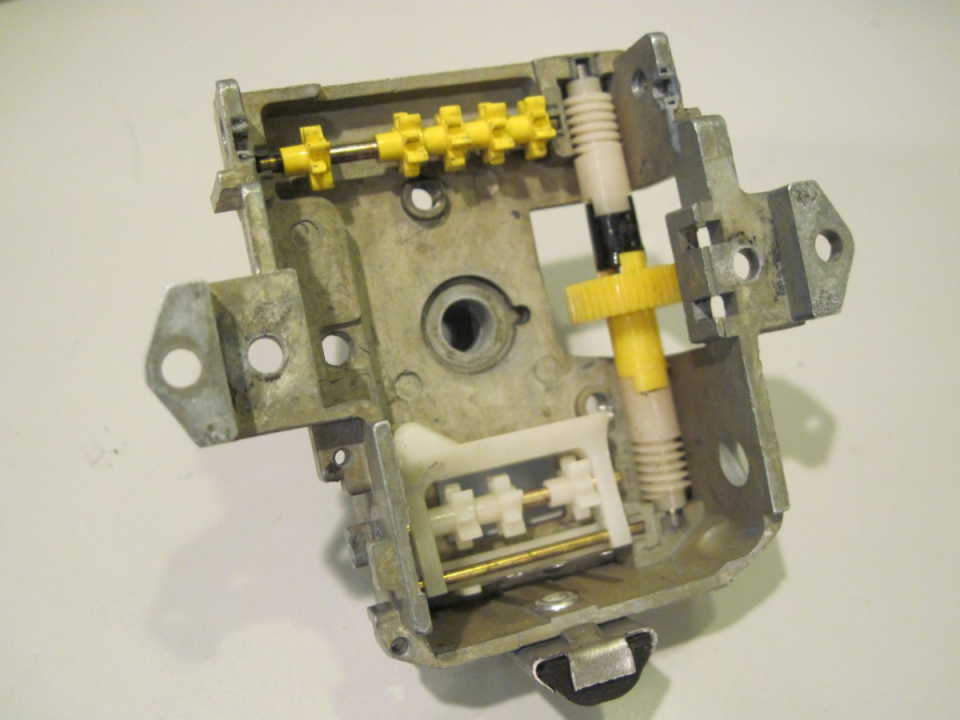

 Follow
1.4K
Follow
1.4K