Fuel level sensor
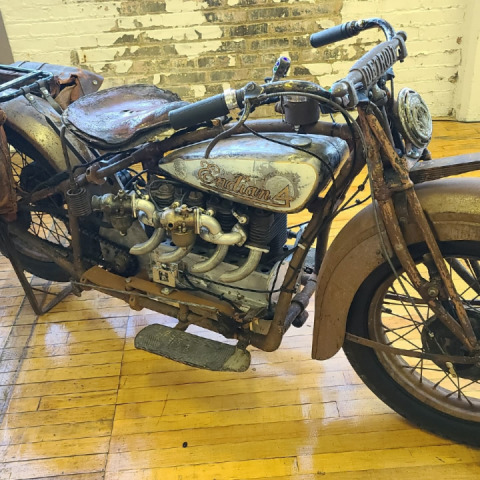
In this post I will talk about the failure of the fuel reserve sensor and how to save money and a couple of weeks of valuable summer time, if this happens with your bike.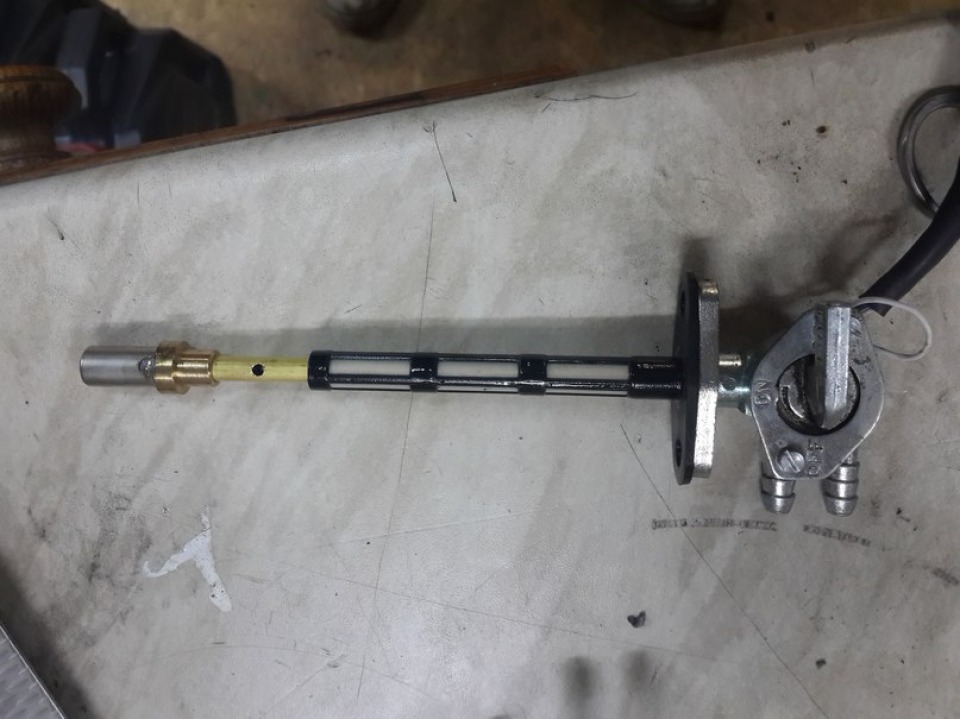
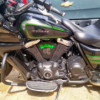
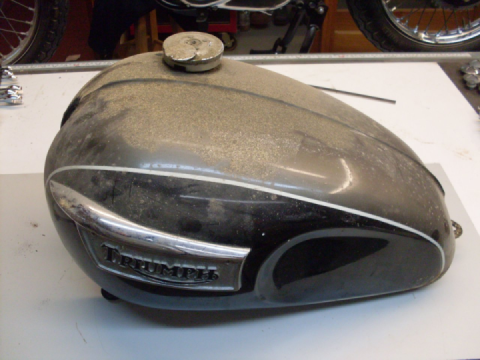
So, it all started with the fact that a warning lamp on low fuel levels didn't work on the motorcycle, I bought. Because of what I was a couple of times left with a dry tank at the most inopportune moment.
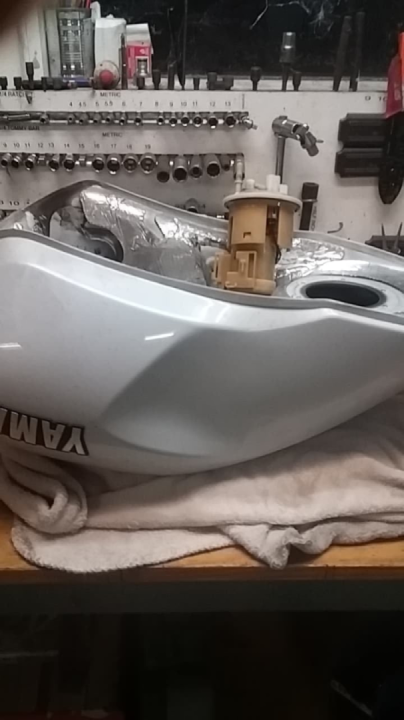
The reason was in the sensor. The sensor on my bike is built into the fuel tap and is not sold separately from it. And since it was already October and the motorcycle was completely dismantled, I just ordered a new tap.
In spring, when it came to assembly, the new sink took its place and the problem was forgotten.
The new sensor worked for 5 months.
And then I remembered about the first tap) I dug it out in a pile of spare parts, I sorted it out.
Design
And then I remembered about the first tap) I dug it out in a pile of spare parts, I sorted it out.
Design
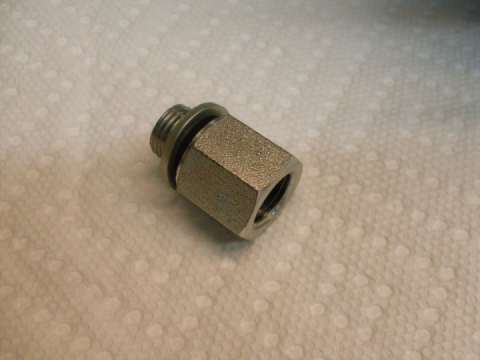
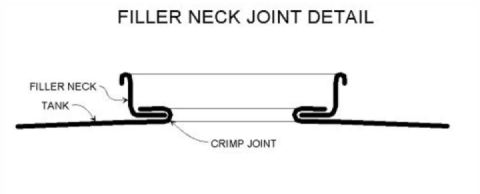
The sensor consists of a cylindrical metal body with holes from below and from above. Inside the case there is a thermistor, one of the leads of which is soldered to the case, and the other, with the help of a wire passing through the entire tap, is led out.
The thermistor is connected to the circuit with a lamp in the dashboard and when the ignition is switched on, a current flows through the circuit. The thermistor is a thermistor with a negative temperature coefficient of resistance (TCR). This means that as the temperature increases, its resistance will fall.
When the tank is empty (conditionally), the current flowing through the thermistor causes its heating, the resistance drops and the lamp in the appliance lights up.
When the tank is full, the thermistor is cooled by fuel and its resistance remains close to the nominal. Conclusion: there is nothing to break apart from a thermistor.
Disassembly, repair
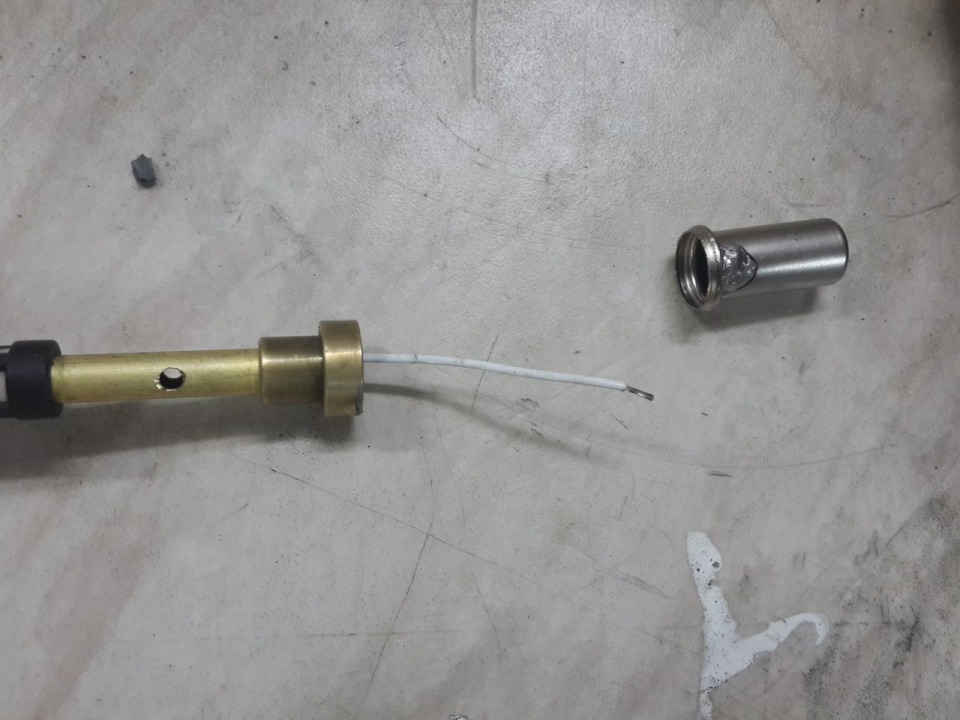
To access the thermistor, it is necessary to solder the body off and the thermistor output from the tap pipe.
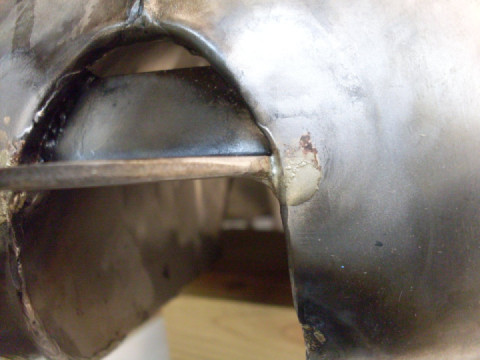
For convenience, you can also pick up factory cold welding on the body of the tap (on the photo)
Before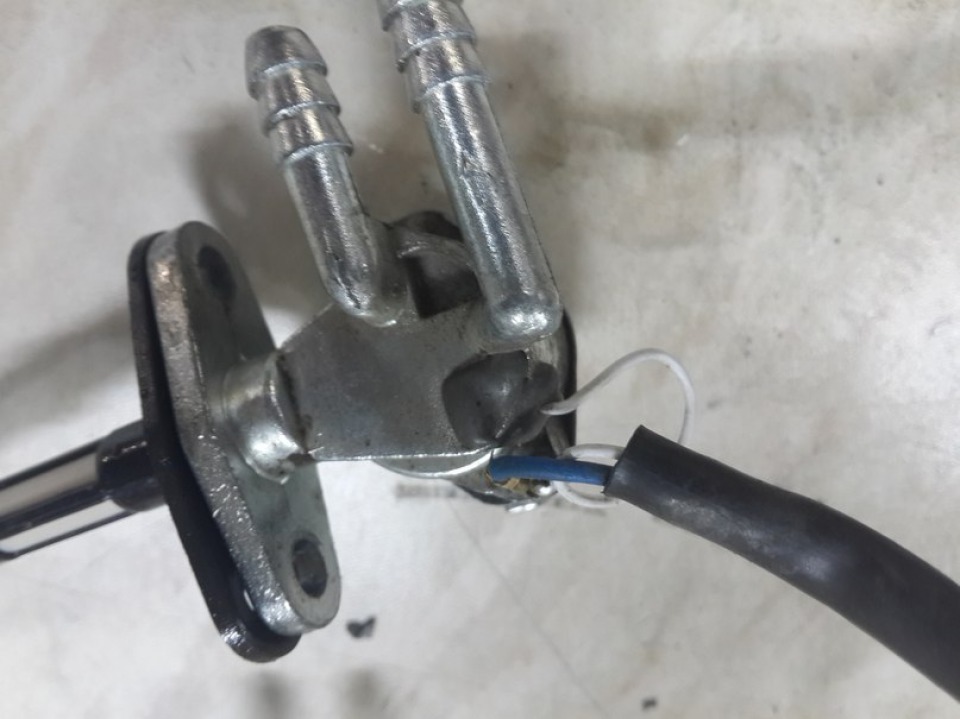
Then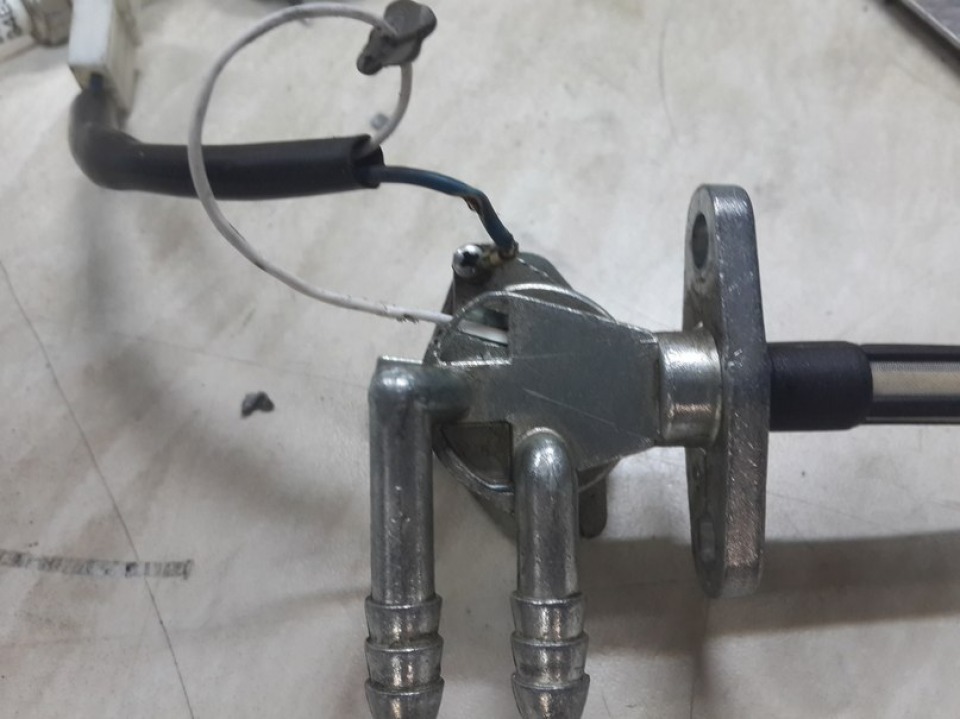
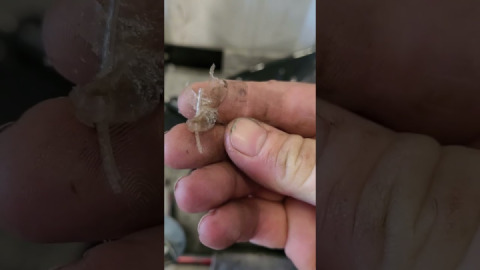
Then gently pull the wire up and solder off the thermistor.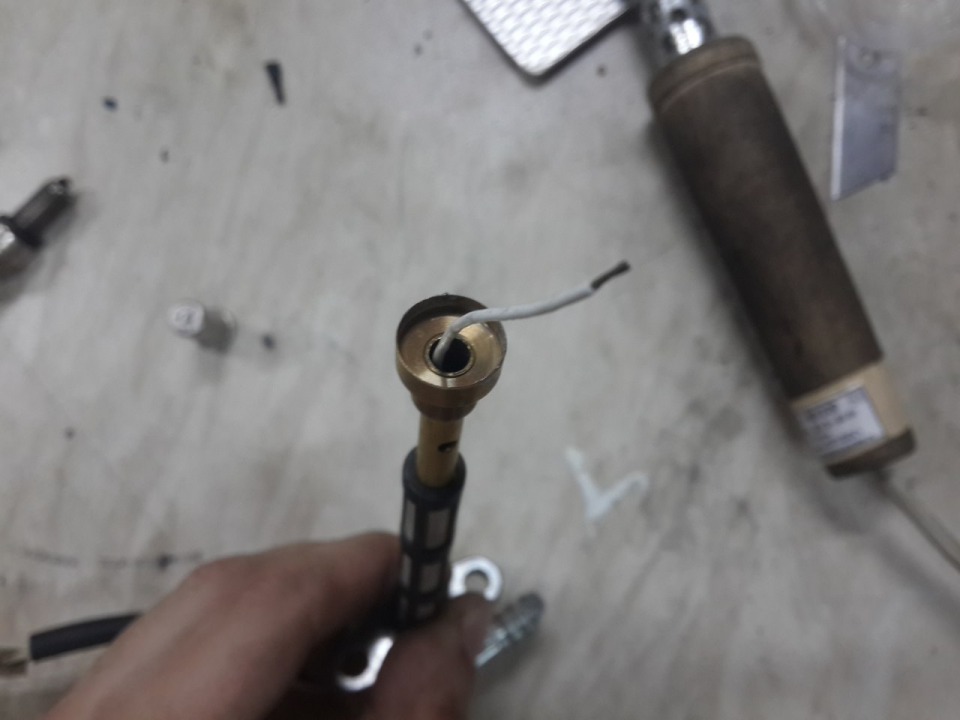
We go to the store and buy analog.
Next, you can take the thermistor with your fingers, thereby ensuring the removal of heat - the lamp should go out. If the thermistor is heated too much or the lamp does not light up for a long time, try the options with less resistance or, if it lights up almost immediately and does not go out when it's supposed to - take more.
Solder a new element (s), isolate with heat shrinkage: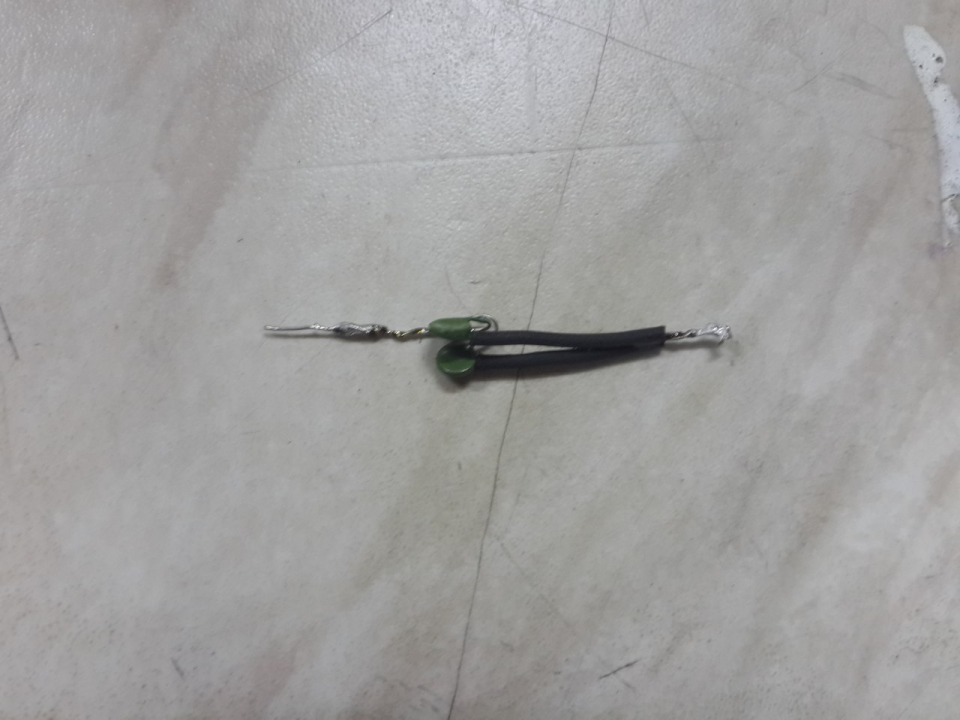
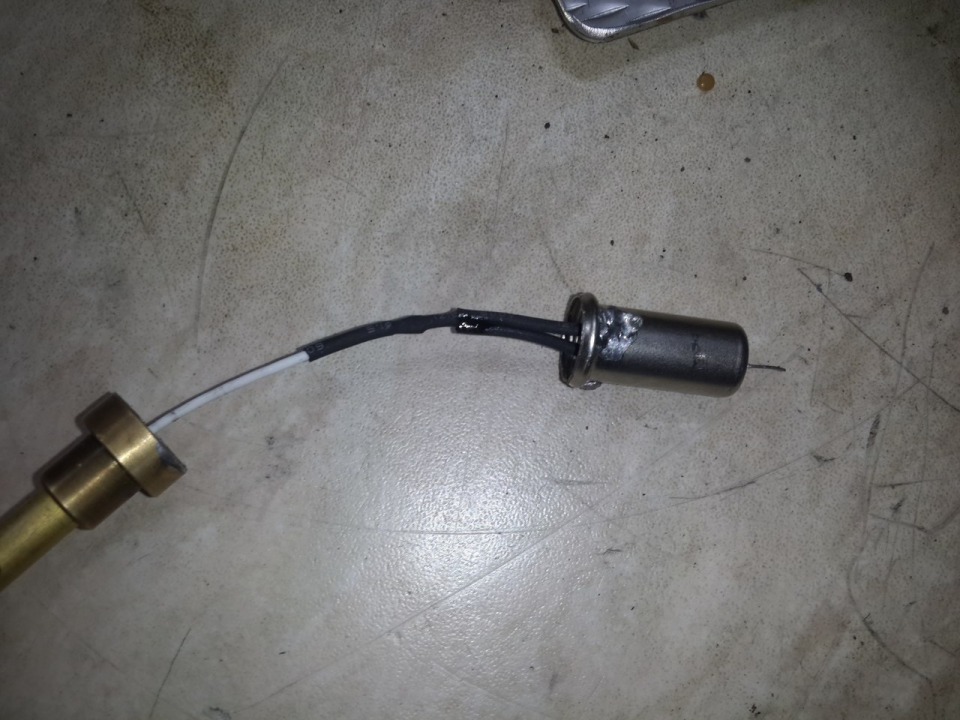
Solder the sensor body back: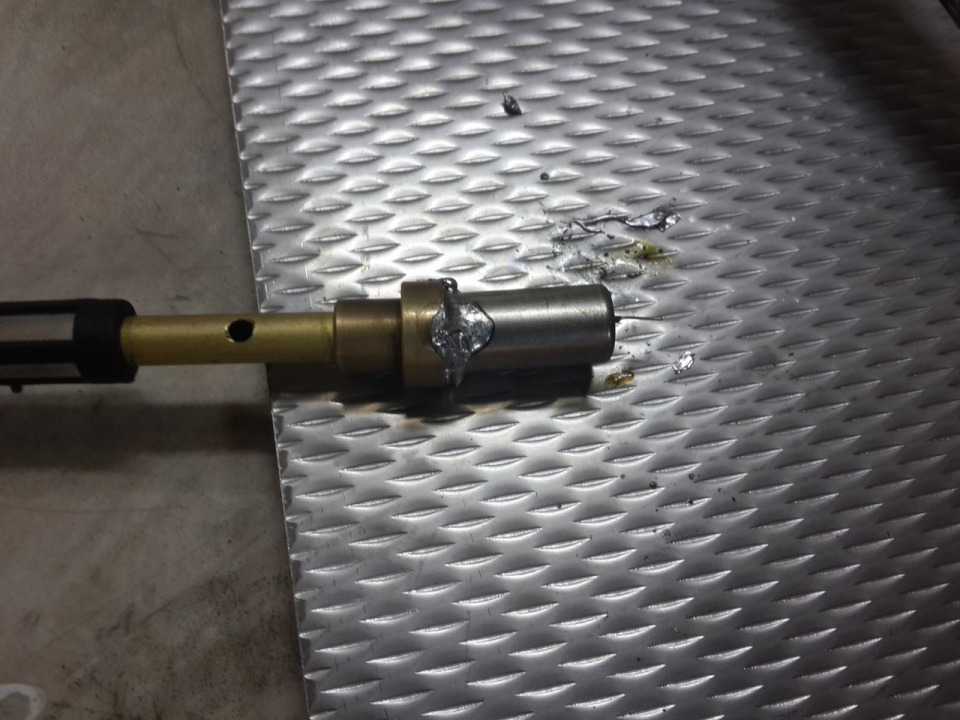
We cover the place of the wire exit with cold welding.
Then collect everything back and enjoy.

 Follow
7.6K
Follow
7.6K


What type of Termistor do You use? Can you tell me the Type of Termistor? Or can You send me a link about termistor?
Thanks Man! ✌️