Fitting a cheap but very good gear position indicator, how to guide
Gear Position Indicators or GPIs are little devices that look at speed and RPM and determine which gear you’re in. A couple of years ago I built one for my TL1000 trike and wrote some code to make it work, they’re not hard.
You can go to HealTech, GI Pro, or any number of places and pick one up for about £70-£140 or you can take a punt on a Chinese one from the likes of aliexpress.com. I went for the latter and it was £18 delivered for me
Some people will berate you for needing one because they know what gear they’re in from speed/revs already. They shouldn’t. There’s a reason that most modern bikes have them, they’re very convenient.
Fitting the GPI
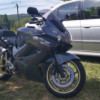
The fairings have to come off. Sorry, it’s a bit of a pain, I have done another guide on how to do that.
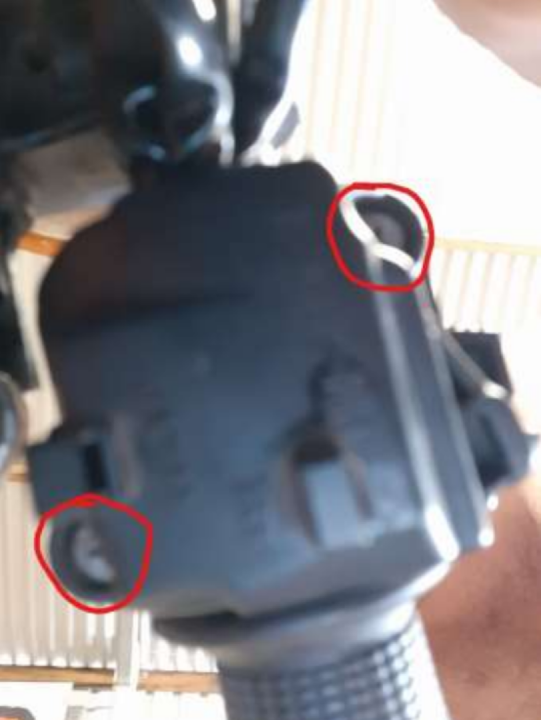
Just next to the stator you will find a plastic boot covering a range of connectors, just slide this up the loom a little way
Admire my beautiful clean connections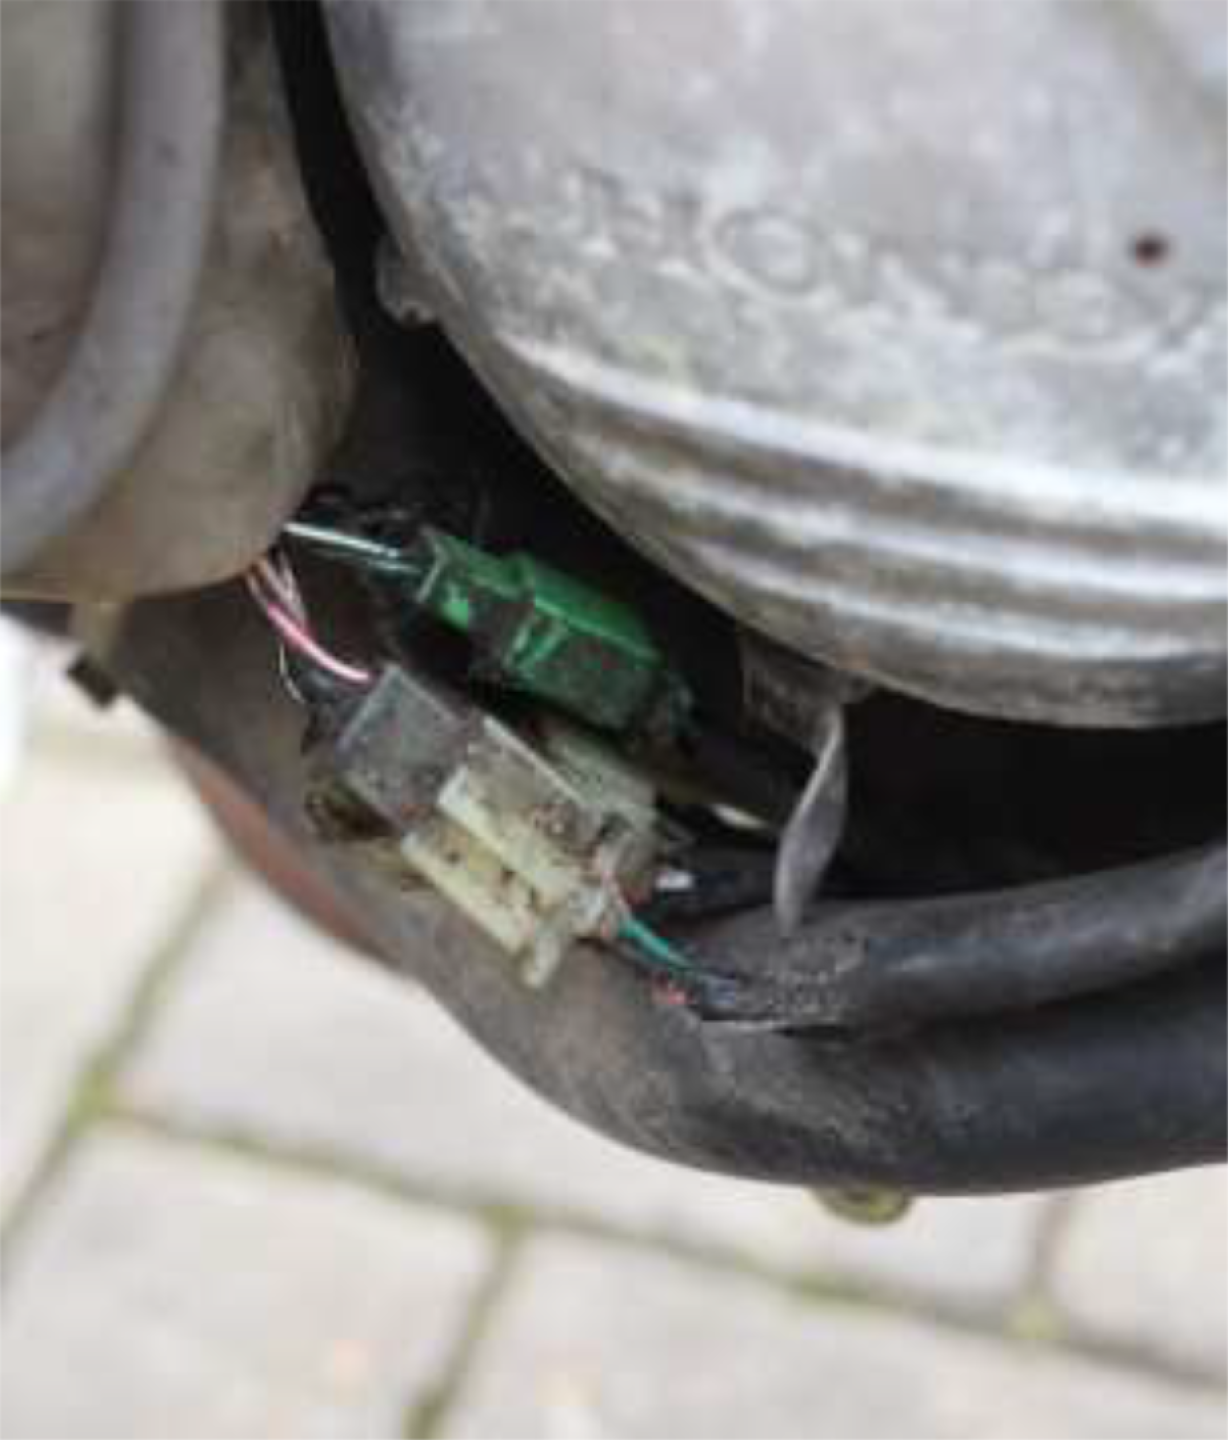
Clear off the worse of the muck and pull out the white 3 pin plug shown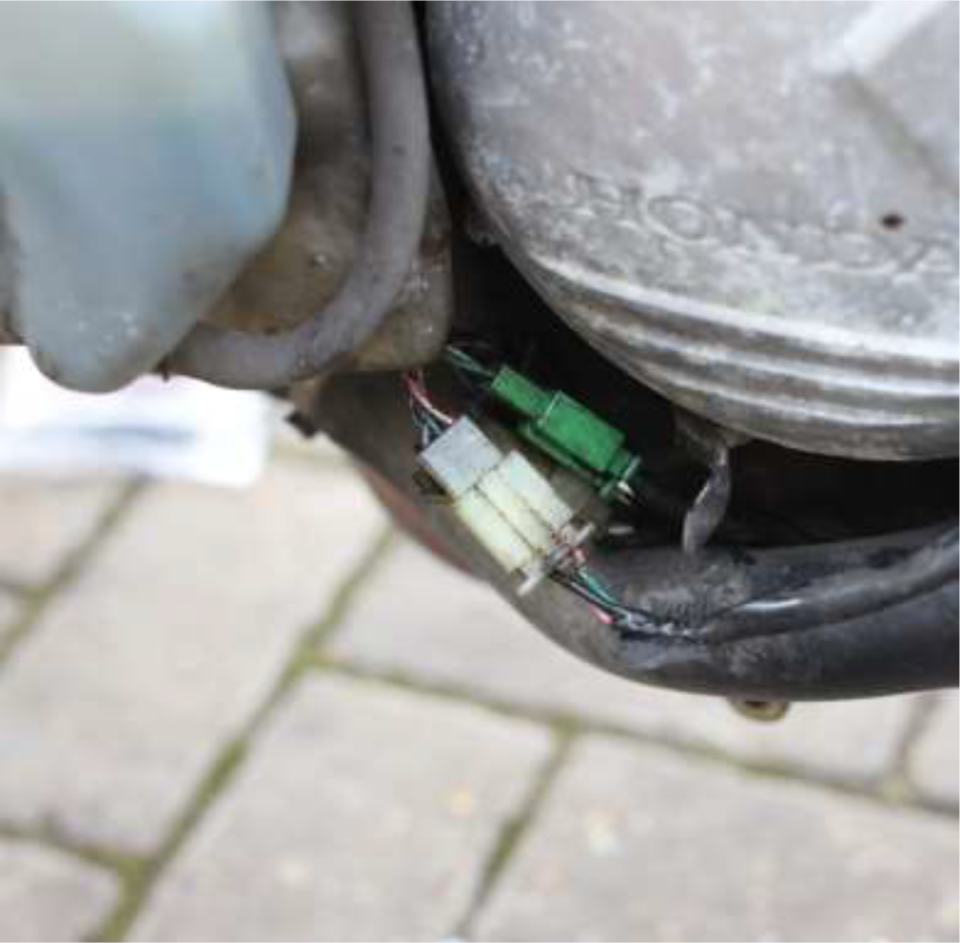
Admire your nice shiny new part that winged its way from China to the UK in about a week and realise the futility of expecting that green wire to reach the ECU!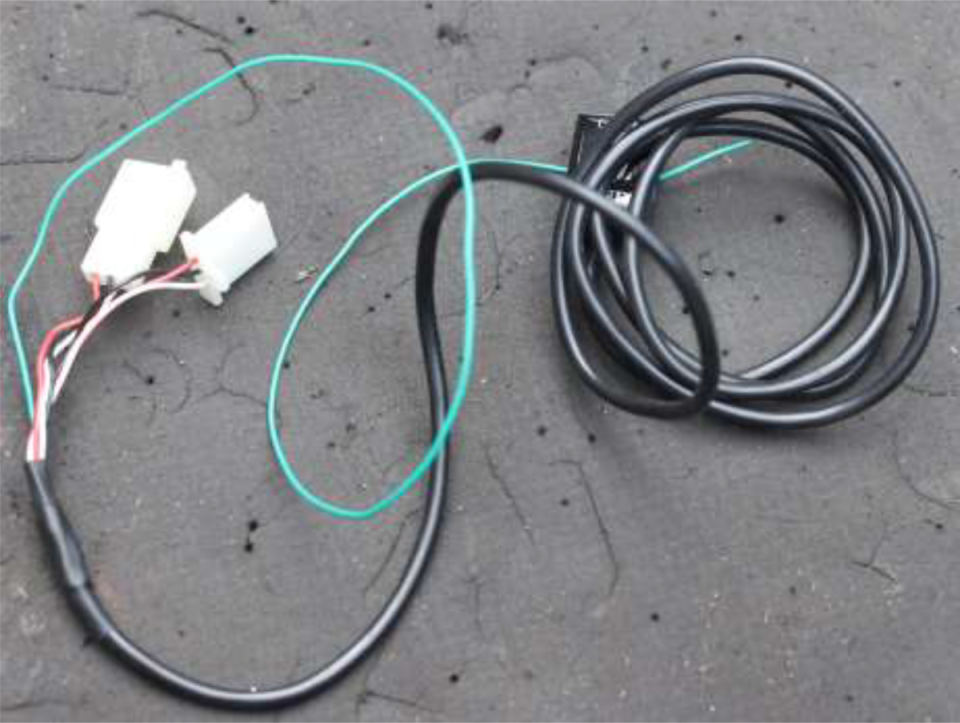
Disconnect the speed senor wiring and pop your clever new male/female connections in to splice things back together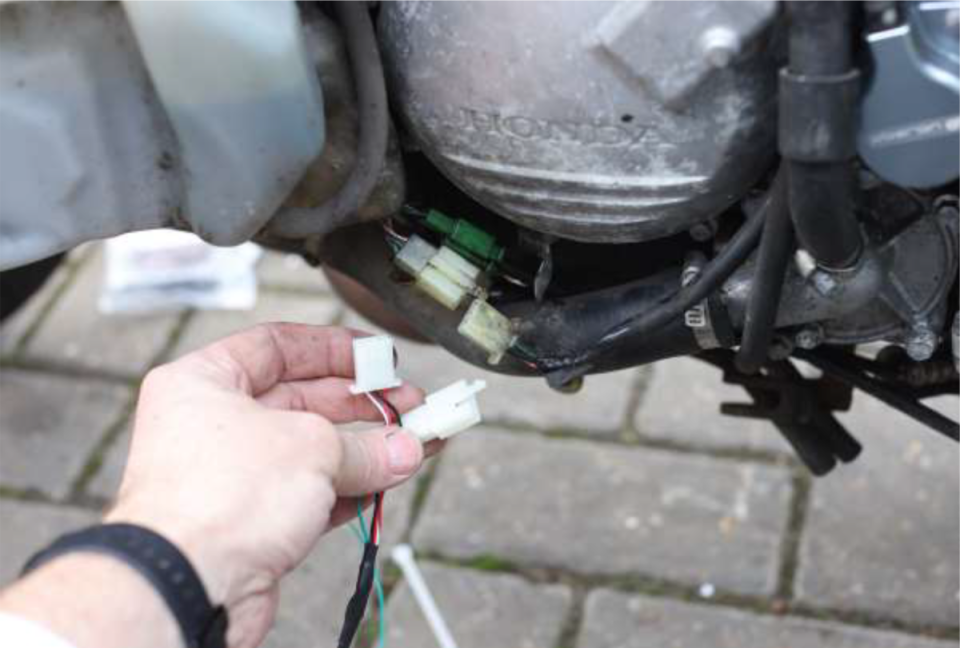
Tape the heck out of things to give some chance of water proofing the connector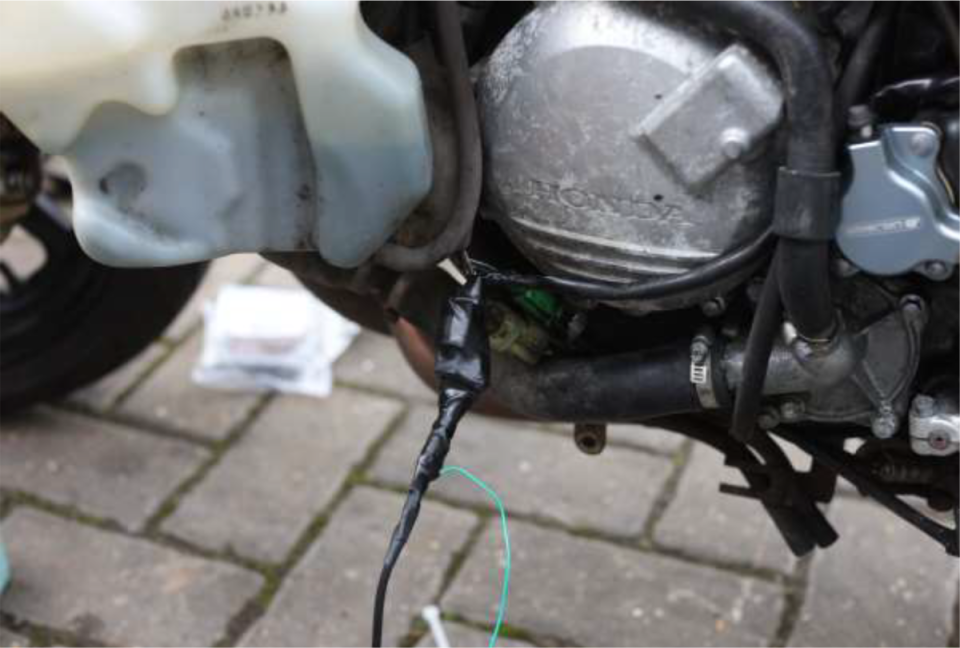
Pop the boot back on and you’re half way there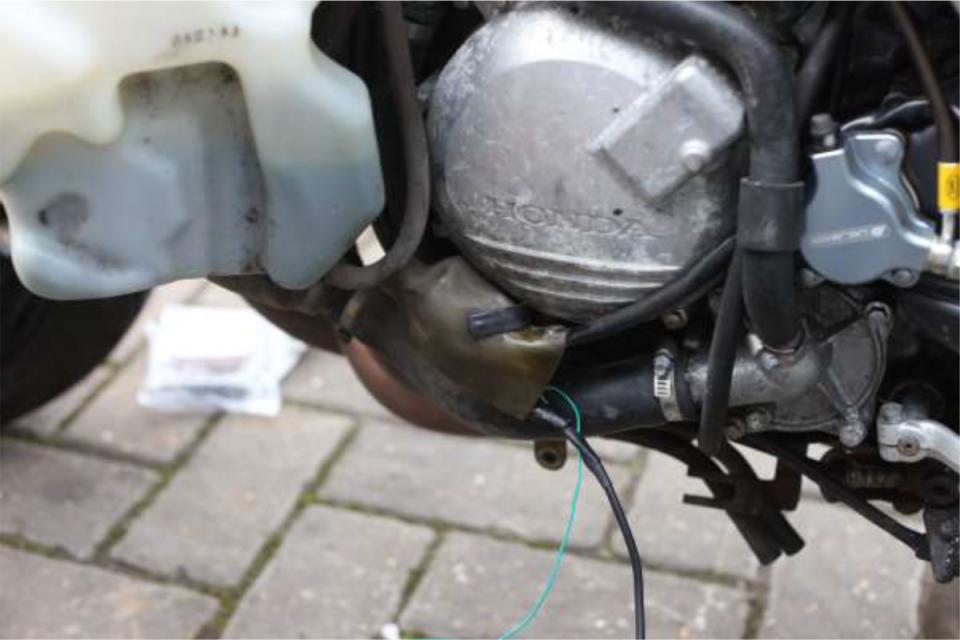
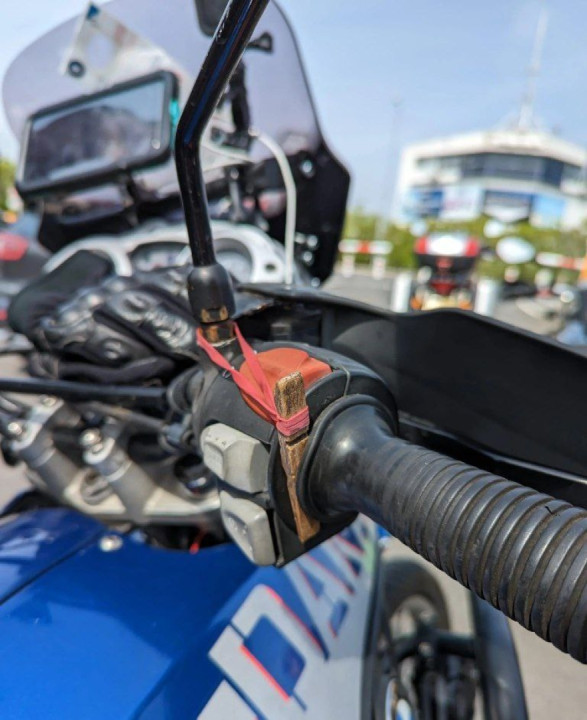
Route the display up top, a couple of cable ties along the way will keep it safe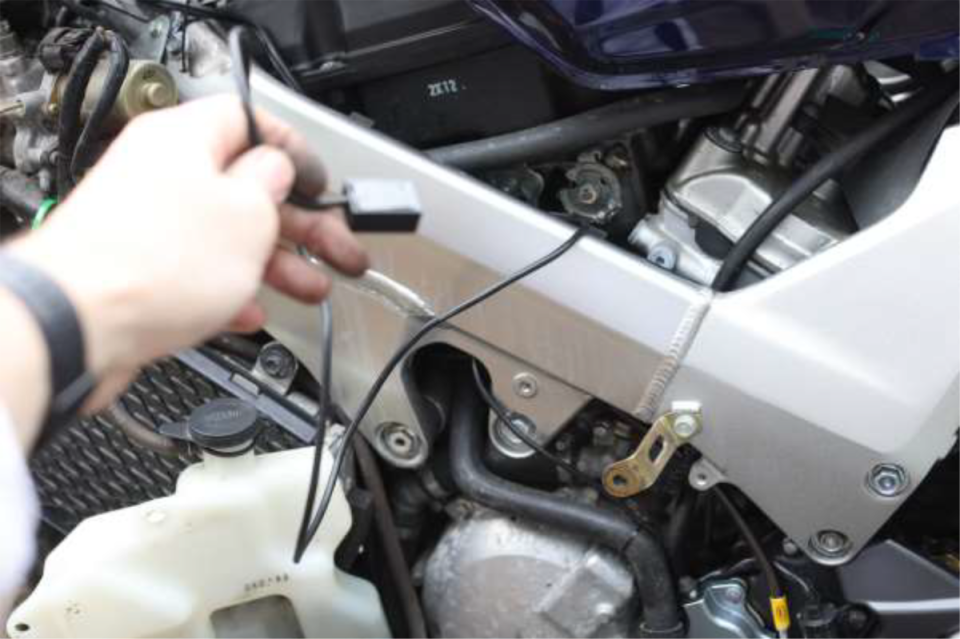
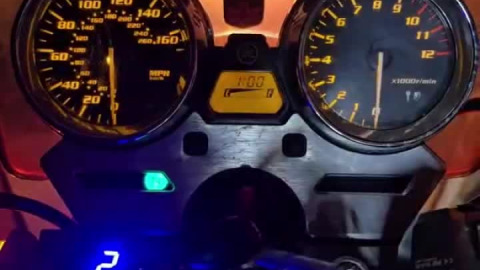
Apply one double sided sticky pad and pop it in your chosen spot. I chose the left side of the dash which is great for visibility when riding.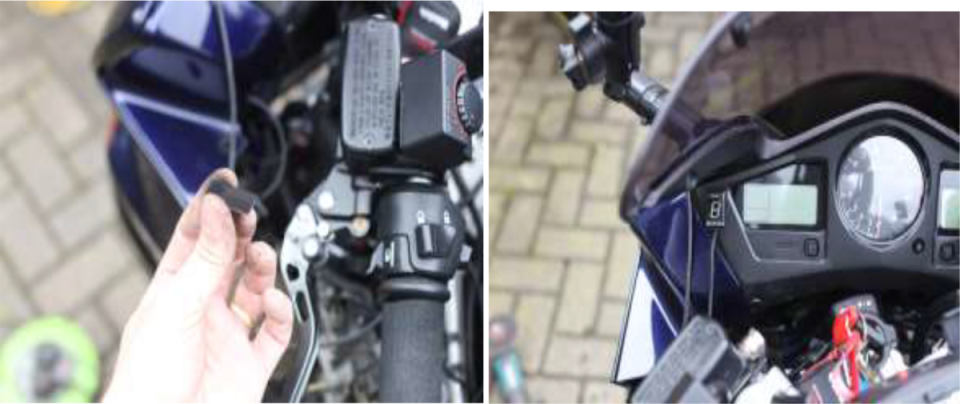
Now over to the other side of the bike and the ECU, pop the single 5mm hex bolt out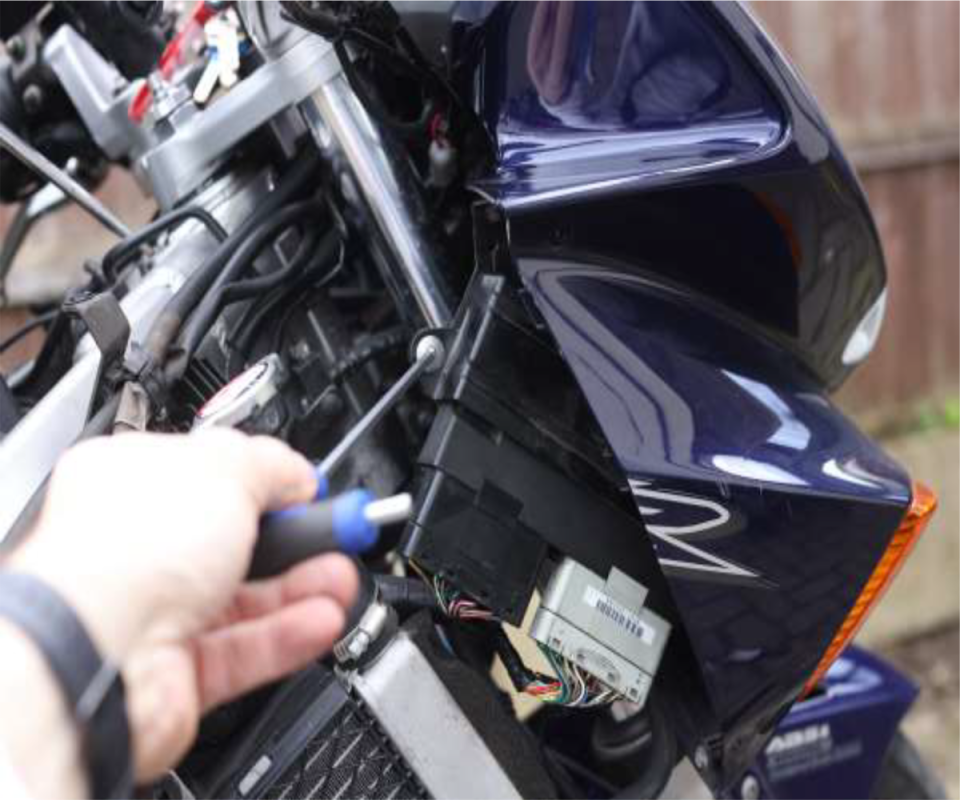
Slide the cover out and remove that ECU from its little shelter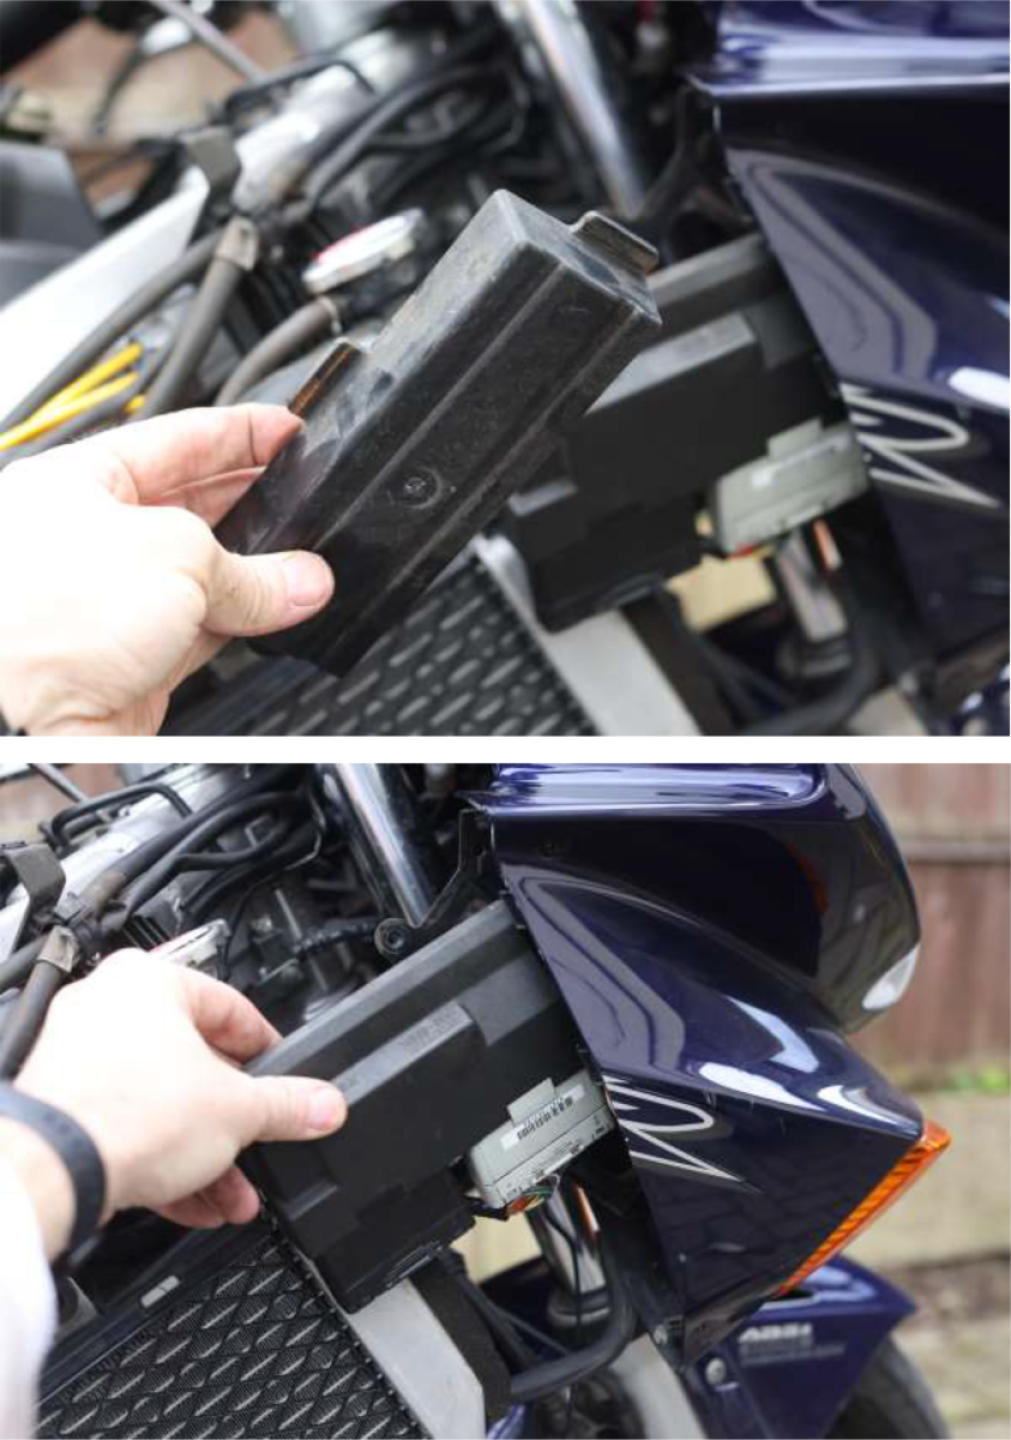
It’s worth giving it a clean up if it looks anything like mine did 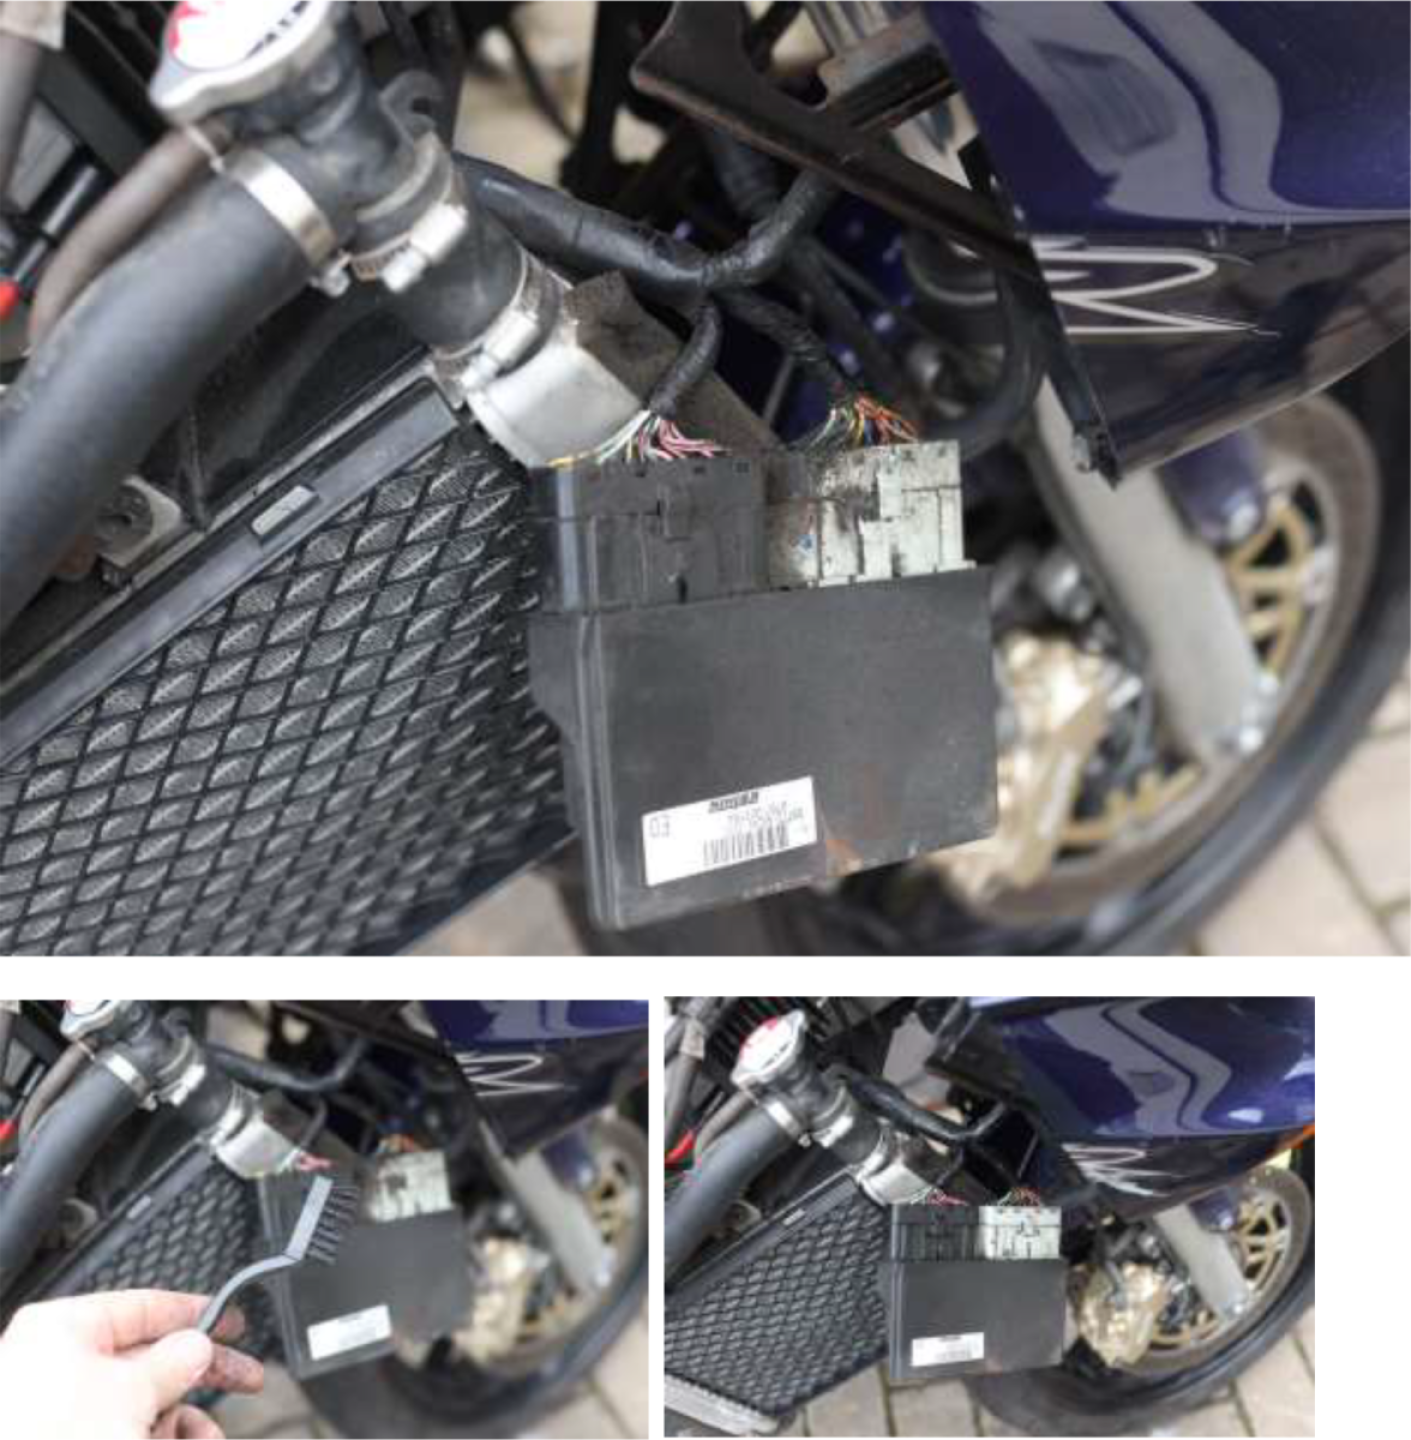
Now unplug the white connector, press the tab and ease it out. If you’re careful with a flat blade screwdriver, this can help to act as a lever and separate the connector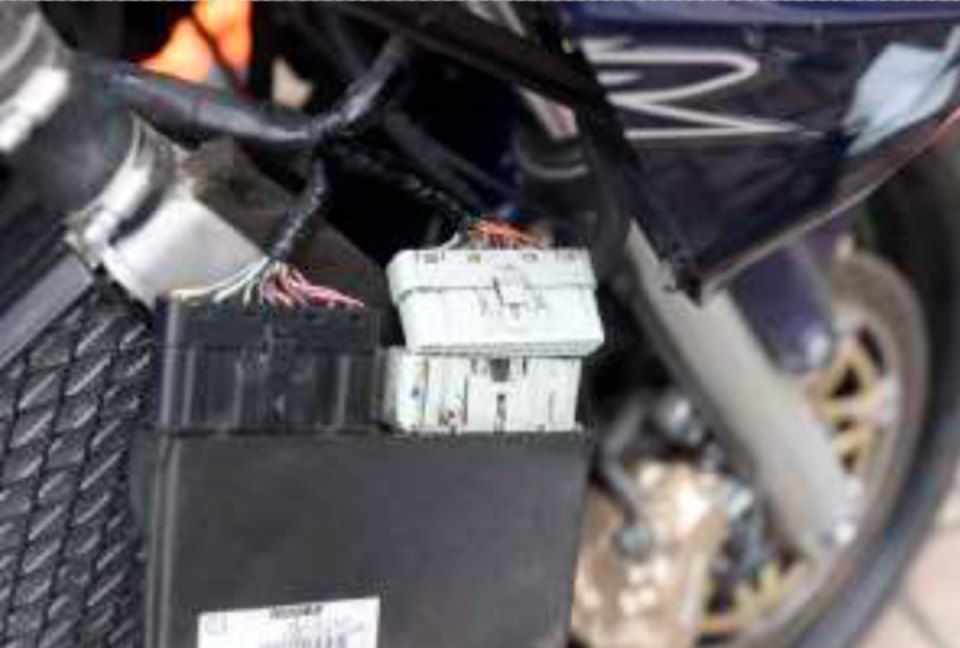
The third wire in has got an RPM signal, it’s yellow with a green stripe, this is the one we want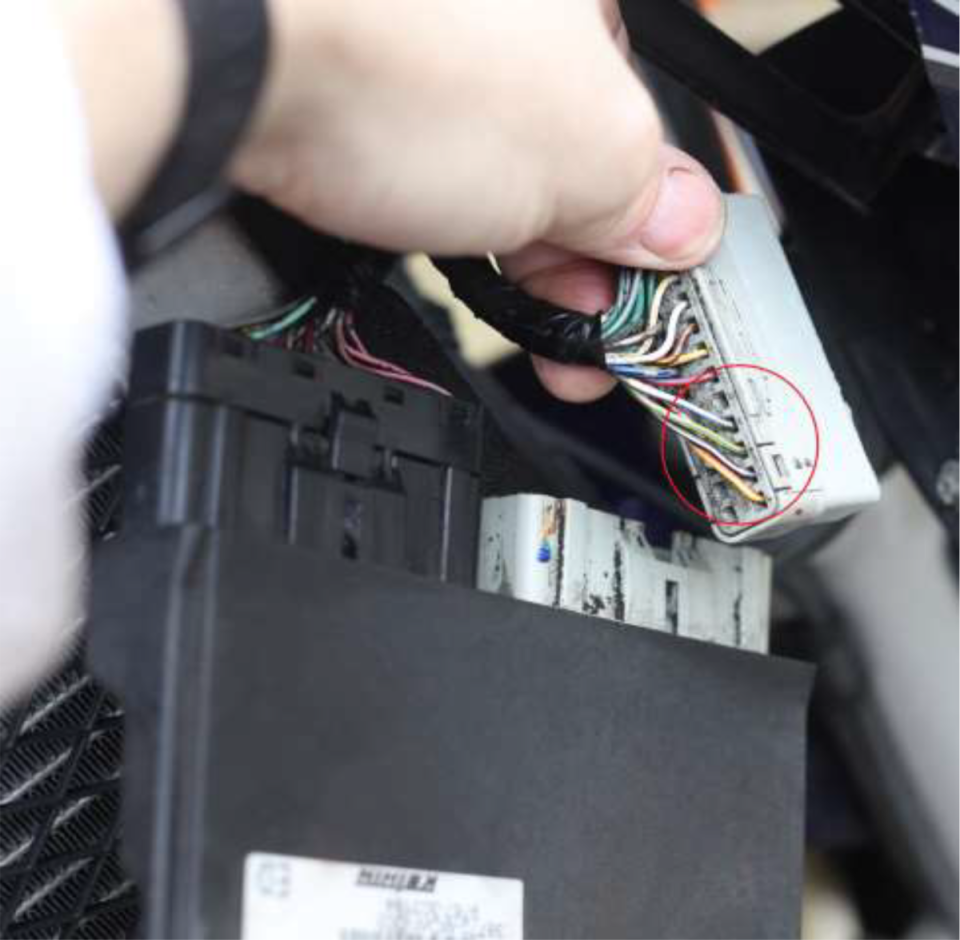
Strip back the insulation а little with side cutters/scalpel or similar
Then expose our little friend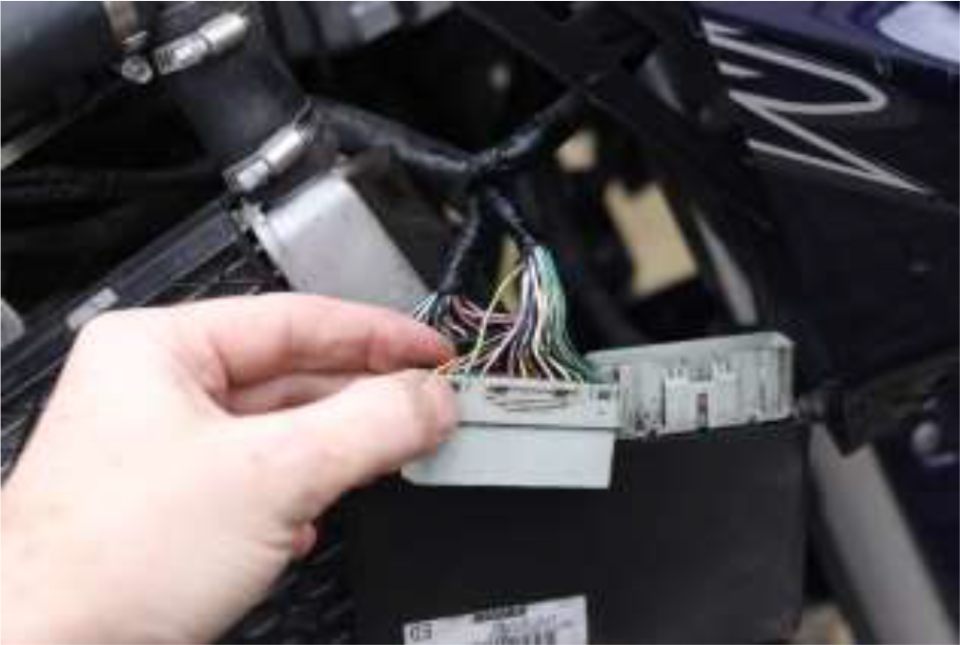
lf уои have wire strippers then just strip in place and уои will start things off nicely, failing that just use scissors/scalpel carefully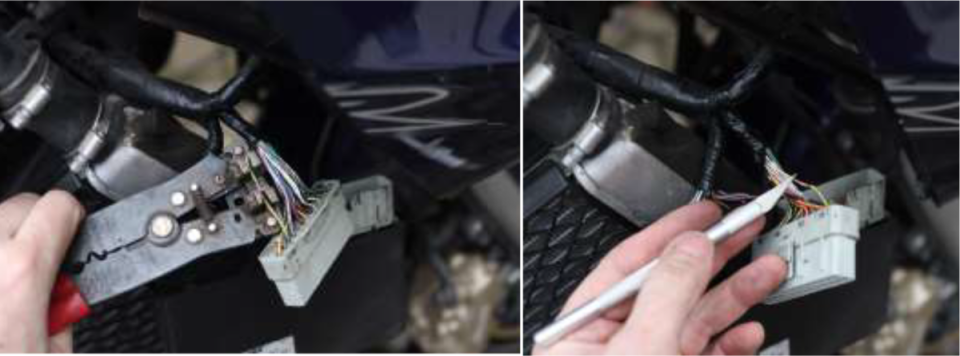
Once you’ve peeled back enough insulation to wrap a wire around, wrap wire around it. This is going to be an extension to make up for the woefully short green wire that was supplied. Use something very small gauge, I had nothing smaller than this, it’s just a signal wire
Solder it, then heat shrink/insulate with electrical tape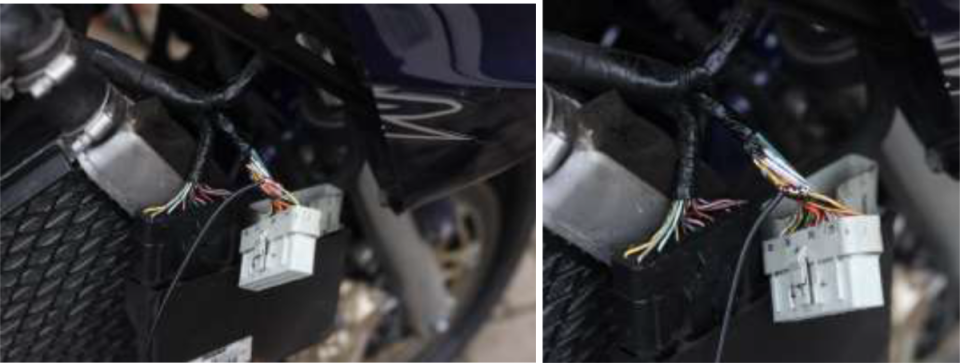
Route the wire across the front of the bike over towards the speed sensor wiring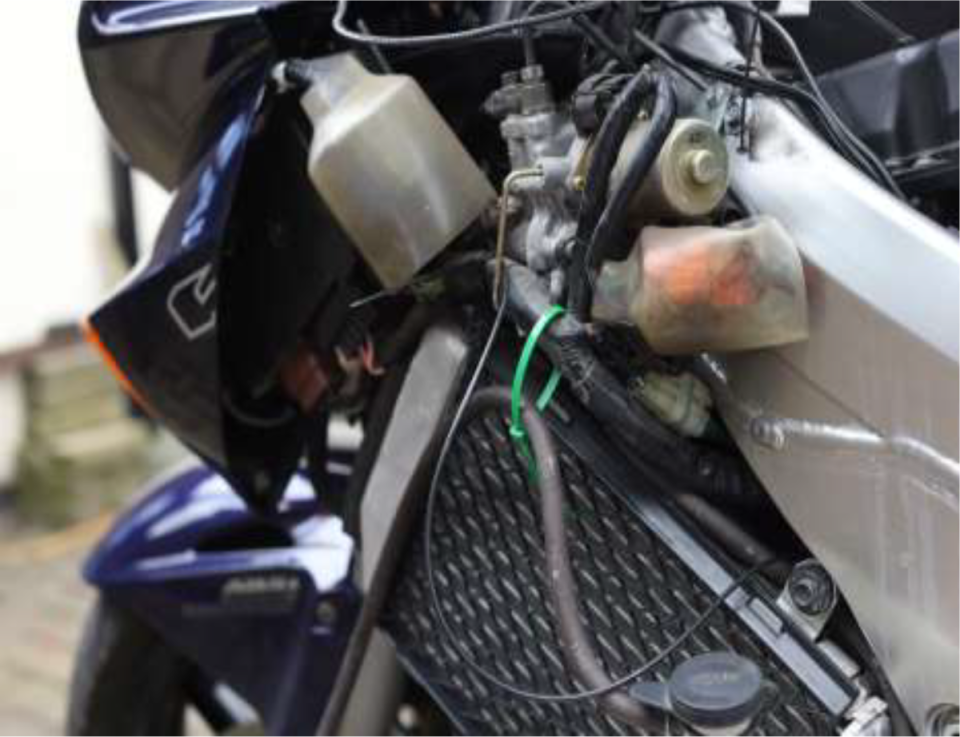
And pop it over to where our green wire is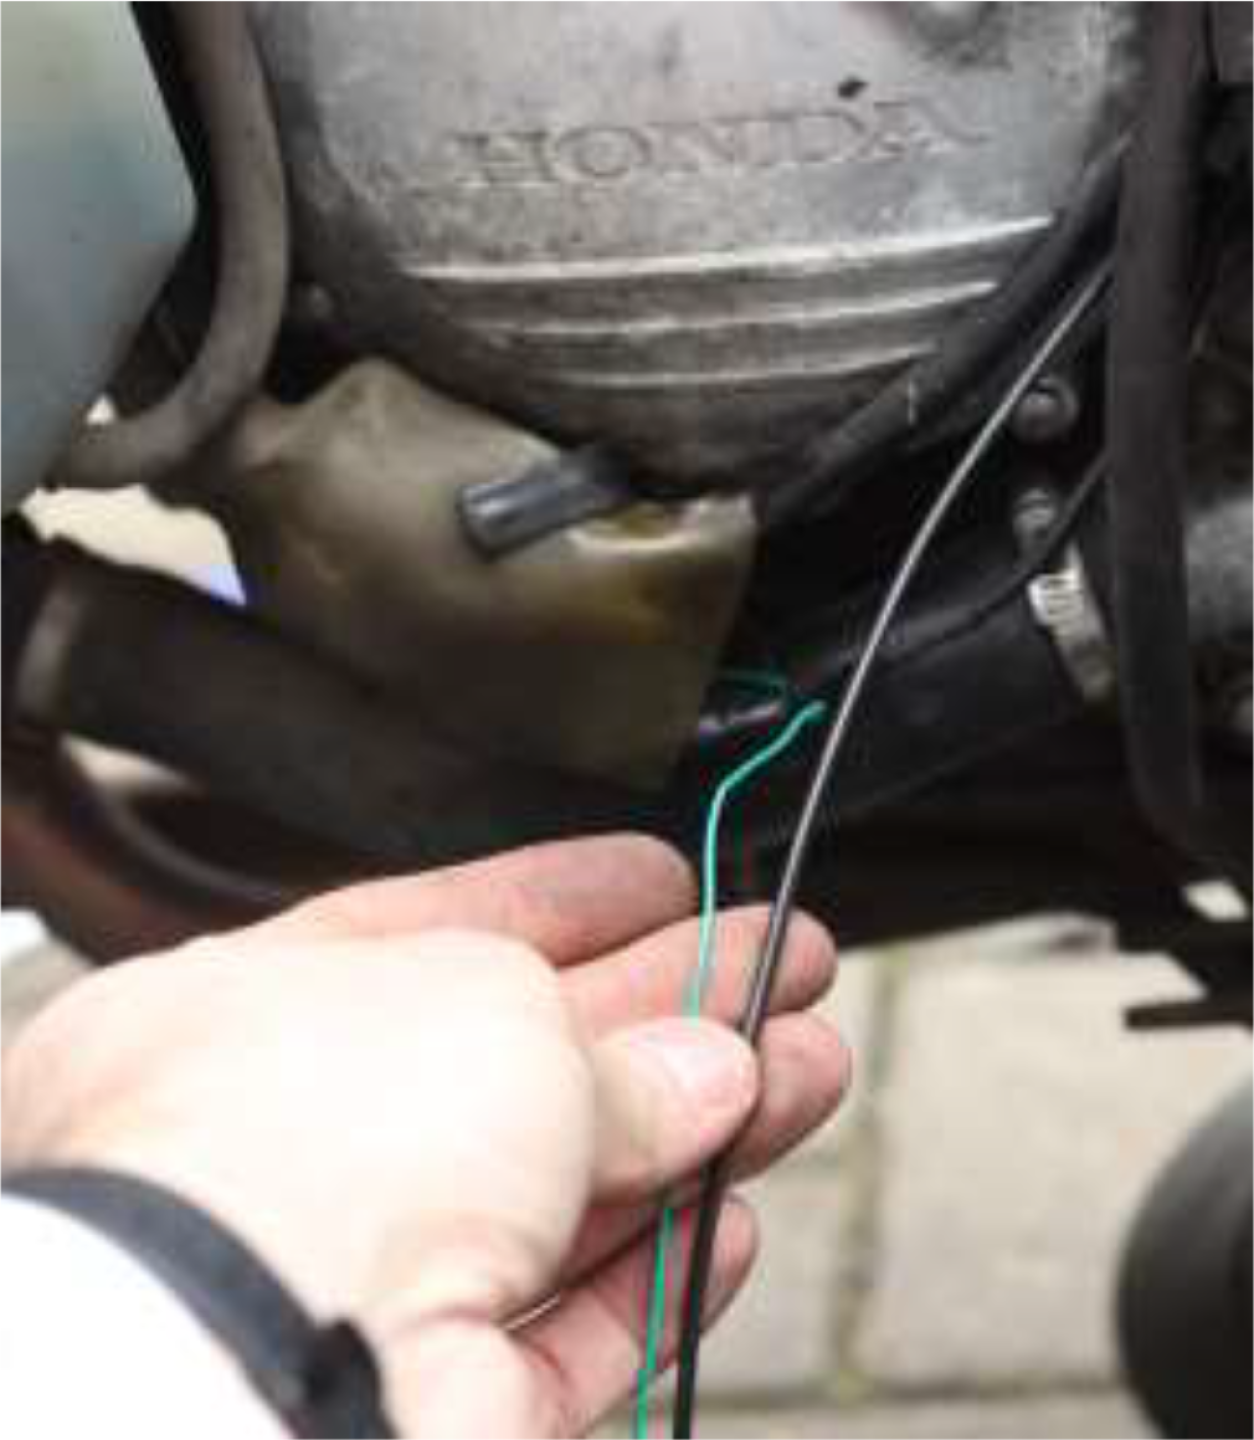
Strip and tin the new wire we joined to the ECU, wrap the green wire around it, then solder it in place. Once done, heat shrink or electrical tape to insulate it.
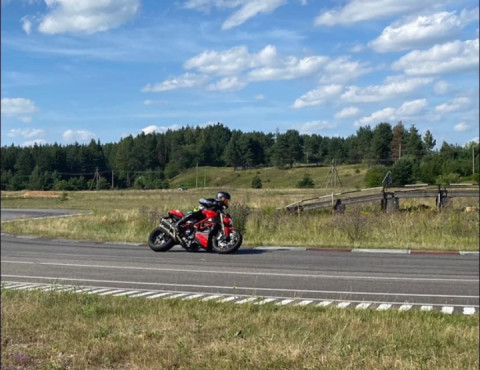
Once it is all fitted, pop the fairings back on and it’s time for a ride.
Setting it up couldn’t be easier. It says to do it when warm but you don’t really need to, here’s how it goes:
1. Start the bike and the GPI should count back from 6 to 1
2. It will then start flashing “L”, just let it idle for a sec
3. Then it will flash “1”, time to go for a ride, pop it in gear and set off
4. It flashes a bit quicker as it is learning in the gear and then it will tell you to change to the next gear with an “n”
5. Work your way through the gears (and it doesn’t matter if you have to go back down through them or even stop), in top gear it will show an “o” when it is finished (for over)
6. All done. It took about 2 minutes on a slow road for me to do it
If you ever need to program it again simply turn the ignition on and off 6 times and it will go back to learn mode. After a test ride, it was absolutely perfect and never again will I be unsure of my gear, and it is pretty and blue, what’s not to like.
 Follow
2.3K
Follow
2.3K