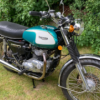
I really wanted to make a bobber. Well, it's good that it did not work ....... Part 2

PART 2.
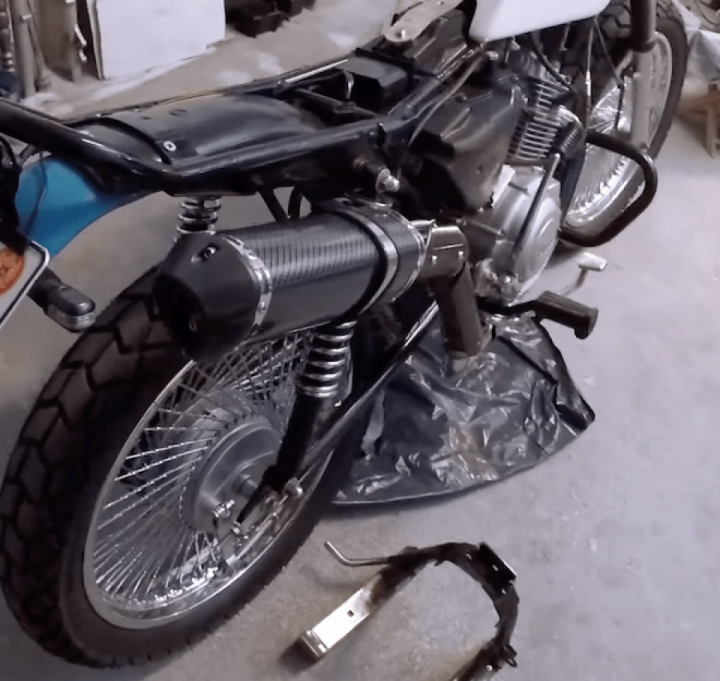
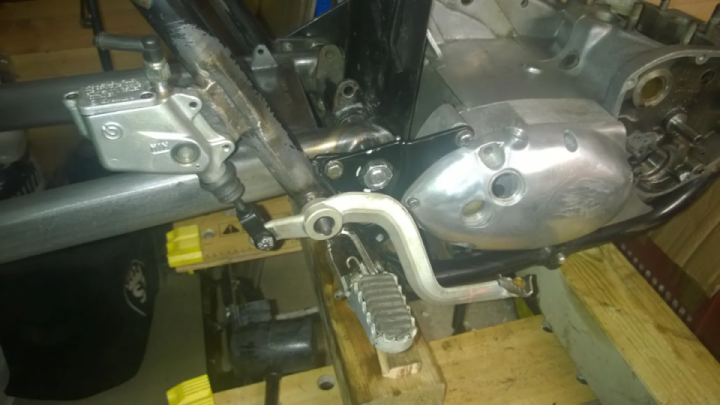
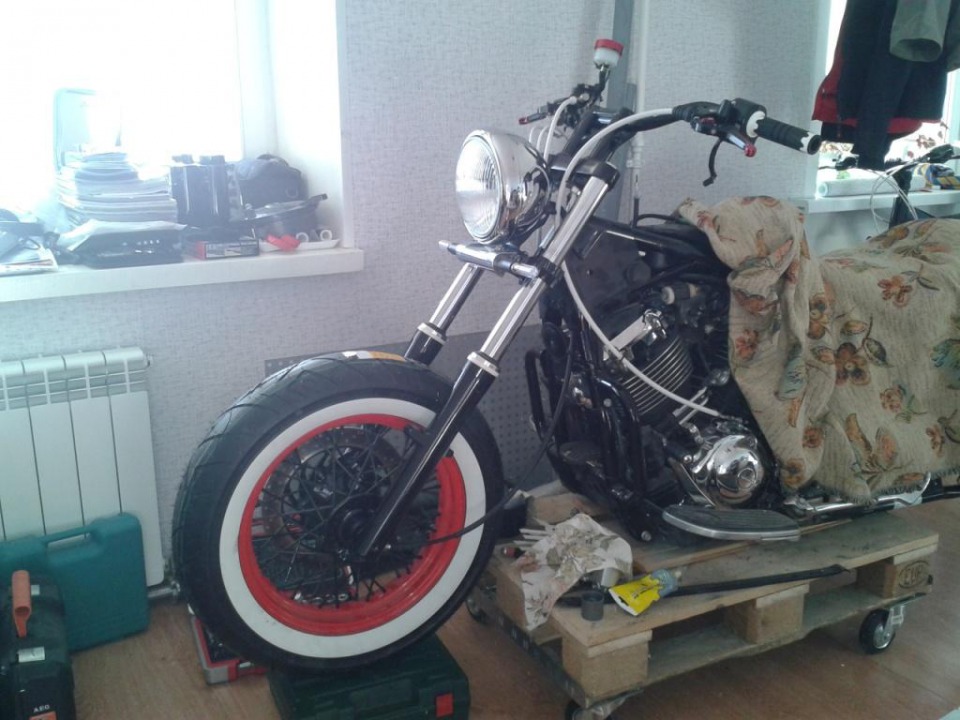
During the dismantling was pleasantly surprised by the excellent condition of spare parts. But the details weer painted really bad. And there were a lot of holes for turn signals and wiring., drilled by the previous owner.
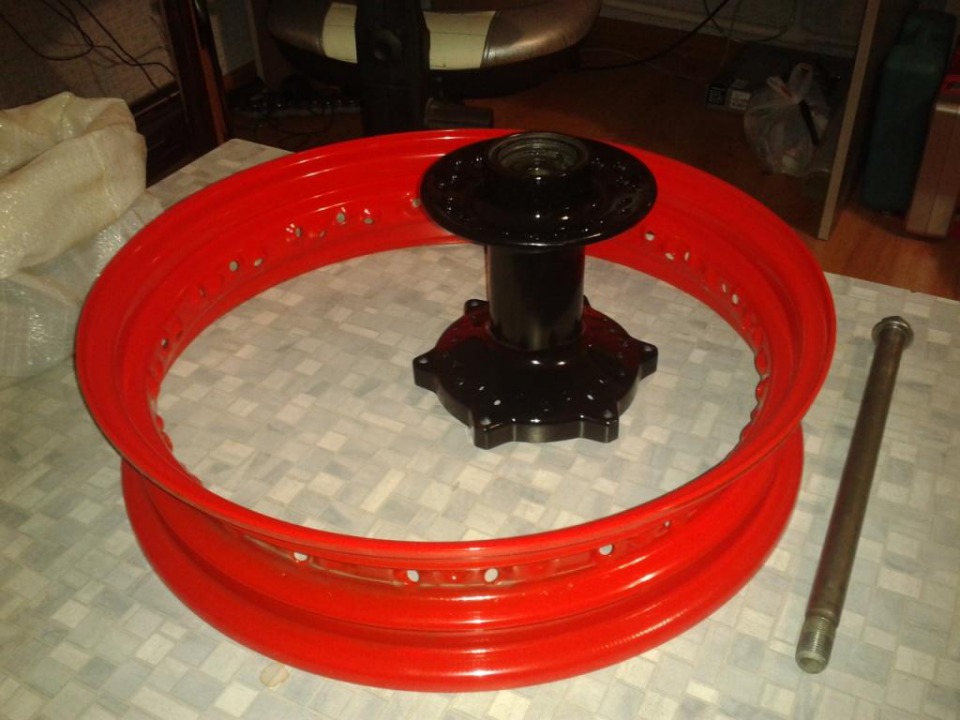
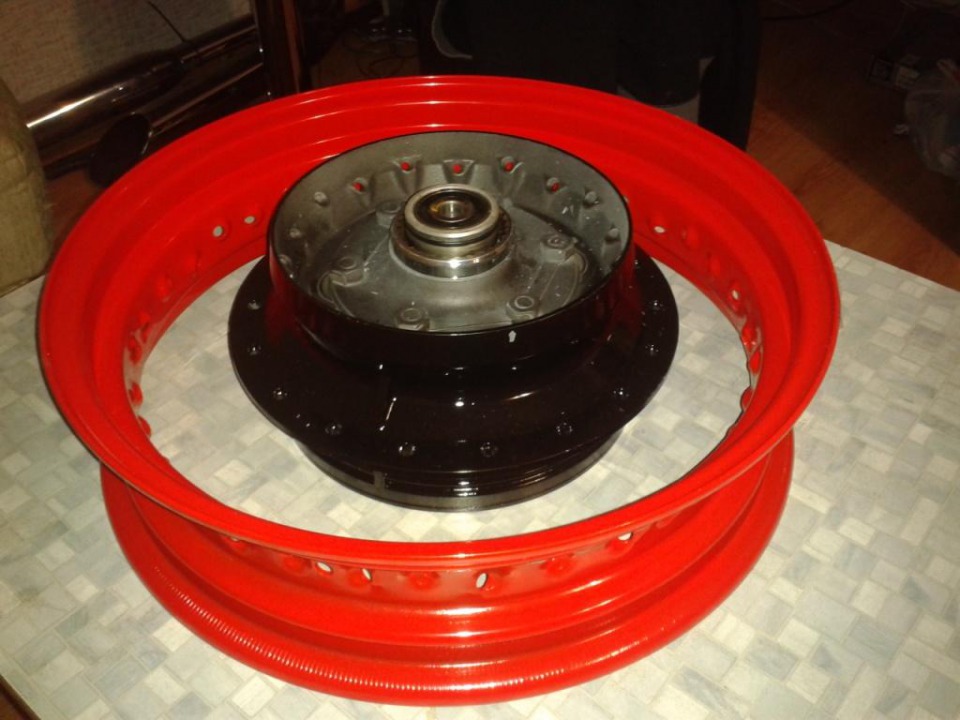
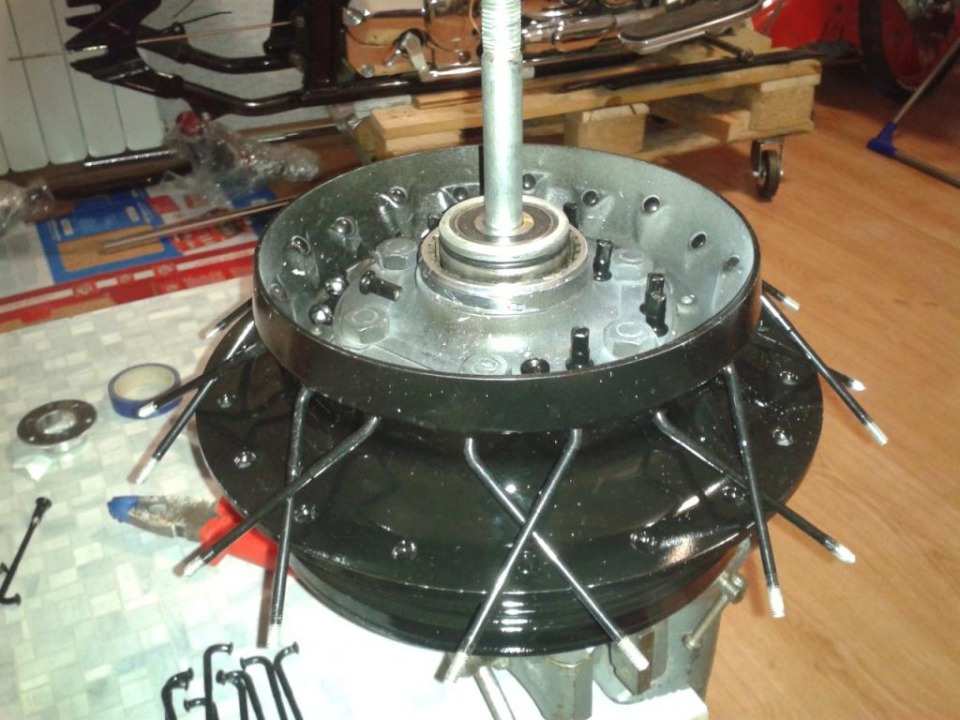
I do not really like chrome, so I immediately put some parts on the sandblast and painting by powder. The wheels are well sandblasted while assembled, but I pre-muffled holes on the sides, in order to avoid
sand hit the bearings. I did not want to paint wheel hubs by powder, I was too lazy to take out the bearings. before removing spokes, take photos of some nuances as carefully as possible.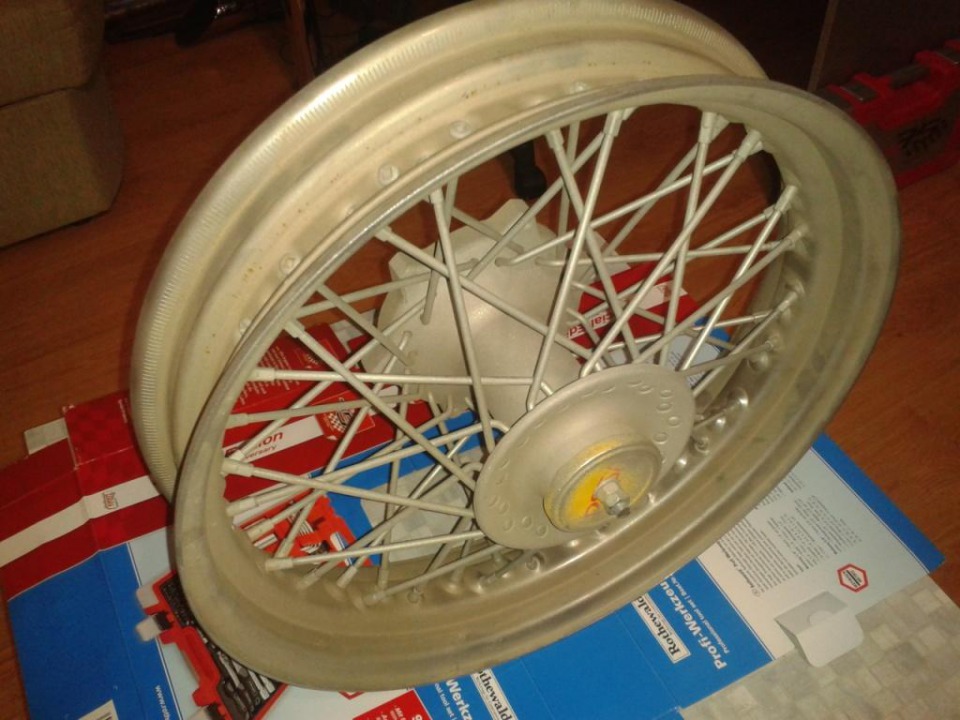
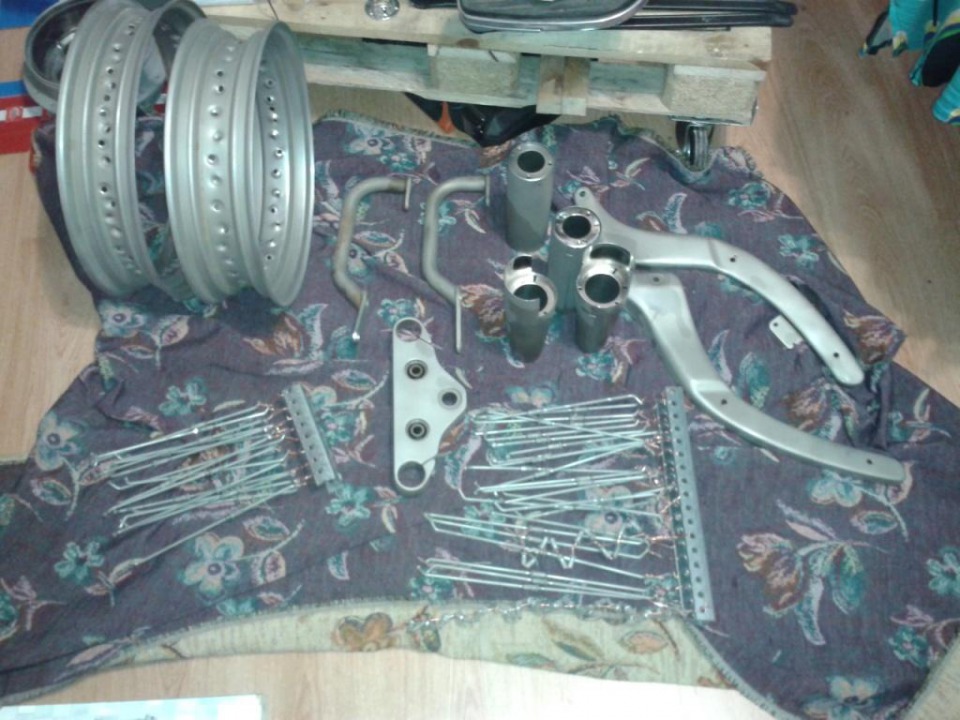
As I paint the wheel in two colors, after processing with sand I disassembled it. It took much time to decide how to color the spokes and screeds by powder. But I didn't fing anything on the Internet, so I did the following: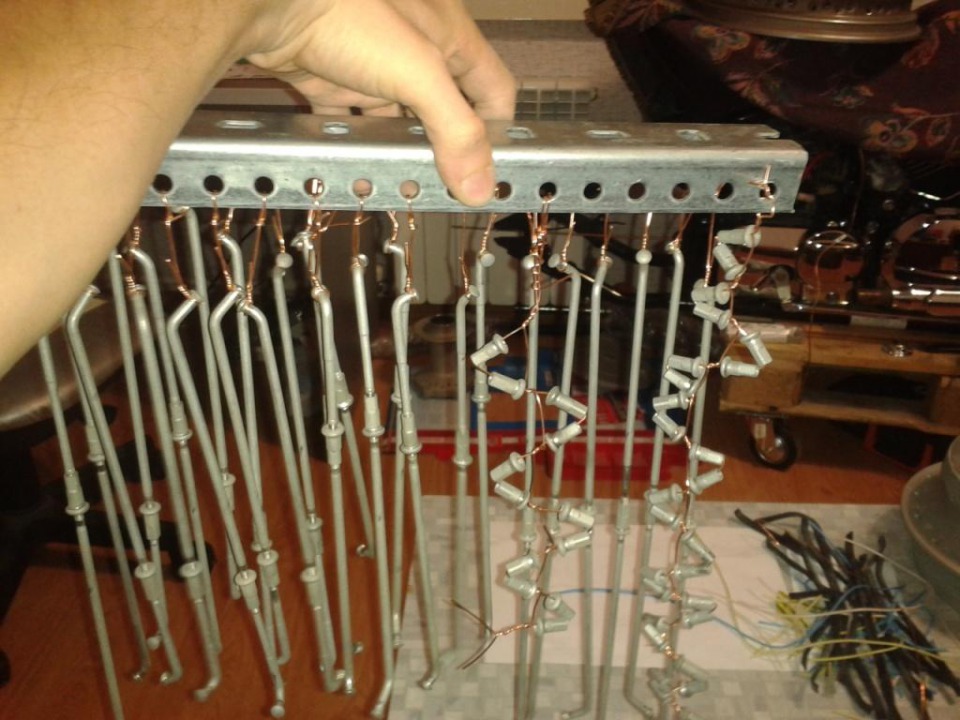
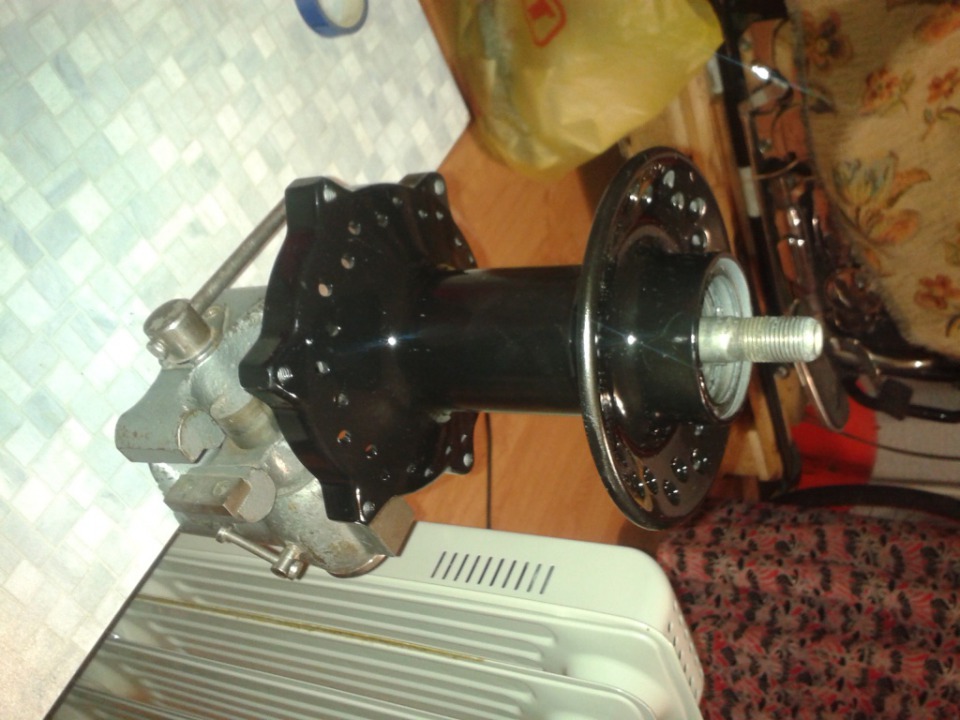
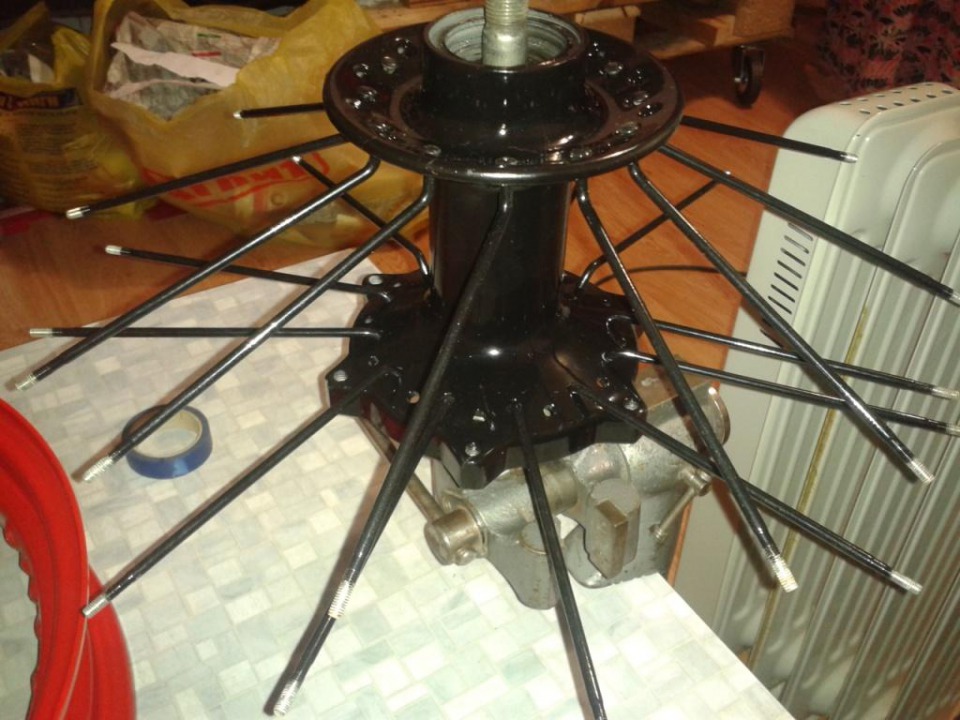
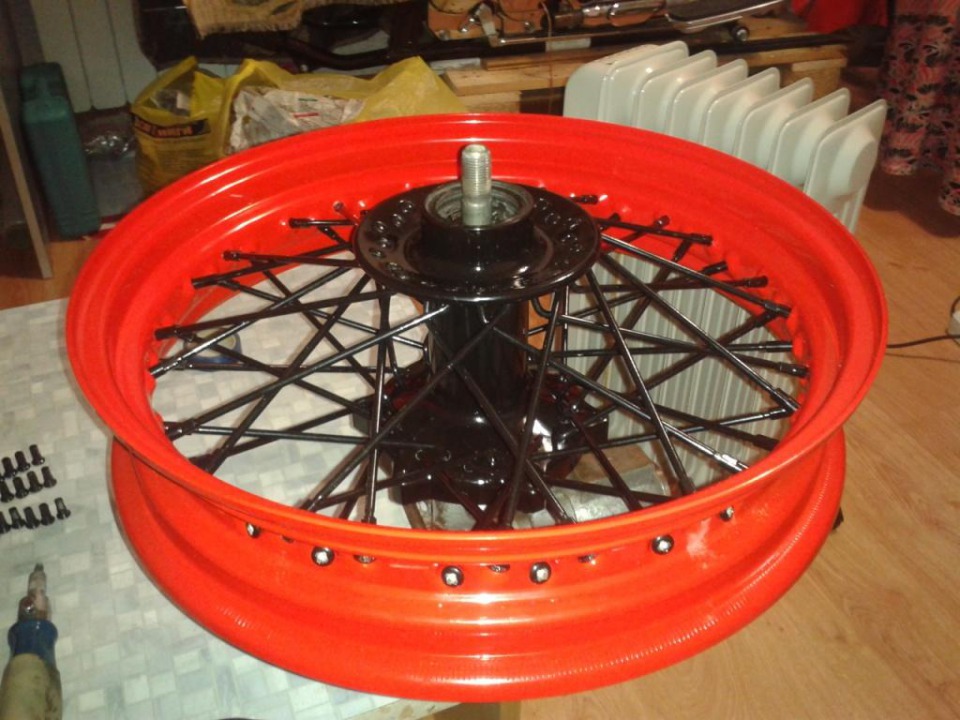
A couple of days later, everything was ready to be assembled...
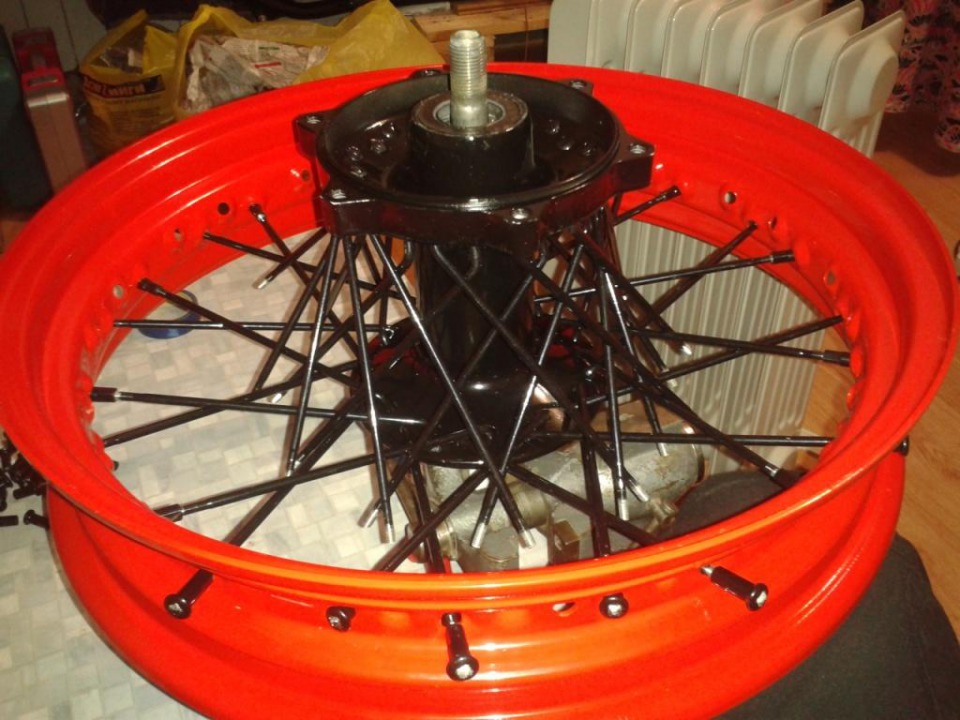
For an easy assembly, the axle must be tightened vertically.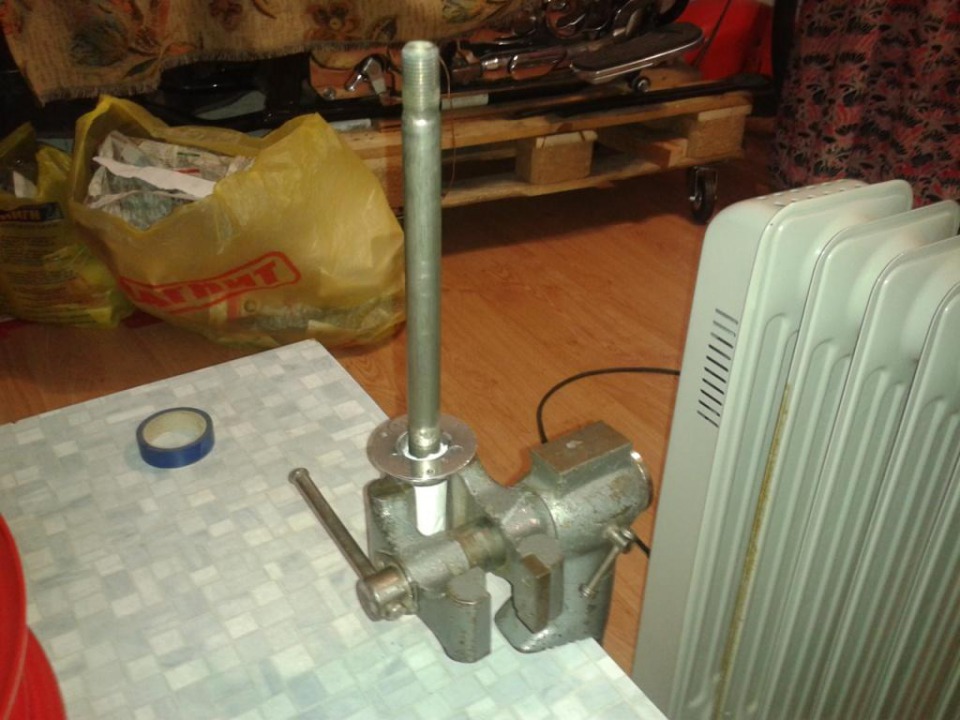
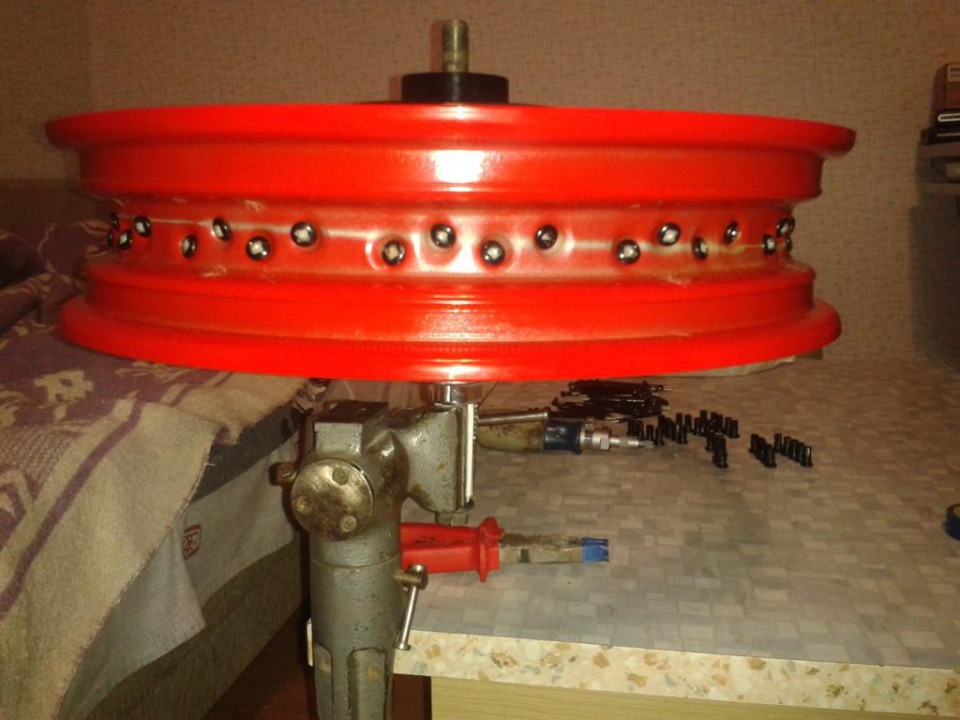
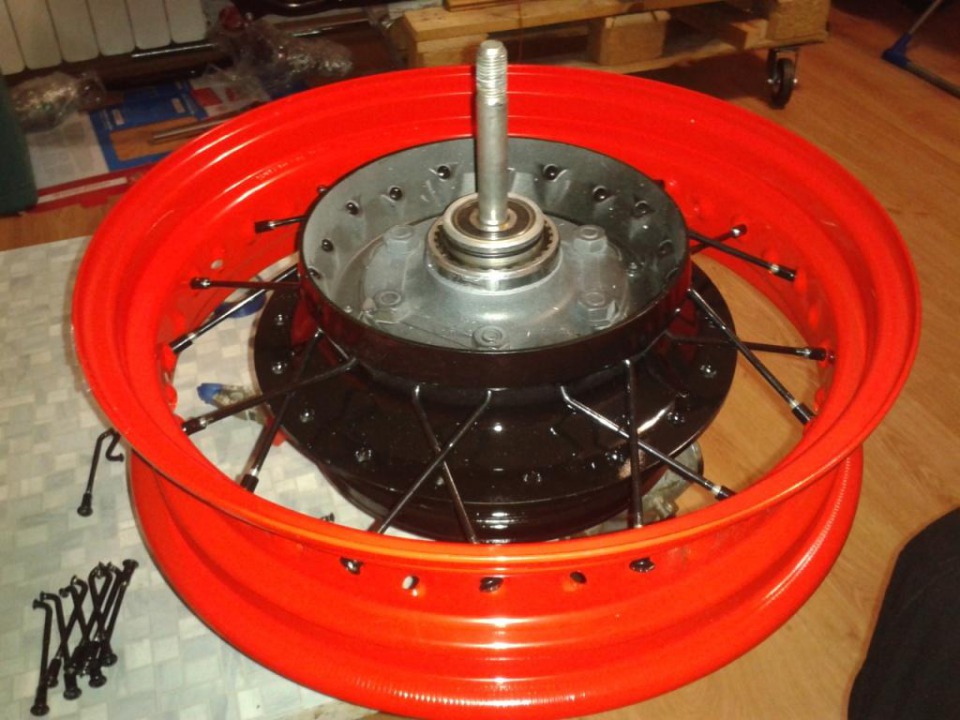
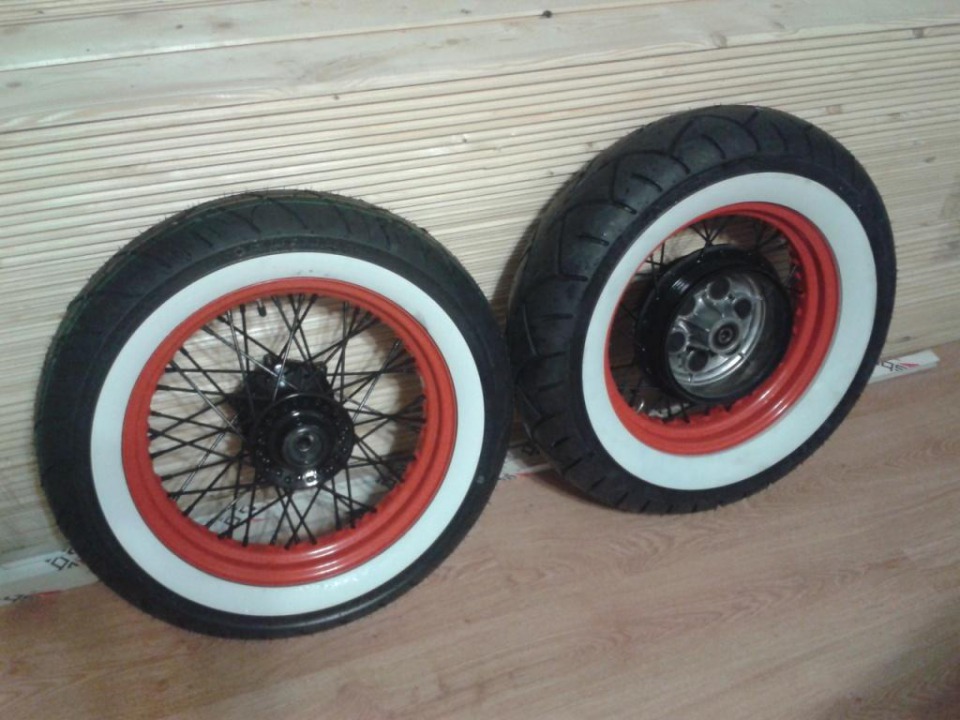
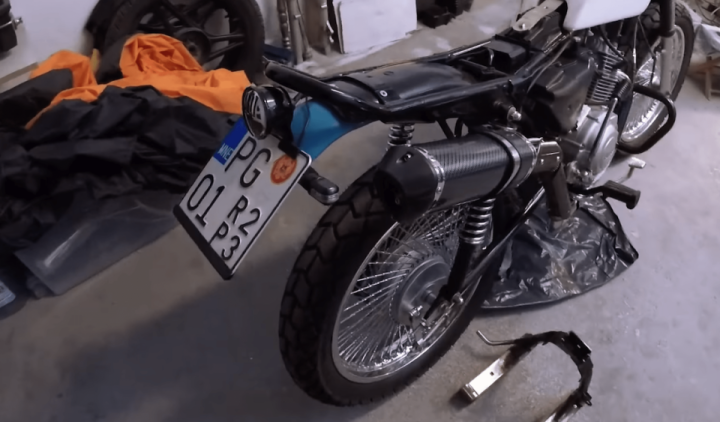
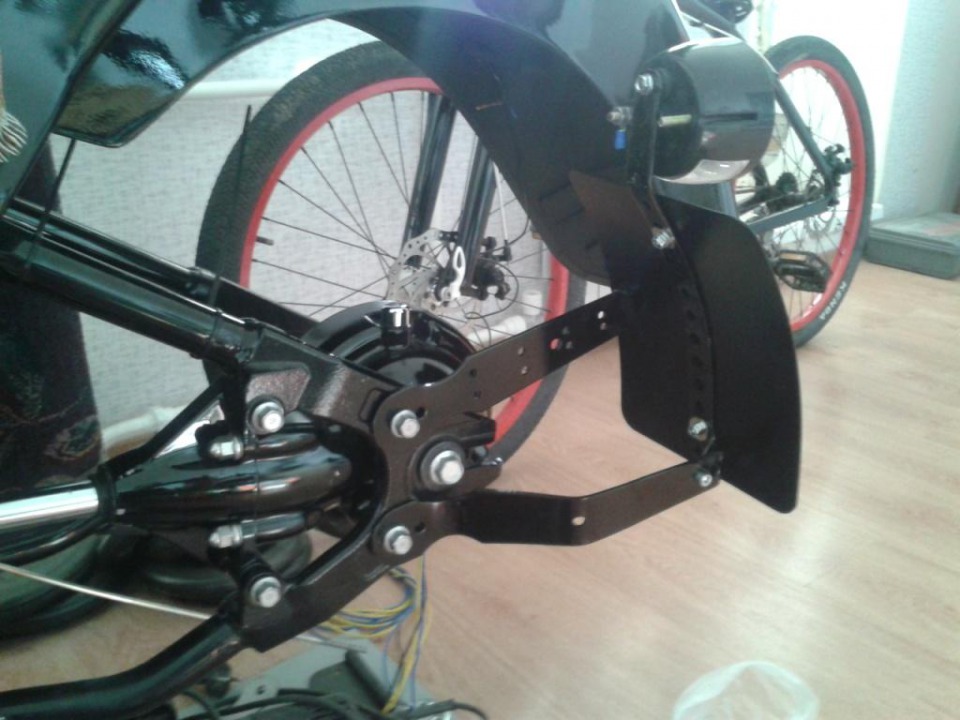
The wheels are finished. Next, we make the bracket-take-out for the state number. I did everything from the trash.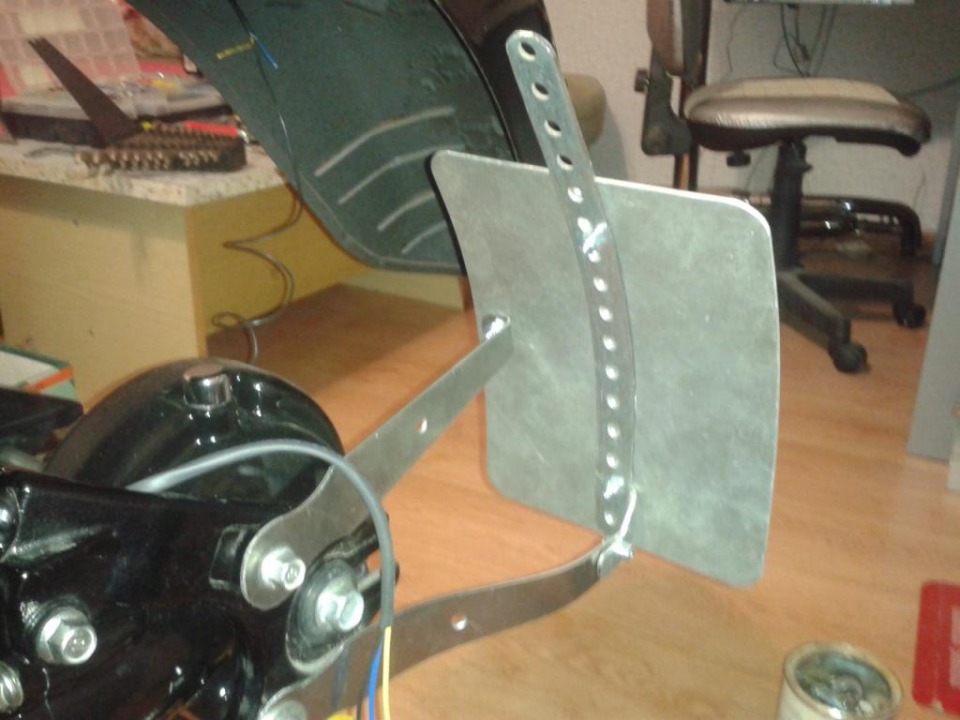
to be continued...
 Follow
2.2K
Follow
2.2K