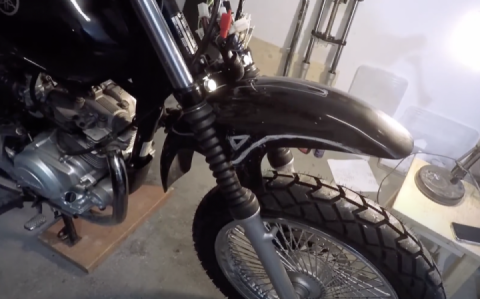
Part 6 Yamaha YBR 125 - Homemade fiberglass fuel tank
It is a pleasure to welcome you again, dear reader!
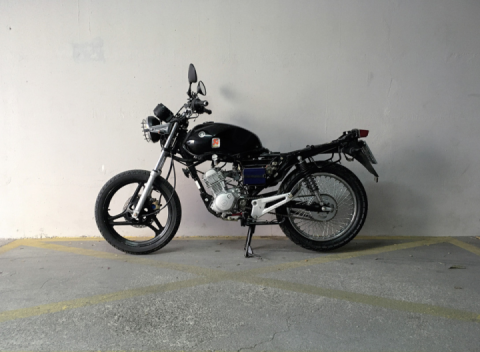
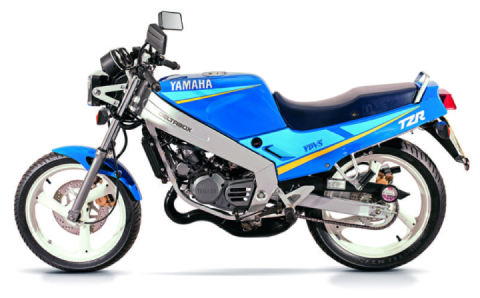
This is already our 6th meeting within the Sandy project. Today I will try to fully describe the process of making a fiberglass fuel tank for a scrambler in an ordinary garage: from design to surface finish.
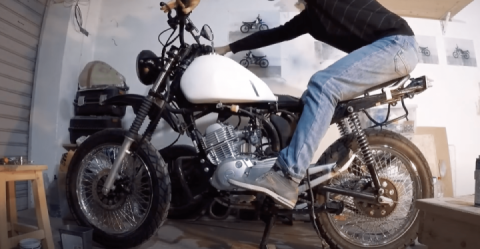
At the moment we have a concept of the tank and a photoshop drawing - and we start to begin.

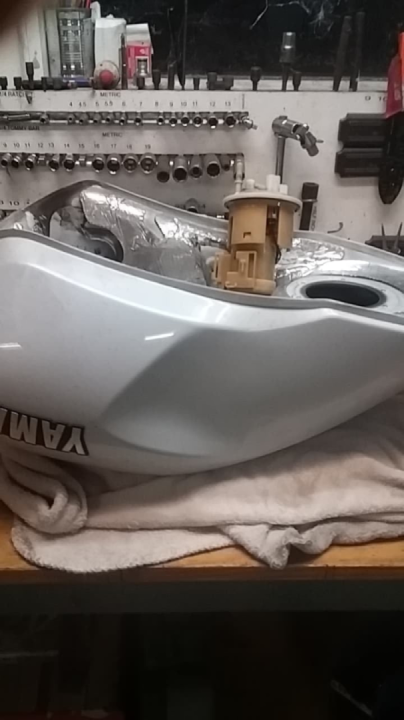
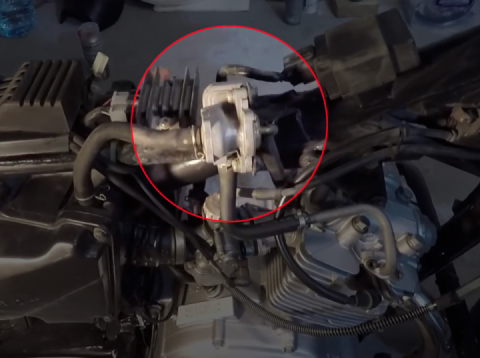
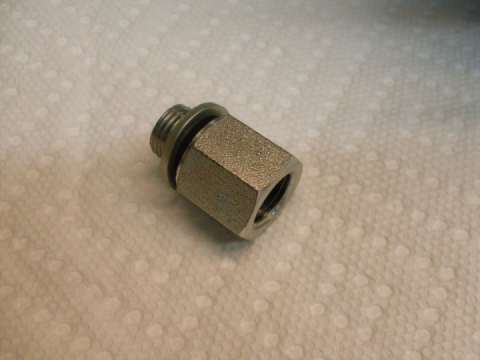
The first thing I did was the neck. On ebay I bought a Chinese aluminum cap with a valve and threads (standard solution for pitbikes and their PP tanks). Using the lid itself, plastic and aluminum tape, I made a mold out of all this, pouring polyester resin inside it and shoving pieces of glass mat - I got almost a finished part! The only thing left is to twist off the slightly sticking lid and trim some places with a file: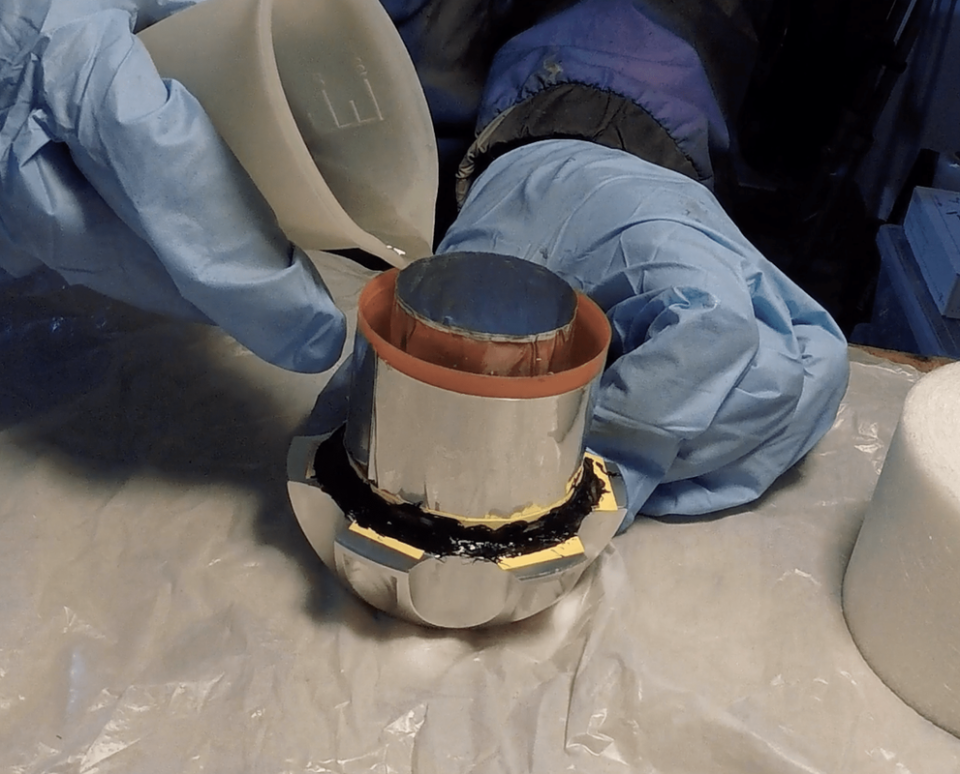

Next, I created paper templates based on my drawing: longitudinal section and tank width calculation based on ergonomic requirements and style of our scrambler. I also created a couple of molds of the layer-by-layer cross-section of the tank from top to bottom, and transferred it all to fiberboard. I cut out the blanks of the future model with an electric jigsaw and glued this "skeleton" from them: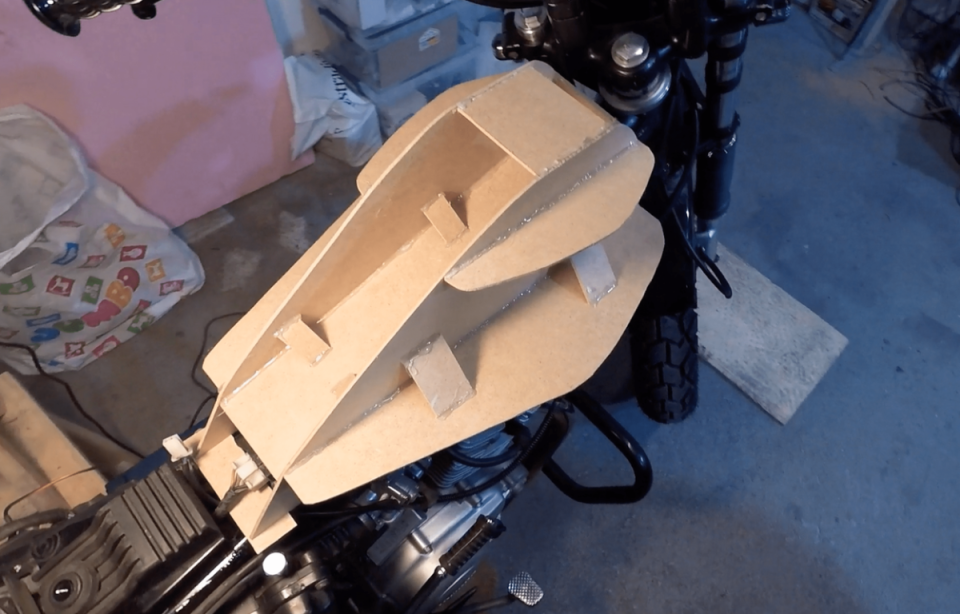
Now build up on the skeleton "meat" - fill the voids with insulation foam (because it is quite dense and easy to handle) and construction foam: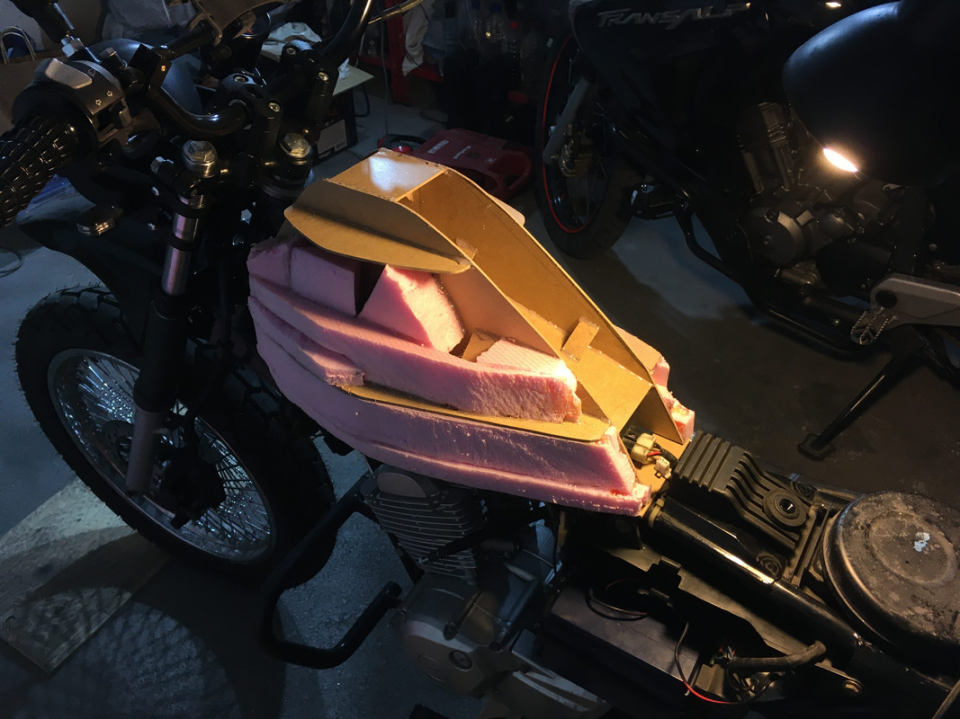

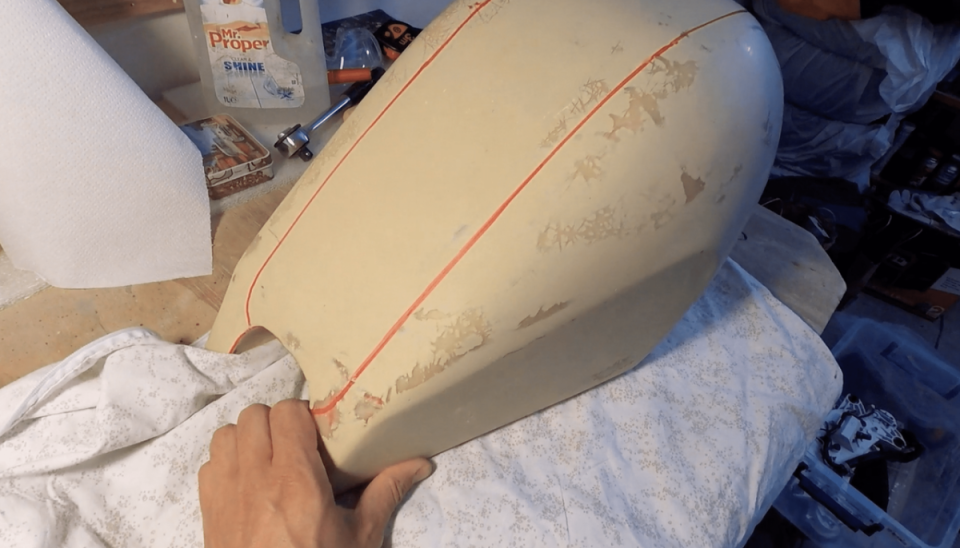
At this stage we again involve design thinking to finalize the shape of the future tank, and finally coat the resulting model with epoxy putty on plastic:

Now, so that the model does not fall apart during use, we reinforce it with a layer of epoxy, and we can make the matrix. But first we need to decide how to take this matrix apart and where to make the flanging:
So, the connector locations are marked with a marker taking into account the shape of the model - as you can see, there are only 4 components of the connector matrix. It was decided to use aluminum tape to make the flanges:
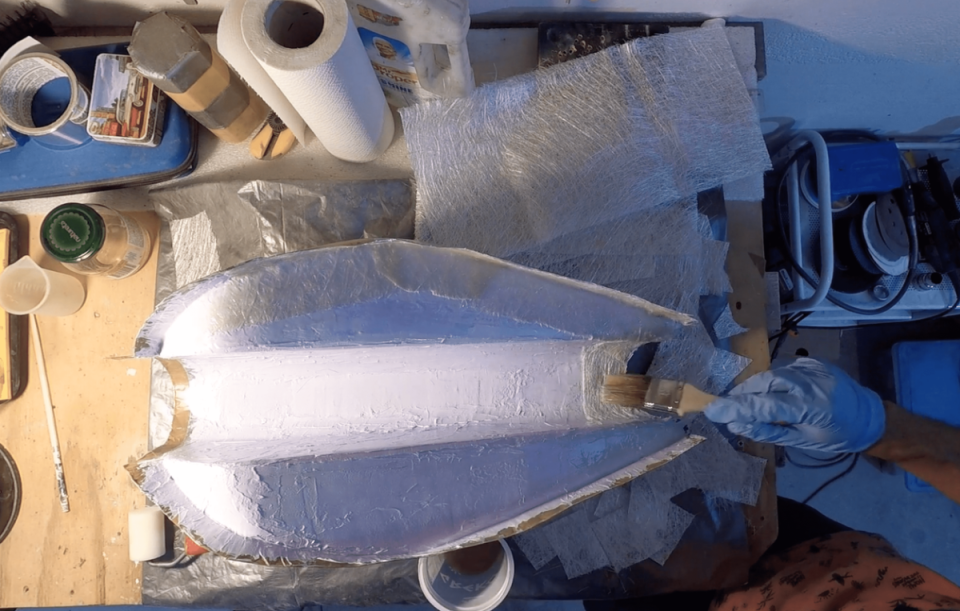
Next - I applied gelcoat and put a couple of layers of polyester mat on top - all this glued together perfectly. After the resin crystallization - drill holes in the flange and bolt the edges of the resulting "dumpling":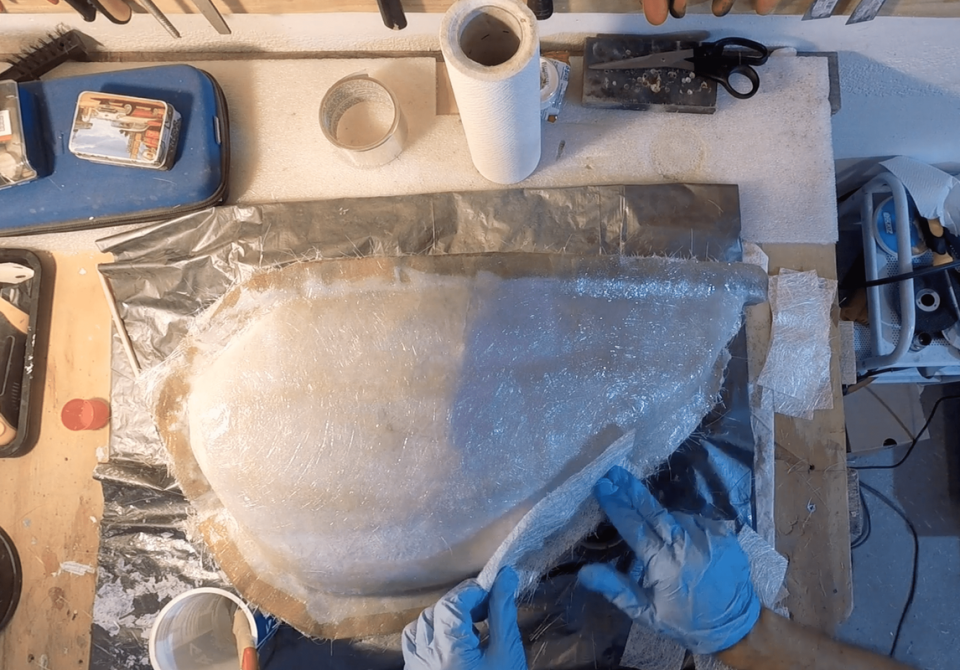
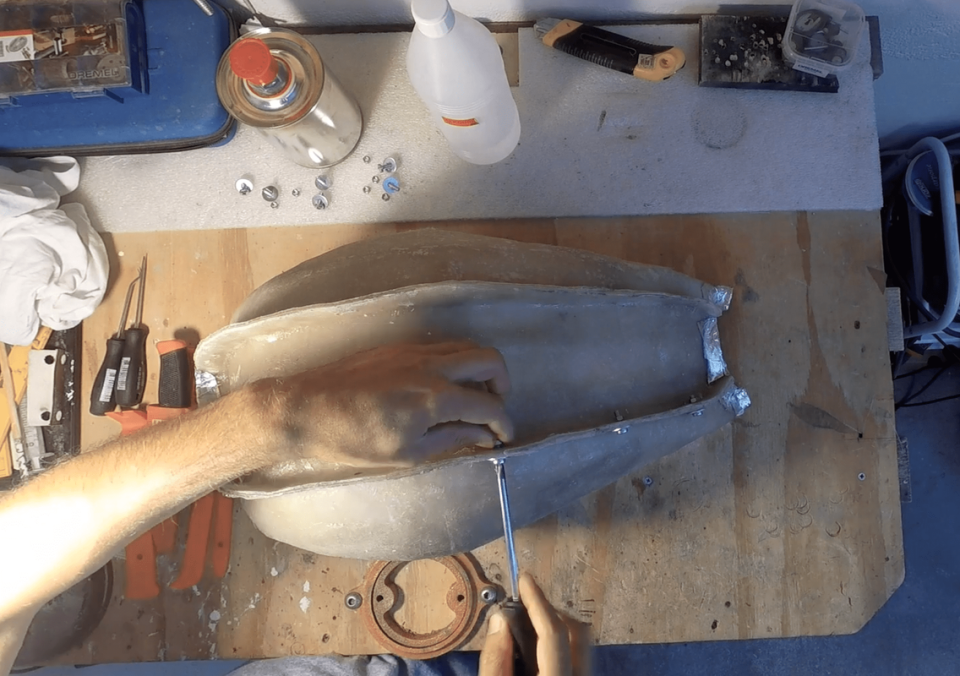
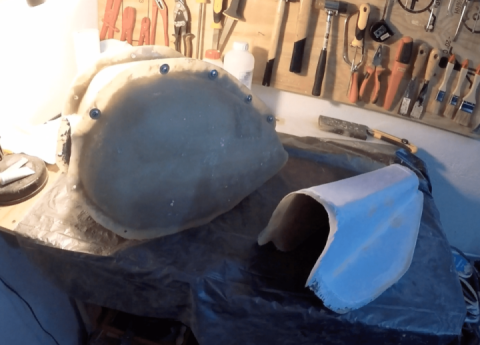
Unwind everything and take the matrix apart, there they are our 4 components:

I'll do the second part a little later. I can't insert more images :D

 Follow
2.8K
Follow
2.8K