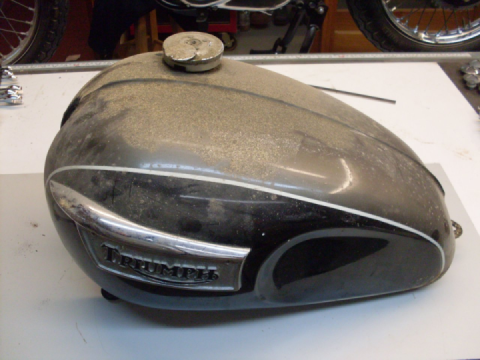
Part 6 (2) Yamaha YBR 125 - Homemade fiberglass fuel tank
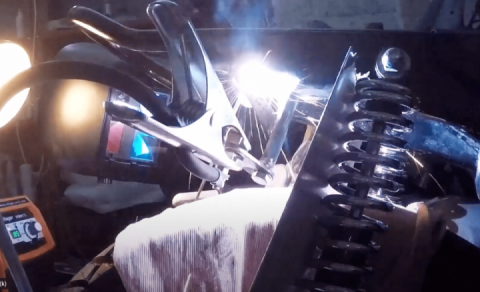
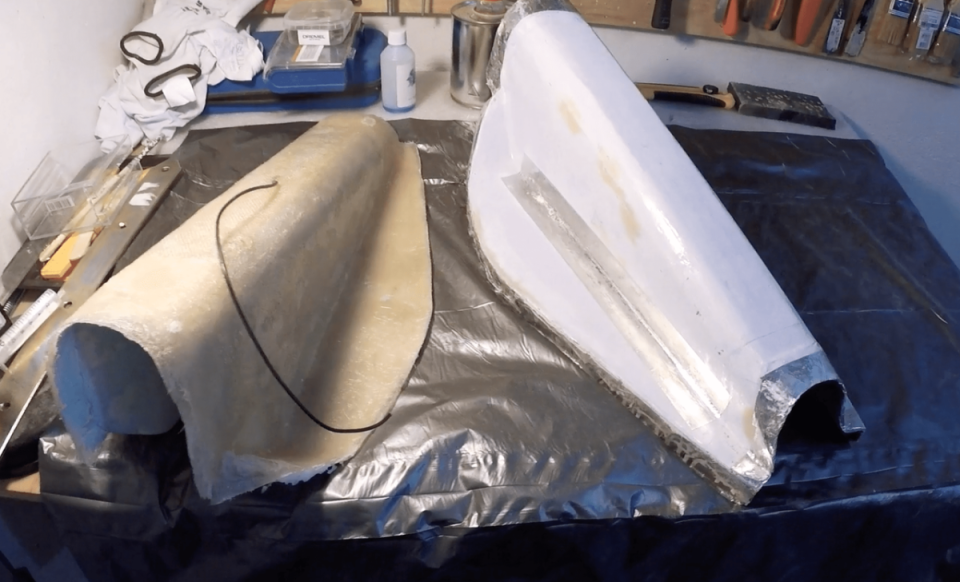
Now it will be very convenient to glue the tank "inside" and disconnect it from the matrix. Putting the top 3 components together, I got a 2-part matrix, with which we work further in this sequence:
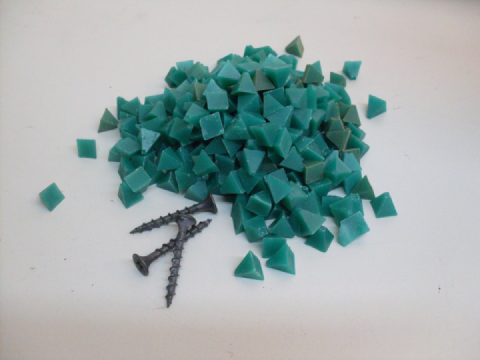
- release wax
- PVA alcohol
- gelcoat (to create a smooth outer surface)
- a couple of layers of fiberglass paste (based on polyester resin)
- glue aluminum mesh with grounding to fight static electricity (paranoia, but it's calmer)
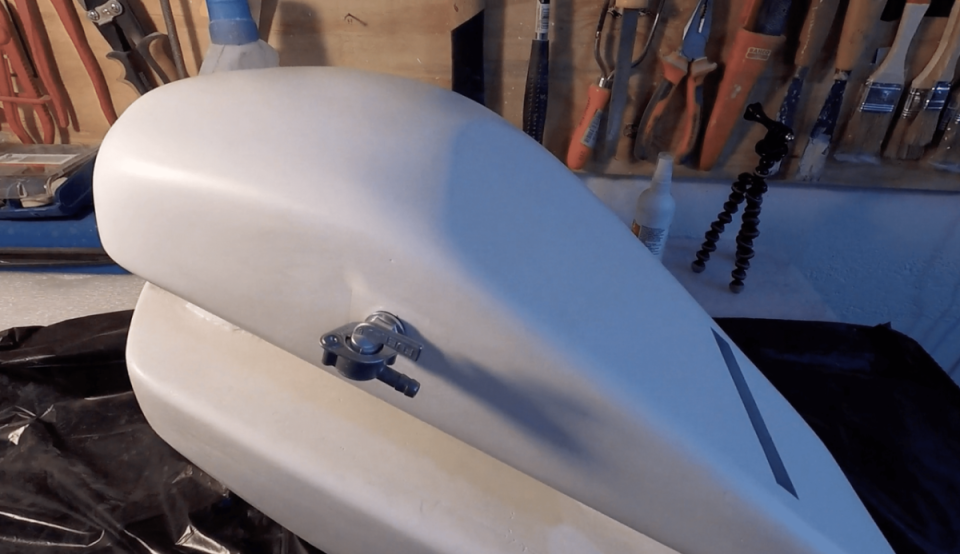
- glue in a viewing window to monitor the fuel level.
- glue bolts to screw the metal grounding fastener to the upper wall of the tunnel (the bolts must be in contact with the grid for obvious reasons).
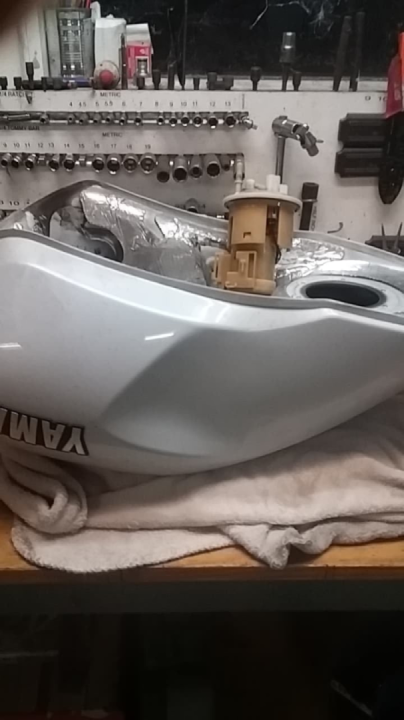
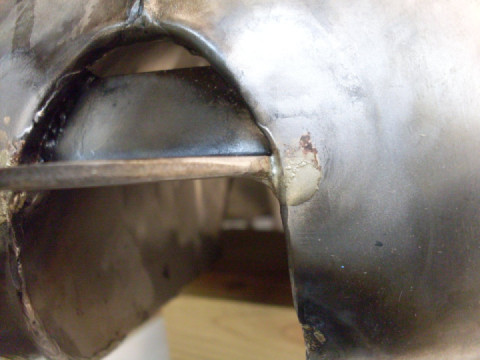
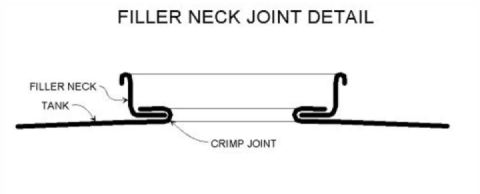
- glue our self-made neck into the top of the tank.
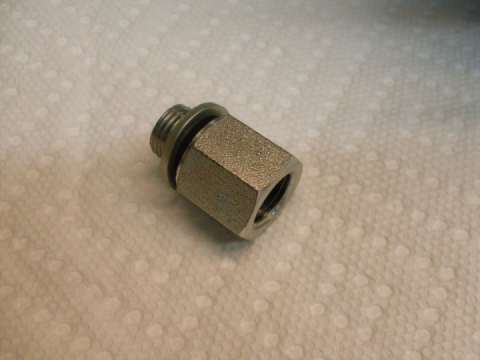
- cast the threads for the petrol valve with super-strong metal epoxy.
- and at the end: a layer of protective epoxy, which does not react with gasoline (inner surface).
After gluing we have 2 halves of the tank, which we now join at the seam, following the same sequence of application of materials:
- protective epoxy
- fiberglass
- gelcoat

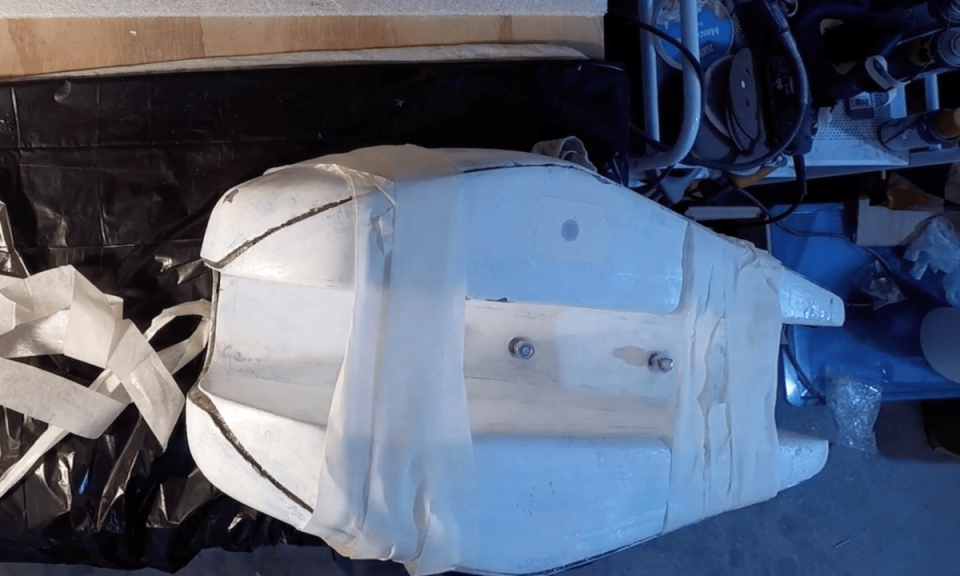

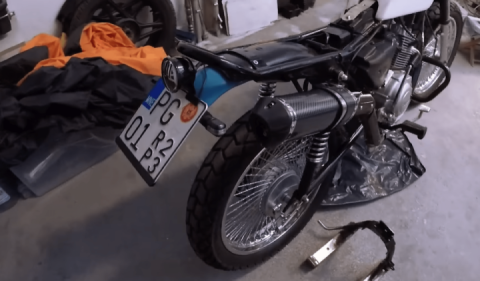
Also, don't forget to glue the tank mounting lugs to the rubber seals in the tunnel out of fiberglass.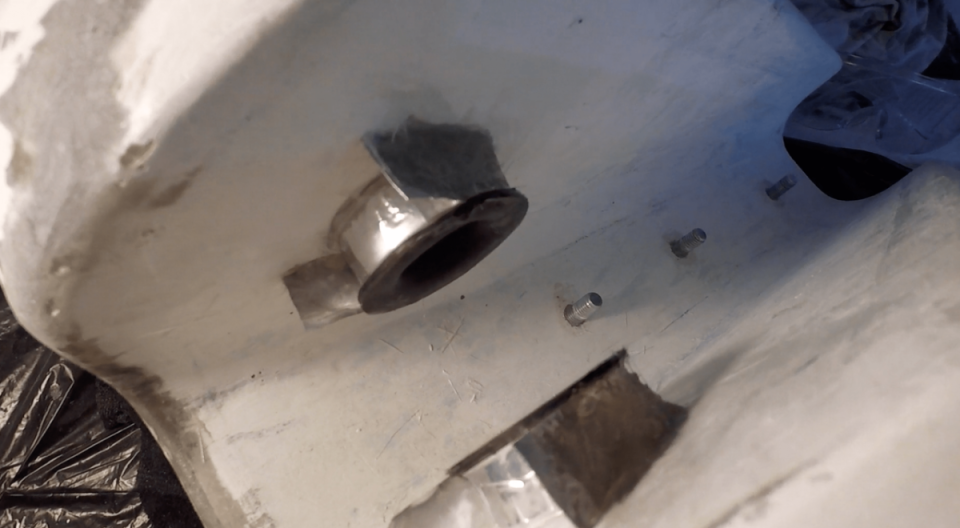

That's it. Spatulate and bring to the ideal, not forgetting to glue our self-made neck and cast the thread for the gasoline valve:
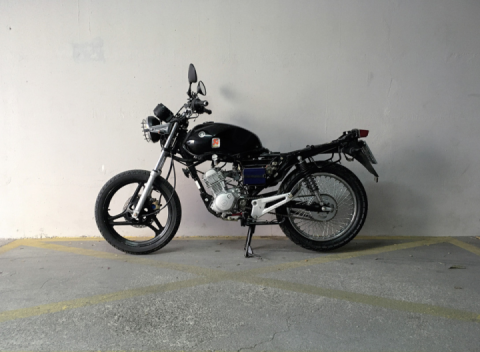
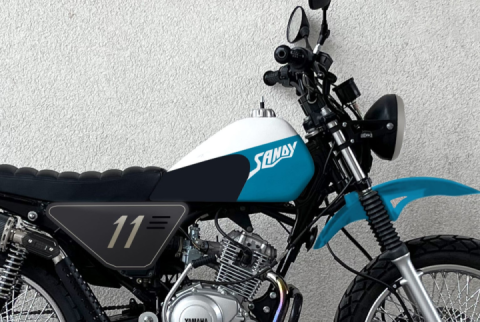
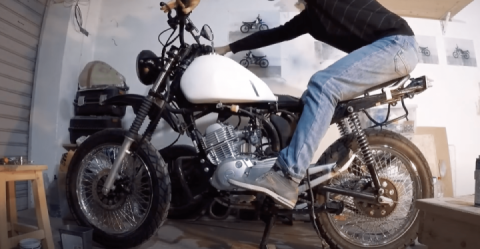
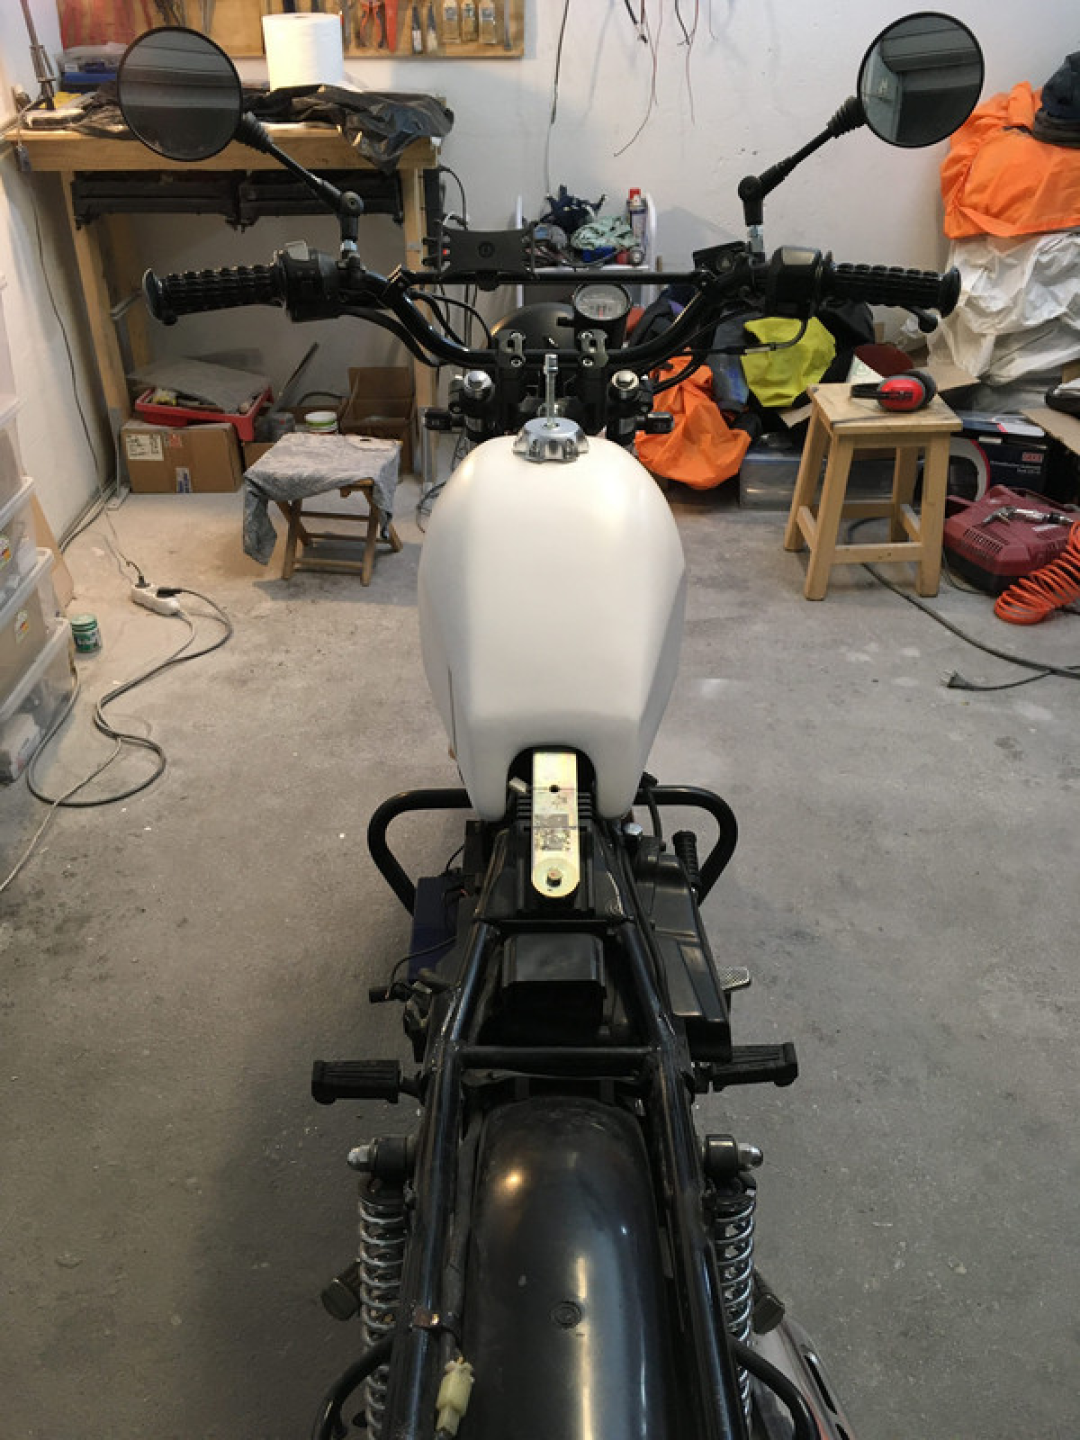
Painted it, installed it, filled it with gas, fired it up, hallelujah! How's that, Elon Musk? :)
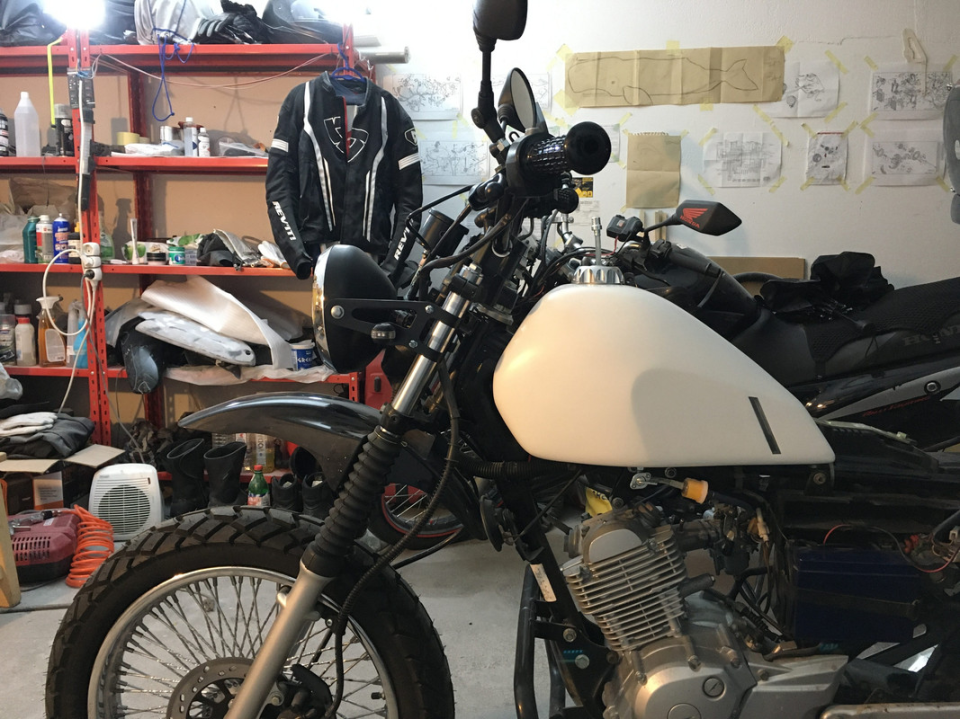

What's next - the tests will show. And in general there is still a lot to be done on the project - seat, rear end, exhaust, electrics, tuning....

 Follow
2.3K
Follow
2.3K