Transmission change for Honda cbr600rr 2009-2012 PC40
Hello everyone. This is my first Mblog here, I am 16 and I spent 5 days on it for 5-6 hours a day, doing everything slowly. I will share my experience of replacing the gearbox, I also went through the engine but unfortunately did not take any photos. thank you and hope this will be useful for someone.
To begin, remove plastic, do a photo of all the bolts that Unscrew and fixtures which are removable.
Disconnect the wiring and prepare the engine for removal, you should be careful when removing the injector (located under the air filter box)
After Removing the injector, plug the cylinders with a cloth so that nothing is dropped there.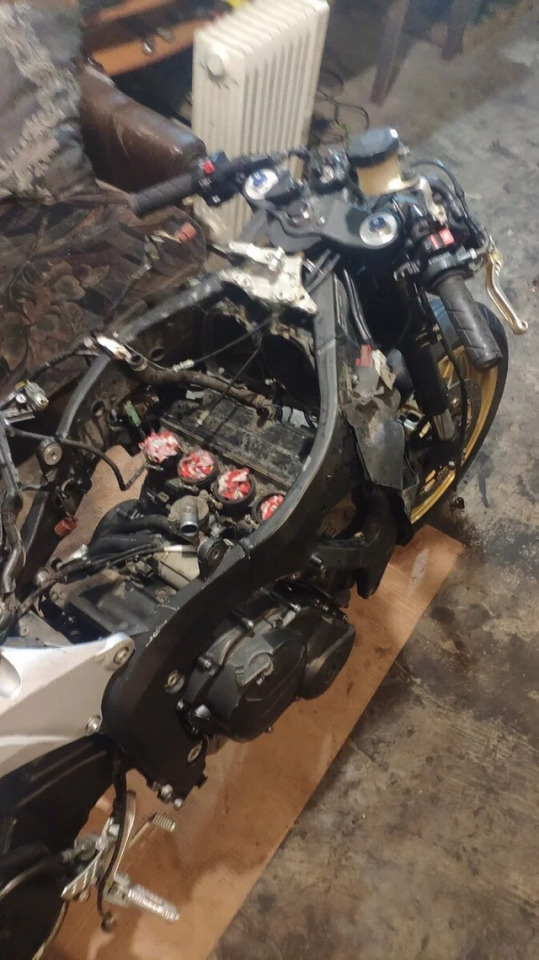
It is necessary to drain all the liquids and remove the cooling system. Since the engine is removed through the bottom, you will need to put something under the sump and lift the motorcycle, I did it with a winch, but you can also manually with someone's help.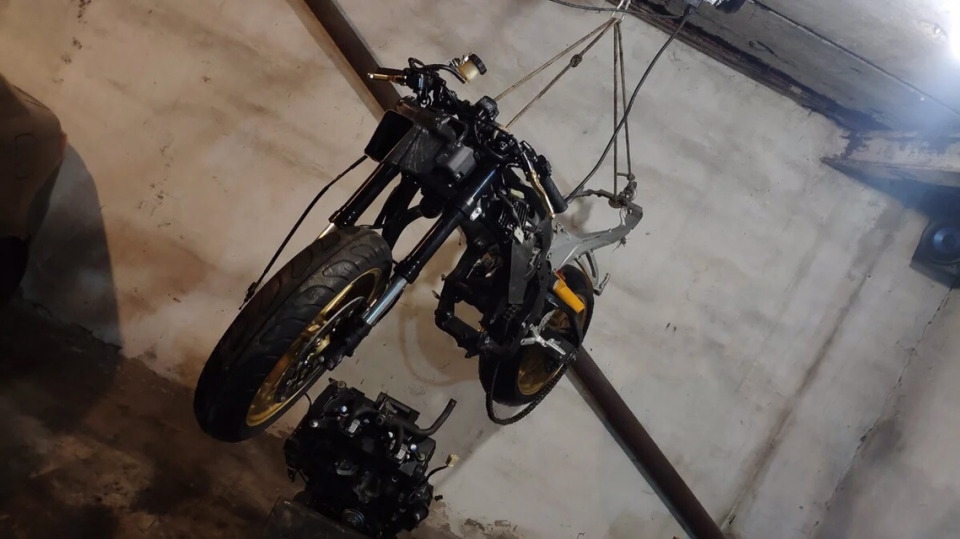
When unscrewing the pins holding the engine, problems arose because the nut on the bushing has a very strange appearance, and I had to turn the key out of a simple head. It is worth noting that then this nut is very difficult to screw back since it does not sit on the thread, so I advise you not to completely unscrew it, but slightly loosen it. I turned the bushing itself with a clamp, but this can be done with a wrench or large pliers.
Finally separating the engine from the motorcycle, I took a photo of it from all sides so as not to make a mistake when assembling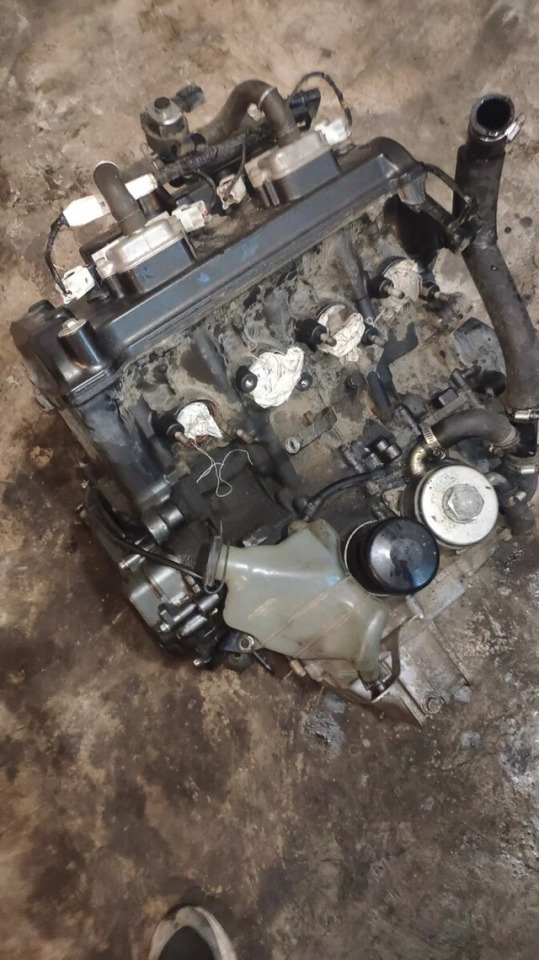
The order of disassembly is not so important, you need to remove all the attachments ( I changed the gearbox, so the head and the crankcase did not touch ) remove all the covers and carefully take pics the "inside" (this sooo much helps with the assembly) and of course, the assembly will help the correct storage of bolts, removing the cover or some node, all the bolts I put in a zip bag and attach it to the spare parts.
Now separately for each cover, I write in the order in which I did it myself.
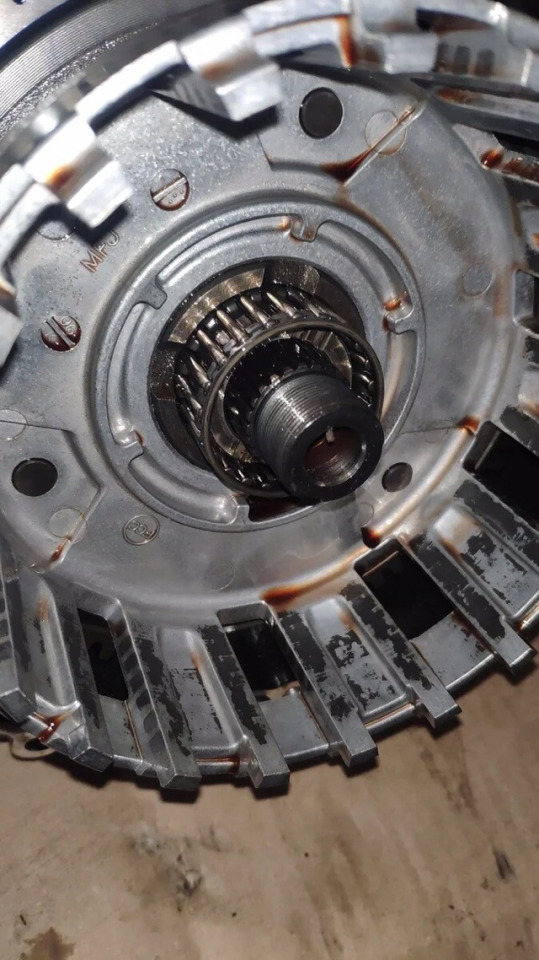
Clutch cover. When removing the roof may remain a shaft with a gear, on which the bushing and washer, it is important not to lose, then unscrew the five bolts on the clutch basket and remove the inner part of it. I first took out all the disks and then tried to unscrew the nut that holds the basket, which was my mistake, because when trying to unscrew the nut it just turned, I had to insert the disks back and tighten their hand to unscrew the nut. You should carefully disassemble the clutch assembly and take photos of all the processes
I will not focus on the generator cover, but it is desirable to remove it before removing the crankcase sump.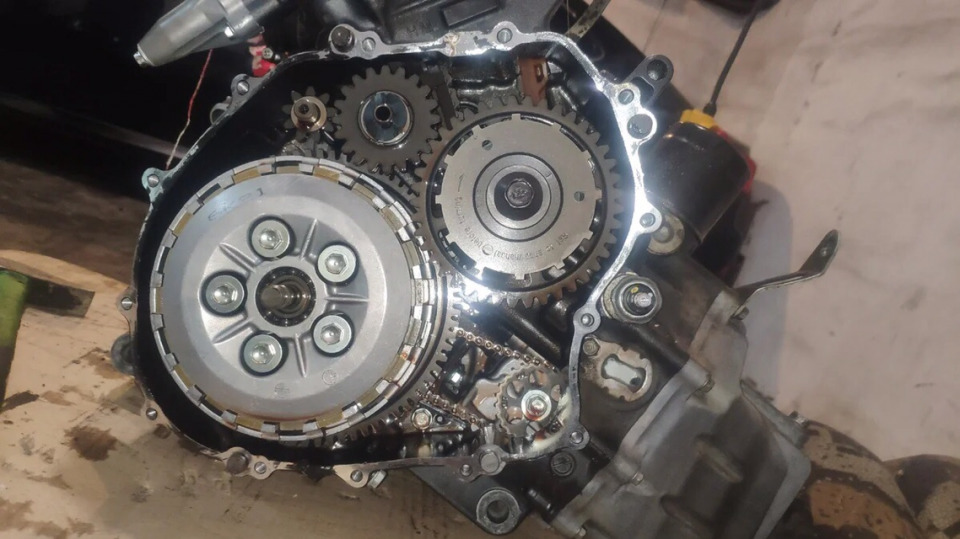
Сrankcase sump, unscrew all the bolts and carefully remove them. It is worth noting that the engine before me did not understand and not on one cover I did not see the gaskets, so they are assembled at the factory on a sealer, which I did. After removing the pallet, we have access to the oil pump, carefully separate the oil receiver, it is not attached to anything, and then remove the oil pump and the pump if you have not removed it earlier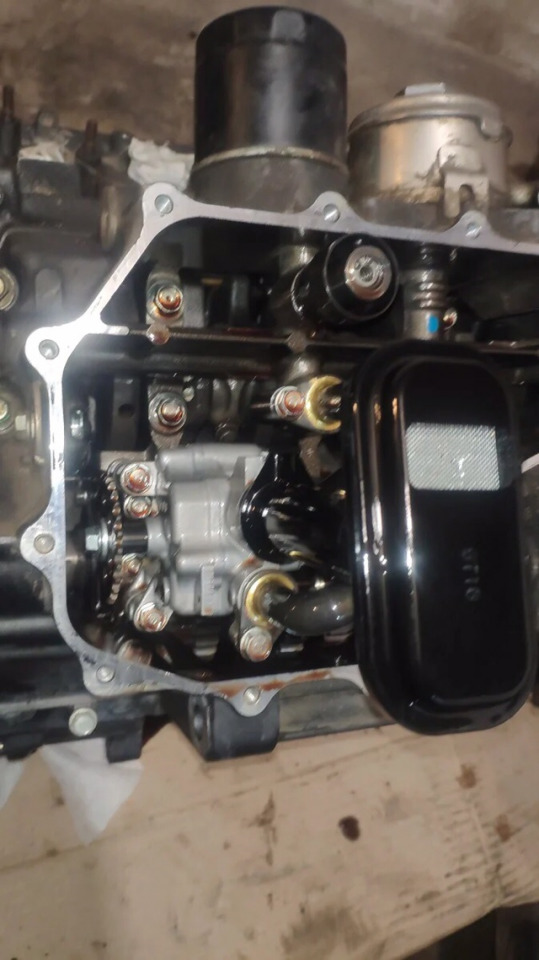
Then we unscrewed the bolts of the mainliners, and all the bolts that hold the "engine halves" there are a lot of them and they are of different sizes, so again they need to take a photo. Several bolts are on the starter side, I did not notice them immediately so I have some problems, so make sure that you unscrew all the bolts, be careful it is removed strictly up. When removing the timing chain may interfere with the calming device but in any case, do not remove the chain, you can remove it without removing
Next is the removal of the shafts of the manual transmission.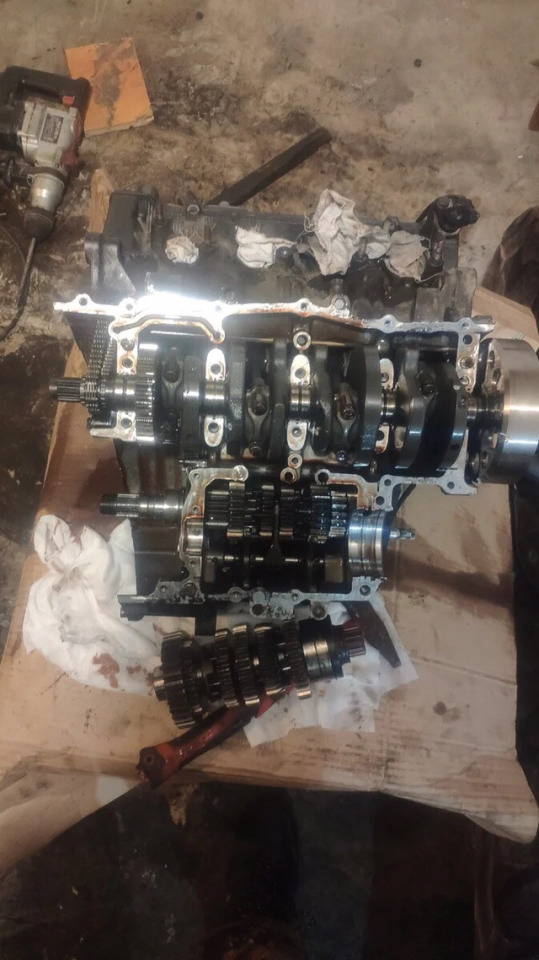
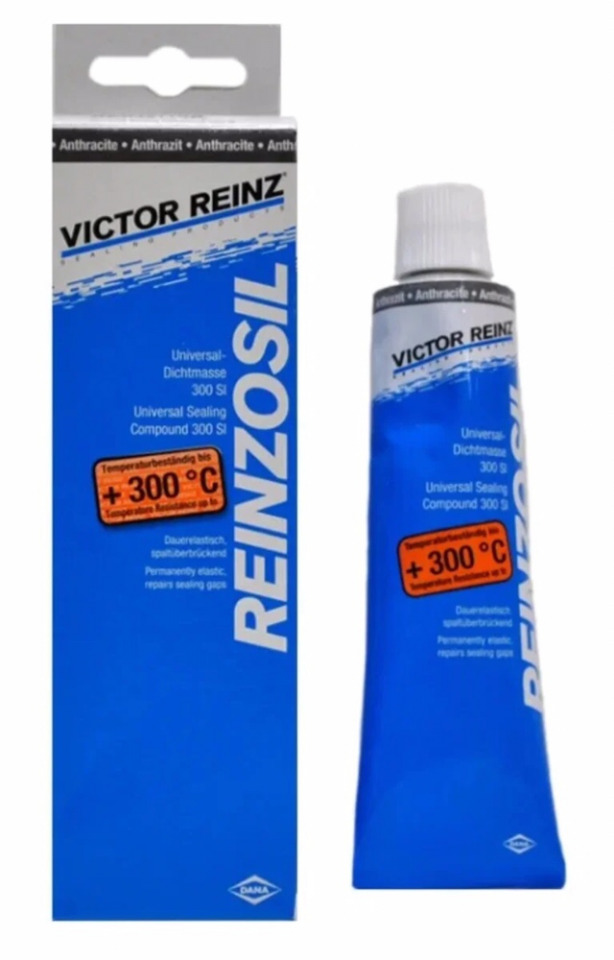
I assembled everything in reverse order on the vixtor reinz sealant, it is applied very easily and what is important is a thin layer, you do not need to pour the floor of the tube on one cover, it will still squeeze out, and if it squeezes inside it can create problems. All the bolts that were twisted were coated with a small amount of retainer.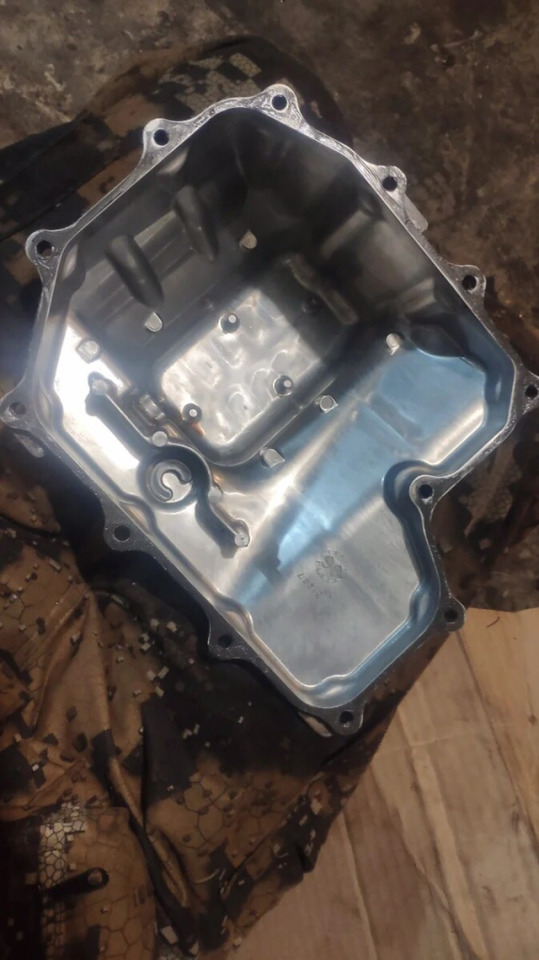
The first launch had no problems
 Follow
5K
Follow
5K