Rare Honda CL200 transformation to tracker/scrambler/bratstyle
What started out as a mild, stock-ish restoration of a hard-to-find 1974 Honda CL200, the project began to steer in the direction of darkness when I decided to add some bratstyle/tracker styling cues. One thing led to another, and the next thing I find myself doing is bobbing the rear fender.
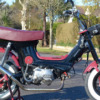
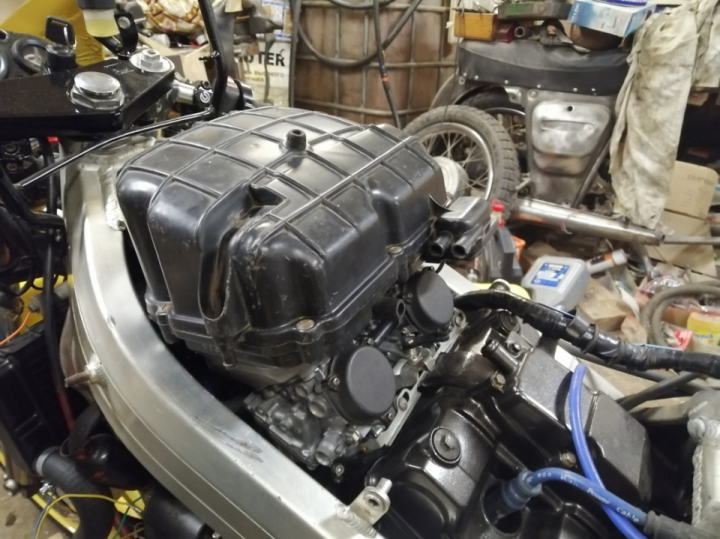
This is the first (running) motorcycle I've owned. I found it on craigslist and it was in pretty fair condition to begin with. Was running well but the stock air filters where crumbling apart and those had to be replaced. Then it was normal maintenance: adjust tappets, clean the centrifuge oil filter, replace leaky gaskets, etc.
As it looked when I found it: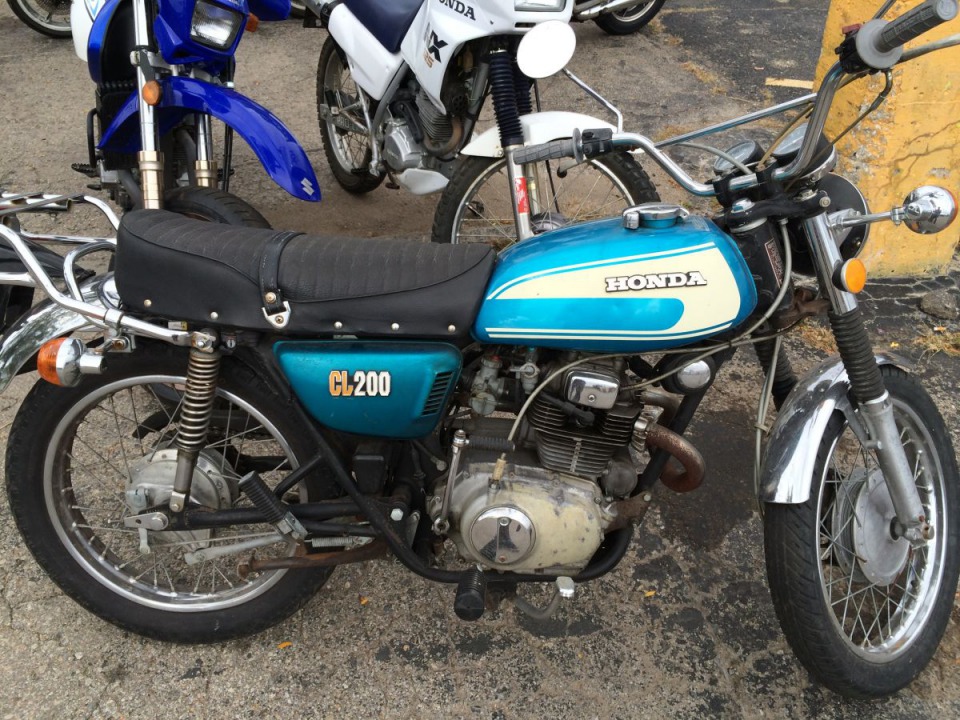
Onwards!
Polished all the aluminum. Went through ~$50 in dremel tools to remove the nasty factory finish. Then hit it pretty hard with #1 steel wool. Then nevr-dull polishing compound + #0000 steel wool, then blue magic metal polish. Then a coat of turtle wax to keep them from tarnishing for a while. Will need to be applied yearly though.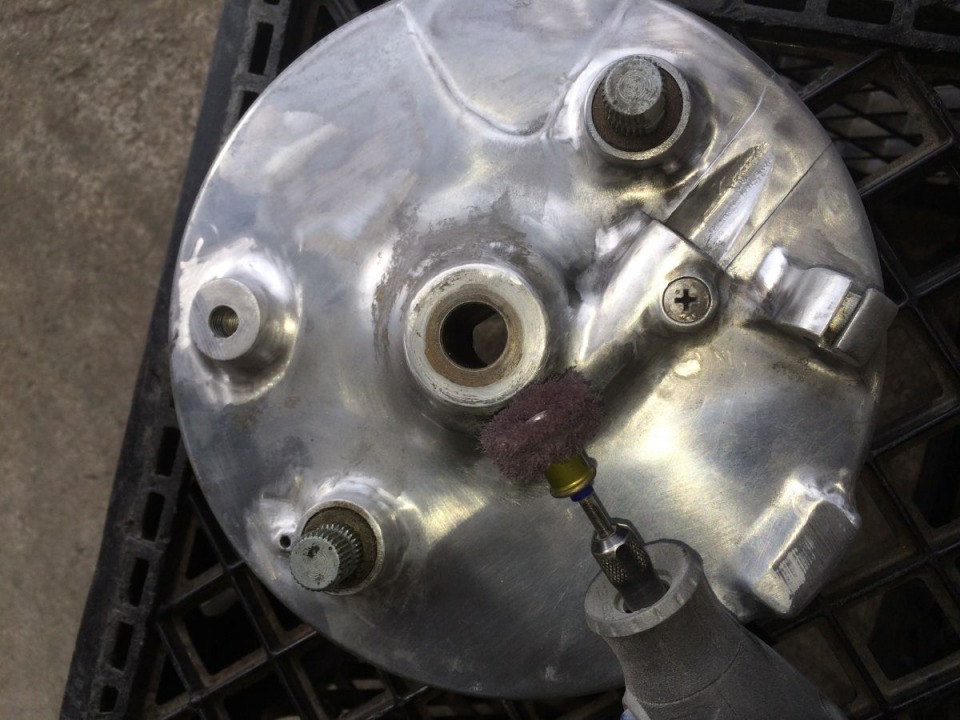
buffing off the polish: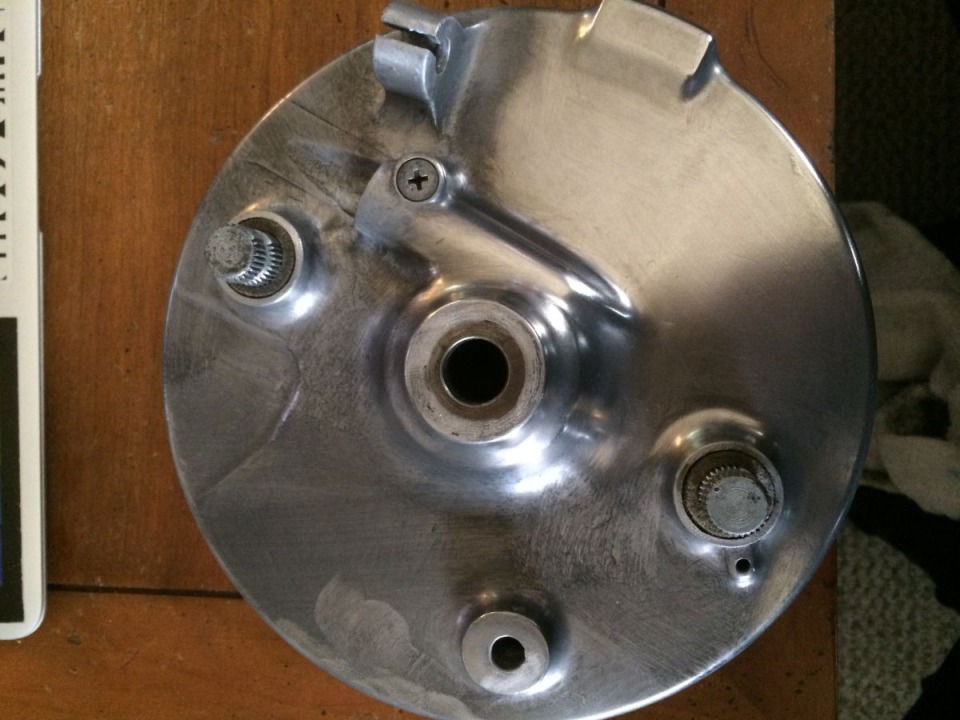
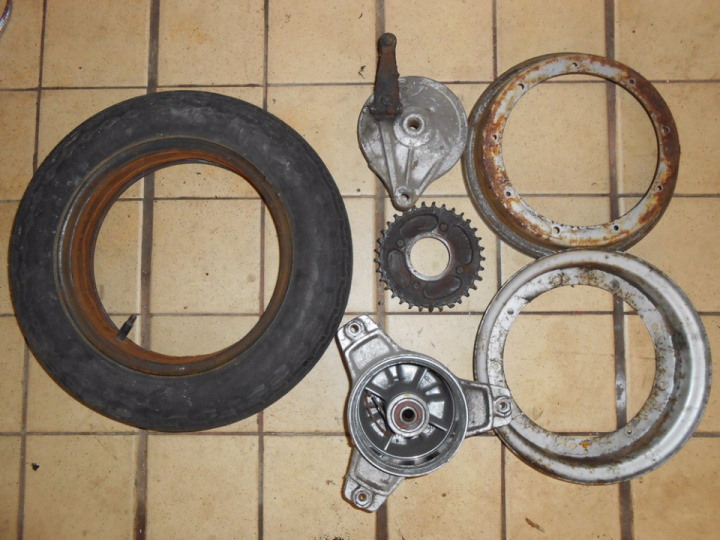
Then new tires. They're Shinko 244 duel sport.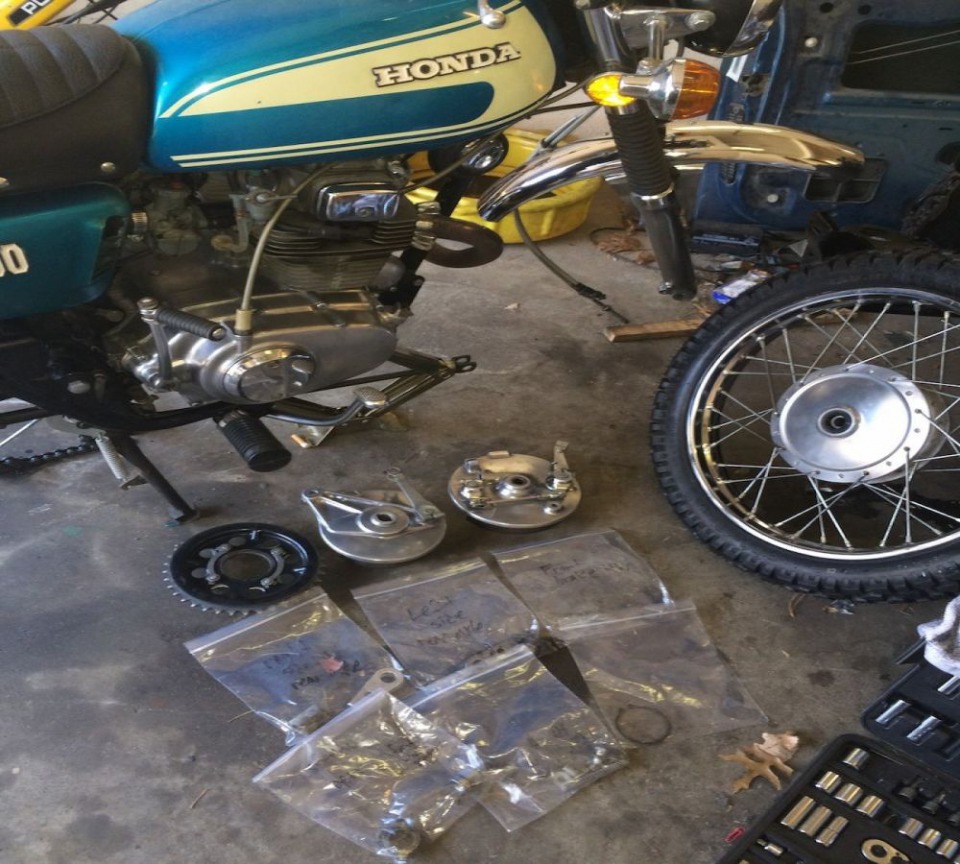
So the side covers where cracked, broken, and ugly. I also wanted to replace the "gills" as I call them with perforated aluminum. First I repaired the plastic side covers with plastic-weld epoxy and some fiberglass tape stuff.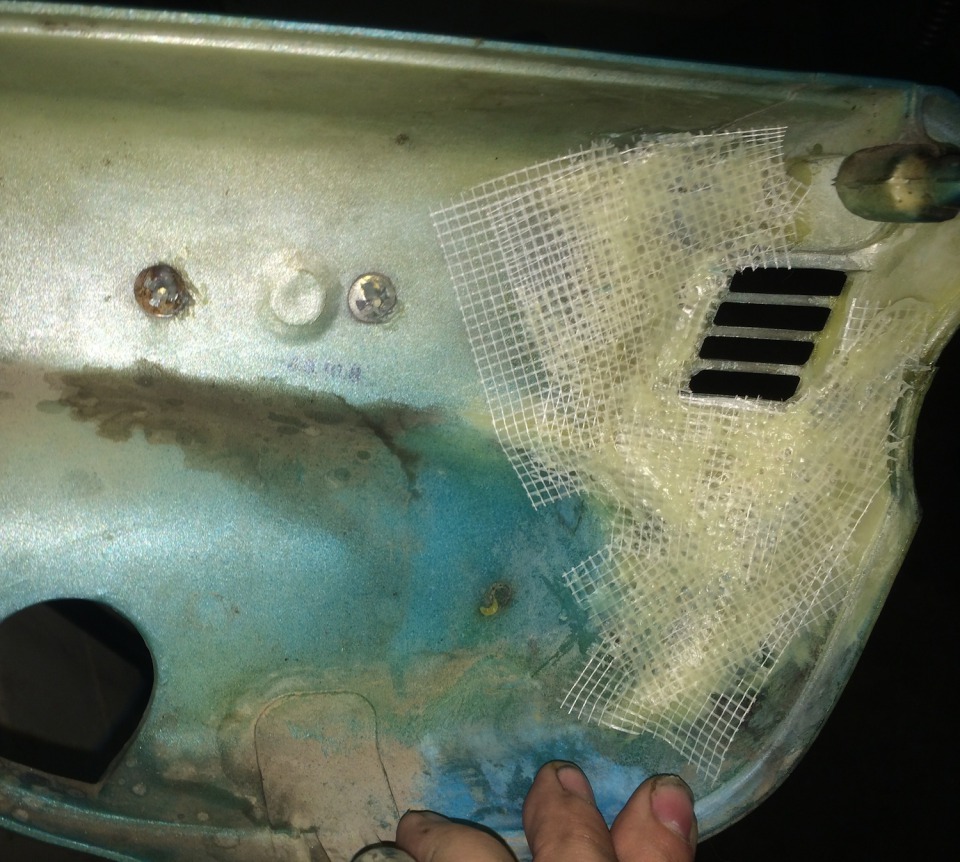
Then used bondo and spot putty on the outside surface: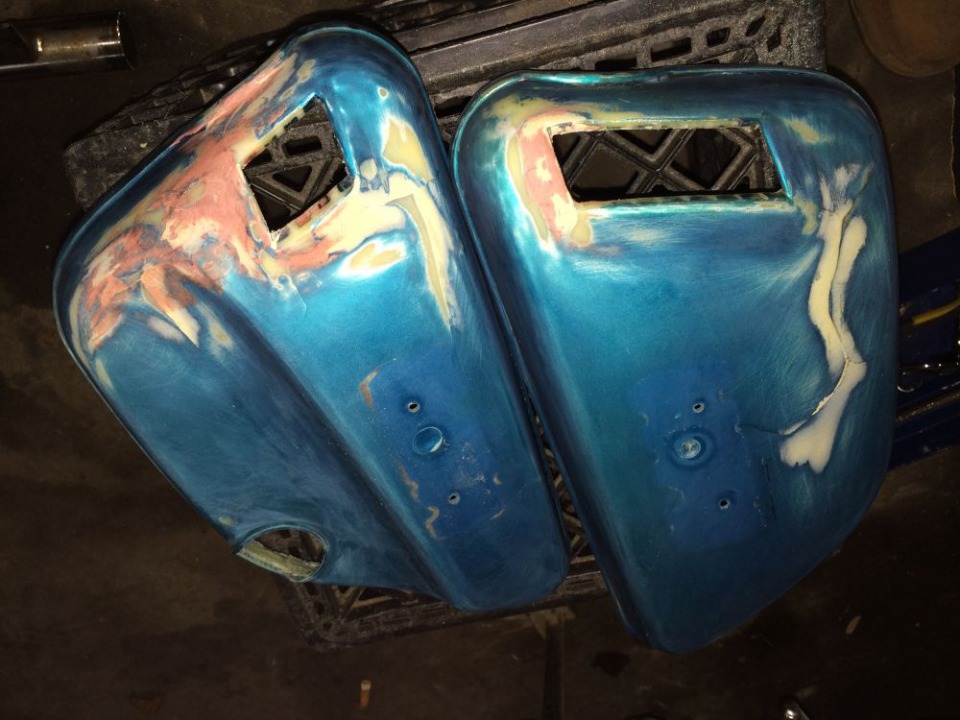
Then paint. Found some dupli-color paint at autozone that was almost a perfect match. You like the new grills too?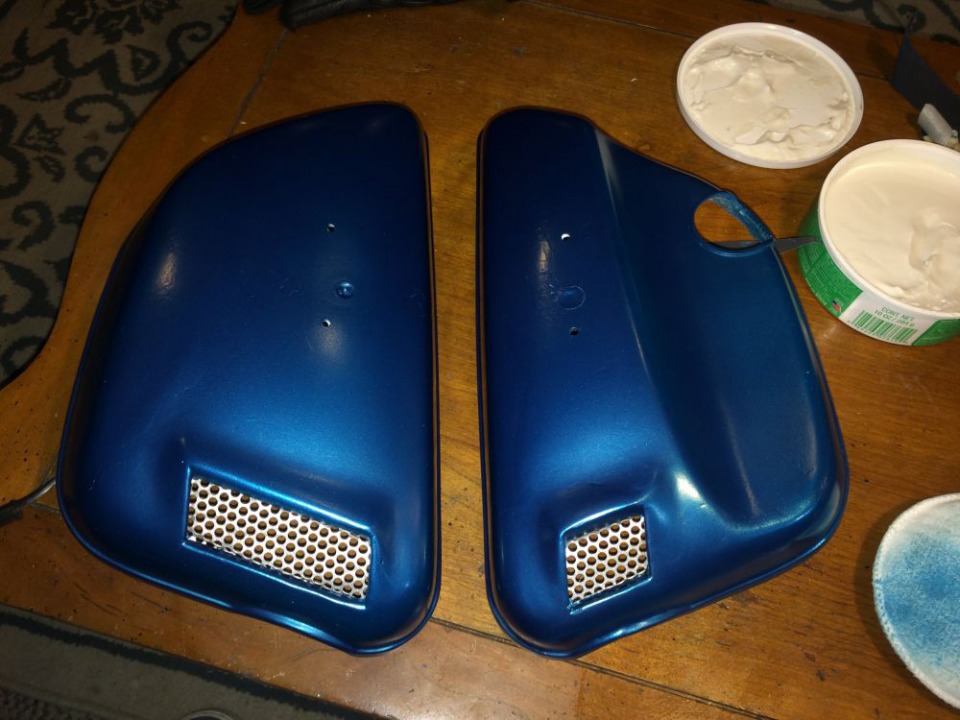
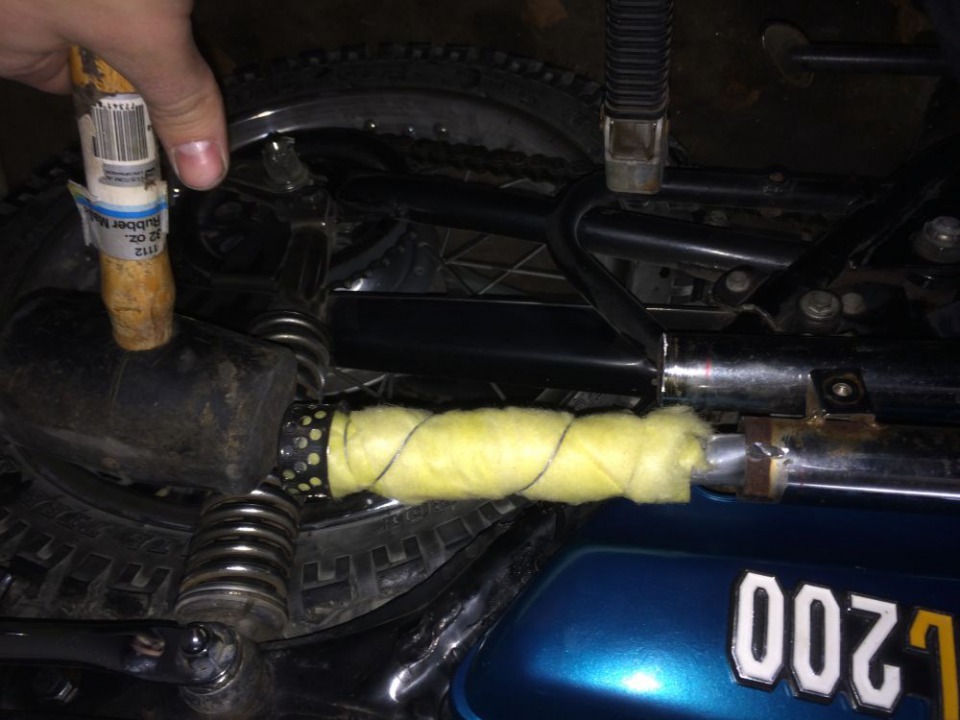
For the exhaust, I ordered some exhaust tips from ebay and made the baffles myself. The stock muffler had a giant hole in the bottom. The new pipes are about as loud, maybe louder, but the baffles to a good job of muffling the nasty high-pitched sounds.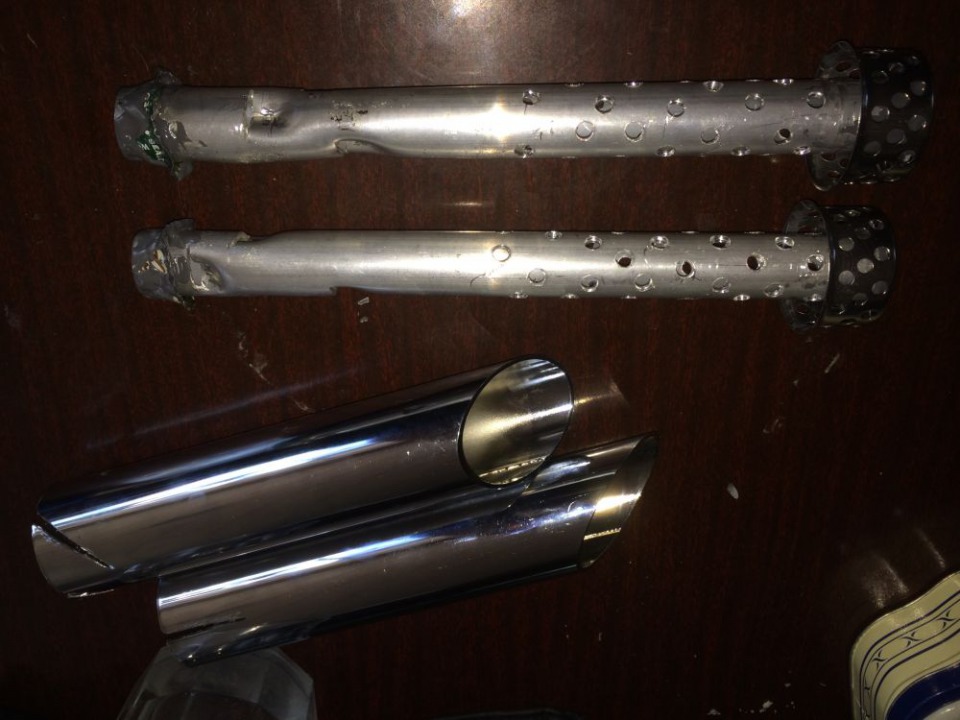
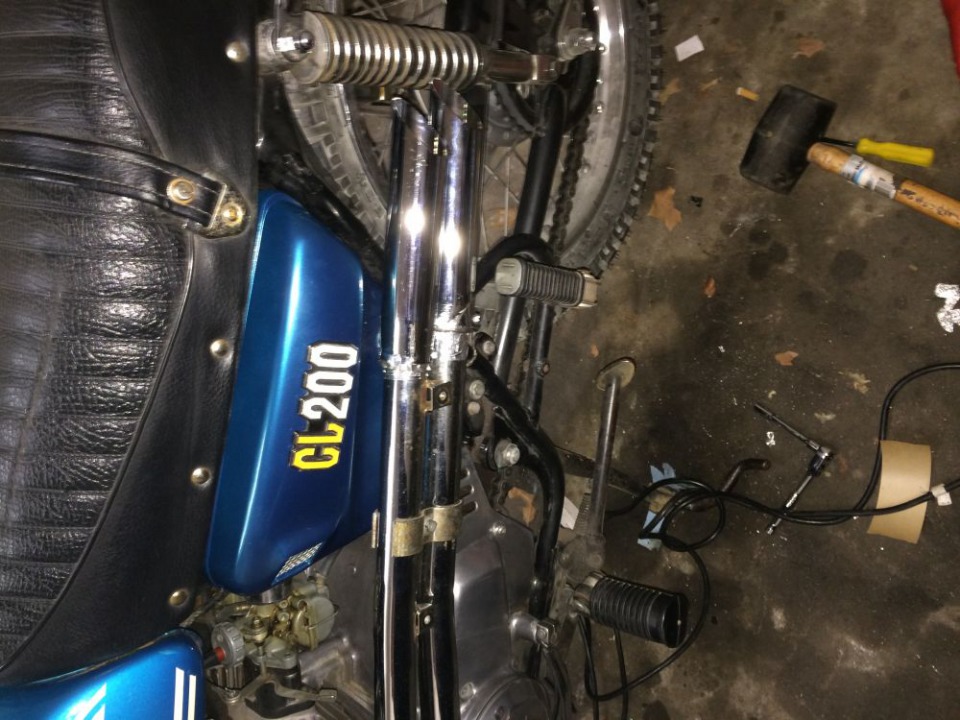
New tail light and turn signals. In this pics you can see where I'm planning to chop the fender: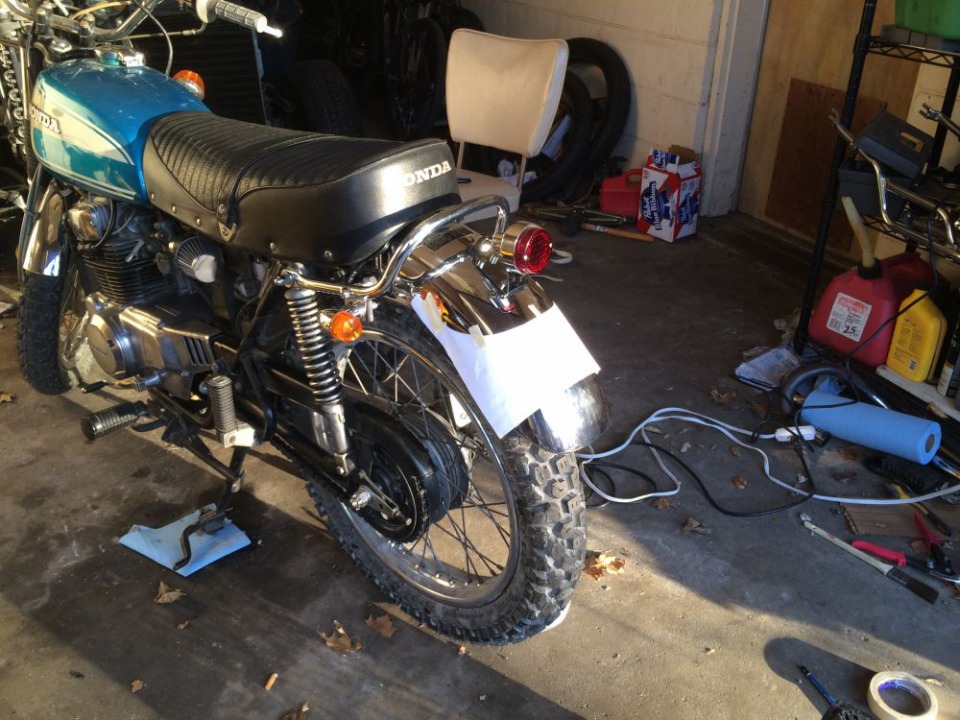
I wanted to keep the same geometry as how the factory shaped the fender, just higher up on the bike. So I made a template. You can also see the chrome where the PO had used sandpaper to try to remove chrome pitting. That has got to go!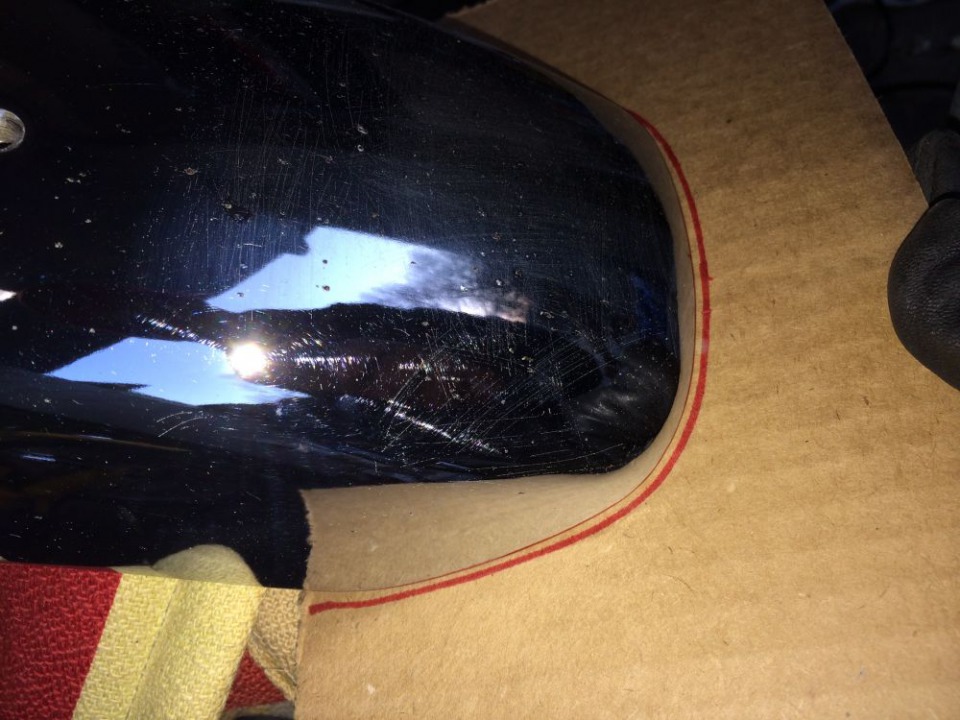
Put it where I wanted, drew the line, masked off the chrome, and used my dremel cutting wheel. It was easy.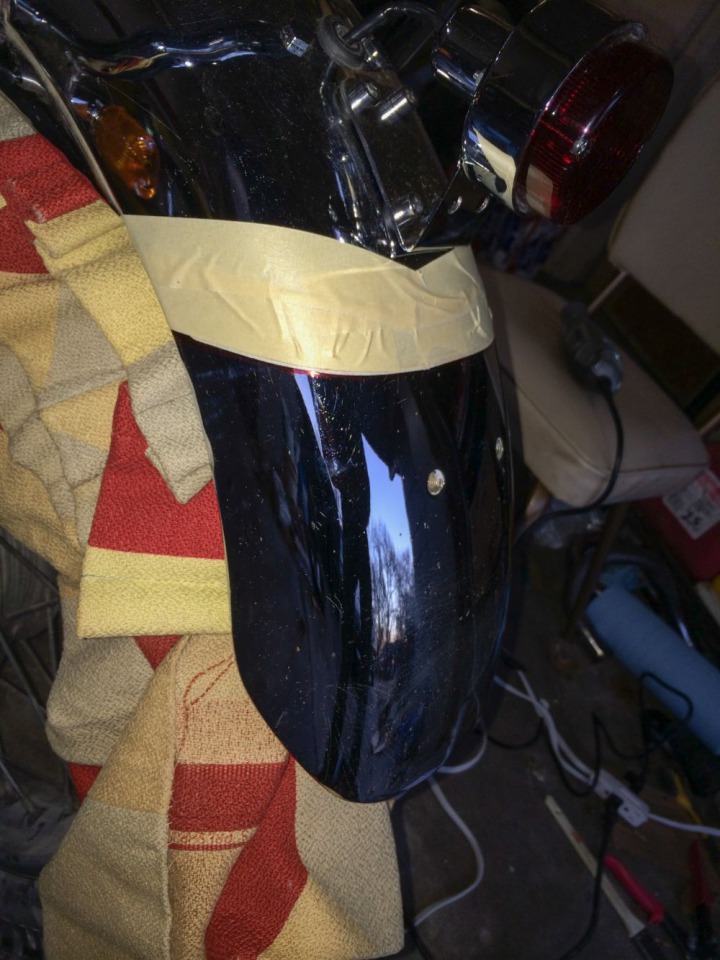
Now to install the new handlebars.Removing the original ones was a pain because the wires for all the controls ran through them.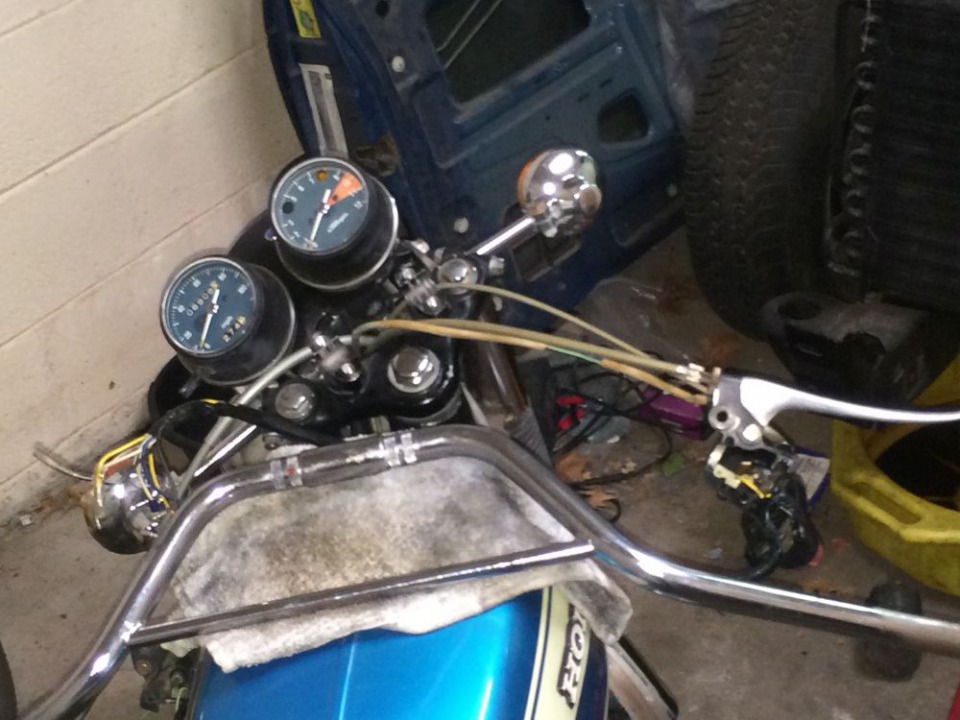
Here's the new bars next to old for comparison. They're "daytona bars" but are perfect for the bratstyle look. I had to cut through the old ones because the wires wouldn't come out.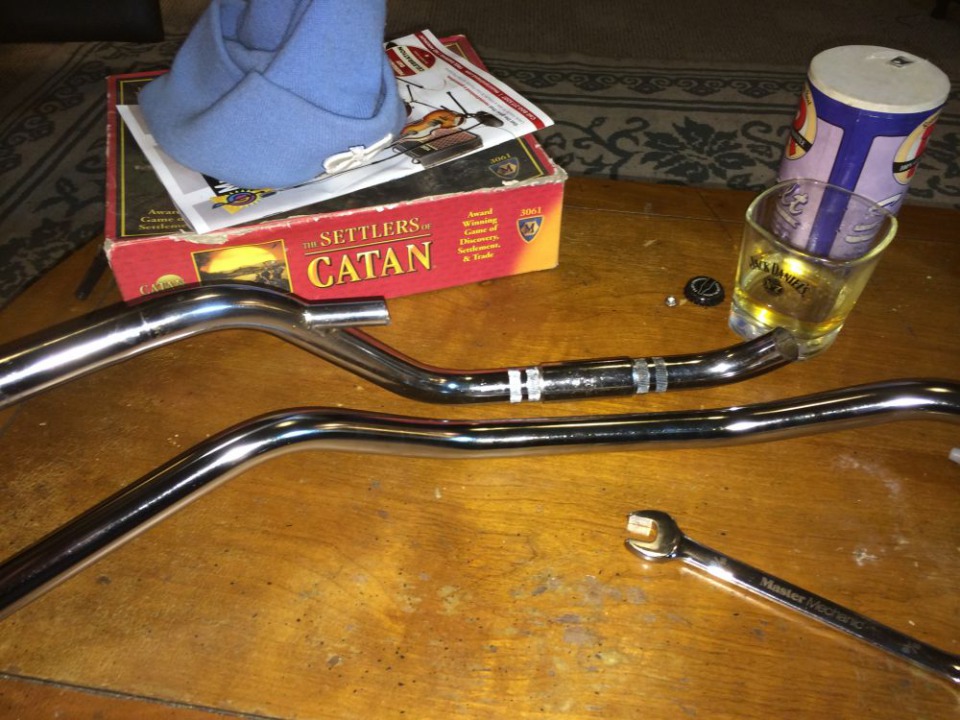
And cut "hockey rinks" in the new bars for the wires to go through, and drilled holes for the mounting pegs for the levers.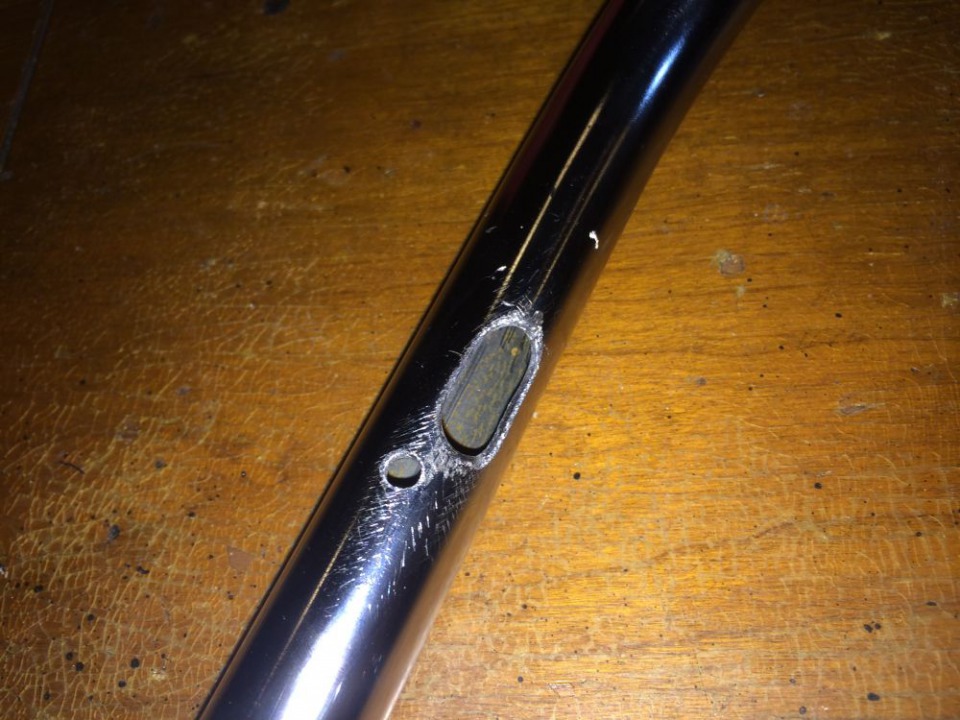
Put on the new grips (oem style) and that was it!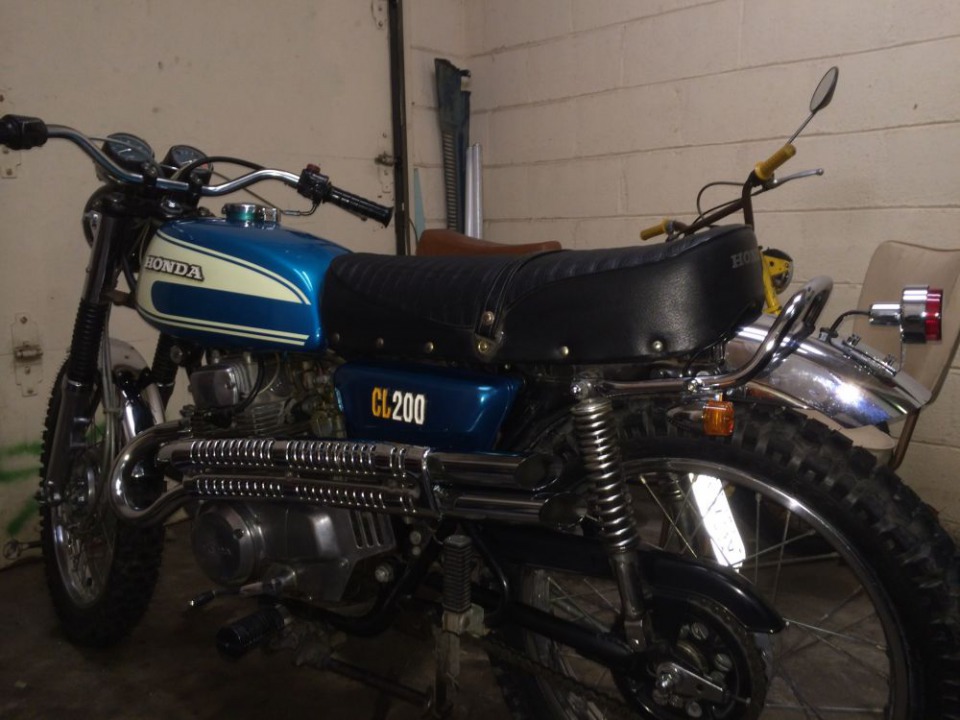
Thinking about making a custom seat and lowing the forks an inch or two. But for now I'm happy with it!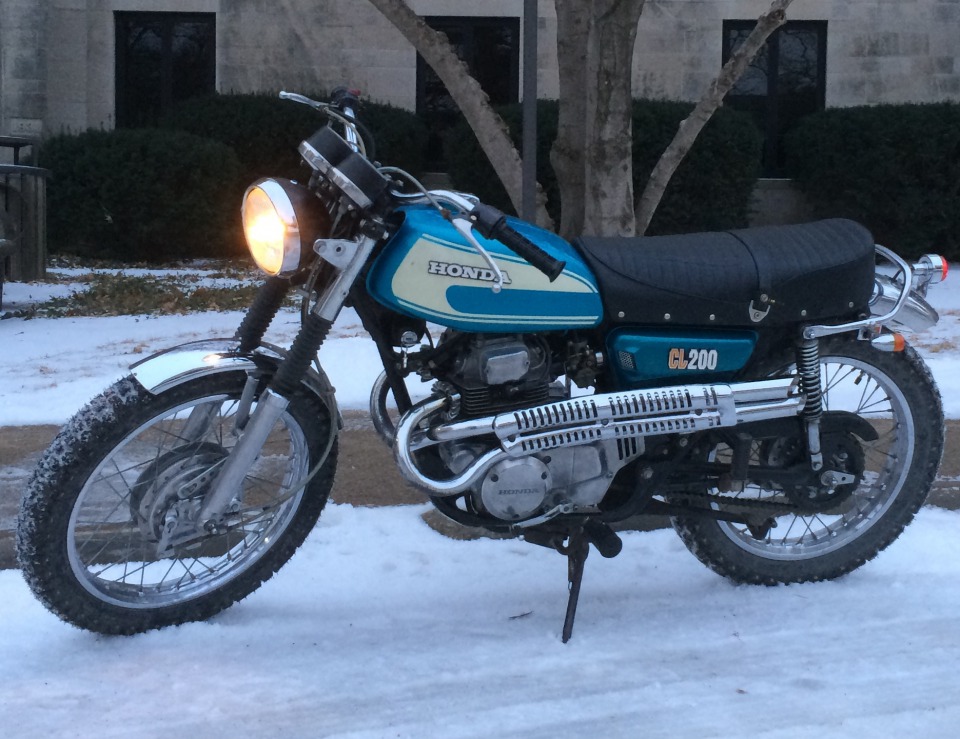
I finished just in time for the local vintage motorcycle show. I got third place in the Japanese street division!
 Follow
5.2K
Follow
5.2K