Part 9 Suzuki DR650
Stock rear shock.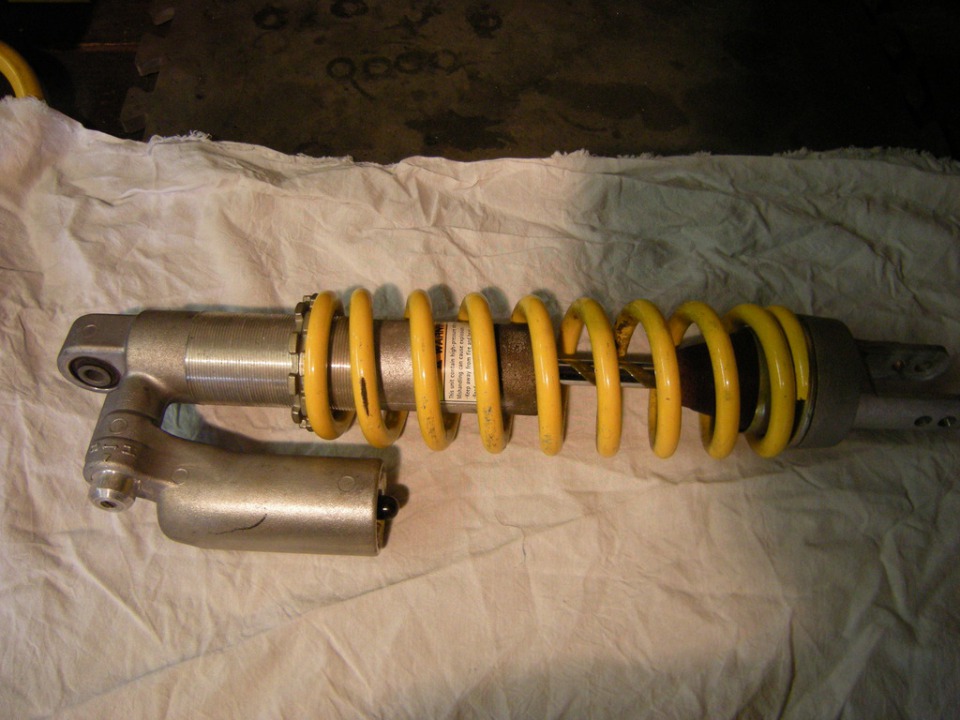
99% torn down.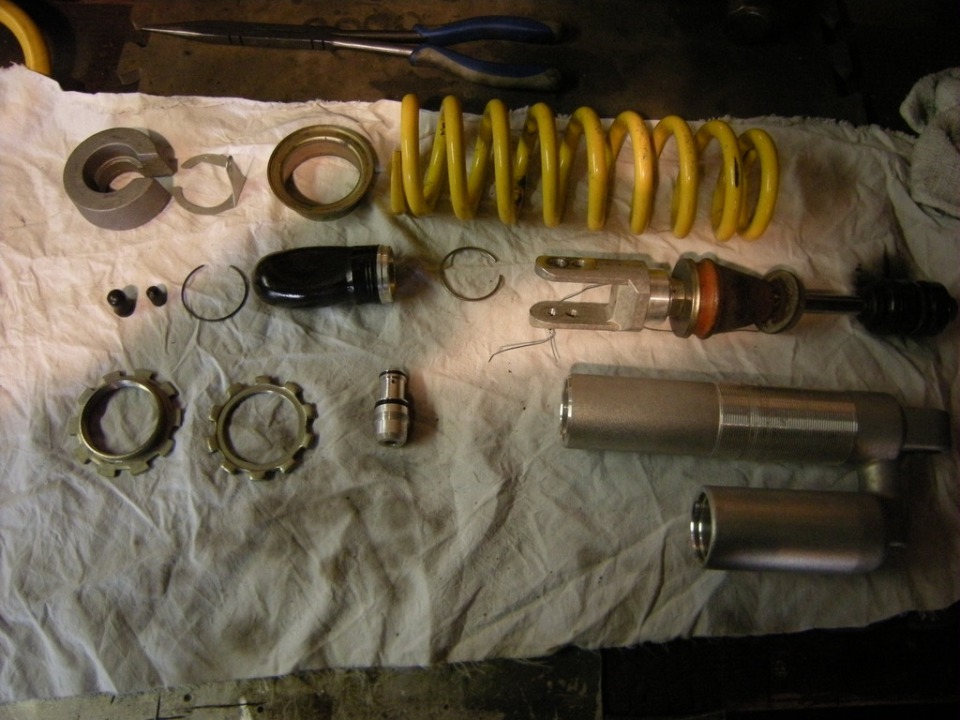
Last 1% was tricky, you need to grind the top of the shaft away from the nut to get the stock piston and valve shims off. You need to be careful to not destroy the threads on the shaft but grind off enough to get the nut off because they peen the shaft over the nut.
Got that done and lay out the shims from the racetech gold valve kit.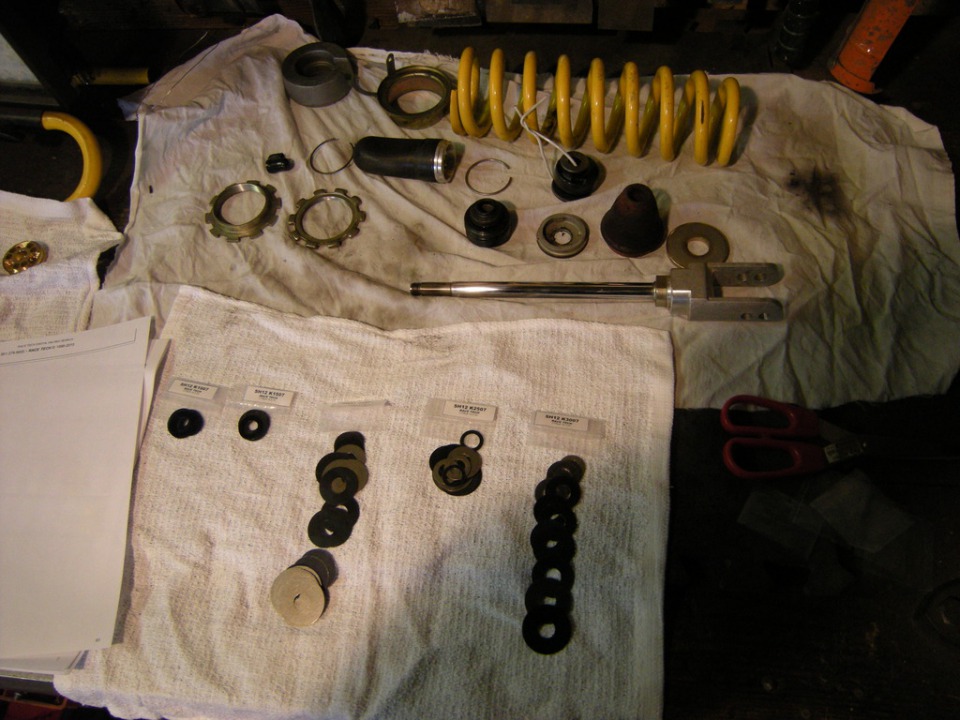
Went through the racetech website to get the shim stack info, but it was for enduro/trail riding and not supermoto. So I placed a phone call and they whipped up a recipe for my weight and supermoto setup. Can't say enough good about racetech for helping me like that. Put all the shim stacks together along with the gold valve on the shaft.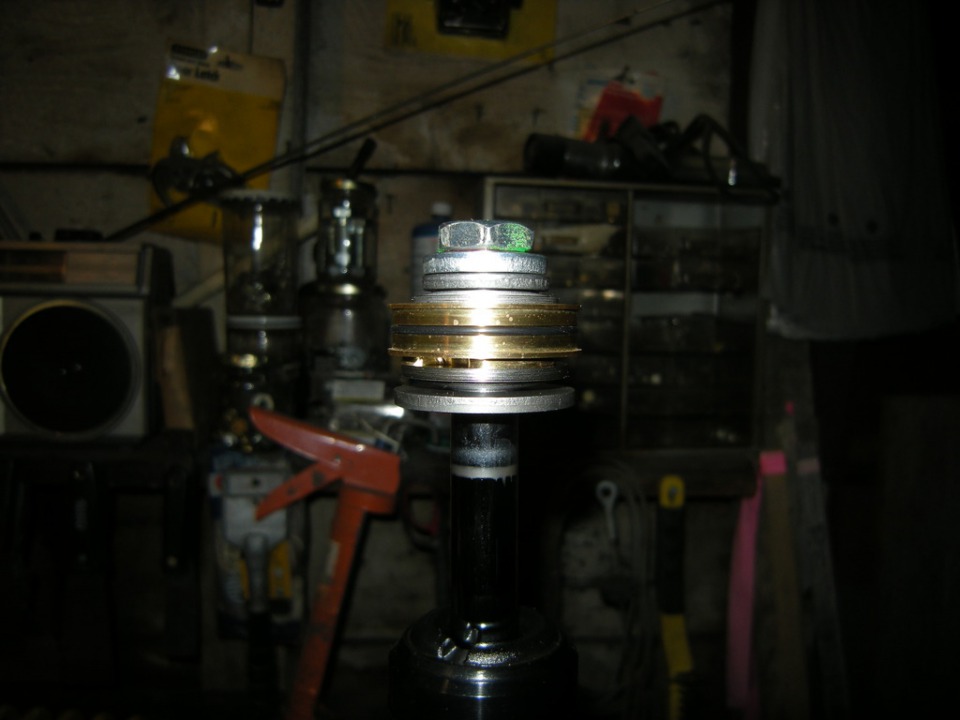
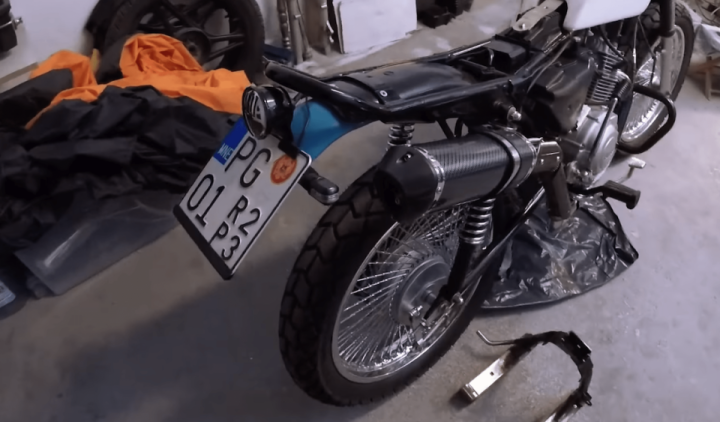
Painted the shock body black while I had it apart and put the new stiffer by 16%, 7.5kg/mm spring. Topped off the oil,,, and threw on my racetech sticker Best part is the new spring came in blue.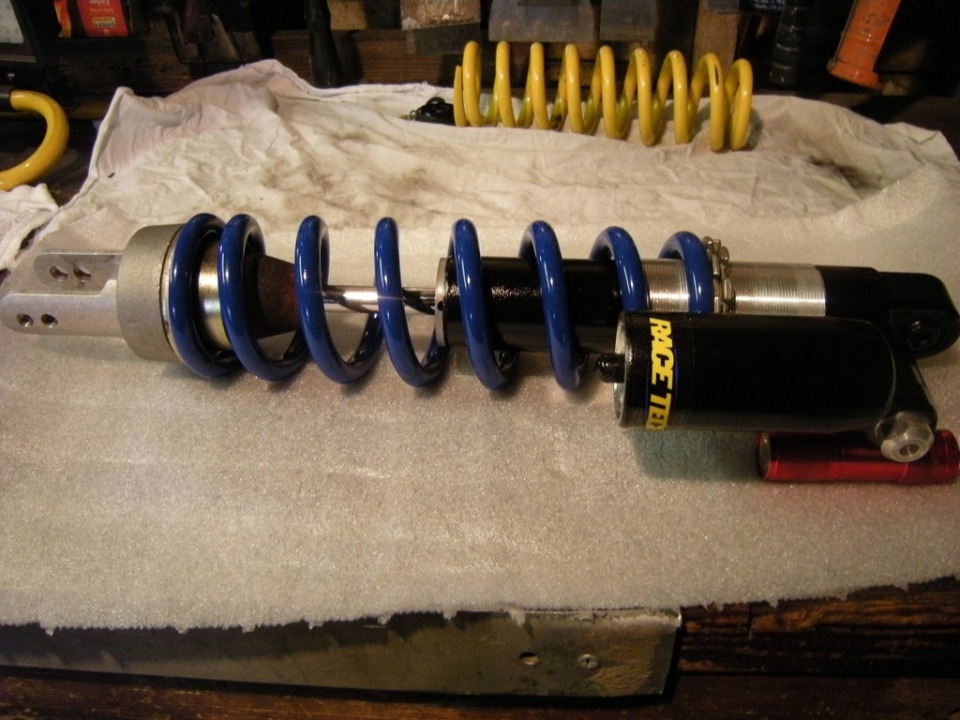
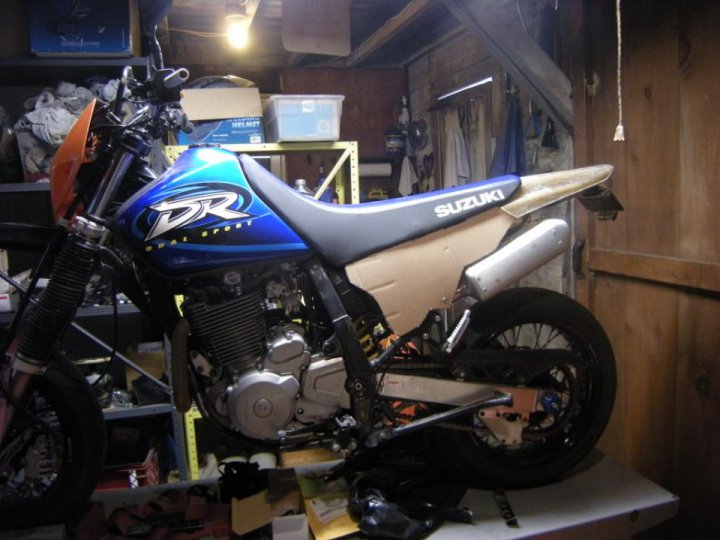
Blue spring on the shock will look good with this.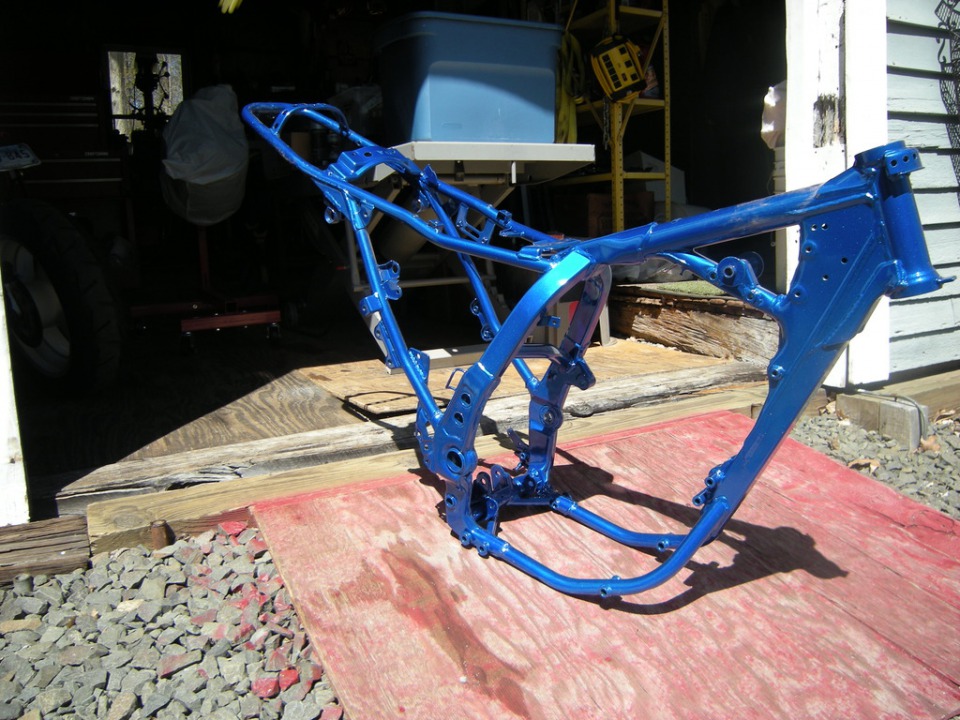
It's a candy blue over a silver metallic so it has a bit of sparkle to it in the sun. Freaking lovin' it,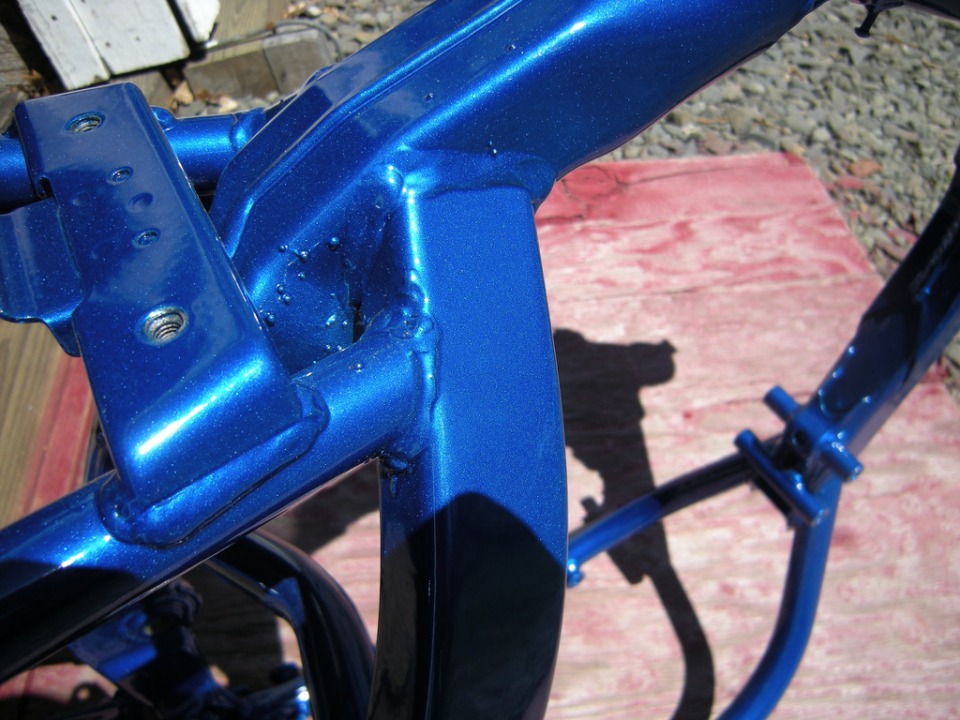
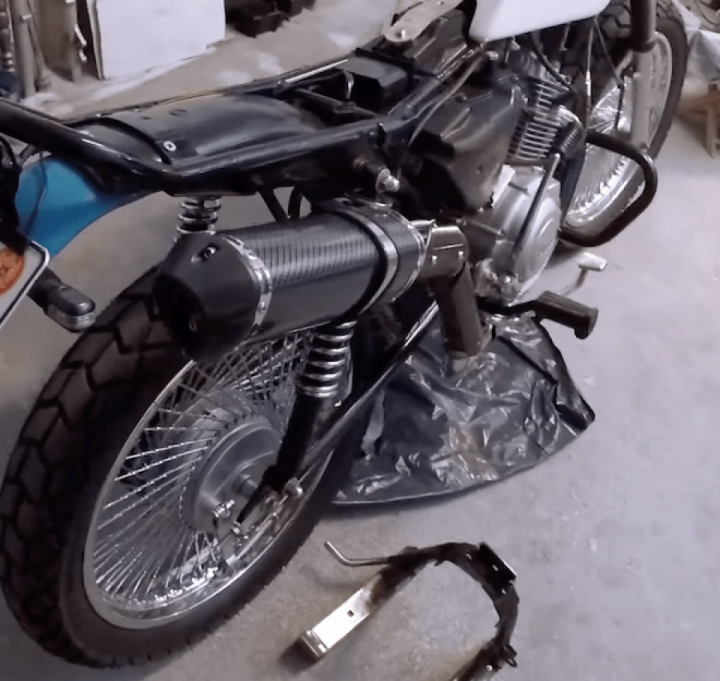
With the rear shock done, I tore apart the front forks. So to the left of the freshly powder coated black fork leg is the drop in cogent emulators to help with compression and rebound and the spring is a straight rate .50 kg/mm to replace the progressive rate sponge spring that was in it.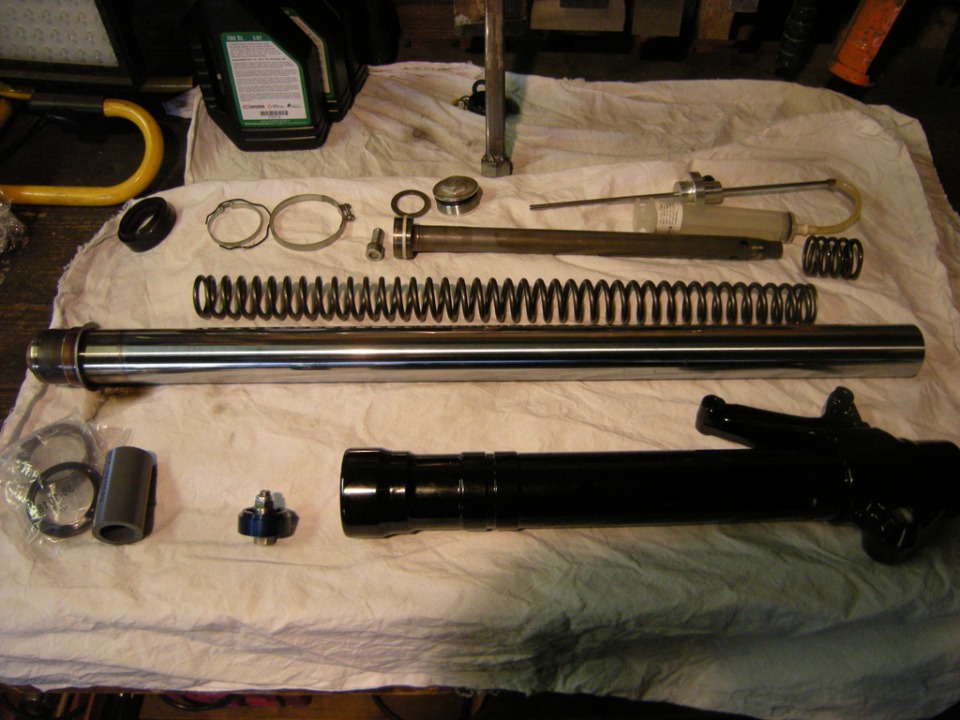
All back together and the new blue fork boots installed.
Really happy I upgraded the suspension on this thing. I don't think the 17" wheels and tires alone would have done much good with out the proper suspension to back them up.
Thanks for looking and for the high fives y'all!
Rear shock setup: $300
Front fork setup: $325
Powder coat total: $475
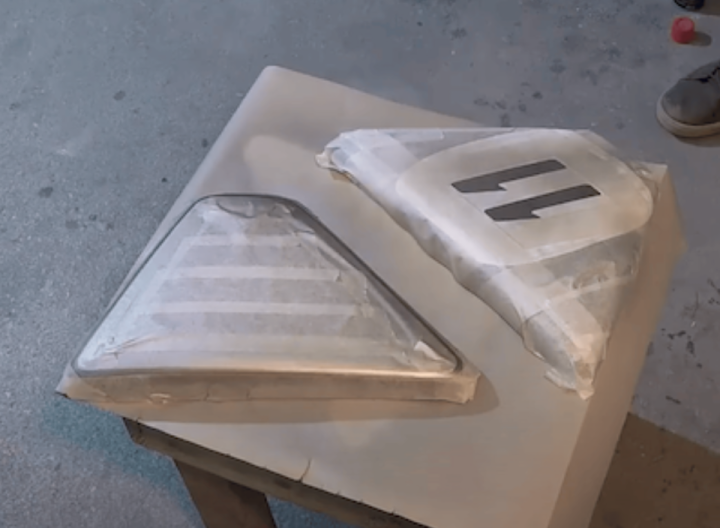
Bits and bobs being painted. Body work being done. Side panels are painted white and cleared. KTM mask, sprocket cover and other stuff not pictured black.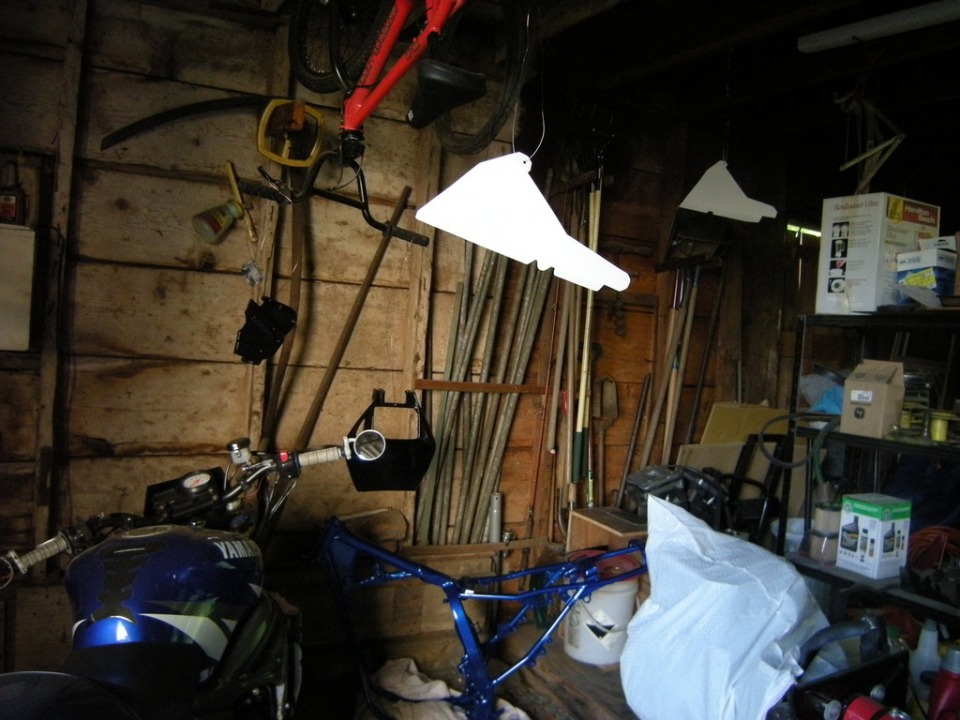
It's the same place I got the R6 paint from, it's not inexpensive, but it sprays amazingly well and if you cared more about body work than I do, it would turn out near pro quality.
Colorrite paint: $120
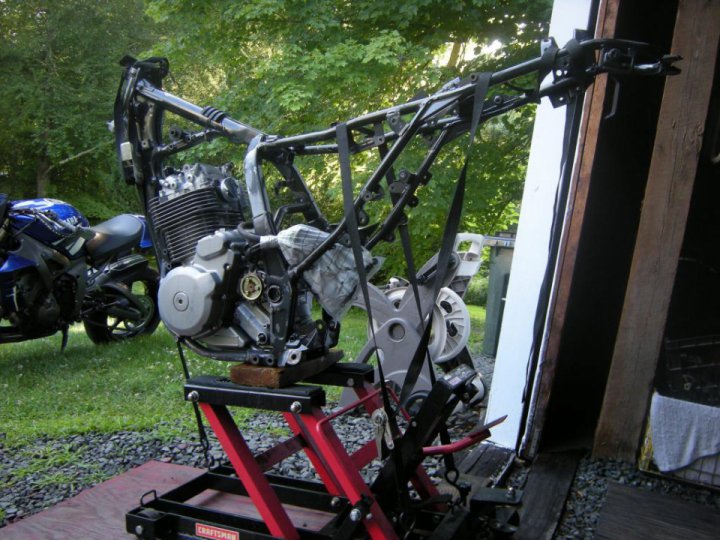
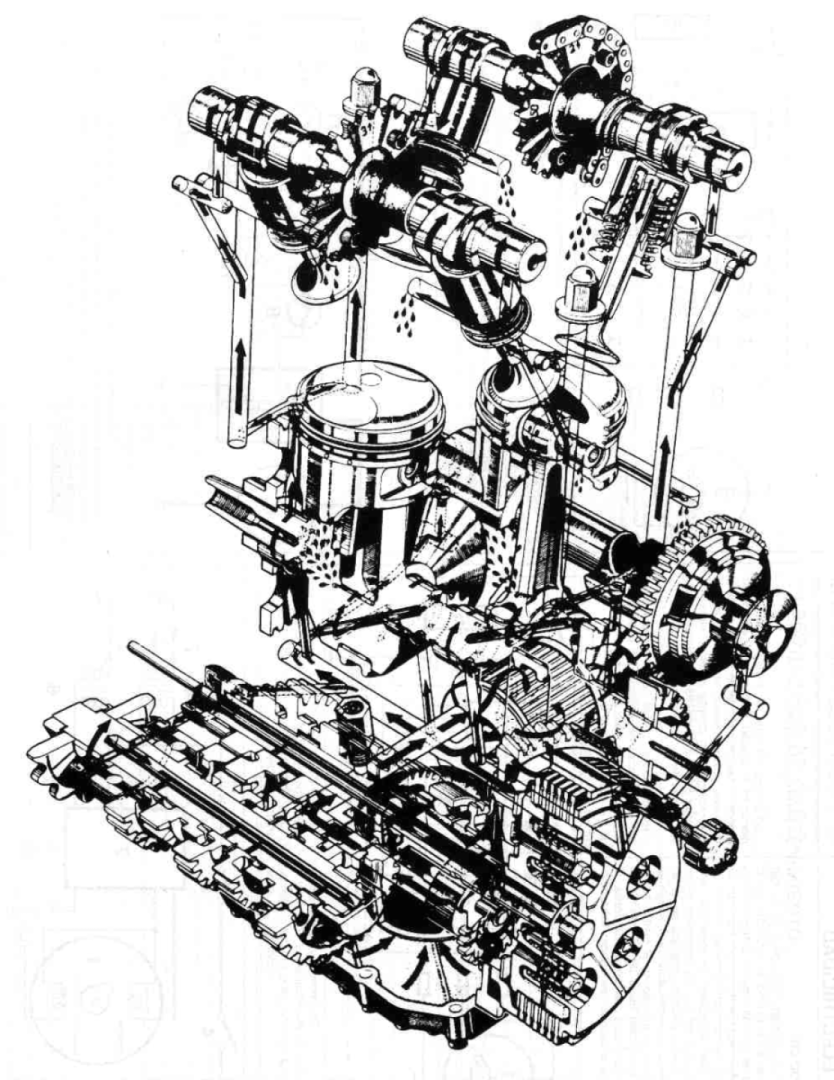
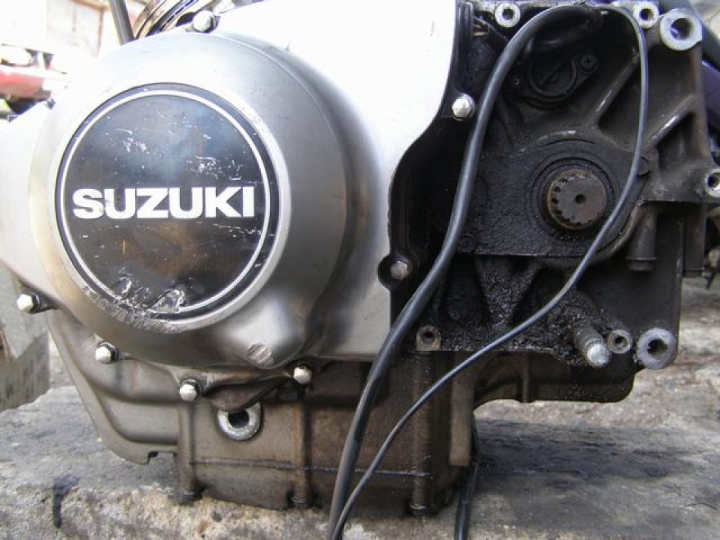
Threw the bottom-end into the frame, then got the head and valve train on. Adjusted the valves and got the new manual cam chain tensioner on. Moving along pretty well now. Then end is in sight!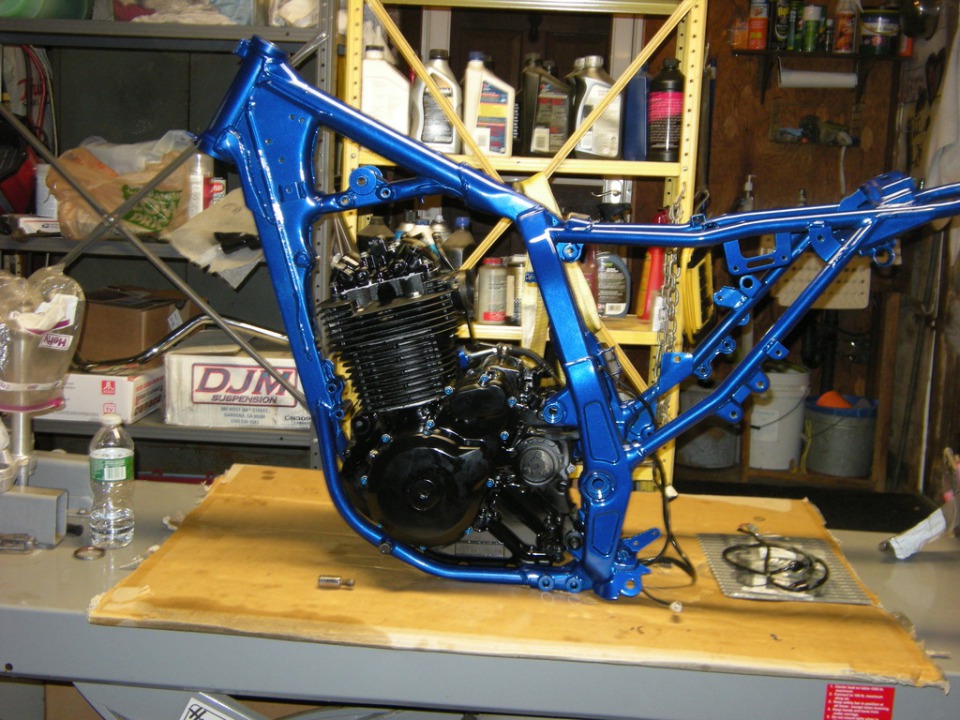
Manual cam chain tensioner: $63
Motor now fully mounted, along with the oil cooler. Rear suspension bearings re-greased, swinger and shock mounted. Real happy with how the shock turned out! All balls steering bearings packed with grease and lower triple in place.
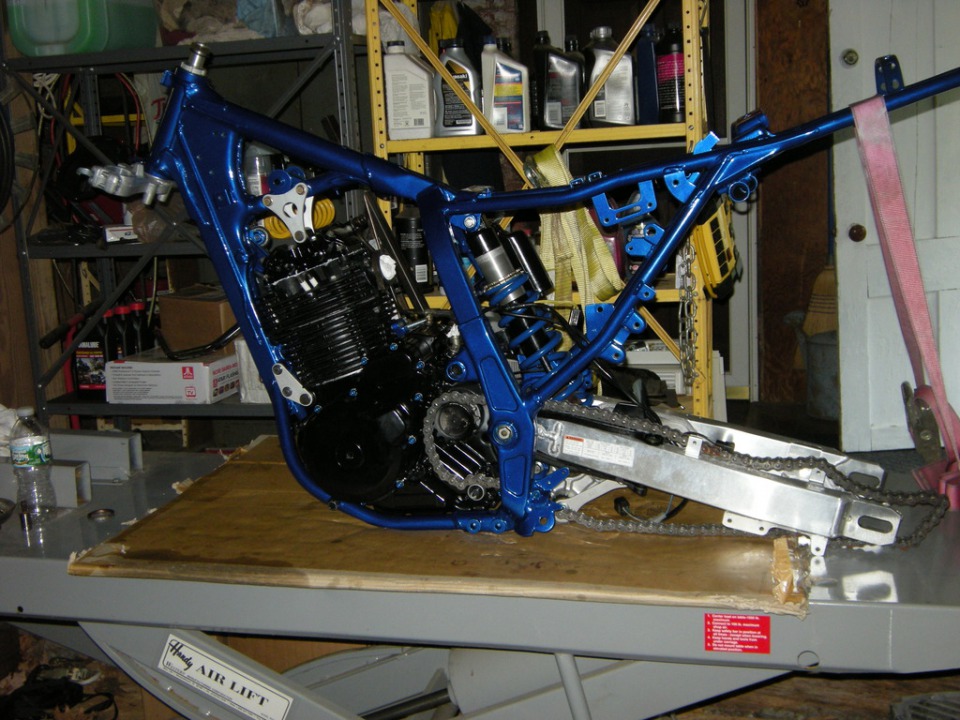
All balls kit: $45
Progress from after work this week. I'm looking to have this buttoned up by the end of the 3 day weekend.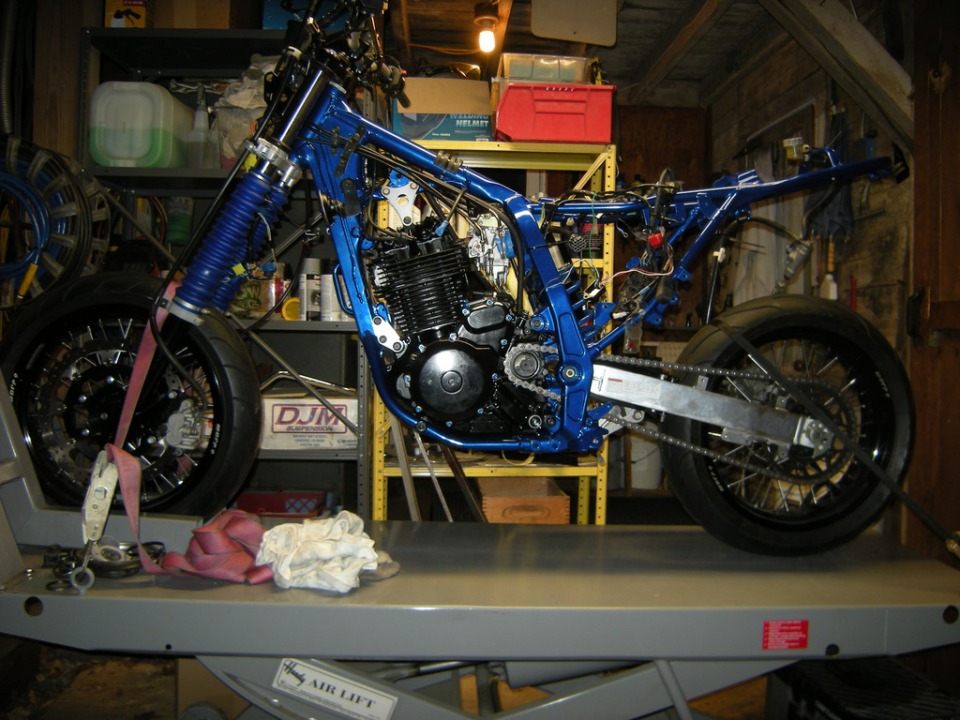
So if you are interested in reading about the jetting, here it is. (If you are not, and trust me I understand, there will be some pics to look at in the end.) The one person I found posts from about the jetting I feel comfortable trusting has tuned, from what I can tell, a few different DR650's on an actual dyno. He is %100 against opening up the air box on these bikes because there is detonation issues even in stock form and the open air box makes them worse.
Now the DRZ400 I had responded real well to an opened up air box (and jetted carb) so all though I'm a little skeptical of his feelings towards it, he is not alone from what I read. So for now I'm leaving mine un-cut. There are plenty of people bitching about surging in the needle range of the jetting from opened airboxes. Some find a jet kit's (name your brand) needle fixes it but some are just plain lost on it.
My approach is how I normally deal with needles, and that is a couple of m2.5 washers from the hardware store. My preference for the stock needle shimmed comes down to the fitment of the stock needles over aftermarket and the tapper. And it makes for a very cheap home brew jet kit. Dremel the ID of the washer a hair to fit over the needle and bam you are good. Each shim is ~0.5mm, so the two I used are ~1mm, and in the case of the DR650 one clip position on the adjustable non-USA needles.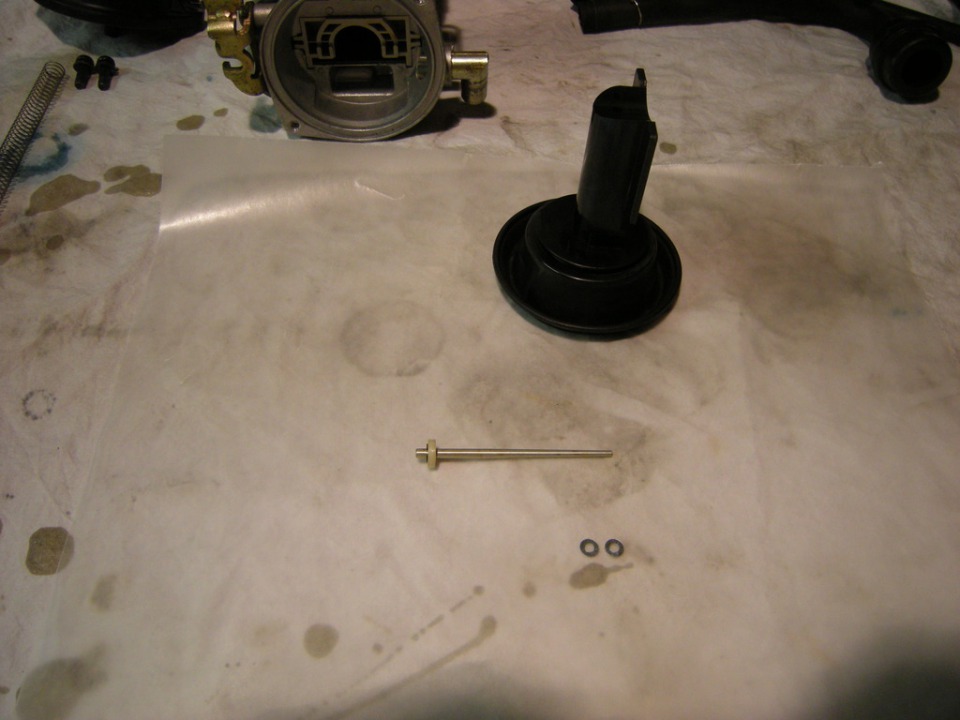
Now it seems not a single m-f'er out there changes the pilot jet, so.. I left that alone. We will see I'm skeptical on that one too.
For the main jet I picked up a 155, 160, and 165 from "jetsrus". From what I can read the mains should be in that range with a free flowing exhaust and other mods. In it now is the 160 (which is about as fat as I've seen recommended) so if I need to I can lean or rich en from there.
Idle mix I'm 2.5 turns out. I think it will be good enough to get her fired up.
Aside from all that jazz if you are working on carbs pick one of these kits up next time you are at harbor freight, they come in real handy for replacing o-rings in carbs.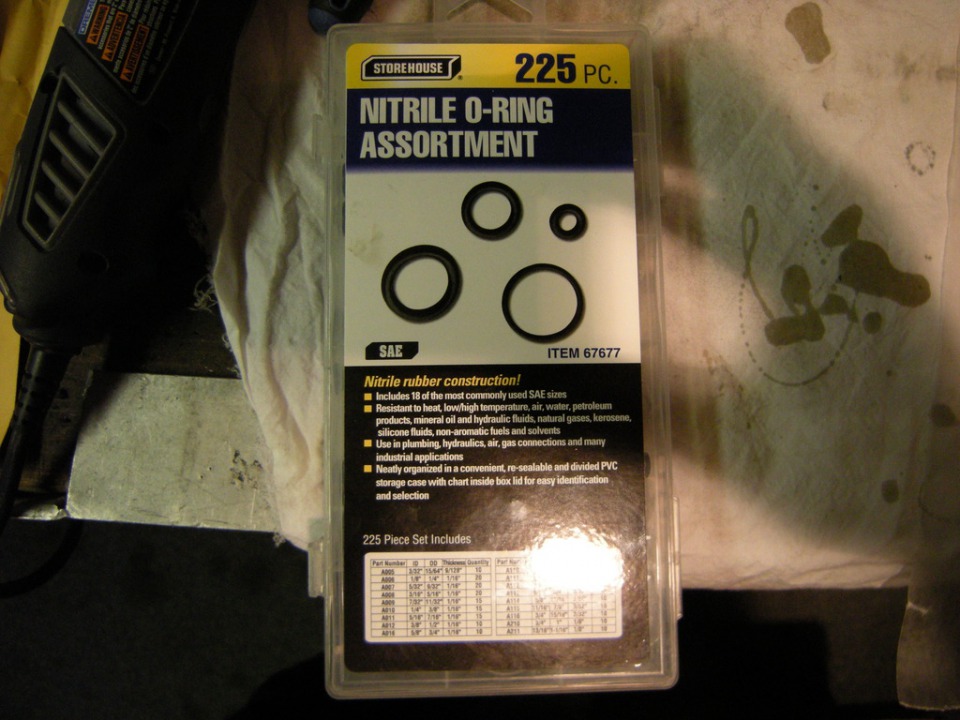
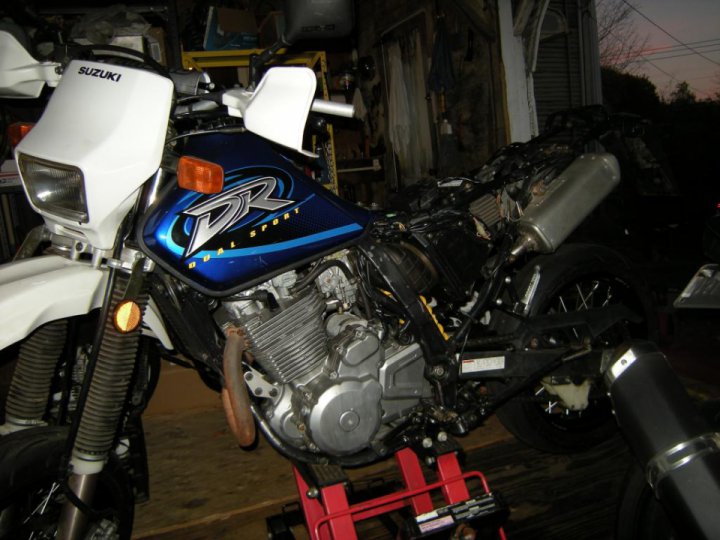
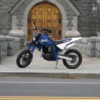
Everything is all wrapped up and happy to report after about 75 miles today that all is well!
Build cost total inc. price of bike purchase: $4551.34 or so lol...
Thanks everyone who was watching and high fivin'!
Good luck to everyone else who has builds in the great 2015 winnter build-off!!!!
I'm so fucking glad to be done...
 Follow
4.2K
Follow
4.2K