Part 2 - Guide for replacing your regulator / rectifier
On the Bike
On the bike, our first job is to remove the front fairing so we can access things. It should take about 20-30 minutes to remove, I’ve done a separate document for this as it is needed for a few jobs
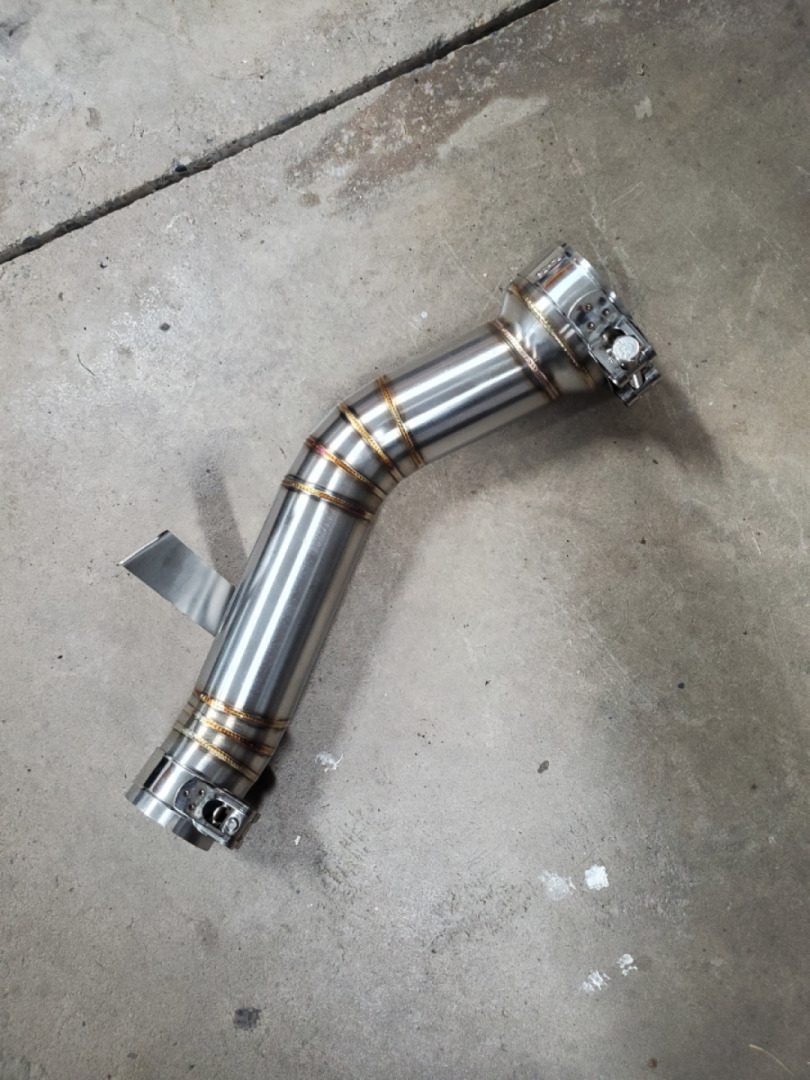
Location is a challenge, I was hoping to relocate the RR to the nearside but the ABS is in the way so I ended up using the stock location. There’s some airflow there but not a huge amount. The fins etc. are to get rid of heat and the backplate is metal (on proper ones!) to help dissipate heat further.
The aluminium plate will help be a little radiator but the stock mounting fixings will make it sit slightly proud of the frame so not a great deal of conduction into that big heatsink occurs sadly.
Anyway, let’s get started, with the fairings off you can see the coolant reservoir which is held on with a couple of 10mm bolts, remove these (note the shank seats in the plastic to hold it in place, remember on refitting)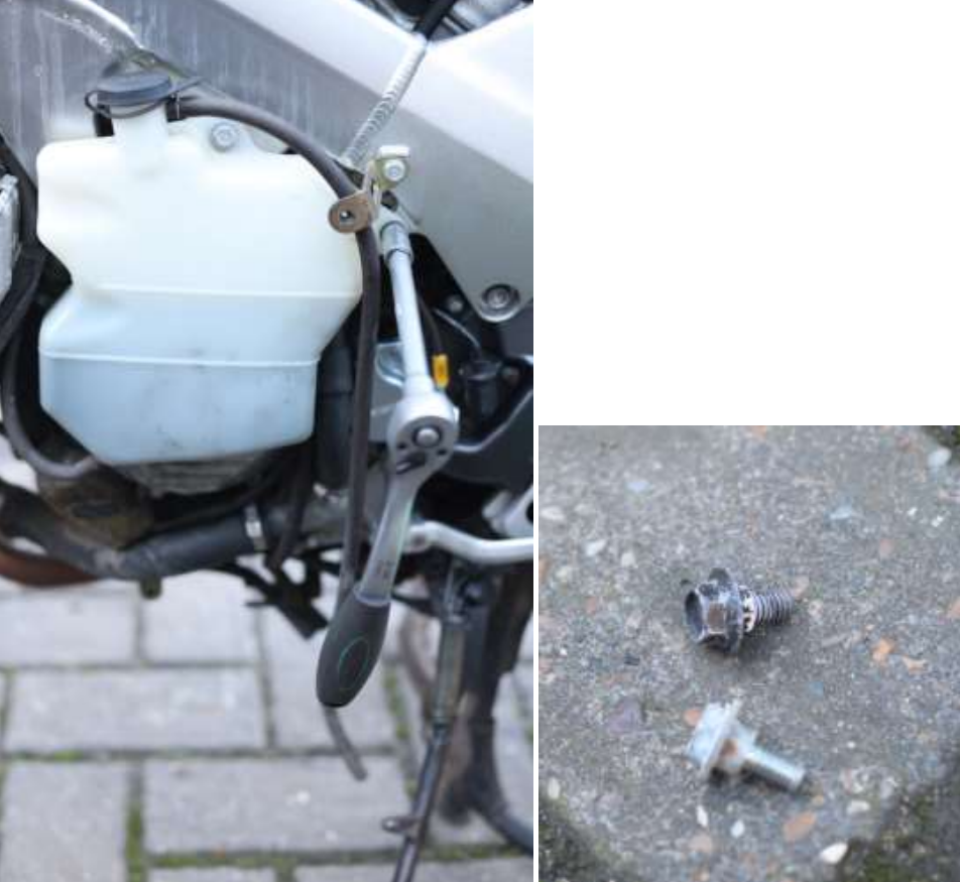
Pop the coolant reservoir out the way by spinning it 180 degrees and cable tie the overflow pipe out the way
The Stator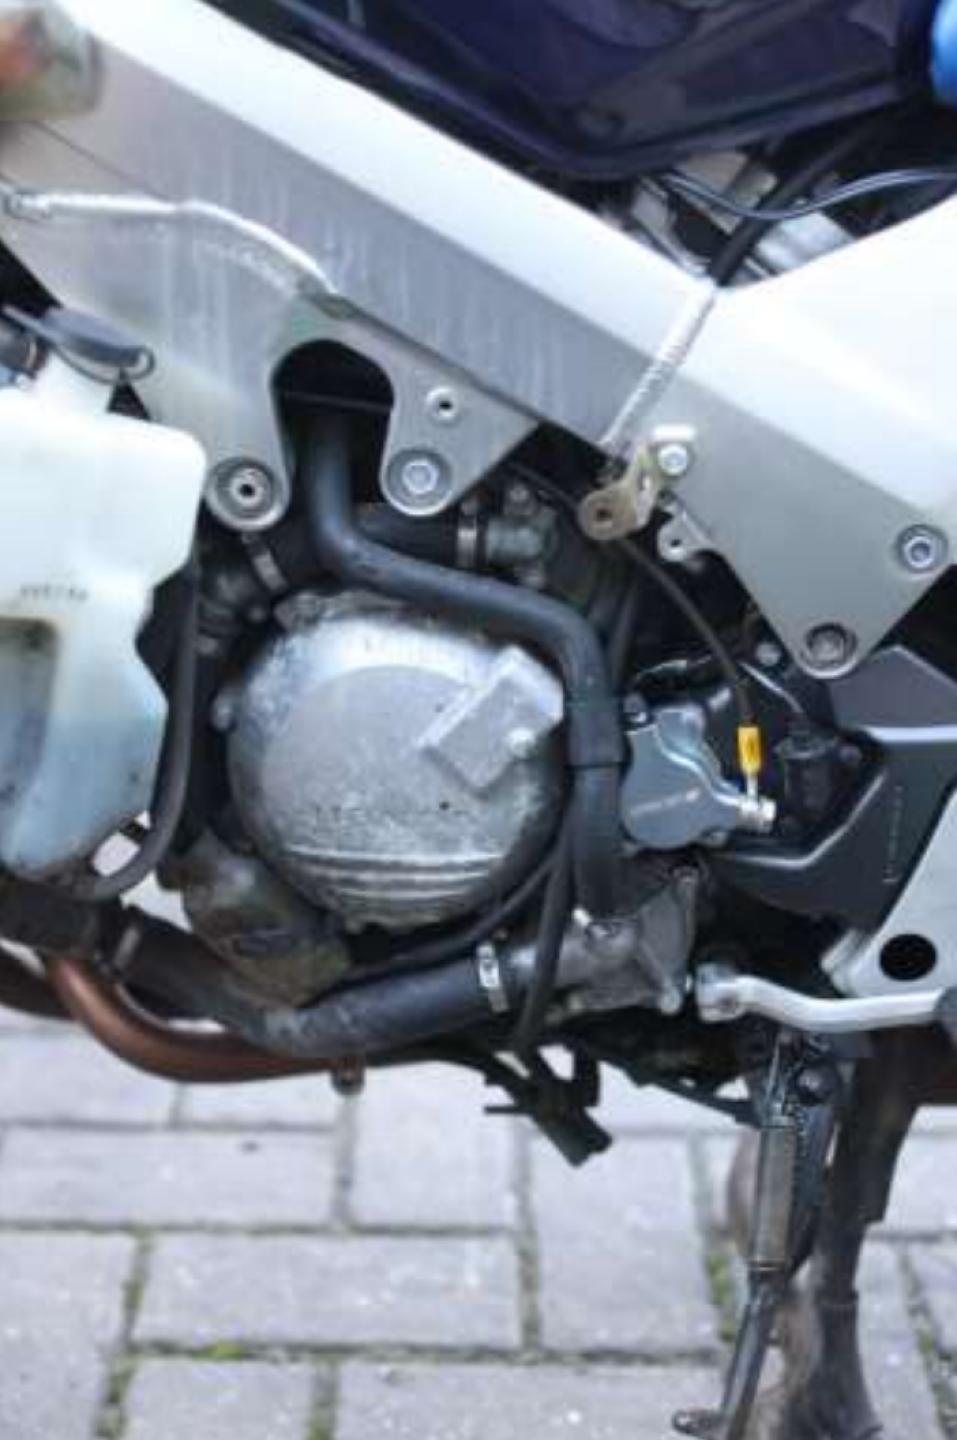
So just behind that crusty looking “Honda” embossed cover is the stator. You have a few routes here, you can remove the stator for inspection, you can test it electrically (simply check resistance between the 3 yellow wires and for shorting to ground), you can take it out for re-winding (West Country Windings, Bradford Ignitions etc), you can solder to it if you have the right crimps and heat shrink or you can leave it alone.
I’m doing preventative RR swap out here and it’s electrically fine so I’m going to tap into the wires after the grommet. Any of the above routes have validity, the only one which is probably worth avoiding is switching the stator for anything other than OEM (which is why people re-wind them). The aftermarket stators tend to let go very quickly and new OEM is expensive. So choose your path wisely.
Removing Old Wiring to the Stator
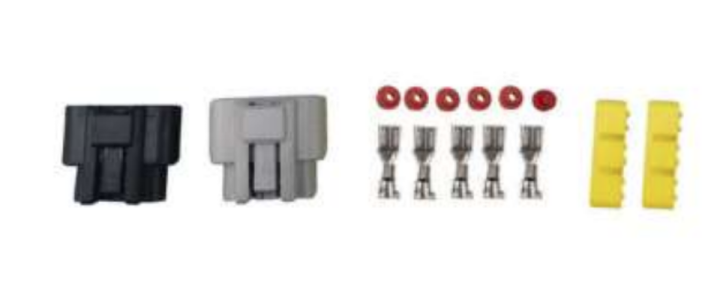
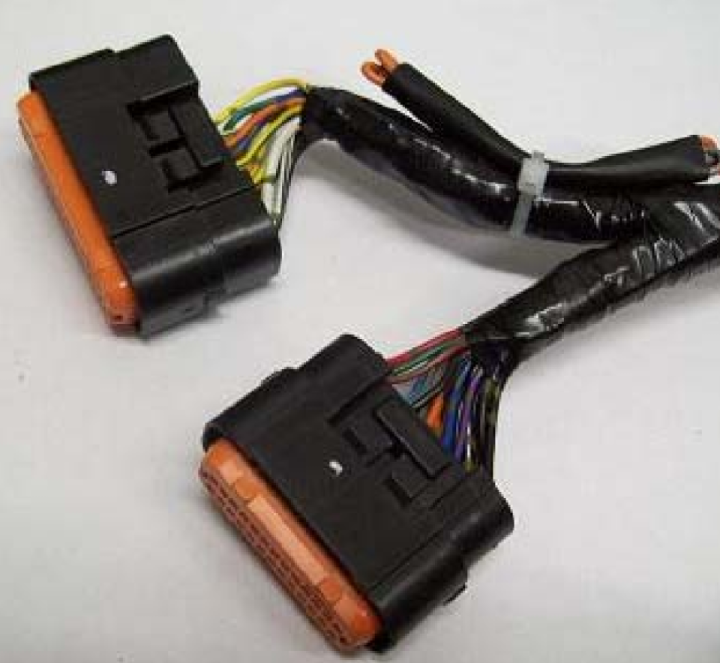
As described in the previous section, I’m joining to the stator wiring but I’m going to do this near to the stator so I need to remove the rest of the loom. If you follow the wiring back from the grommet on the stator, you will see that the loom heads into the frame and across to the offside of the bike where it emerges into one of the dreaded connectors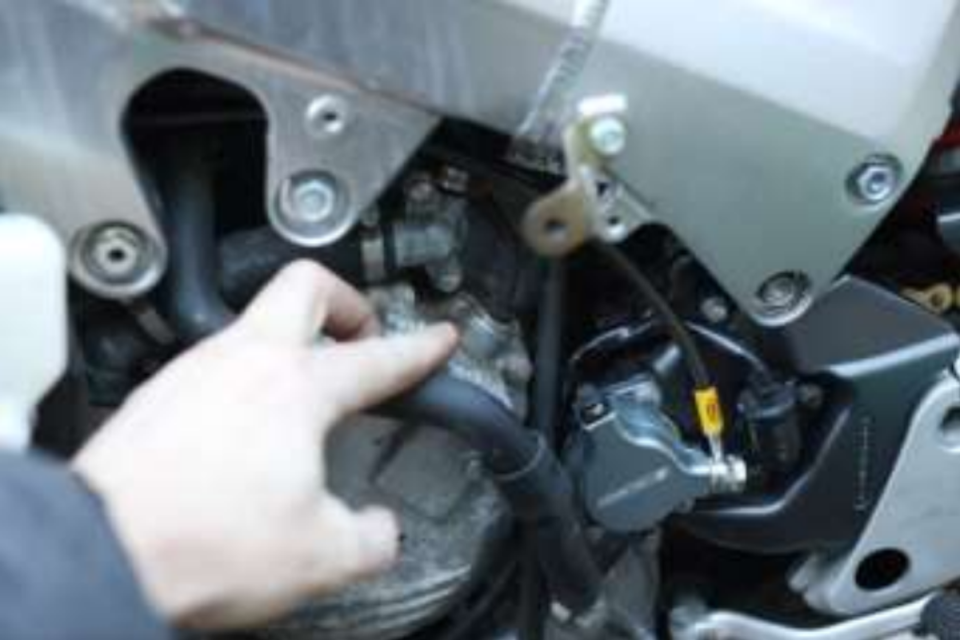
This connector is a common source of problems:
Depress the tab shown and give it a good wriggle and out it will come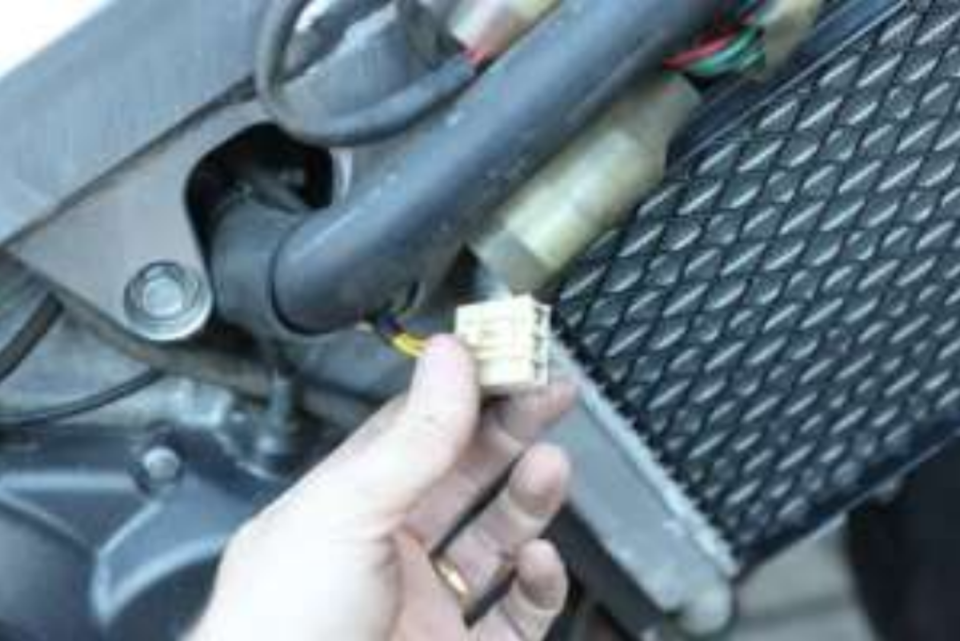
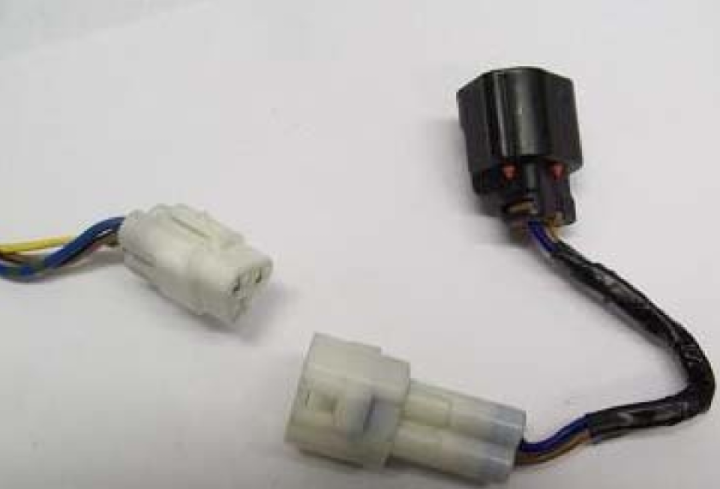
Give it a good dose of looking at and you will likely see corrosion, mine was light but very much present: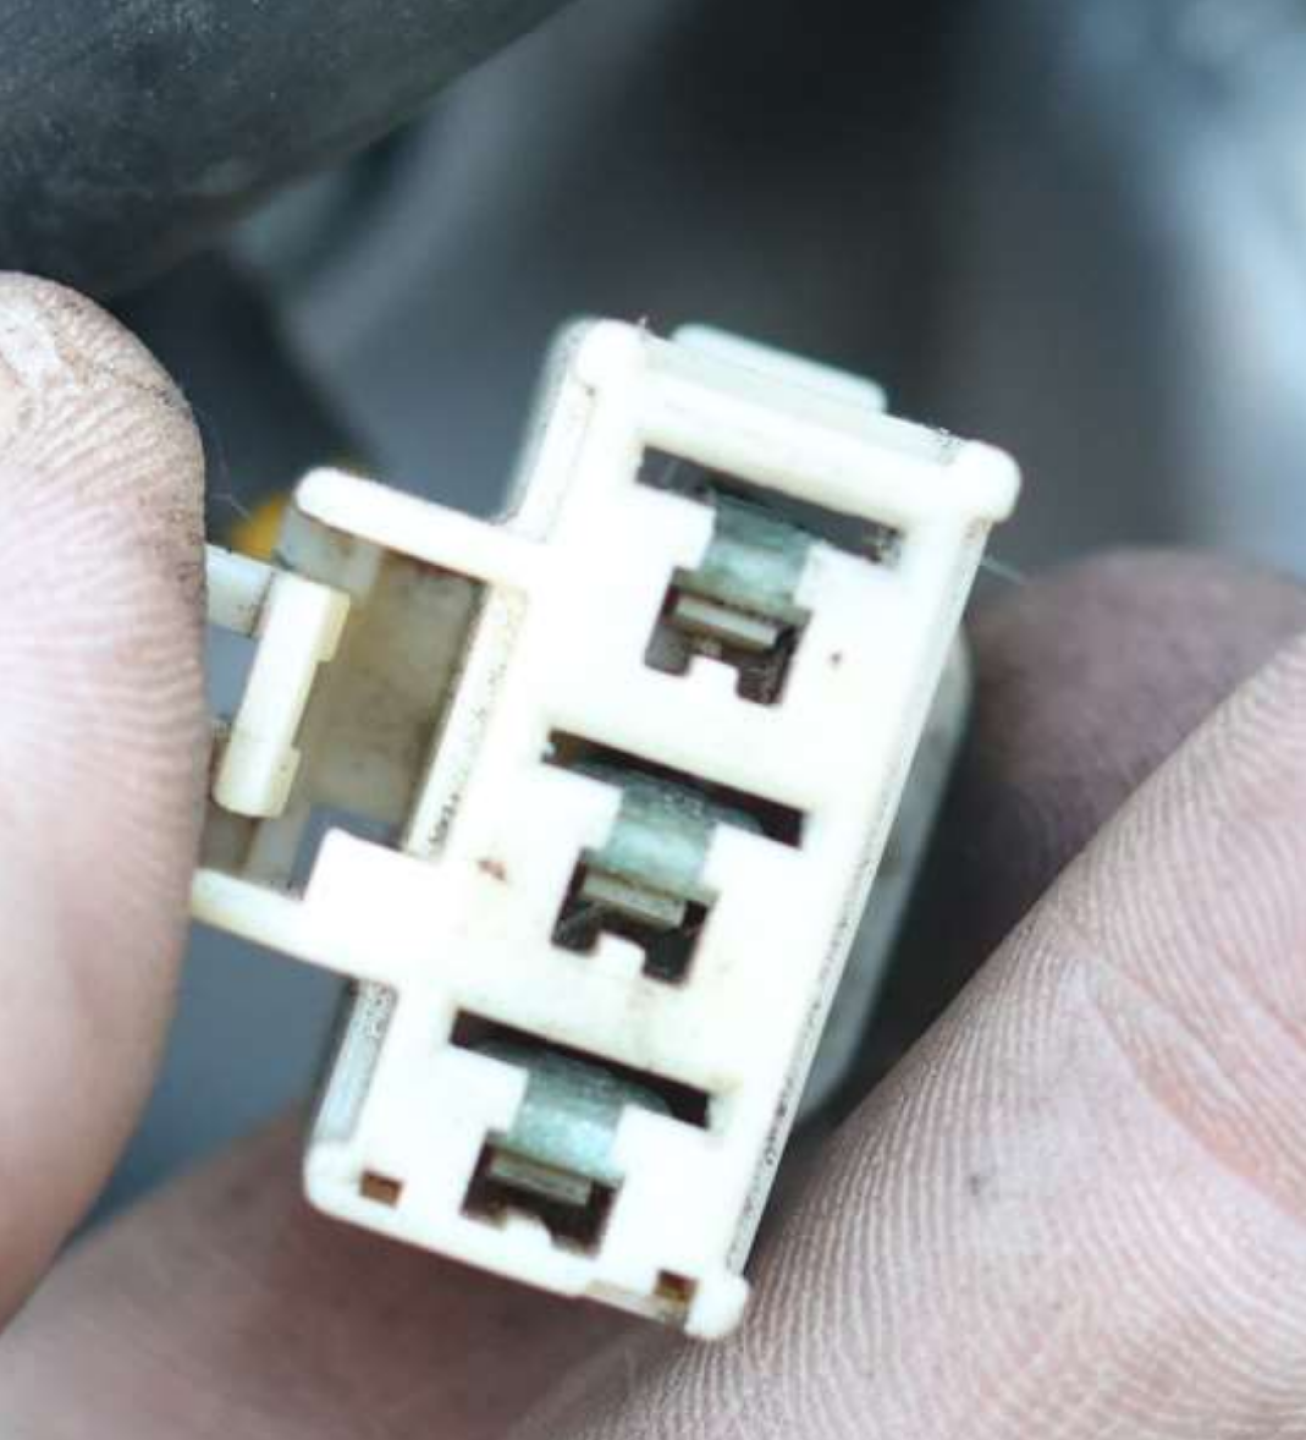
In my case, the mating part wasn’t too bad: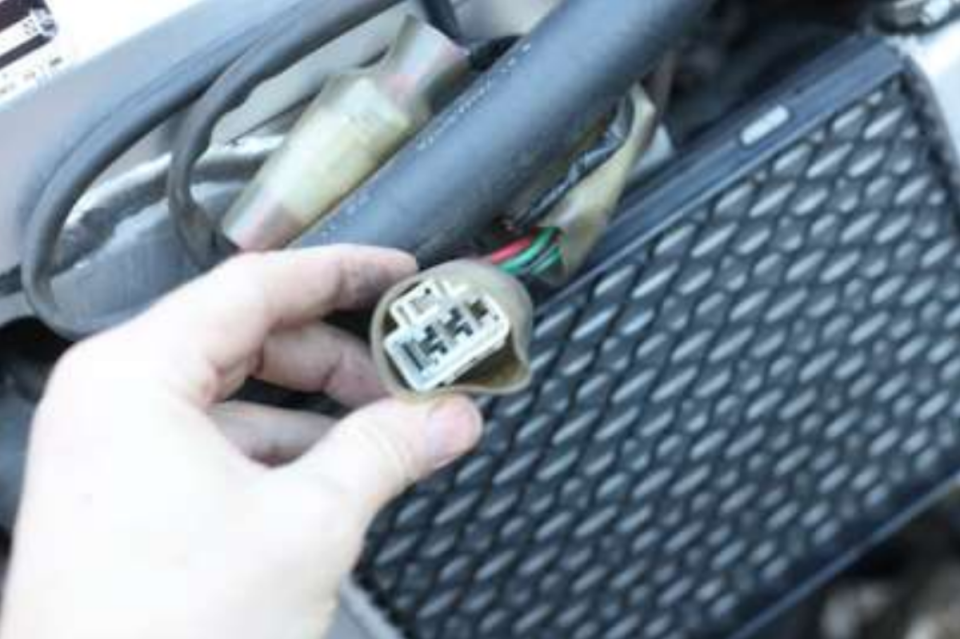
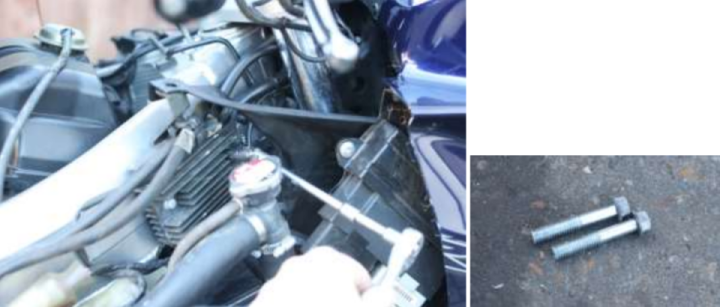
Pop your seat off to get a little bit of improved access, we’ll need to be hitting the battery shortly too. Note you can disconnect the battery at any point if you wish
You can also remove the two 8mm bolts holding the tank down which further improves access: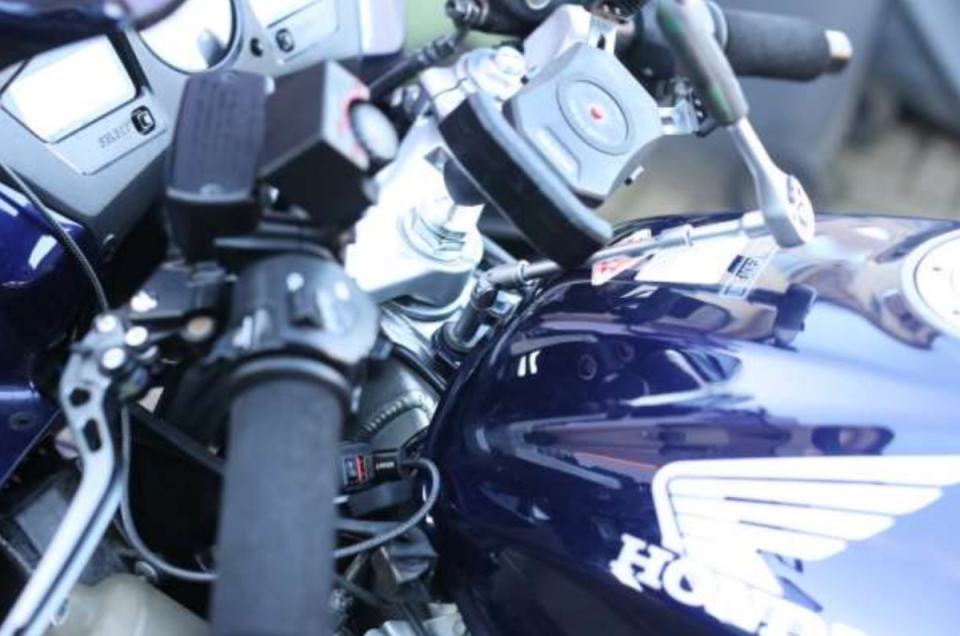
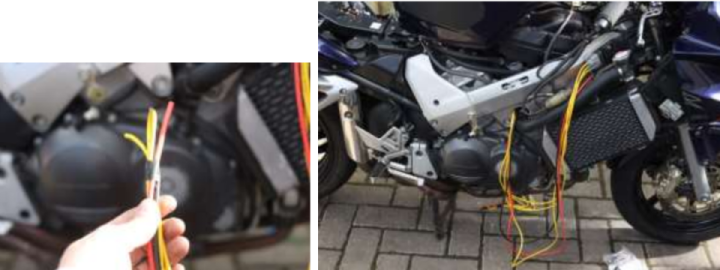
Prop the tank up and we can start feeding wires around 
We need to get the crusty plug we just disconnected back to the stator side of the frame, you can tie wires to it and pull them through but the connector is likely to snag already (and I didn’t want to cut it off) so I chose not to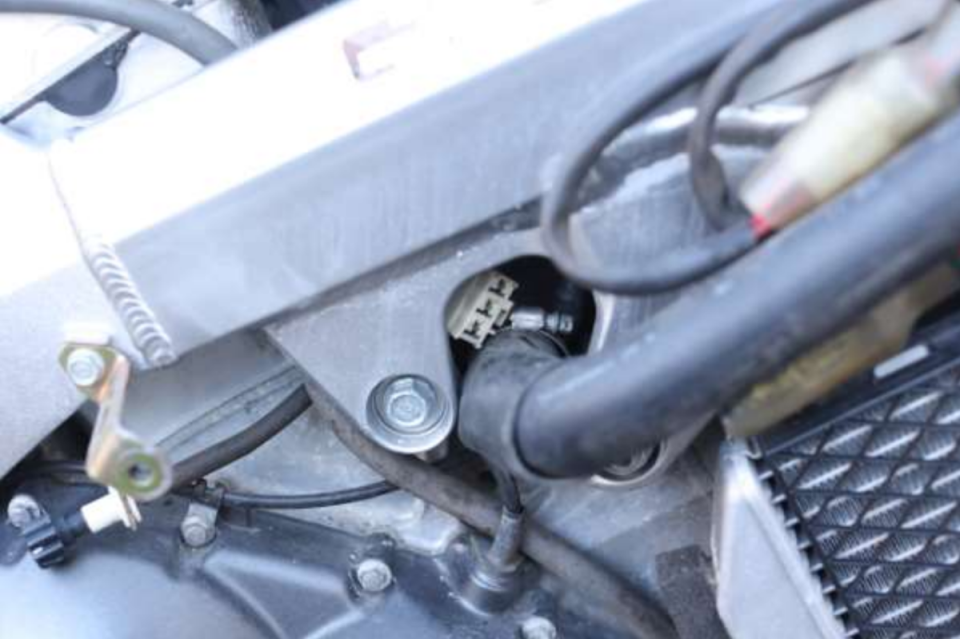
Try and fish out a little bit of slack then help pull it through
It’s a bit awkward but the connector can wriggle its way through here, be careful as you move bits out the way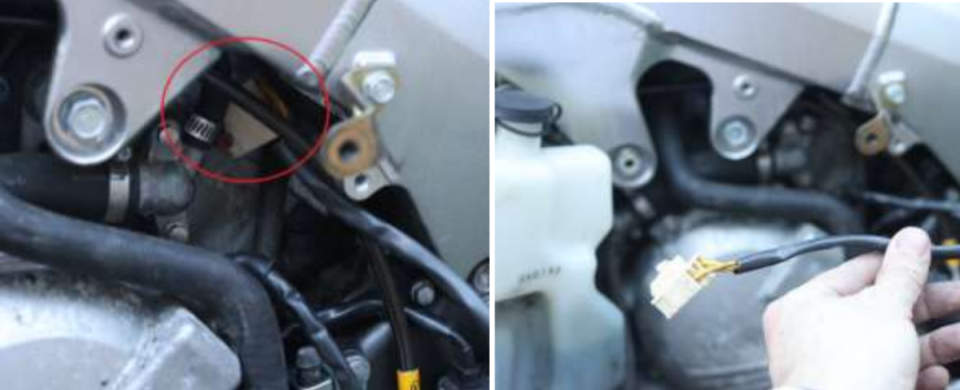
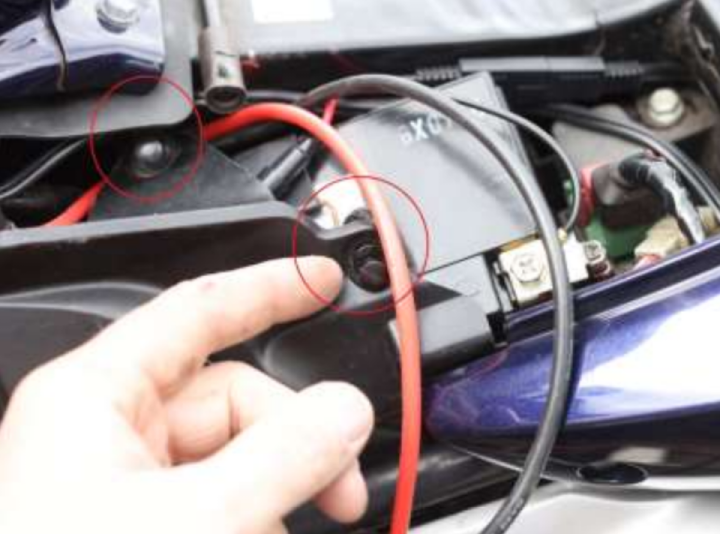
Optional step here, remove the single 10mm bolt holding the radiator on. There’s a good deal of compliance in it already but I figured it wouldn’t hurt to have some wriggle room so the bolt was removed and it was wriggled off its mounting stud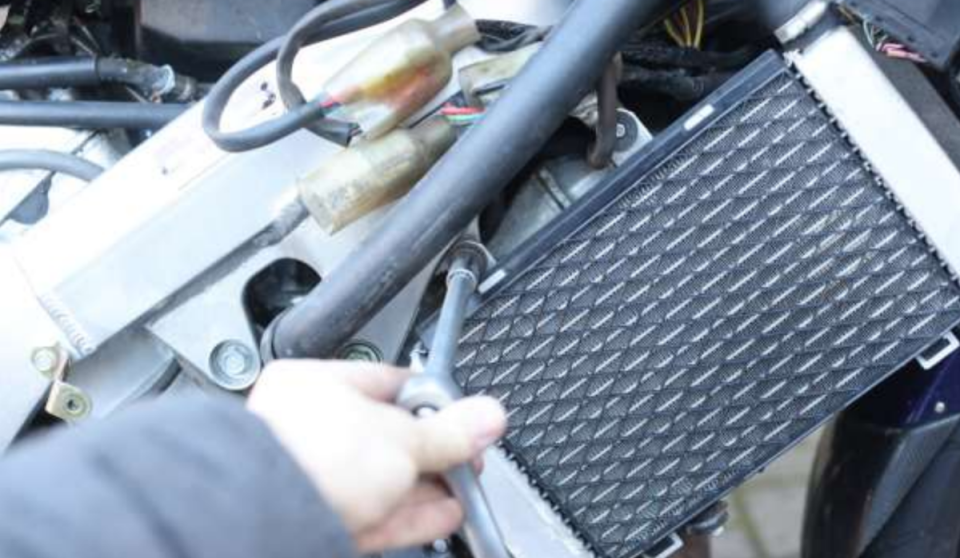
Now you can access the stock RR well: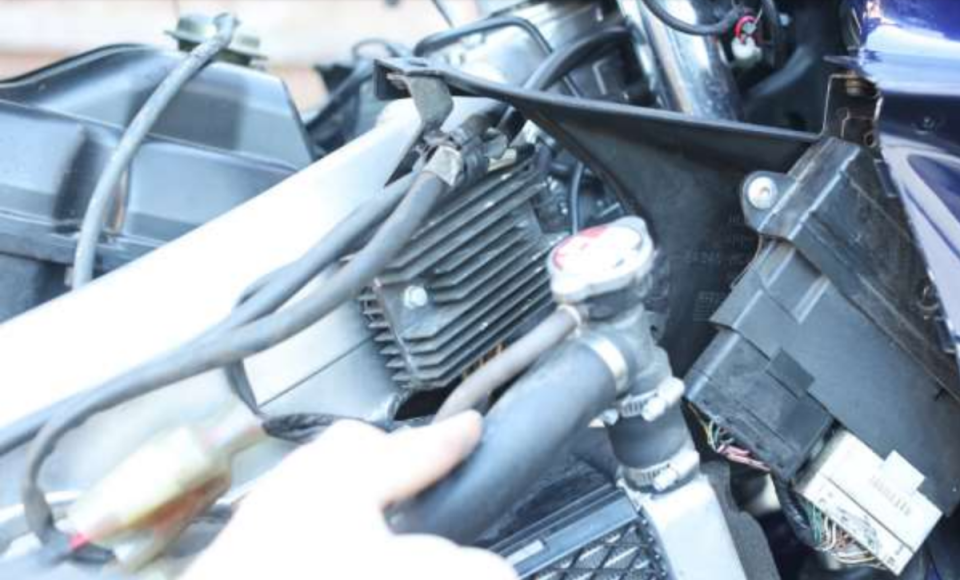

 Follow
892
Follow
892