Part 3 - Guide for replacing your regulator / rectifier
Fitting the New RR
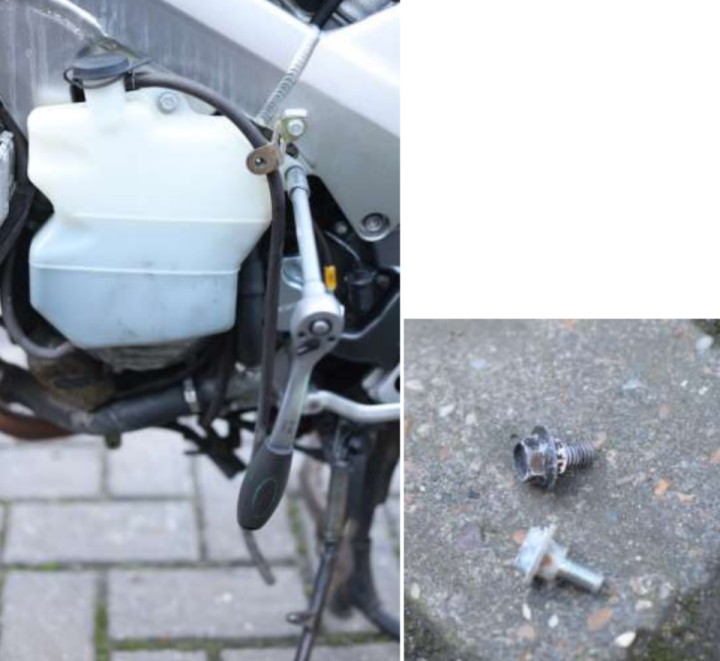
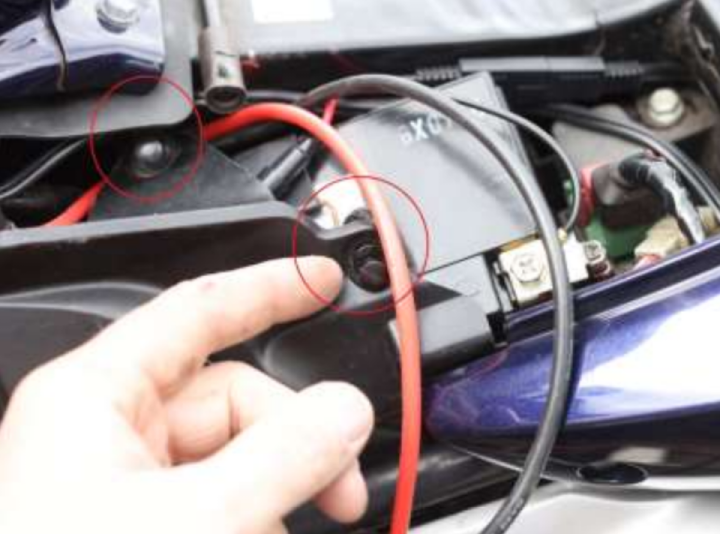
Remove the two 10mm bolts holding it to the frame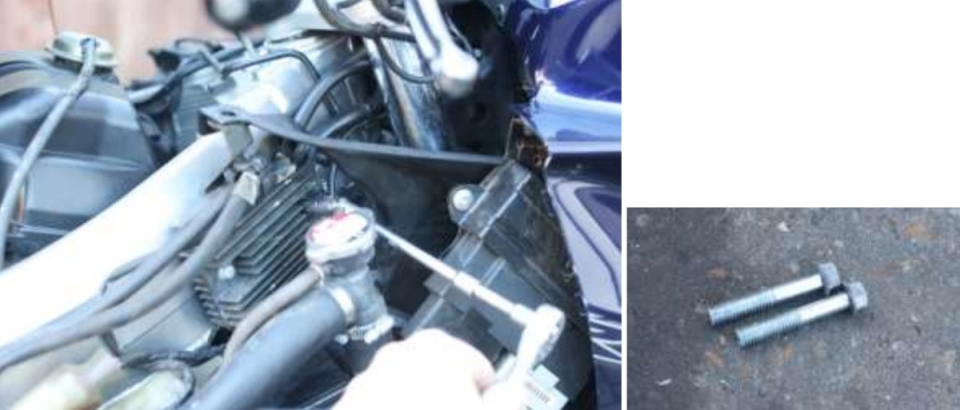
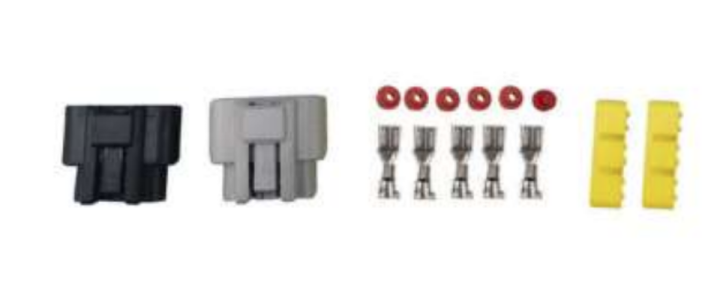
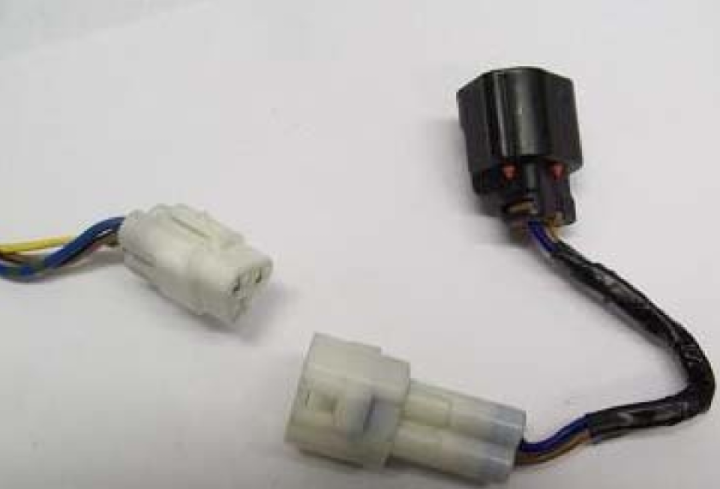
Pop the power connector off (just the same as the stator connector, press the tab and pull/wriggle out.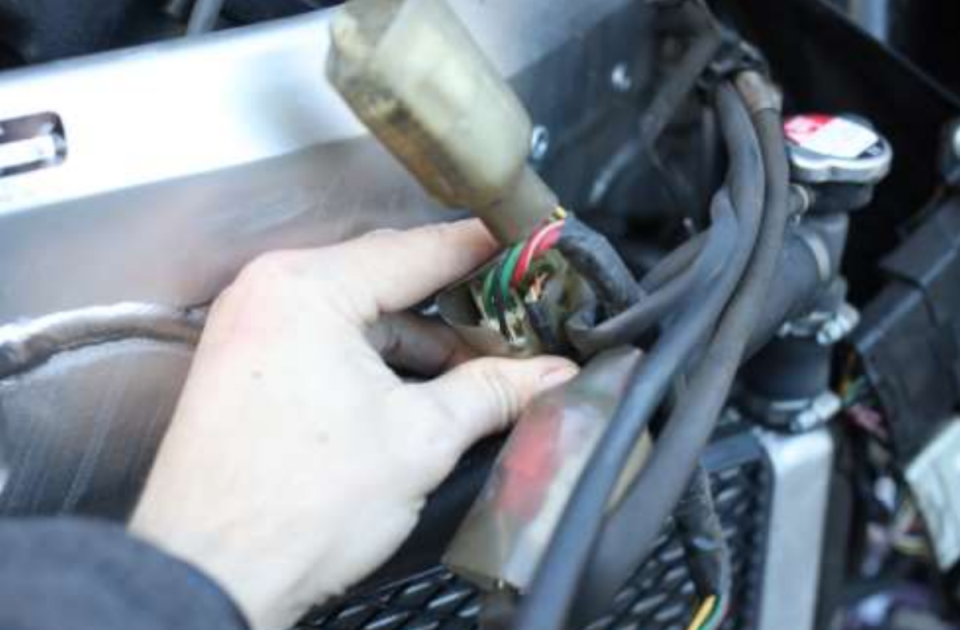
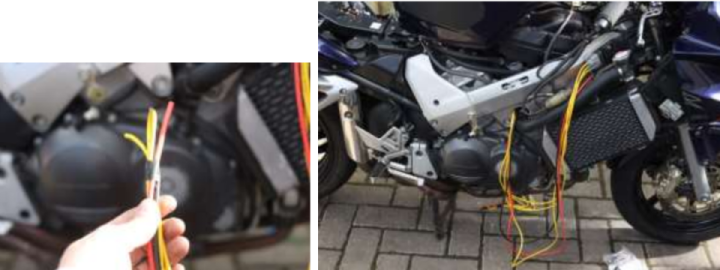
Once again, check for signs of water ingress (greenish colour etc.)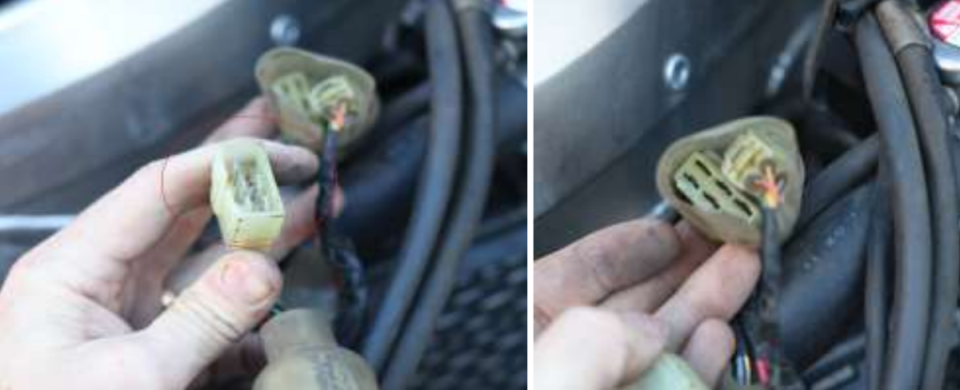
Tell-tale signs of too much heat were discovered: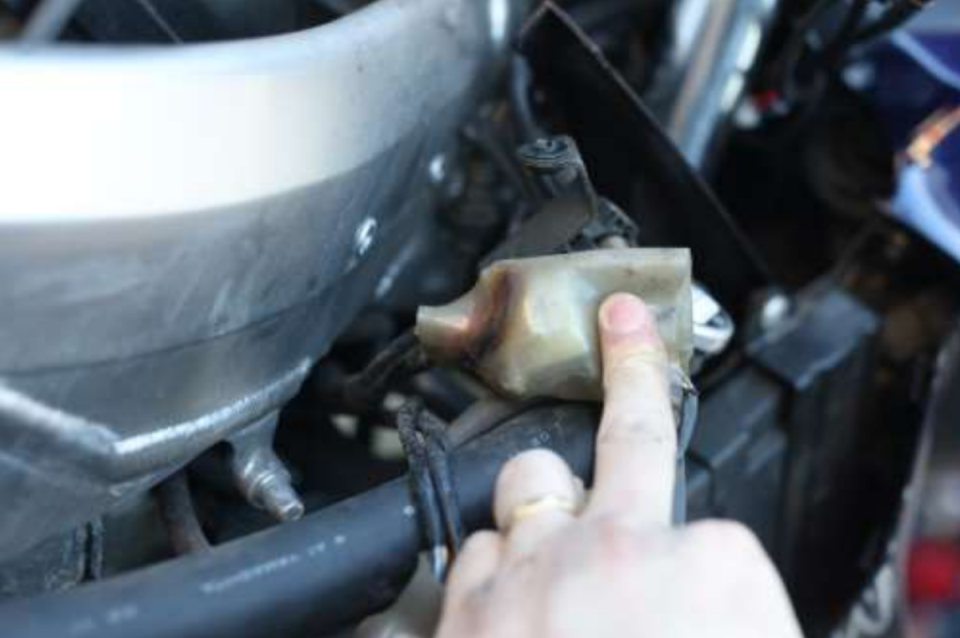
Remove the RR and file it in a safe space/burn it if it hasn’t already burned itself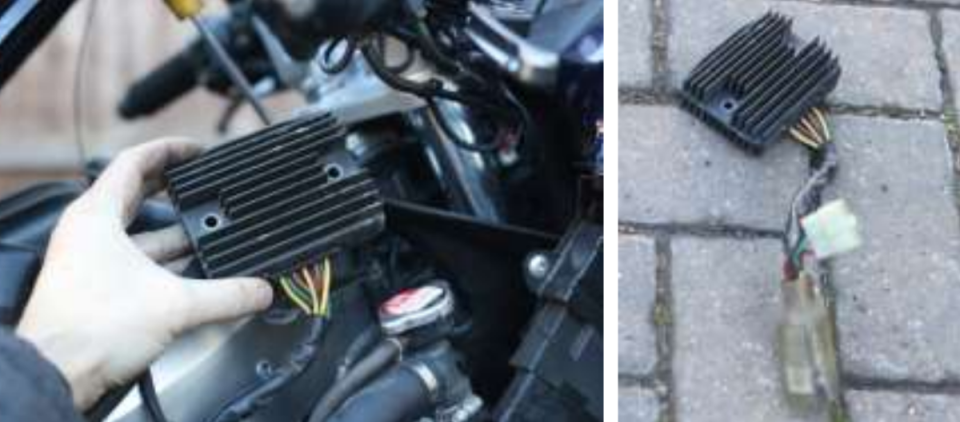
I figured it would be rude not to use the lovely fixing points so time to make an adaptor plate
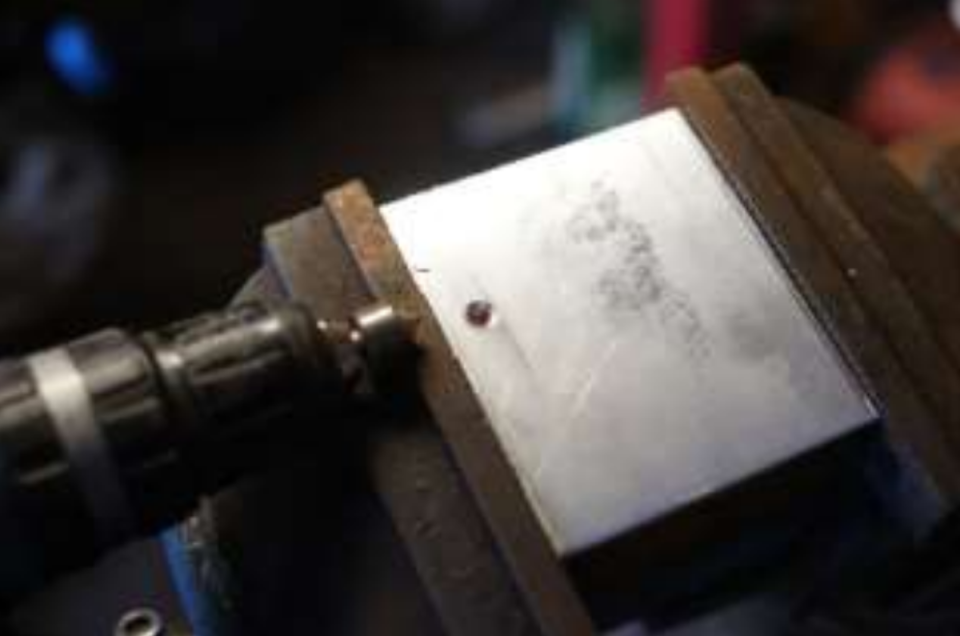
We use M6x1.0 bolts (~35mm stock) to mount the regulator so measure up and drill a 5mm hole giving us enough material to tap it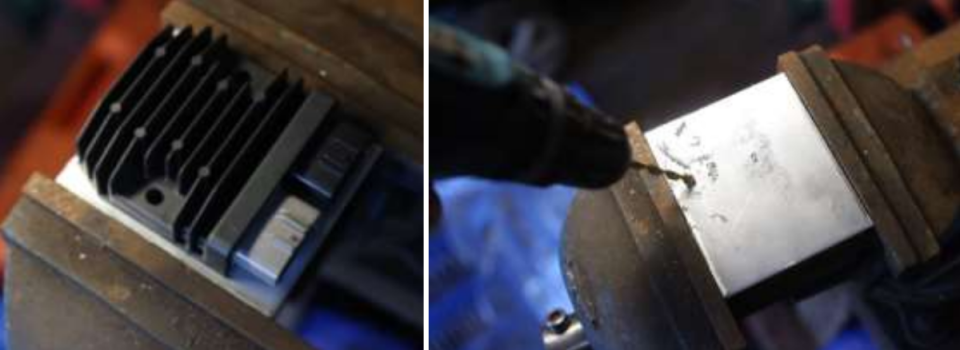
Run an M6x1.0 tap down it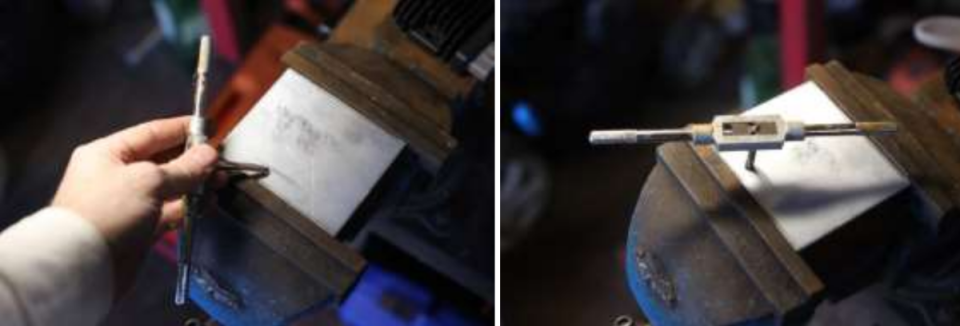
Countersink to suit your bolts, I went for these because I could get them locally, I would have preferred M6x30mm or even 35mm but they are fine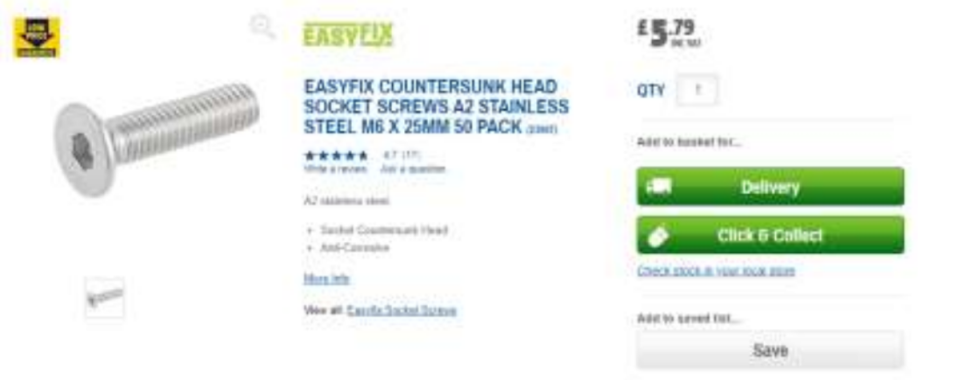
Note the countersink is to stop the bolts from contacting the frame although the stock fittings to give a lip of about 1mm so the plate isn’t actually flush anyway.
I ran the tap down it again just to keep a clean thread, I retained about 3 full threads with the deep countersink on my 5mm plate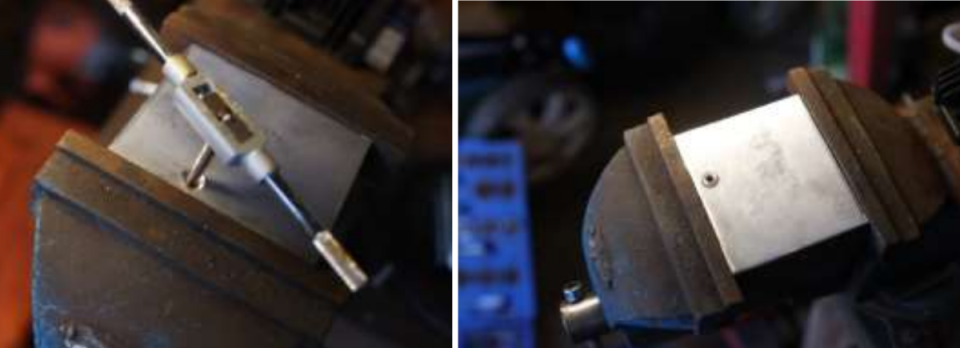
Aluminium is easy to work with because it is nice and soft but you can clog up grinders very quickly so be a little careful unless you have aluminium discs. Although I had a fairly flush finish, I ran a flap wheel over it to be totally smooth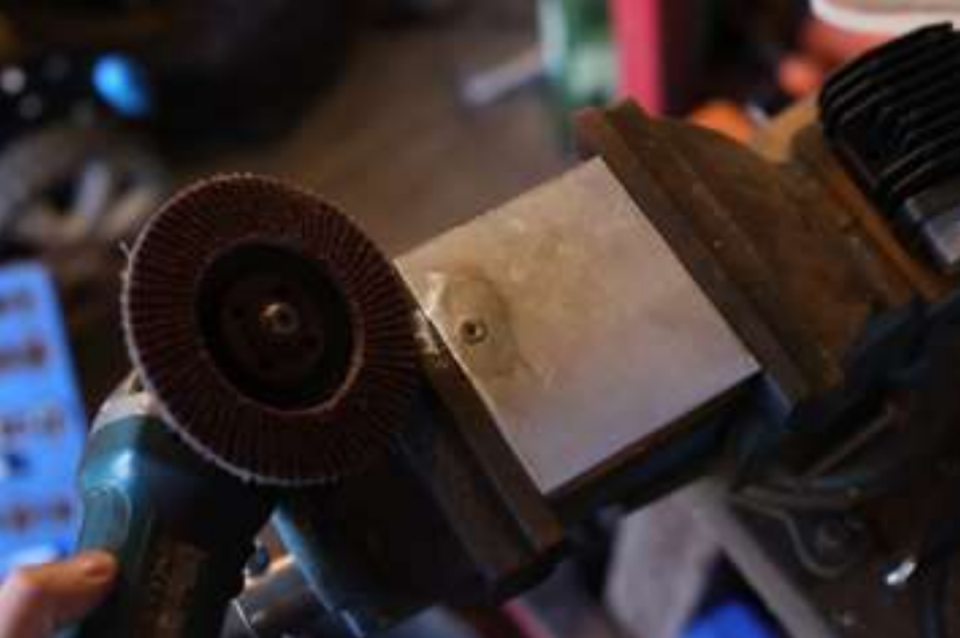
Then repeat it for the other hole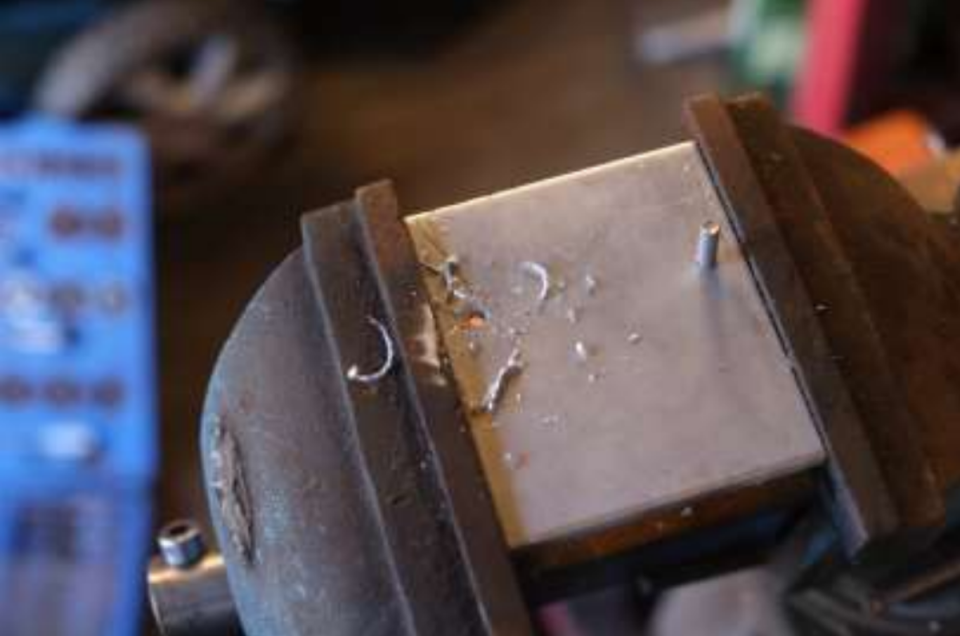
The RR test mounted: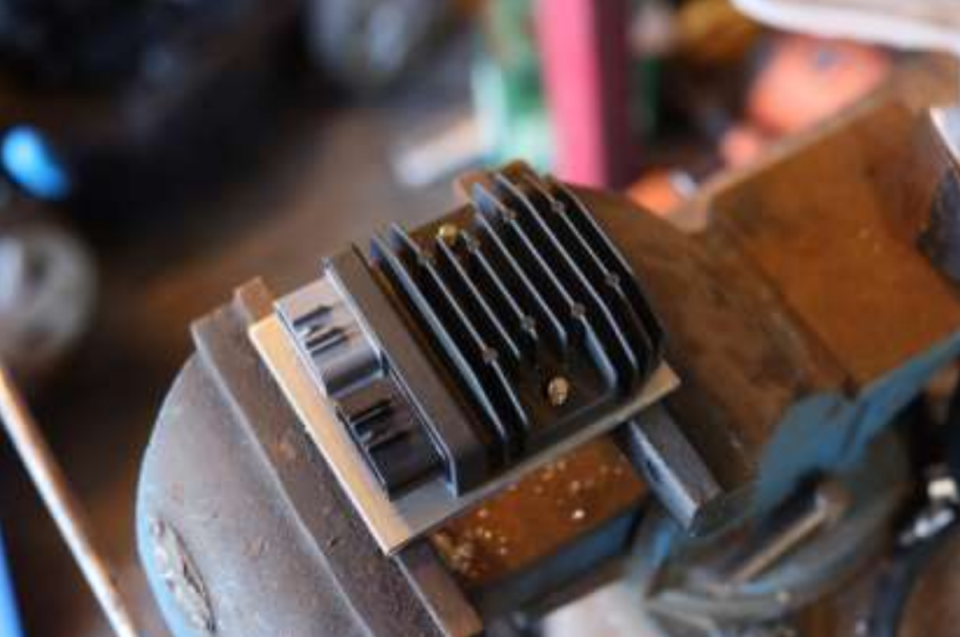
Having the bolts threaded in means you can remove and refit the rectifier easily when it is on the bike.
Now pop a couple of 6mm holes (we’re not tapping these ones) ~79mm apart, using the old RR as a template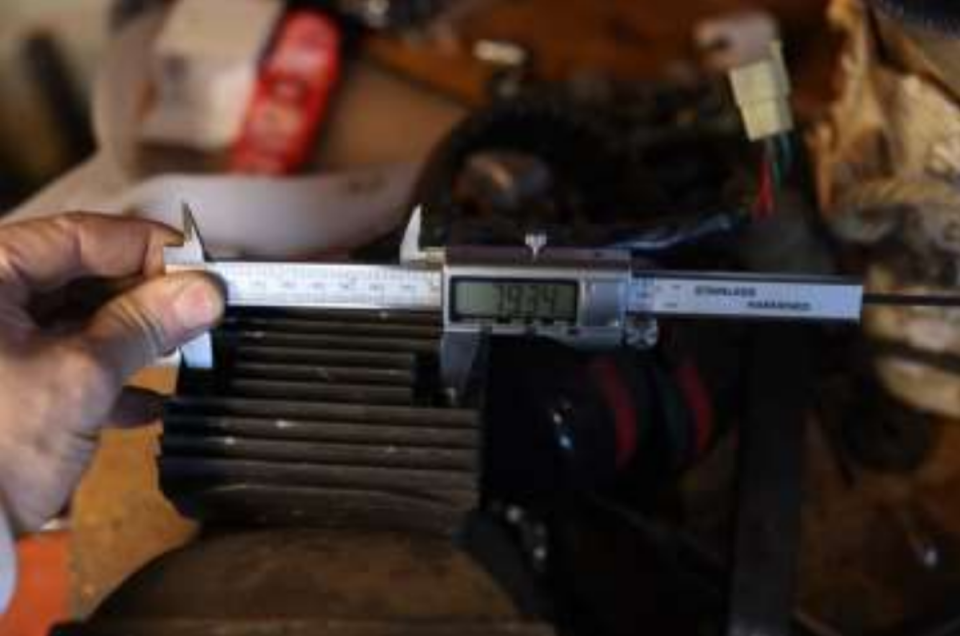
These will be the ones we mount to the frame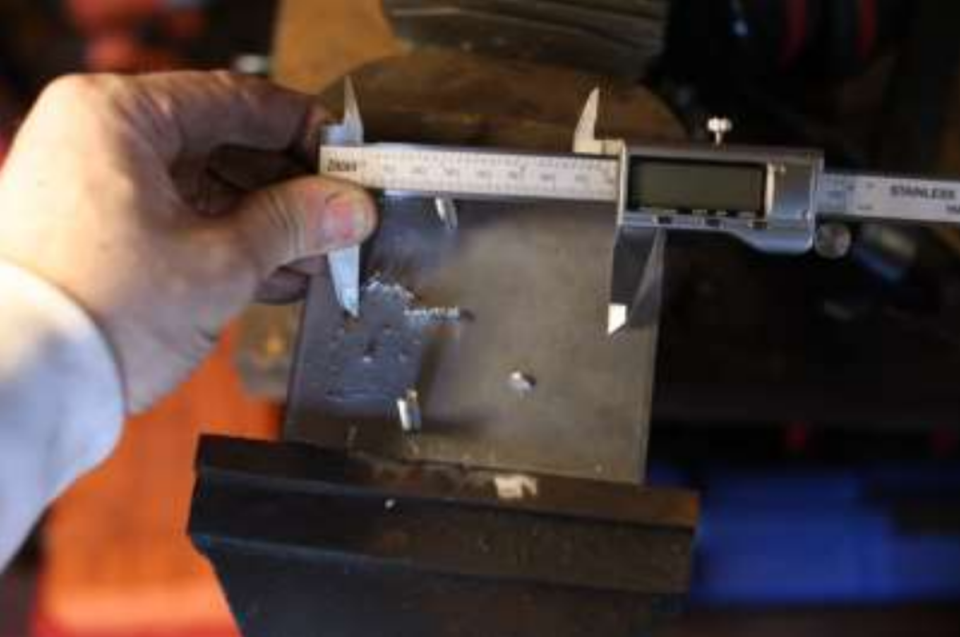
I chose to run a 6.5mm drill bit down it after I had done the 6mm holes just to give a little clearance and make sure nothing was binding up on fitment
Countersink again, this needs to be flush so that the RR sits against the plate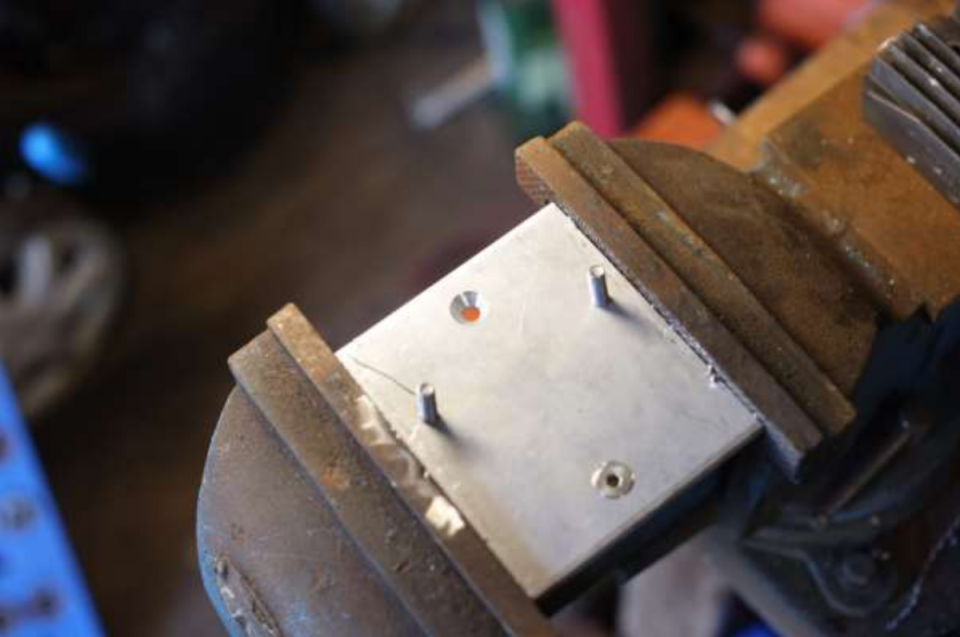
I tied up the edges and rounded the corners off too but that’s it ready to go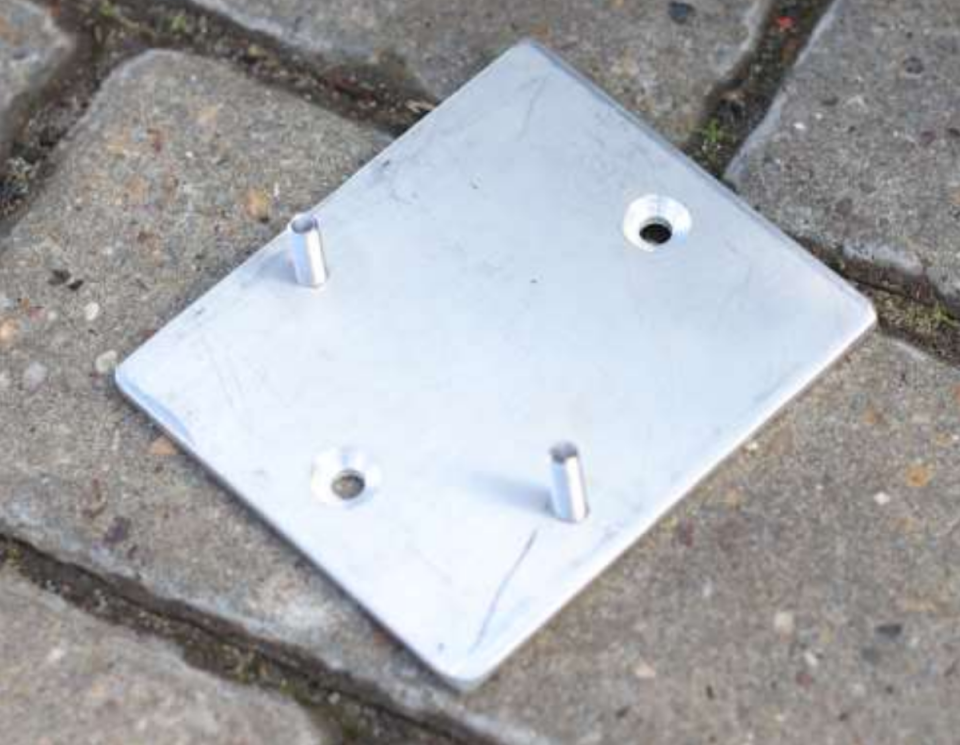
Don’t forget to put the backing plate in to guide the loom and then mount the adaptor to the bike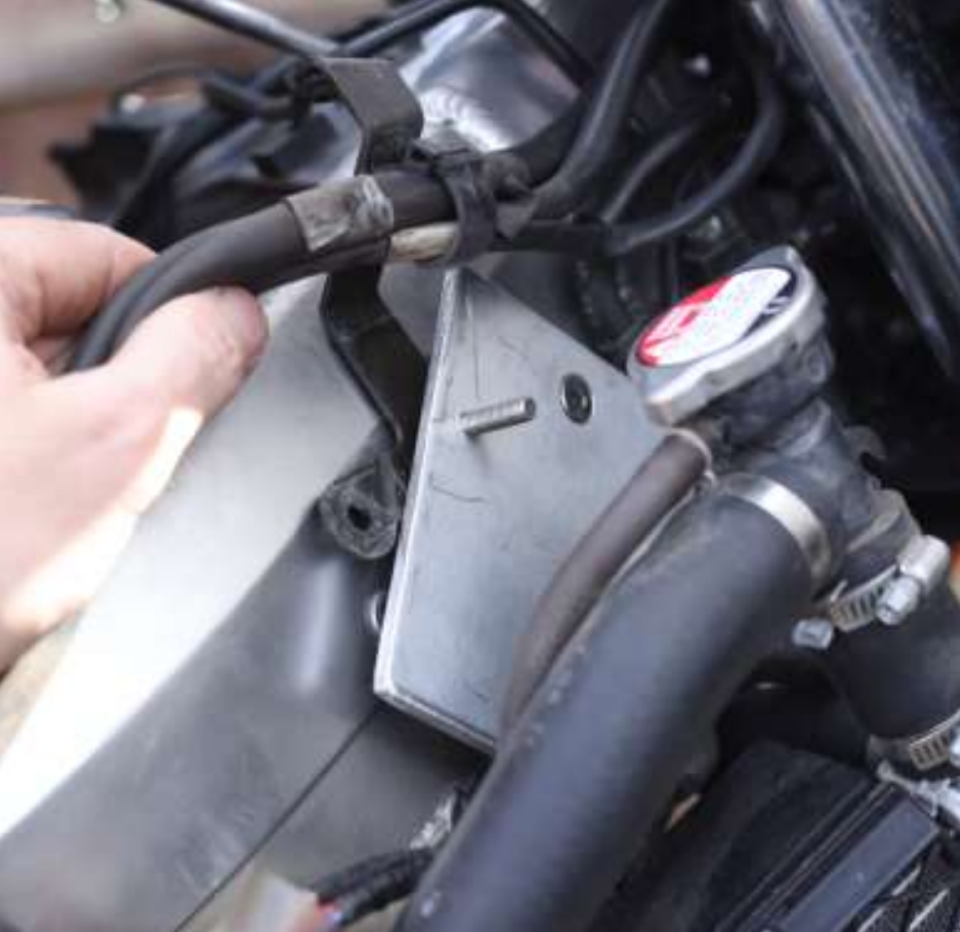
Pop two 10mm nuts on and your RR is in place
 Follow
783
Follow
783